Thursday, December 19, 2013

Wasabi Deviled Eggs with Sriracha

Deviled eggs are a timeless tradition of delectable snacking that lends itself well to pretty much any party or potluck in any season. These deviled eggs are no exception, and were added to our Holiday Party line up. They are salty, spicy, and have a subtle hint of star anise that makes for a more Eastern take of a Southern classic. I love deviled eggs in pretty much every available format, but the only thing better than one kind of deviled egg is SEVERAL kinds of deviled eggs.

The original recipe (available at the Food and Wine website), uses scallions in the marinade, but we were fresh out of scallions when we first made these and substituted a combination of onions and garlic in its place, as this is essentially a marinade so presentation really isn't an issue. It worked wonderfully. The main flavors from the marinade are fresh ginger, soy, sake, and star anise and the onion is more of a background note. And given we are more likely to have an onion on hand than to have a bunch of scallions, it's been a useful substitute.

The star of this show is the wasabi and sriracha filling, which takes this from just being salty to packing a kick at the end of each bite that makes people eat them before I am able to take the "finished" photo of what they look like, which gives you a sense of their popularity. If you want a quick and dirty version that doesn't involve a bunch of star anise and hours of marinating, you can just make the filling and skip the marinade. Your eggs won't get a cool tint and will not have quite the complexity, but the filling is pretty delicious on its own. Even with the marinade, this still qualifies as a pretty easy recipe. If you want to throw some extra eggs in there, go ahead. We've squeezed in 15 eggs into the marinade without increasing the amounts of the marinade (this might require more stirring for even coating). Above that I would recommend making some extra marinade.
 

Wasabi Deviled Eggs with Sriracha

Makes 24 eggs

Ingredients

1/4 cup sugar
1/4 cup coarsely grated peeled fresh ginger
1/2 cup sake
1 cup water
2 cups soy sauce
10 star anise pods


1 medium yellow onion, chopped (or 1/2 cup of chopped scallions)
6 cloves garlic, peeled
1 dozen large eggs 
1 tablespoon Sriracha  
1/4 cup plus 1 tablespoon mayonnaise
1/4 cup snipped chives
2 1/2 teaspoons wasabi paste 
Chinese five-spice powder 


Instructions 

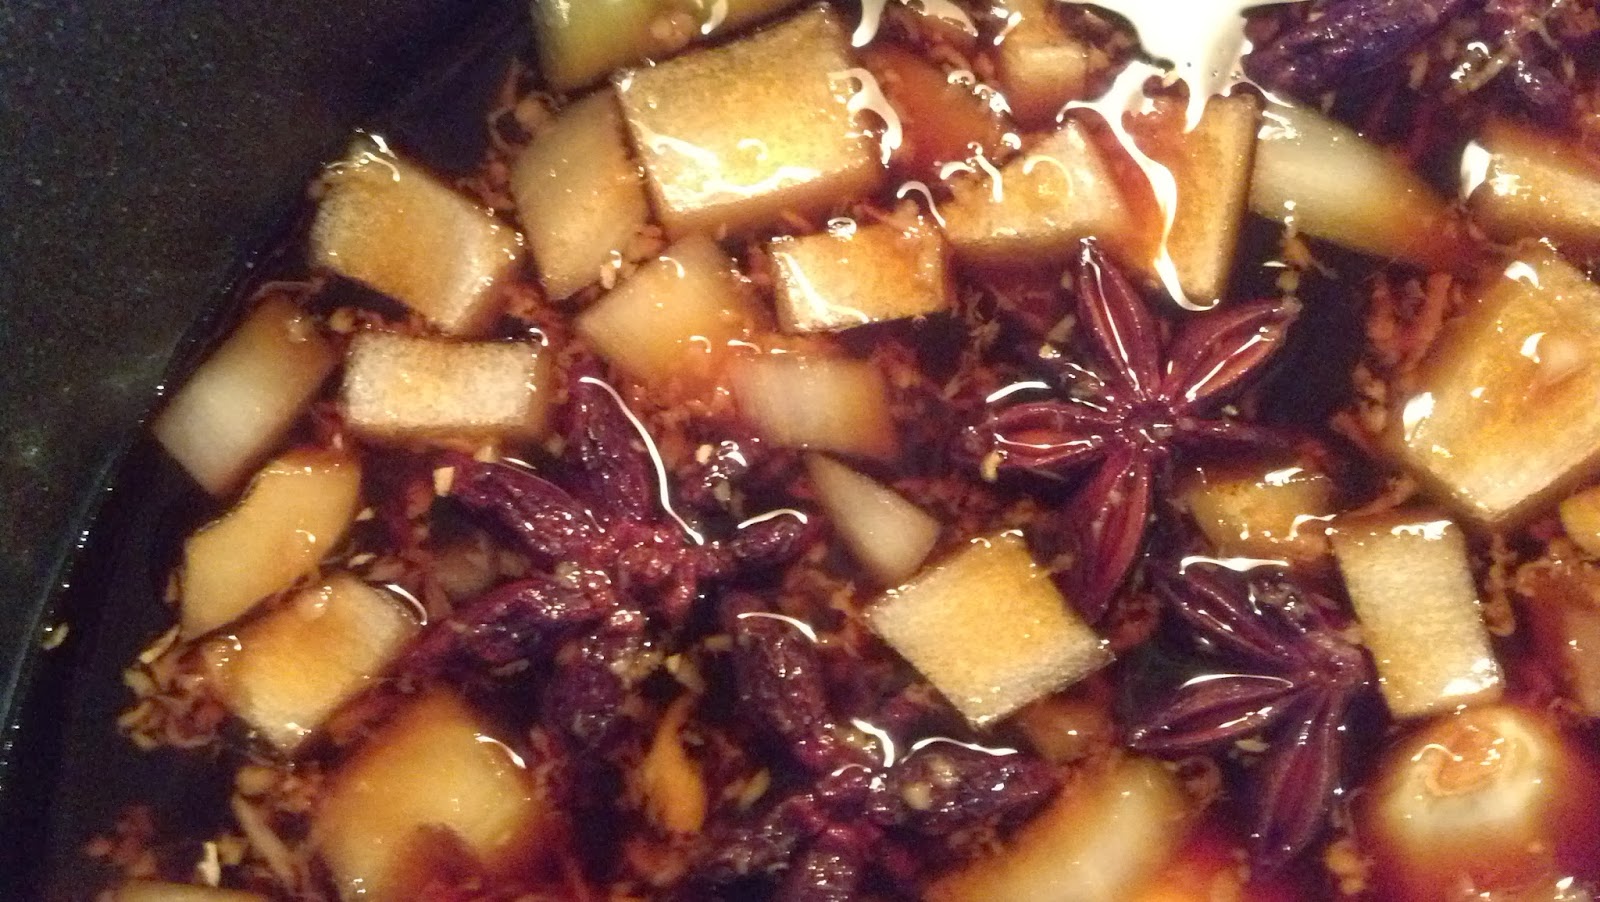
  1. In a medium saucepan, combine the water, soy sauce with the sake, star anise, onion (or scallions if using), garlic, sugar and grated ginger.
  2. Bring soy mixture to a boil. Transfer the mixture to a heatproof medium bowl and let cool completely. 
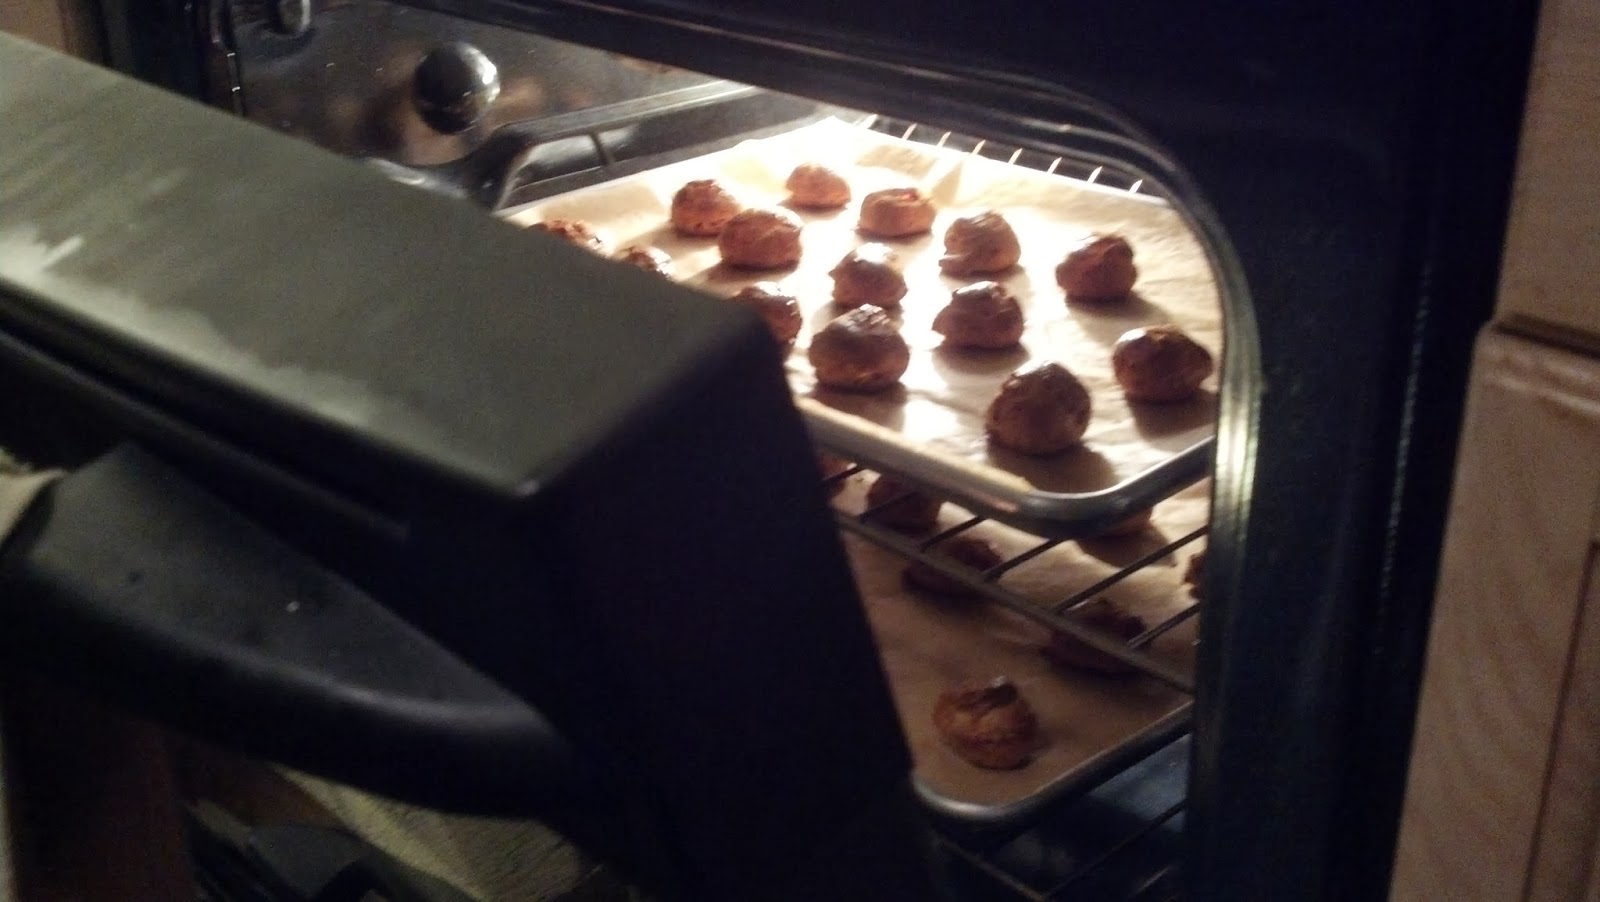
  3. Meanwhile, in a large saucepan, cover the eggs with cold water and bring to a boil. Boil for one minute, then cover the saucepan, remove from heat, and let stand 10 minutes until hard boiled.
  4. Drain the water from the large saucepan. Cool the eggs slightly under cold running water to stop the cooking process, then peel them under cold running water. 
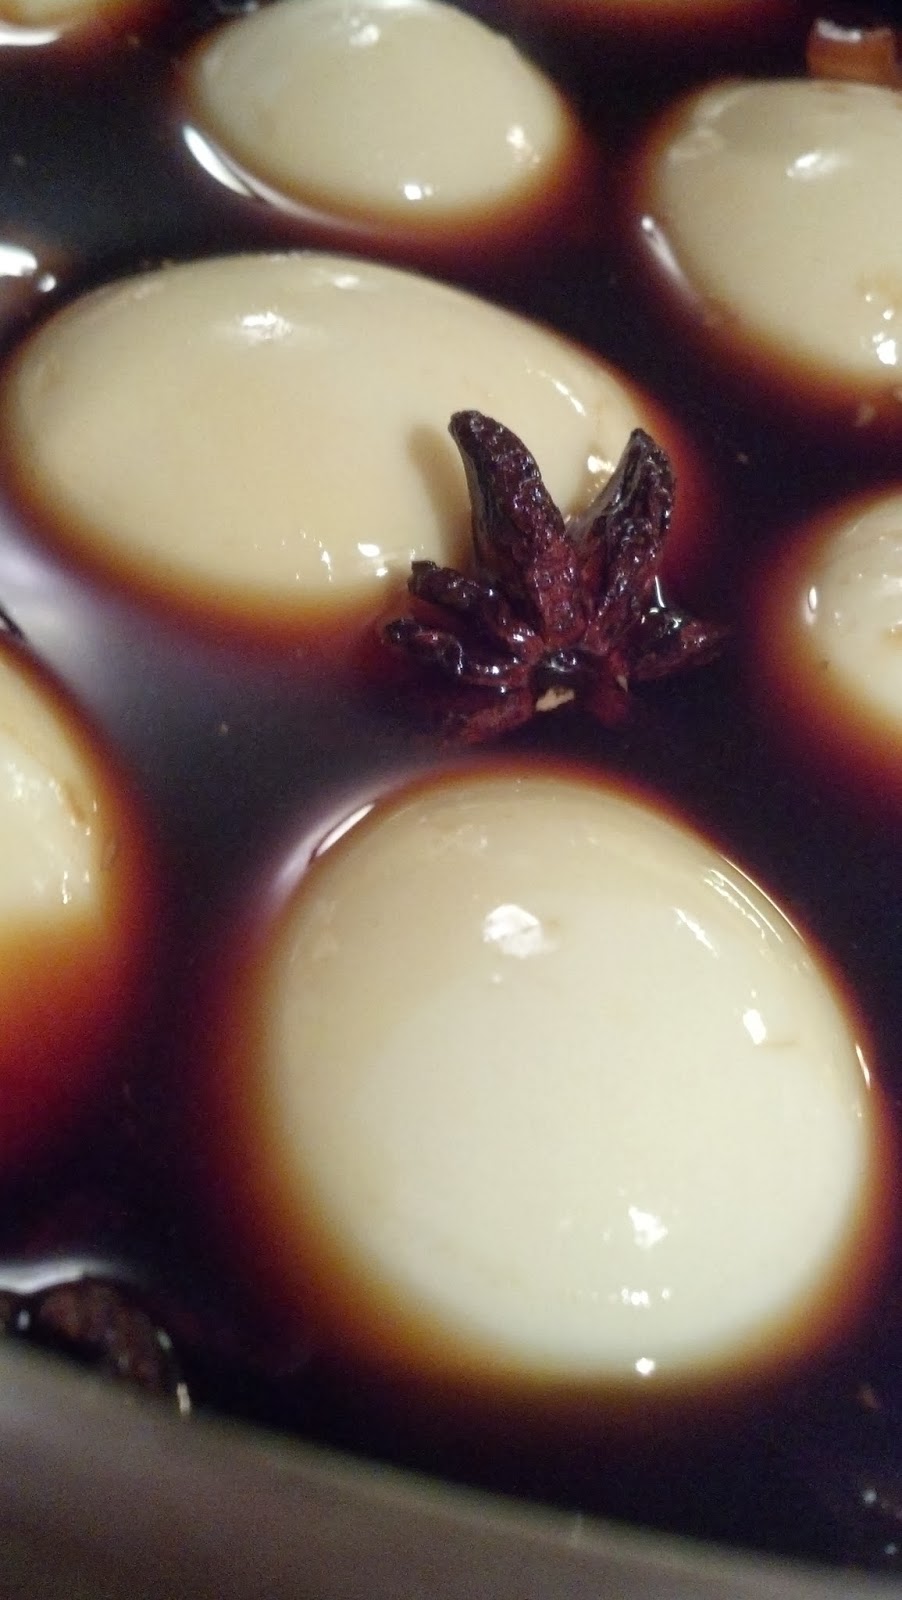
  5. Add the eggs to the completely cooled soy mixture. Cover with plastic wrap and refrigerate the eggs for at least 4 hours, stirring once in awhile to ensure that all the eggs are fully immersed in the soy mixture and will color evenly.
  6. Drain the eggs and rinse lightly to remove any bits of scallion or ginger; pat dry. The outside of the eggs will become a tannish brown color.
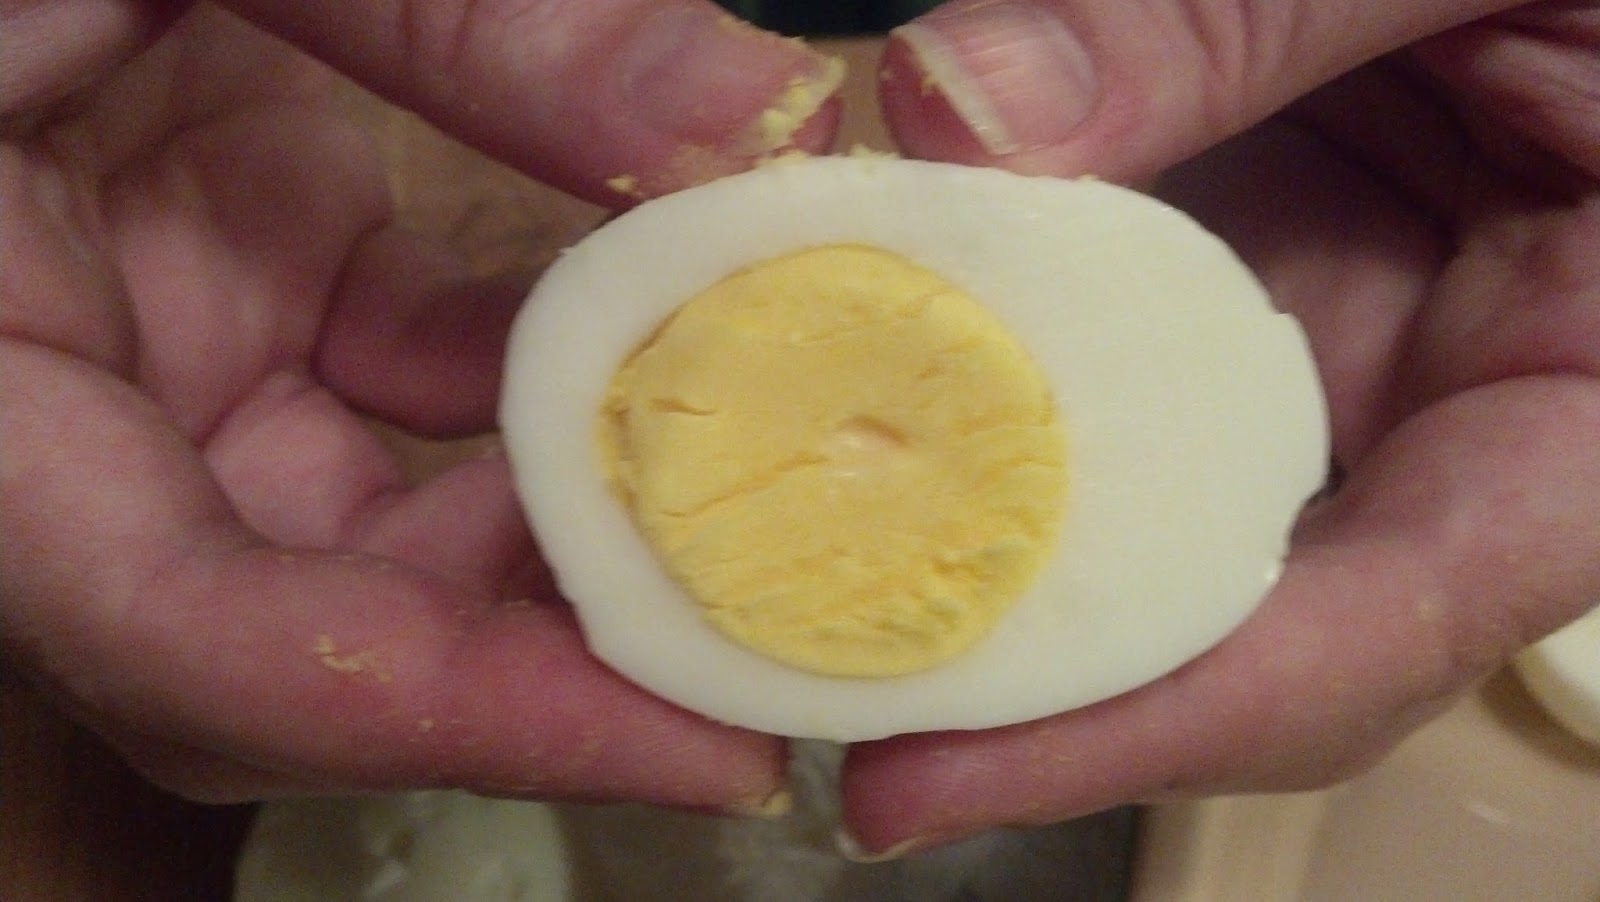
  7. Using a slightly moistened thin, sharp knife (non-serrated), cut the eggs in half lengthwise. Yolks should be bright yellow, cooked all the way through, and the knife should cut cleanly through the yolk.
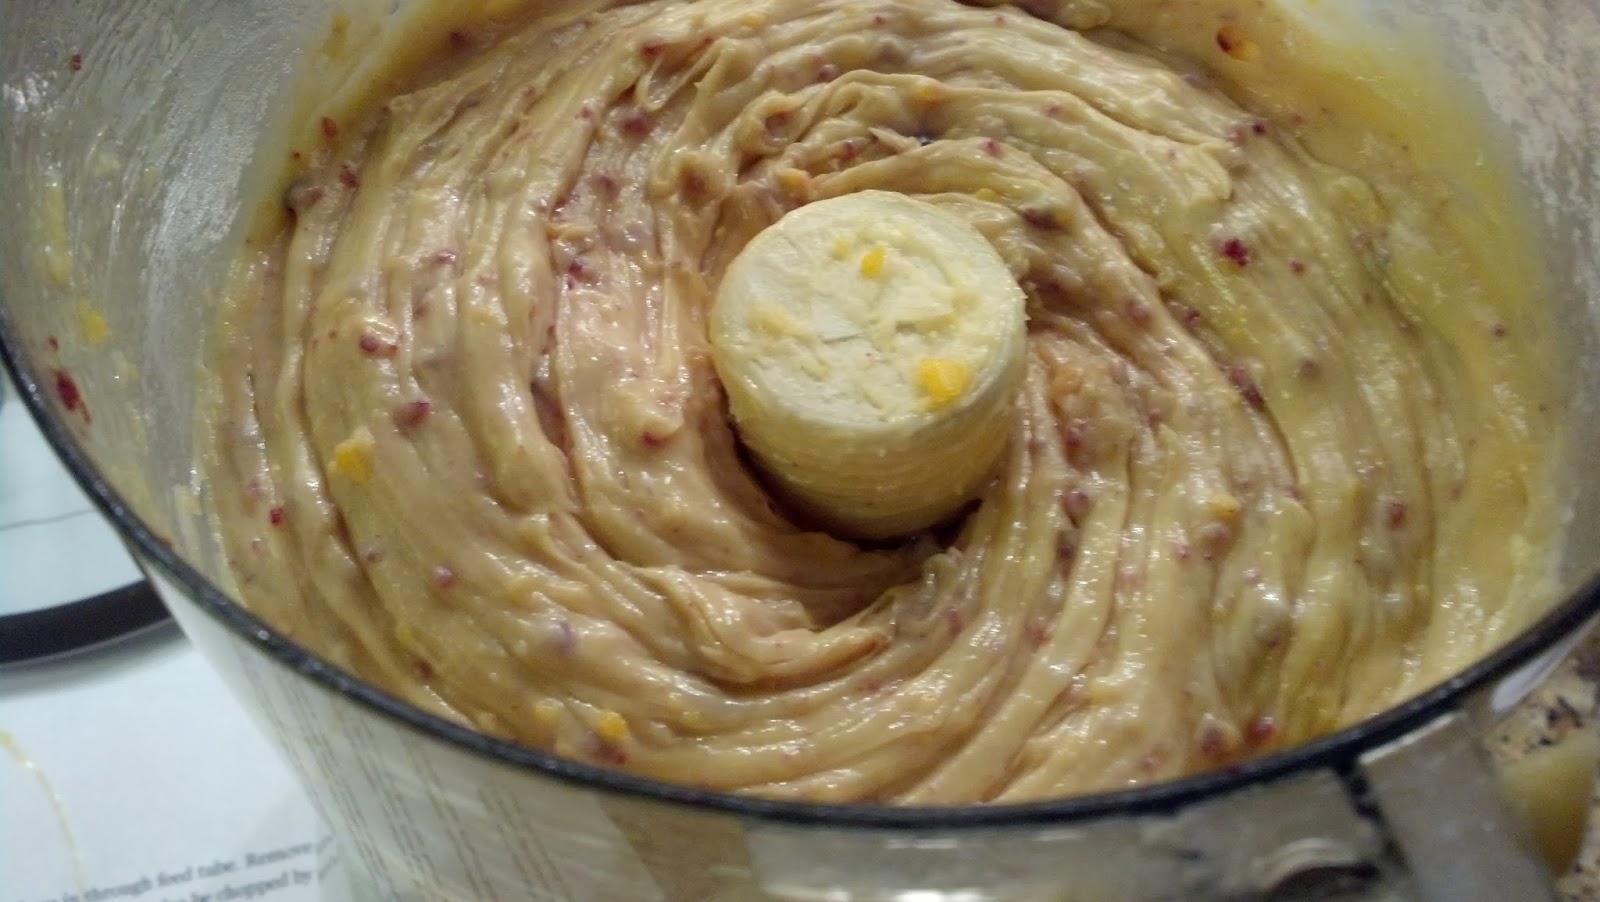
  8. Gently pry the egg yolks into a medium bowl without breaking the cooked white. Leave the whites aside and mash yolks with a fork or potato masher until the mixture is as free of lumps as possible. If some remain, they will be taken care of during the piping process.
  9. Stir the mayonnaise, Sriracha, wasabi and 3 tablespoons of the snipped chives into the mashed yolks until fully combined.
  10. Transfer the mixture to a pastry bag fitted with a star or plain tip. Set the egg whites on a serving platter and pipe in the filling. If you don't have a pastry bag, cut off the corner of a plastic Ziploc bag, or just use a spoon for a slightly more rustic but equally delicious look. At this point, if you are making these ahead of time, you can stop here and store the eggs in a fridge overnight until ready to serve.
  11. Right before serving, sprinkle a pinch of Chinese five-spice powder on each of the deviled eggs then top with the remaining chive snips or thinly sliced scallions if wanted. 

Wednesday, December 18, 2013

Cranberry Cheddar Gougeres

A gougere is a French pastry that is light, airy, and deliciously cheesy. Essentially, it is a cheese puff the way a cheese puff should be. If you have never experienced the delight of biting into a piping hot gougere and have the steam from the oven explode in your mouth or had an entire room consumed by the smell of cheesy goodness cooking in the oven, I insist you stop whatever you are doing and find yourself a gougere to eat, unless what you are doing is making gougeres, in which case, you are on the right track.  

There are many variations on a gougere (which is classically made with gruyere cheese or sometimes other French cheeses), but all of them are based on the idea of a light, airy cheese pastry made with a pot au choux dough, which is a cooked dough that uses moisture instead of a rising agent (like yeast) to rise. All of which makes it sound very fancy and much more difficult than it is.

Usually, you see gougeres in small bite size balls (each 1-2 bites), but when we were in Burgundy recently, TK and I were frequently served much larger almost biscuit sized gougeres that were equally light and delicious.We will get to those later, but for now, here are some of the regular bite sized gougeres in a fun recipe from the New York Times website that adds a little holiday cheer to this classic (and thus made it a perfect addition to our Holiday Party line-up), while speeding it up along the edges for a quick and easy treat. Obviously, cheddar is not particularly French, nor are cranberries, but delicious is delicious. The dough looks marvelously festive before baking with little red cranberry flecks, the cheese kinda takes over the show during baking and the cranberry taste is a relatively subtle sweet note in the dough. Because these are tiny, they don't necessarily require the piping that larger gougeres may need to get that distinctly spiral. Obviously, piping doesn't HURT the recipe, but it can be a mess when all you need is a teaspoon scoop.

This is a food processor recipe, which is both awesome, convenient, and makes it difficult to make more than one batch at a time, unless you are willing to rock multiple food processors which frankly I am not. For the record, you can make this recipe by hand. You have to finely chop the cranberries by hand in the beginning and then stir until your arm can't stir anymore and then stir some more to incorporate the eggs, cranberry, and cheese later, but it can be done. But why would you take a recipe that has given you the gift of a food processor and then not use it? In addition, this is a freezer-friendly recipe. You can make these a week before your party and just heat them up right before you are ready to serve. You won't get the same intense cheese smell filling your house at reheating (only a moderate cheese smell filling your house), but they will still taste delicious and you'll still be able to serve them piping hot with a simple ten minutes in a 350 degree oven.


Cranberry Cheddar Gougeres

Ingredients


  • 1/4 cup dried cranberries
  • 3 ounces unsalted butter (6 tablespoons)
  • 1 teaspoon salt
  • 1 cup sifted flour
  • 5 large eggs
  • 1 cup grated sharp Cheddar


Preparation


  1. Turn on food processor and finely chop cranberries by dropping them in through feed tube. Remove cranberries, but don’t bother cleaning bits clinging to the bowl, as they'll end up back in bowl eventually. 
  2. Place 1 cup water in a 2-quart saucepan. Add butter and salt, bring to a simmer and cook just until butter melts. 
  3. Remove from heat and add flour all at once, stirring vigorously with a wooden spoon.
  4. Return saucepan to medium to medium high heat and cook dough, stirring constantly, about a minute or two until the dough forms a ball and does not stick to the sides of the saucepan.
  5. Transfer dough to food processor.
  6. Heat oven to 425 degrees.
  7. Turn on food processor and add 1 egg to the dough. As soon as it’s completely incorporated, add another, and continue adding eggs 1 at a time until you have used 4.
  8. Add chopped cranberries and Cheddar and pulse to blend.
  9. Line 2 baking sheets with parchment or silpat if available. Drop heaping teaspoons of batter, in mounds about 1 inch across, on baking sheets, leaving 2 inches between them.
  10. Dipping your fingertips in cold water, gently press down any peaks or tips to the mounds of dough so that the dough is flat and will form a clean circular puff.
  11. Beat remaining egg. Brush tops of mounds with egg, taking care not to let any drip down the sides.If after your first batch you find the coloring to be overly dark or slightly burned, you can wait to brush the egg until 7 minutes in to the first fifteen minutes of cooking (or whenever the first time you rotate baking sheets is).
  12. Bake 15 minutes, until puffed and lightly browned, rotating baking sheets halfway between cooking.
  13. Reduce heat to 350 degrees and bake another 10 to 15 minutes, until well browned and again rotating baking sheets halfway.
  14. Shut off oven, open oven door a few inches and leave gougères another 15 minutes before removing them. If you are serving them immediately, serve right away, they do not need any time to cool and are best hot.
  15. Before making your next round, wait ten minutes for baking sheets to cool, replace parchment paper, and repeat process.If you are making these ahead of time, move gougeres to cooling racks. When completely cooled, the gougères can be transferred to a heavy plastic bag and frozen. Reheat them for 10 minutes at 350 degrees.