Thursday, June 12, 2014

Heirloom Tomato Sorbet with Chive Oil

As a little kid, I used to love it when restaurants would serve sorbet as first course or as a palate cleanser between courses.  "Early dessert!" I'd think to myself when greeted with basil ice cream as an amuse or presented with pear sorbet before my main course.  Those are the memories that inspire me to work sorbets and ice creams into unexpected parts of my menus today.  I try to find recipes that surprise my guests – and get them excited for the meal to come.

This recipe for tomato sorbet, from Thomas Keller's The French Laundry Cookbook, is particularly good.  The sorbet has intense tomato flavor, but is still clean enough to be refreshing between courses, thank in part to the addition of orange zest.  Wait until late summer when the very best tomatoes are available to make this sorbet.  The wait will be worth it.

Keller's method for making chive oil is as simple as can be, and pairs beautifully with the sorbet.  Just hold the chives under hot running water for a couple of minutes and then blend with the oil.  The heat created by the friction of the blade spinning through the oil is enough to heat the mixture and infuse the flavor of the chives into the oil.  The oil is best if made at least one day ahead of time, and then strained just before use.

Ingredients

Simple Syrup

3/4 cup sugar
3/4 cup water

Tomato Sorbet
2 1/4 pounds heirloom tomatoes, peeled, seeded and cut into 1-inch pieces
1 tablespoon canola oil
1/3 cup finely chopped yellow onion
2 tablespoons red wine vinegar
Pinch of chopped tarragon
Pinch of cayenne
3/4 cup plus 2 tablespoons simple syrup
Julienned zest of 1/2 orange (removed with a zester; 1 teaspoon), brought to a boil in cold water, strained and repeated 2 additional times
Kosher salt
Freshly ground black pepper

Chive Oil

1 packed cup chives
1 cup canola oil

Fleur de sel
Extra chives for garnish

Instructions

For the simple syrup
  1. Combine the sugar and water in a saucepan and bring to a boil, stirring to dissolve the sugar.  
  2. Remove from heat, let cool to room temperature, and then refrigerate.
For the sorbet: 

  1. Place the tomatoes in a saucepan and bring to a simmer over medium heat. 
  2. Cook, stirring often, for about 45 minutes, or until the tomatoes have reduced by half.  There may still be a small amount of liquid remaining.
  3. Meanwhile, heat the oil in a skillet over low heat.  
  4. Add the onions to the skillet and cook gently for 7 to 8 minutes, or until tender.
  5. Place the reduced tomatoes and the onions in a blender and puree them until very smooth.  
  6. Press the mixture through a fine mesh strainer (there will be about 1 cup of puree) and return it to the clean blender.  
  7. Add the remaining sorbet ingredients and blend again.  
  8. Strain through a clean fine mesh strainer.  There should be about 1 1/2 cups sorbet base.  
  9. Cool the mixture over ice, stirring often.
  10. Freeze the sorbet in an ice-cream machine according to the manufacturer's directions.  
  11. Store the sorbet in a covered container in the freezer.  The sorbet is best eaten the day it is made.


For the chive oil: 
  1. Place the chives in a strainer and run hot water over them for about two minutes to soften and remove the chlorophyll taste.
  2. Place half of the chives in a blender with the oil.  
  3. Turn on the blender to medium speed and allow the chives to blend for a minute to begin the process. 
  4.  Turn the speed to high and continue to blend for another 2 minutes.  If your blender has a hole at the top, remove the stopper to allow some air in.
  5. Add half of the remaining chives to the machine and blend for another 2 minutes, then add the remaining chives and blend for 2 more minutes.
  6. Remove the puree to a covered container and refrigerate for at least 24 hours.
  7. When ready to use, strain the oil through a fine mesh strainer lined with cheesecloth.
To serve
  1. Spoon a little of the chive oil into the center of a six small bowls.  
  2. Top each with a quenelle of tomato sorbet.  
  3. Sprinkle each bowl with a few grains of fluer de sel and garnish with the extra chives.

Wednesday, June 4, 2014

The Perfect Chocolate Chip Cookies with Toffee Chunks and Brown Butter

The chocolate chip cookie. The baseline from which all other cookies must be judged, and yet a category so generous that it includes several robust sub-categories: crispy thin chocolate chip cookies, oversize jumbo chocolate chip cookies, chocolate chip cookies containing alternatives to chocolate chips, and classic Tollhouse chocolate chip cookies. This recipe is a combination of those last two categories, and is my spin on the Cook's Illustrated chocolate chip cookie recipe. These are the chocolate chip cookies I bring into work on Monday, and that I might perhaps bring to your 4th of July picnic.

The secret to the recipe is browning most of the butter to add to the toffee notes of this chewy centered/crispy edged cookie. I took it a step further with a healthy dose of toffee bars, because if there is one thing that is true, it is that the Swedish people are a toffee-loving people. I prefer using Skol bars (or Daim if they are around, which is rare), but most often due to super market availability I end up using Heath Bars. I tend to think that taking the time to cut the larger bars into chunks makes for a better cookie, just like chocolate chunks make a better cookie than chocolate chips, but you can also find Bits of Heath or mini-heath bars that can speed the process up a bit. The end result is still a pretty awesome cookie, larger than your average Tollhouse cookie because, let's face it, nobody is satisfied by a single average size Tollhouse cookie. I challenge you to find a person who sees a larger chocolate chip cookie, and doesn't consider that a positive development.

As far as browning butter is concerned, the ideal is to have a light colored metal pan, as opposed to a nonstick pan. The dark coloring of the nonstick pan can make it a little more difficult to see when your butter is starting to brown and doesn't retain heat quite as well. When the butter is browned to a dark golden brown, it will start to smell nutty, and yes even a bit toffee-like. Your hand should get tired, if not from browning the butter than by the amount of whisking in this recipe. That can't be helped. Delicious will do what it does, and it'll take as long as it takes. Here is a video on how to make brown butter. Remember that it can go from brown to burnt quite fast, so move it from the hot pan to the heat proof bowl fast once it hits peak nuttiness. Brown butter is also the type of thing that you can make in larger batches and save in ice cube trays in the freezer for other recipes (although also remember that you need this brown butter hot enough to melt the rest of the butter for the recipe). You can either discard the milk solids through a strainer or use them. I tend to use them, as I don't mind the little flecks in the cookies and think they have flavor.

Much like I prefer delicious impurity filled grade B maple syrup for its more intense flavors, I prefer dark brown sugar to light brown sugar, but both work well. I tend to think that the darker my mix of brown butter and sugar is, the more complex my flavors end up being. Fun fact- if you have no brown sugar, a quick fix substitution is adding a tablespoon of molasses to white sugar, then pulsing in a food processor to blend. One final note, this is the recipe where I learned how to correctly level flour in a measuring cup. Scoop down and grab a full/overflowing cup of flour. Do not press down. Take a knife, and in one brisk swish, swipe it across the measuring cup. More accurate than filling from the bag or with scoops.    

Chocolate Chip Cookies with Toffee Chunks


Ingredients

  • 1 3/4 cups all-purpose flour (8 3/4 ounces, I prefer King Arthur)
  • 1/2 teaspoon baking soda
  • 14 tablespoons unsalted butter (1 3/4 sticks, 10 tablespoons for browning and 4 tablespoons reserved at room temperature)
  • 1/2 cup granulated sugar (3 1/2 ounces)
  • 3/4 cups packed dark brown sugar (5 1/4 ounces)
  • 1 teaspoon table salt
  • 2 teaspoons good vanilla extract
  • 1 large egg, room temperature
  • 1 large egg yolk, room temperature
  • 1 1/2 cups semisweet chocolate chips or chunks (12 oz for chunks, I prefer Ghiradelli semisweet or bittersweet)
  • 1 cup chopped heath bars (or other toffee bar such as Daim or Skol, etc.)

Instructions

  1. Adjust oven rack to middle position and heat oven to 375 degrees. Line 2 large (18- by 12-inch) baking sheets with parchment paper or silpat. 
  2. Whisk flour and baking soda together in medium bowl; set aside.
  3. Heat 10 tablespoons of the butter in a light colored skillet over medium-high heat until melted. Continue cooking, swirling pan constantly until butter is dark golden brown and has nutty aroma, about 3 minutes, depending on the heat of the pan. Remove skillet from heat quickly and, using heatproof spatula, transfer browned butter to large heatproof bowl. 
  4. Stir in remaining 4 tablespoons butter into hot butter until completely melted. These extra tablespoon make up for the milk solids that were burned off during the browning process.
  5. Add both sugars, salt, and vanilla to bowl with butter and whisk until fully incorporated.
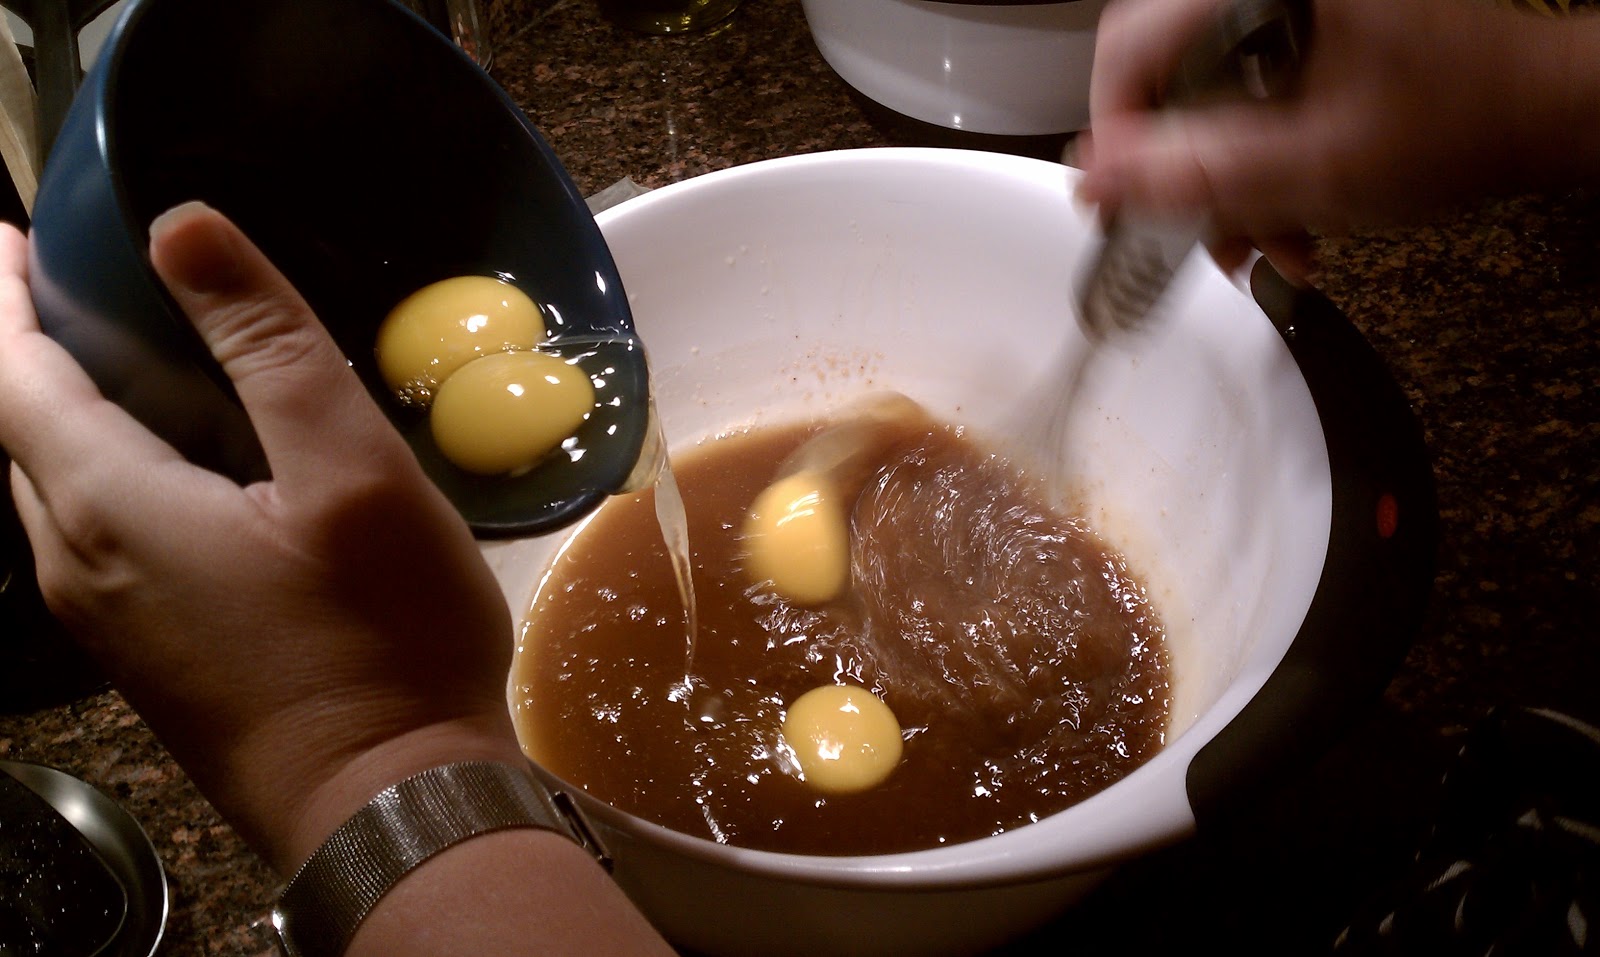
  6.  Add egg and yolk and whisk until mixture is smooth with no sugar lumps remaining, about 30 seconds. Let mixture stand 3 minutes, then whisk for 30 seconds. Repeat process of resting and whisking 2 more times until mixture is thick, smooth, and shiny. Setting a timer can be helpful. The waiting process allows the sugar molecules to dissolve into the butter mixture better.
  7. Using rubber spatula or wooden spoon, stir in flour mixture until just combined, about 1 minute. 
  8. Stir in chocolate chips and toffee chunks, giving dough final stir to ensure no flour pockets remain.
  9. Divide dough 3 tablespoon portions (we use our smaller sized ice cream scoop or a little over an 1/8 cup measure). Arrange 2 inches apart on prepared baking sheets, 8 dough balls per sheet, staggered.
  10. Bake cookies 1 tray at a time until cookies are golden brown and still puffy, and edges have begun to set but centers are still soft, 10 to 14 minutes, rotating baking sheet halfway through baking.  Remember for the second set of cookies to give your oven a minute to come to temperature again after removing the first sheet.
  11. Let cool on rack for one minute, then transfer baking sheet to wire rack; cool cookies completely before serving. I know that part is hard. If you need to re-load the sheet, let the cookie sheet cool for five minutes before loading more cookies onto it.