Saturday, April 16, 2011

Jalepeno Cheddar Biscuits


These are not going to be the spiciest of jalepeno cheddar biscuits. If you'd like them to pack more kick, increase the amount of jalepeno and leave a little bit of the white veins on the jalepenos (where the spice comes from). You can also add a dash of tabasco, though be gentle, they are biscuits, after all, and you are not parboiling the peppers, so there will be a freshness of the raw pepper that may remain post-baking. Most people find this enjoyable.

If buttermilk isn't available, clabbered milk can be used instead. To make clabbered milk, mix 1 cup milk with 1 tablespoon lemon juice and let stand 10 minutes. Buttermilk is still preferable, though. When you stir the melted butter into cold buttermilk, the butter will clump and curdle and in general look gross. This is by design, and is actually a secret to a light and fluffy biscuit. You can use either an ice cream scoop or a 1/4 cup measure to drop the biscuits onto a parchment paper lined baking sheet. These are drop biscuits, so they are meant to look a little messy.

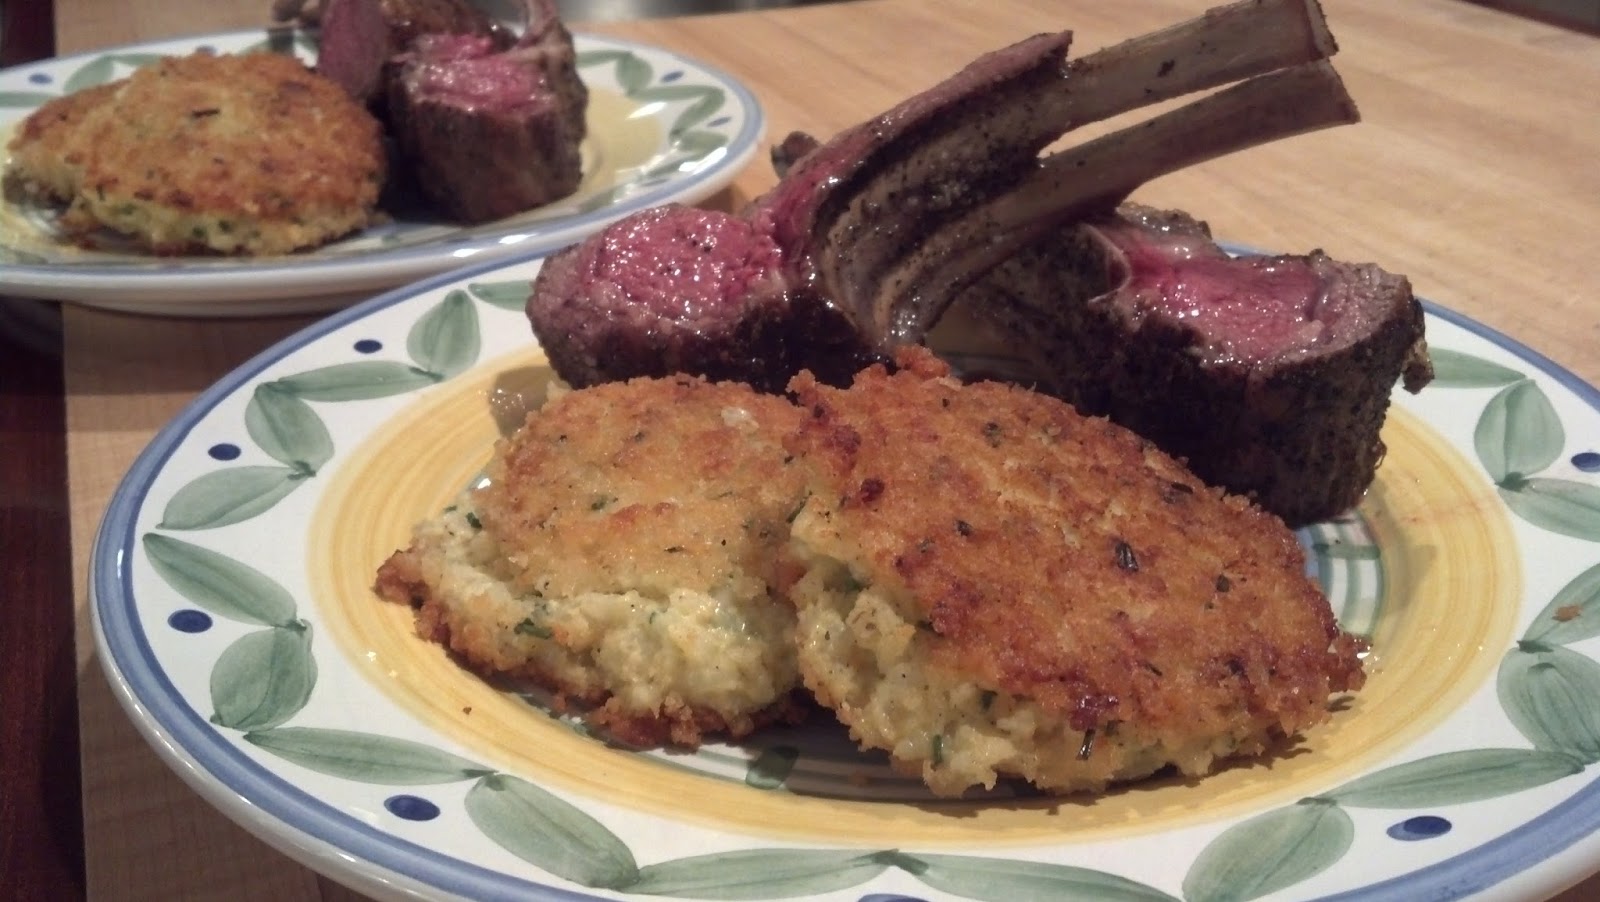
We've served these with chili, lobster, fried chicken, and gumbo. Basically, a good picnic and summer food.

Ingredients
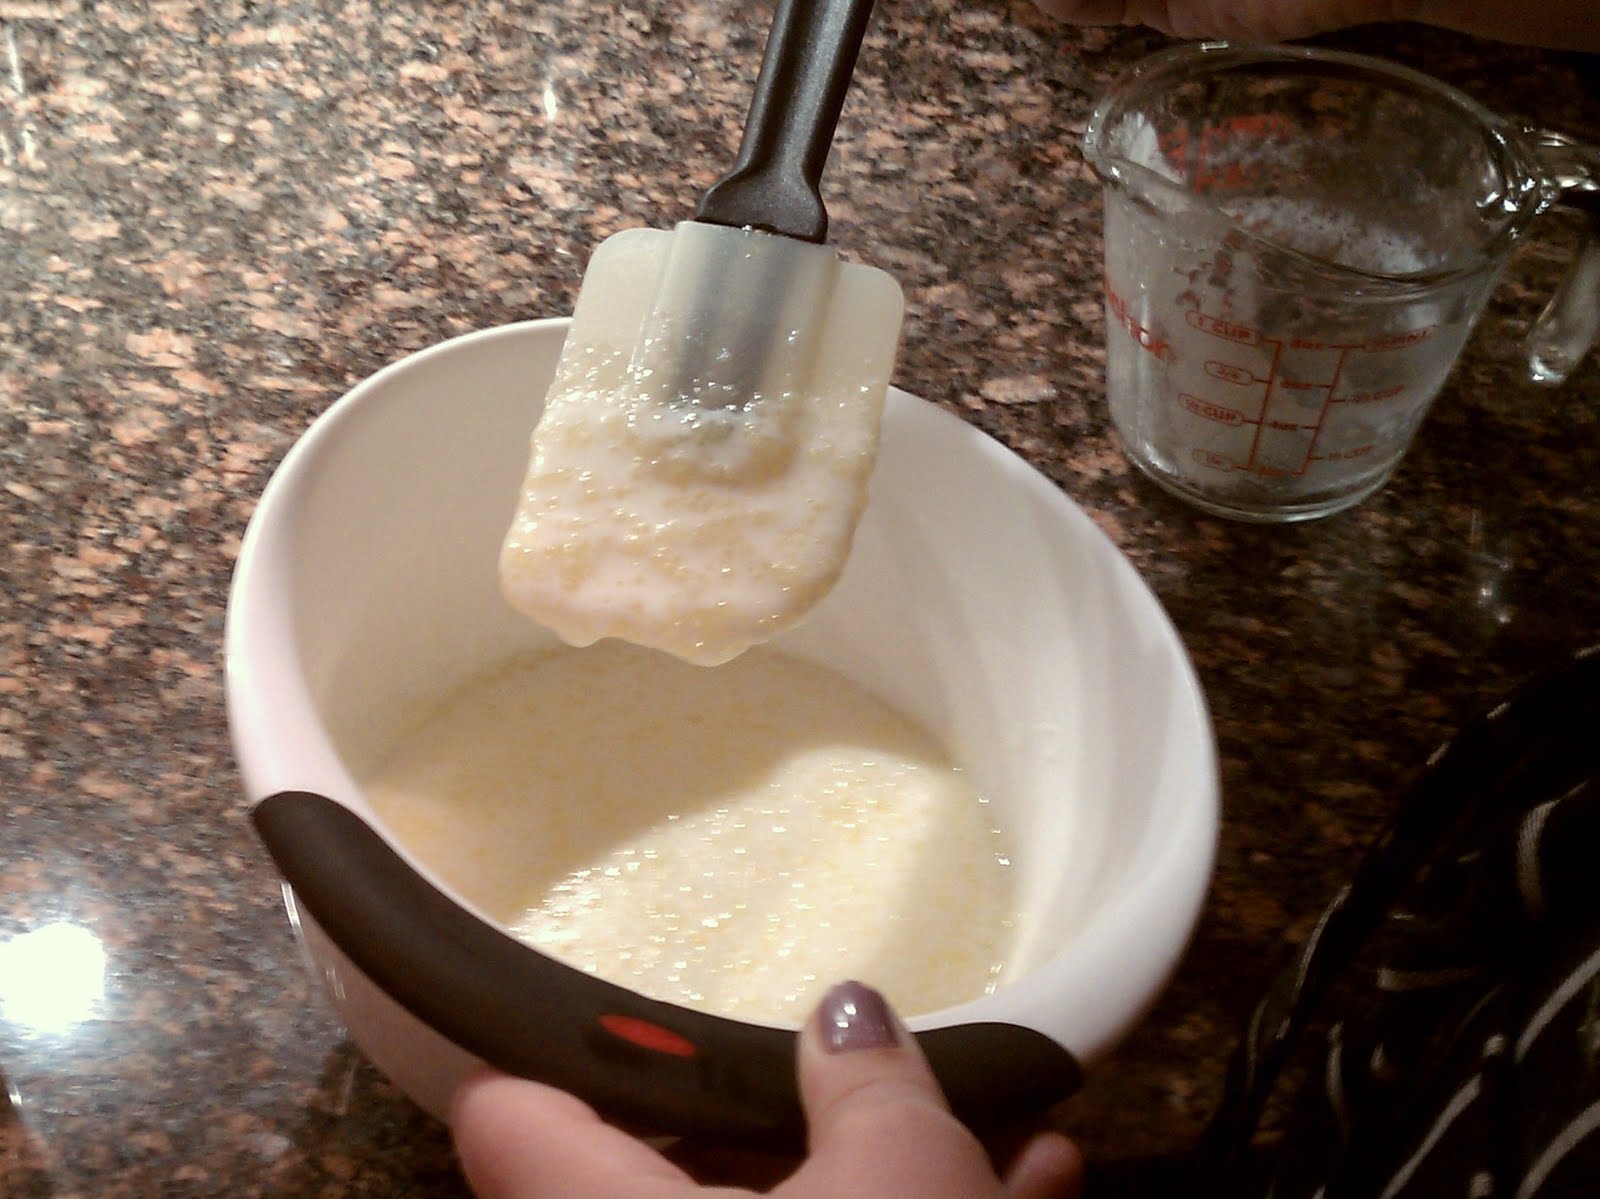
The curdled milk is good, though it looks wrong.

2  cups unbleached all-purpose flour (10 ounces)
2  teaspoons baking powder
1/2  teaspoon baking soda
1  teaspoon sugar
3/4  teaspoon table salt
1/2  cup shredded cheddar cheese (2 ounces)
1/4  cup diced jalepenos (5 or so peppers)
1  cup buttermilk (cold)
8  tablespoons unsalted butter , melted and cooled slightly (about 5 minutes), plus 2 tablespoons melted butter for brushing biscuits

Instructions

  1. Adjust oven rack to middle position and heat oven to 475 degrees. Whisk flour, baking powder, baking soda, sugar, salt, cheese, and jalepenos in large bowl. Combine buttermilk and 8 tablespoons melted butter in medium bowl, stirring until butter forms small clumps (see photo below).
  2. Add buttermilk mixture to dry ingredients and stir with rubber spatula until just incorporated and batter pulls away from sides of bowl. Using greased 1/4-cup dry measure, scoop level amount of batter and drop onto parchment-lined rimmed baking sheet (biscuits should measure about 2 1/4 inches in diameter and 1 1/4 inches high). Repeat with remaining batter, spacing biscuits about 1 1/2 inches apart. Bake until tops are golden brown and crisp, 12 to 14 minutes.
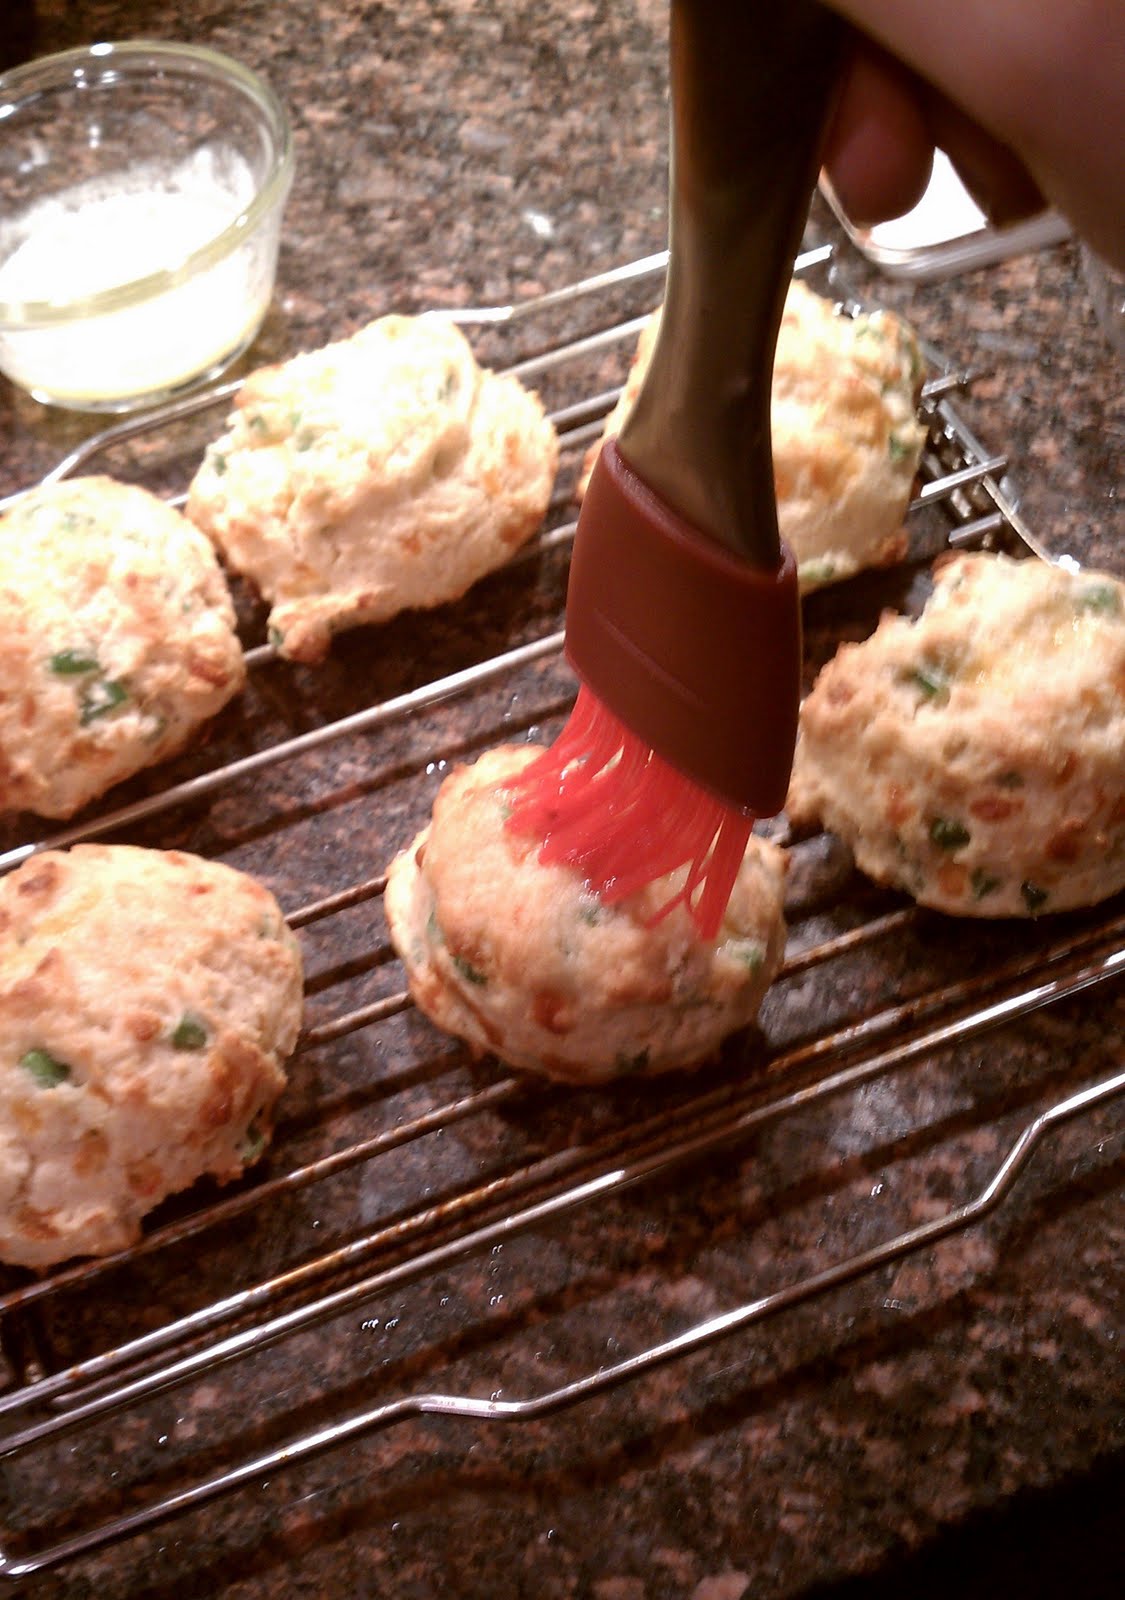
  3. Brush biscuit tops with remaining 2 tablespoons melted butter. Transfer to wire rack and let cool 5 minutes before serving. If serving the next day, you can revive the biscuits with ten minutes in a 300 degree oven, making sure to store in a sealed container.

Wednesday, April 6, 2011

Make-Your-Own Greek Yogurt/ Yogurt Cheese

Making greek yogurt is a simple and satisfying trick that can make you feel smug and cost-effective with minimal effort and high reward. And the only ingredient required is---yogurt.

1. Buy your favorite kind of yogurt. You can easily make flavored yogurt but I've mostly used this to make plain yogurt for cooking purposes or to add honey to later, because I like the classics especially when the classics involve honey.

2. Now you need to strain the yogurt. Preferably, to do this you will use a fine mesh-strainer and cheesecloth, but if you don't have these things, you may use a plastic strainer and layer the cheesecloth in 4 layers as opposed to two. Or, if you lack cheesecloth (even though its super useful to have around), you can use either a coffee filter or a paper towel (single layer).

3. Place the strainer above a medium sized bowl so that it balances on top. Place either 2 layers of cheesecloth, a paper towel, or a coffee filter in the base of the strainer. This will allow the liquid and whey and bitterness to drain out of the yogurt and into the bowl. Refrigerate.

4. Wait. The longer you strain, the thicker the consistency. 4-6 hours will result in a yogurt with a sour cream type consistency (but not taste). 8-12 hours is perfect for Greek Yogurt. If you let it go a day or more, it will become yogurt cheese, which is also quite delicious and a good substitute for cream cheese in many recipes.

5. When it has been 12 hours or so and you are ready for delicious yogurt, remove it from the strainer and toss the liquid and whey that has gathered at the bottom. I usually just return it to the empty yogurt vessel. Flavor with any fruit, vanilla, honey, etc. you are interested in adding or use in cooking as desired.

6. Count the extra dollars in your pocket and feel good about yourself. It will last for about a week.

Chive Risotto Cakes

I'm a big fan of chives. I'm a fan of the entire onion family of course, but to me the chive is just the right combo between fresh herb and onion tang to cross that bridge. Its one of my favorite additions to add life to sides such as polenta and risotto. To me, nothing tastes quite like Spring than adding a little chives and some lemon. Add in a little cheese and yogurt and you have these risotto cakes. They take awhile to chill, but include all the things a successful side should contain- flavor (but complementary to the main course), creaminess, and texture in the form of the crisp panko coating.

This is an adjusted creation of Barefoot Contessa, and are a classy and easy side for a dinner party. The mixture should chill at least three hours and preferably overnight before forming the cakes. After the first chill, you'll want to prepare them ahead up to the point of covering in panko, and then refrigerate them for at least three hours.  (Keeping them chilled is the key to them not falling apart in the pan during flipping). If you do not have three hours, you can speed it up by storing them in the freezer for 30 minutes. This also has the added benefit of allowing you to prepare this mostly ahead of your guests coming, then just finish in the pan with some olive oil and serve around the time the meat comes out of the oven.

You can prepare your own Greek Yogurt for this recipe, or just buy it ready-made. We have also substituted fontal cheese (a slightly cheaper version of Italian Fontina Cheese) when available. A word on Fontina: this is a recipe where some really excellent Fontina will go a long way. We've certainly made it with cheaper domestic Fontina that can be found at the local Harris Teeter, but getting the pricier stuff does pay off in this recipe. The other side of that is that depending on what brand of Fontina you purchase, you might have different salt-content in the cheese, so be sure and try your cheese before dumping a bunch of salt into the rice. This dish can get too salty, so a gentle hand is in order.

Ingredients

Kosher salt
1 cup uncooked Arborio rice 
1/2 cup Greek yogurt 
2 extra-large eggs 
6 tablespoons minced fresh chives
1 pressed garlic clove (optional) 
1 1/2 cups grated Italian fontina cheese (5-6 ounces) 
1 teaspoon freshly ground black pepper 
3/4 cup panko (Japanese dried bread flakes) 
olive oil

Directions


1. Bring a large (4-quart) pot of water to a boil over medium-low heat and add 1 1/2 teaspoon salt and the Arborio rice. Cook, stirring occasionally, for 20 minutes. The grains of rice will be quite soft. Drain the rice in a sieve and run under cold water until completely cool to touch. Drain well.
2.  Meanwhile, whisk together the yogurt, eggs, chives, fontina, salt to taste, and the pepper in a medium bowl. Add the cooled rice and mix well. Cover with plastic wrap and refrigerate overnight or at least 3 hours, until firm.
4.  After chilling, spread the panko in a shallow dish. Form balls of the rice mixture using a standard (2 1/4-inch) ice-cream scoop or a large spoon. Pat the balls into patties 3 inches in diameter and 3/4-inch thick. Place 4 to 6 patties in the panko, turning once to coat both sides.
5. Place on a plate and chill in refrigerator for three hours. If you need to speed the process, sometime can be spent in the freezer but do not freeze all the way through. The cakes should be chilled and firm. If you are chilling for an extended period of time (you can leave the patties for up to 24 hours), you may want to hold off on adding the panko until you are ready to cook.
6.  When ready to serve, heat 3 tablespoons of olive oil in a large skillet over medium to medium-low heat. Place the patties in the hot oil and cook, turning once, for about 4-5 minutes on each side until the risotto cakes are crisp and nicely browned. Place on a sheet pan lined with parchment paper and keep warm in the oven for up to 30 minutes. Continue cooking in batches, adding oil as necessary, until all the cakes are fried. Makes 8 cakes or 4 generous side portions.


Total Cook Time: 6-24 hours, 1 hour cooking time, 6 hours plus inactive time