Showing posts with label coffee. Show all posts

Monday, February 25, 2013

Lenox Almond Biscotti (Basic Biscotti)

Almond Biscotti is a delicious and complex cookie perfect for dunking in coffee and serving either with breakfast, tea, or as a dessert with either ice cream or coffee. The almond scent and taste takes a plain shortbread style cookie and elevates it to the level of Italian dolci, ie, one of the best things ever. Biscotti is one of those things that for a very long time I labeled as "to be bought, not made". This was because I made the following (false) assumptions: a) I would have to make a large batch that I would never be able to finish and b) that it was too difficult to make. On point a, biscotti is meant to be dry and absorbent. It might almost be better after sitting out for a day, which is when the crunchiness that you associate with biscotti really sets in. This recipe lasts for about a week. I can't give you an exact total because I have always finished all the cookies within a week and they have always been delicious and not a hint stale. On the latter point, it is also surprisingly simple to make, once you get over your intimidation factor and the number of times it needs to go in the oven.

The dough is sticky and wet, a little surprising for what you think of as a dry, crumbly cookie. The thicker you make your logs, the flatter and wider your finished biscotti will be. So if you want a more domed biscotti, make your log taller and a little smaller. The log will spread a surprising amount, so be sure and place a solid amount of distance between the two. If you have problems with the logs touching during baking, as I did in these pictures, simply use a pastry scraper or a long serrated knife to separate the two logs along the seam or as close as you can get to it immediately after taking the logs out of the oven to cool. The smell of almond will fill your entire kitchen when making these, which both reassures you that you are on the right track and let's everyone else know that you mean business in the kitchen. Don't worry, we are delicious, the cookies tell you, right when you are trying to figure out what "starts to turn light golden" means. (The answer is right when the edges and tops just start to pick up a slight hint of color, but before the bottoms are thoroughly golden). The almond taste, while decidedly present, is a bit more delicate than its cooking nose would have you think. More of a subtle note than a hit you over the head nutty flavor.

This is your basic almond biscotti. From here, you can dunk half of it in melted chocolate (milk, white or dark chocolate) or vary it up in unlimited manners, including Crystallized Ginger with Orange Zest Biscotti, recipe to come soon, or Pistachio and Cranberry Biscotti, but this is your building block recipe, one of the first recipes I made from Dorie Greenspan's Baking, From My Home to Yours cookbook, adapted slightly because the oven I am using tends to run a little cool (if your oven runs hot, simply take five minutes off the cook time), and because I am not overly fond of the gritty texture of corn meal. This cookbook is wonderful if you are looking for a baking Bible. All the recipes are easy to vary according to taste but still create a sophisticated product on its own. For a dinner party these are great to prepare the day before for coffee at the end.

Lenox Almond Biscotti 


Cooking time: 40 Minutes Active, 1 1/2 hours Inactive
Makes about 30 cookies

1 1/2 cups all-purpose flour
1 1/2 teaspoons baking powder
1/4 teaspoon salt
1/2 cup yellow cornmeal
1 stick (8 tablespoons) unsalted butter, at room temperature
1 cup sugar
2 large eggs
1 1/2 teaspoons pure almond extract
3/4 cup sliced almonds, blanched or unblanched


1. Center a rack in the oven and preheat the oven to 350 degrees F. Line a baking sheet with parchment or a silicone mat.
2. Optional: Run corn meal through a food processor for 30 seconds.
2. Whisk the flour, baking powder and salt together. Add the cornmeal and whisk again to blend.
3. Using a hand mixer in a large bowl (or a standing mixer with a paddle attachment if you have it), beat the butter and sugar together at medium speed for 3 minutes, until very smooth.
4. Add the eggs and continue to beat, scraping down the bowl as needed, for another 2 minutes, or until the mixture is light, smooth and creamy.
5. Beat in the almond extract.
6. Reduce the mixer speed to low and add the dry ingredients, mixing only until they are incorporated. You'll have a soft, stick-to-your-fingers dough that will ball up around the paddle or beaters.
7. Scrape down the bowl, toss in the almonds and mix with a rubber spatula just to blend.
8. Scrape half the dough onto one side of the baking sheet. Using your fingers and a rubber spatula or scraper, work the dough into a log about 12 inches long and 1 1/2 inches wide. The log will be more rectangular than domed, and bumpy, rough and uneven.
9. Form a second log with the remaining dough on the other side of the baking sheet. The logs will spread during cooking, so make sure there is a solid amount of space between them.
10. Bake for 20 minutes, rotating once, or until the logs are just becoming lightly golden on top but still soft and springy to the touch.
11. If the two logs have starting touching, use a pastry scraper or long serrated knife to quickly separate the logs.
11. Transfer the baking sheet to a wire rack and cool the logs on the baking sheet for 30 minutes.
12. If you turned off the oven, bring it back up to 350 degrees F.
13. Using a wide metal spatula, transfer the logs to a cutting board and, with a pastry scraper or a long serrated knife, trim the ends and cut the logs into 3/4-inch-thick slices.
14. Return the slices to the baking sheet — this time standing them up like a marching band — and slide the sheet back into the oven. If you are concerned about even baking, rotate the thicker and less baked slices with the more golden slices on the pan prior to re-baking.
15. Bake the biscotti for another 20 minutes, or until they are golden and firm. Transfer them to racks and cool to room temperature.

Saturday, January 7, 2012

Peppermint Mocha Cookies

These cookies are almost like a tiny little brownie topped with peppermint butter cream. I make them every year for Christmas as my official "festive" cookie. They're a bit more unusual than your standard sugar cookie or gingerbread cookie, but feel right at home among their more traditional holiday brethren, and round out any good cookie exchange with a rich chocolate option. And if you want them outside the month of December, just omit the food coloring, or go with red or blue instead of the admittedly Christmas driven green. They're not that hard to make. They look adorable, and you get to play around with a mallet. Who doesn't want to play with a mallet?

Speaking of which, when crushing your candy canes, try and really crush them down into a fine crumb of candy cane. You want the cookies to have a bit of texture and crunch, but not have such large pieces that they get caught in your teeth while eating. The color of the candy cane will still be evident against the butter cream backdrop. Make sure to ice then top immediately, instead of icing a large number then going back to top with candies. The frosting will start to harden very quickly, and once that happens, the peppermint won't stick. It is easiest to just got frost, top, plate. Frost. Top. Plate. If pressed for time, the cookies can be made the day before you frost. Store in an air-tight plastic container along with a slice of torn up sandwich bread. The sandwich bread prevents the cookies from drying out and keeps the chew. They may stick together very slightly when stacked. This is fine. Remember, you are frosting the cookies, so small blemishes on the top will be washed a way in a delicious layer of mint frosting. Frosting covers all. Be generous with the frosting. It's meant to be a thick, almost cake-like layer of frosting.

The cookies will not spread very much in the oven. They are meant to be about the size of a silver dollar.

Cooking Time: 30 minutes active, 30 minutes inactive Makes 24-30 small cookies

Ingredients

Cookies
1 3/4 cups
all-purpose flour
1/2   cup
cocoa powder
1/2   teaspoon
baking soda
1/2   teaspoon
table salt
8      tablespoons
unsalted butter (1 stick), softened but still cool
3/4   cup
granulated sugar
1/2   cup
brewed espresso or strong coffee, cooled
1/2   teaspoon espresso powder (optional)
1      teaspoon
vanilla extract

Frosting
6     tablespoons
unsalted butter , softened
2     cups
confectioners' sugar
2     tablespoons
milk
1/2 to 3/4 teaspoon
peppermint extract (or to taste)
3 to 4 drops green or red food coloring 
4      peppermint candy canes (or about 10-12 peppermint wheels), crushed into crumbs

Instructions


  1. For the cookies: Adjust oven racks to upper-middle and lower-middle positions and heat oven to 350 degrees. Line 2 large (18 by 12-inch) baking sheets with parchment paper.
  2. Sift flour, cocoa, baking soda, and salt together into medium bowl.
  3. In a separate bowl, beat butter and sugar with an electric mixer at medium speed until light and fluffy, about 5 minutes. Scrape down sides of bowl with rubber spatula.
  4. Dissolve espresso powder into cold coffee. (If coffee is warm, dissolve espresso powder, then place measuring cup of coffee in a larger measuring cup serving as an ice water bath to cool quickly.
  5. Add cooled espresso and vanilla and beat at medium-low speed until combined. Don't worry if it looks curdled, that will fix itself when you add the dry ingredients. Scrape down bowl.
  6. Don't worry, it'll work itself out.
    It may curdle when coffee is added
  7. With mixer on low speed, gradually add dry ingredients and mix until just combined.
  8. Roll dough into thirty 1-inch balls. Place 15 balls on each prepared baking sheet, spacing them about 2 inches apart. 
  9. Bake until just set, rotating sheets from front to back and top to bottom halfway through baking, 8 to 11 minutes. 
  10. Cool cookies on sheets for 2 minutes; transfer with metal spatula to wire rack to cool completely, at least 30 minutes. (Cookies can be stored in airtight container with a torn piece of sandwich bread or a couple of sugar cubes for up to 4 days.)
  11. For the frosting: Take the candy canes, and place inside a gallon ziploc bag. Seal the bag tightly, then place on a cutting board and strike with the smooth, wide side of a mallet until the candy canes become a fine powder. Set aside while you make the frosting.
  12. With an electric mixer, beat butter at medium-high speed until smooth, about 1 minute. 
  13. With mixer running, add confectioners' sugar a 1/4 cup at a time and beat at medium-low speed until most of the sugar is moistened, about 45 seconds. 
  14. Scrape down bowl and beat at medium speed until mixture is fully combined and starting to cream, about 3 minutes. Scrape down bowl.
  15. Add milk, peppermint extract, and food coloring and beat at medium speed until incorporated, about 10 seconds, then increase speed to medium-high and beat until light and fluffy, about 4 minutes, scraping down bowl once or twice. 
  16. Frost a cooled cookie with a rubber spatula or angled spatula and immediately sprinkle with crushed mints. Place on a plate for the frosting to harden, and continue frosting the rest of the cookies. (Once frosted, cookies are best served within 3 days.)


Tuesday, October 25, 2011

Guiness Cupcakes with Bailey's Frosting (Car Bomb Cupcakes)

UPDATE- So I updated this recipe a bit when I made a Guiness Cake this year for St. Patrick's Day. The cake recipe is a bit denser than this recipe, relying on baking powder more than baking soda to rise and with a little more chocolate. I also made the chocolate whiskey frosting.

Guiness cake is delicious. It can be made with any chocolate or dark stout beer, such as Duck Rabbit Milk Stout. There seem to be two main recipes for it online, Nigella Lawson's and the Great Barrington Brewery recipe. I have made both. These cupcakes I choose Nigella Lawson's, adapted it for cupcakes, and increased the darkness to it by adding a 1/4 cup of coffee in addition to the Guiness. However, while the recipe calls for a cream cheese frosting, I used the Bailey's Irish Cream Butter Cream recipe found on Smitten Kitchen. If you are asking, why did you not ALSO do the Chocolate Whiskey Ganache on Smitten Kitchen to truly make it a car bomb cupcake? The answer is two-fold. First, I didn't have a tiny baking round at my disposal, as this was made at my sister's house for my brother-in-law's birthday. Secondly, this cake is very rich and the Bailey's frosting is over the top and alcoholic as is. Last time I made the full-sized cake (using the Great Barrington recipe plus a little extra chocolate), I accused it (the cake) of getting me drunk. That might have been an unfair accusation given the wine consumed at that dinner party prior to the cake's arrival on the scene, but the point is the same. There's alcohol in the Bailey's and I think that's enough and that the whiskey ganache is unnecessary.

Unlike the Irish Cream, the Guiness alcohol does cook fully off, so if you want to serve this to kids, just do a basic cream cheese frosting instead. When I make this for St. Patrick's Day, I only top the top of the cake, making it look like a glass of Guiness with the foam on top. 

The superfine sugar is always nice to use in baking. If you don't have it, you can just use regular sugar, or if you are feeling fancy, run 2 cups of regular sugar through a food processor for a minute, creating a finer sugar. Remember that making frosting is not an exact science (unlike most else things in baking, so enjoy it). It will look wrong, then right, then wrong again. The trick is to add the powdered sugar in batches at a time to the creamed butter. This not only prevents a mess of powdered sugar everywhere, but also tends to require less sugar to hit your desired fluffy and delicious consistency.


Guiness Cupcakes with Bailey's Irish Cream Frosting (Car Bomb Cupcakes)

Guiness Cake:
Paper or Aluminum  muffin or cupcake wrappers
1 cup Guinness stout + 2 tablespoons
10 tablespoons (1 stick plus 2 tablespoons) unsalted butter
3/8 cup unsweetened dutch processed cocoa powder
1/4 cup cold coffee and/or 1 tsp espresso powder (both optional)
2 cups superfine sugar (I have used regular granulated sugar with no ill effects)
3/8 cup sour cream
2 extra-large eggs
1 tablespoon vanilla extract
2 cups all-purpose flour
2 1/2 teaspoons baking soda

Bailey's Frosting:
3 to 4 cups confections sugar
1 stick (1/2 cup or 4 ounces) unsalted butter, at room temperatue
3 to 4 tablespoons Baileys - 1 airplane bottle's worth
Additional milk or cream for blending if necessary


Instructions
For the Cupcakes
  1. Heat oven to 350 degrees. 
  2. Line muffin tins with foil or paper liners
  3. In a large saucepan, combine Guinness and butter. Place over medium-low heat until butter JUST melts, then remove from heat into medium sized bowl. 
  4. Add cocoa and superfine sugar, and whisk to blend.
  5. Meanwhile, in a small bowl, combine sour cream, eggs and vanilla; mix well. 
  6. Add sour cream and egg mixture to Guinness mixture.
  7. Add coffee and espresso powder if using.
  8. Add flour and baking soda, and whisk again until smooth. 
  9. Pour into muffin tins, filling about 3/4 of the way, and bake until risen and a toothpick inserted in the center comes out clean, 17 to 20 minutes, rotating once for even baking. This may slightly deflate the cupcakes, so it might be good to have an official "tester" cupcake.
  10. Leave in muffin tins for five minutes then remove to a wire rack to finish cooling. Do not frost until completely cool.

For the Frosting
  1. Whip the butter in the bowl of an electric mixer, or with a hand mixer, for several minutes. You want to get it very light and fluffy. Slowly add the powdered sugar, a few tablespoons at a time.
  2. When the frosting looks thick enough to spread or thicker, drizzle in the Baileys (or milk if you are doing the non-alcoholic option) and whip it until combined and frosting is correct texture. 
  3. If this has made the frosting too thin (it shouldn’t, but just in case) beat in another spoonful or two of powdered sugar.
  4. Frost the top of the cupcakes and serve. Store in a covered container in the fridge. They should keep for at least a day before starting to go stale.

Tuesday, August 9, 2011

Chewy Brownies

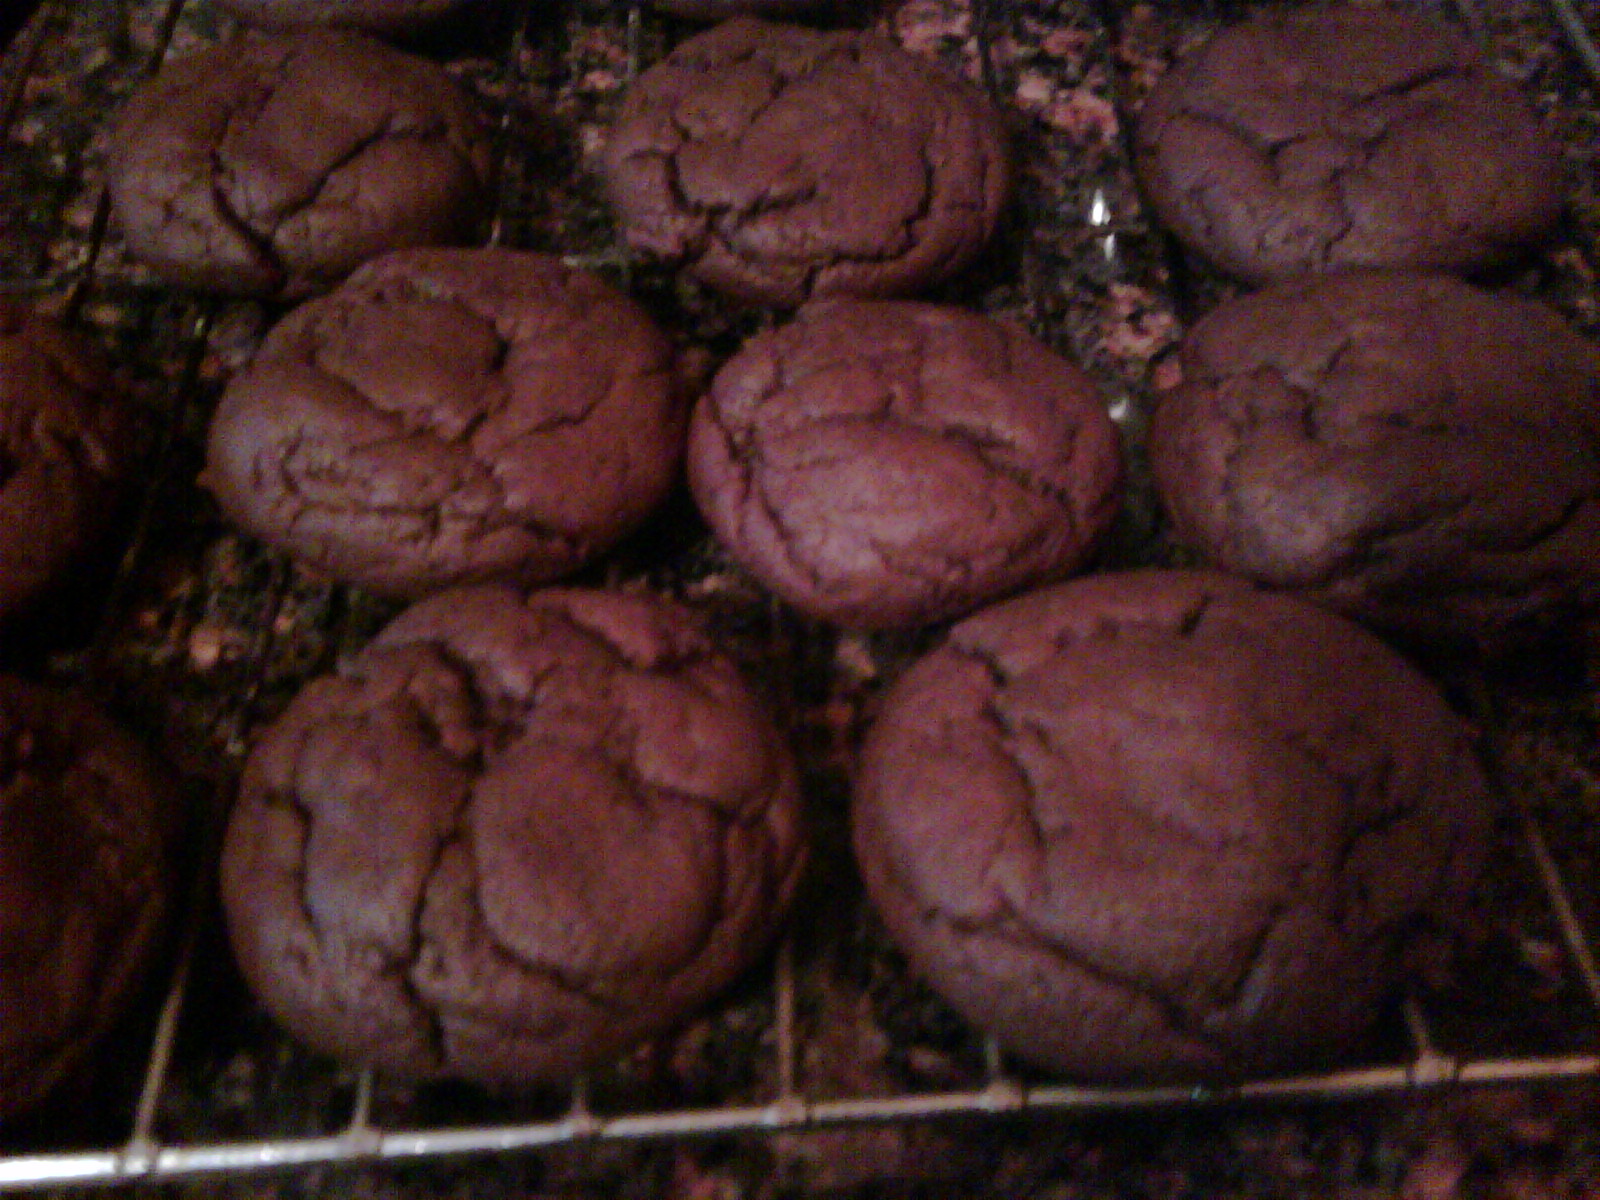
Fact: brownies make people happy. It is difficult to be sad when you are eating a brownie. Try it. Try getting through a whole chewy brownie with gooey chocolate chunks in it and then say you aren't feeling even a little bit better. A little more chocolatey. A little more loved.

Well, this is that kind of brownie, designed to make you smile and cover you in the goodness that is deep, chewy chocolate. And the secret to such complex and delicious chocolate? Coffee.  Coffee, and its baking ingredient partner in crime Instant Espresso Powder, makes chocolate taste more like chocolate. It adds complexity and depth and darkness without bitterness.Don't worry if you aren't a coffee drinker, it won't taste like coffee, just like better chocolate. Better chocolate goes a long way. There is a reason why Ghiradelli is more expensive, and it is because it is more delicious. And if you've ever sprung for the ridiculously expensive Whole Foods chocolate bars, you know that you can taste it in the baking. Does this mean that you can't make perfectly good brownies without paying $6 in chocolate? Of course, but just promise me you'll try it once. Just for me. Cooks Illustrated recommends Scharffen Berger for unsweetened chocolate and Callebaut Intense Dark Chocolate L-60-40NV (or Ghiradelli Bittersweet). If you don't have espresso powder, replace 2 tablespoons of water with 2 tablespoons hot coffee.

For the chewiest texture, it is important to let the brownies cool thoroughly before cutting. If your baking dish is glass, cool the brownies 10 minutes, then remove them promptly from the pan (otherwise, the superior heat retention of glass can lead to overbaking). If you have one, try cutting the brownies with a batter scraper. Leftovers can be stored in an airtight container at room temperature for up to 4 days. Why you would let brownies last that long is another mystery.

A note about weighing ingredients: this recipe has the option of weights as opposed to volumes for some measurements. Weights are a far superior method of measuring when it comes to baking, because in baking, precision matters, and the little inaccuracies add up. It is perfectly okay not have a scale, but if you have one, use it even though it's an extra step.


Chewy Brownies
Ingredients

1/3    cup Dutch-processed cocoa powder
1 1/2 teaspoons instant espresso or coffee powder
1/2    cup plus 2 tablespoons boiling water
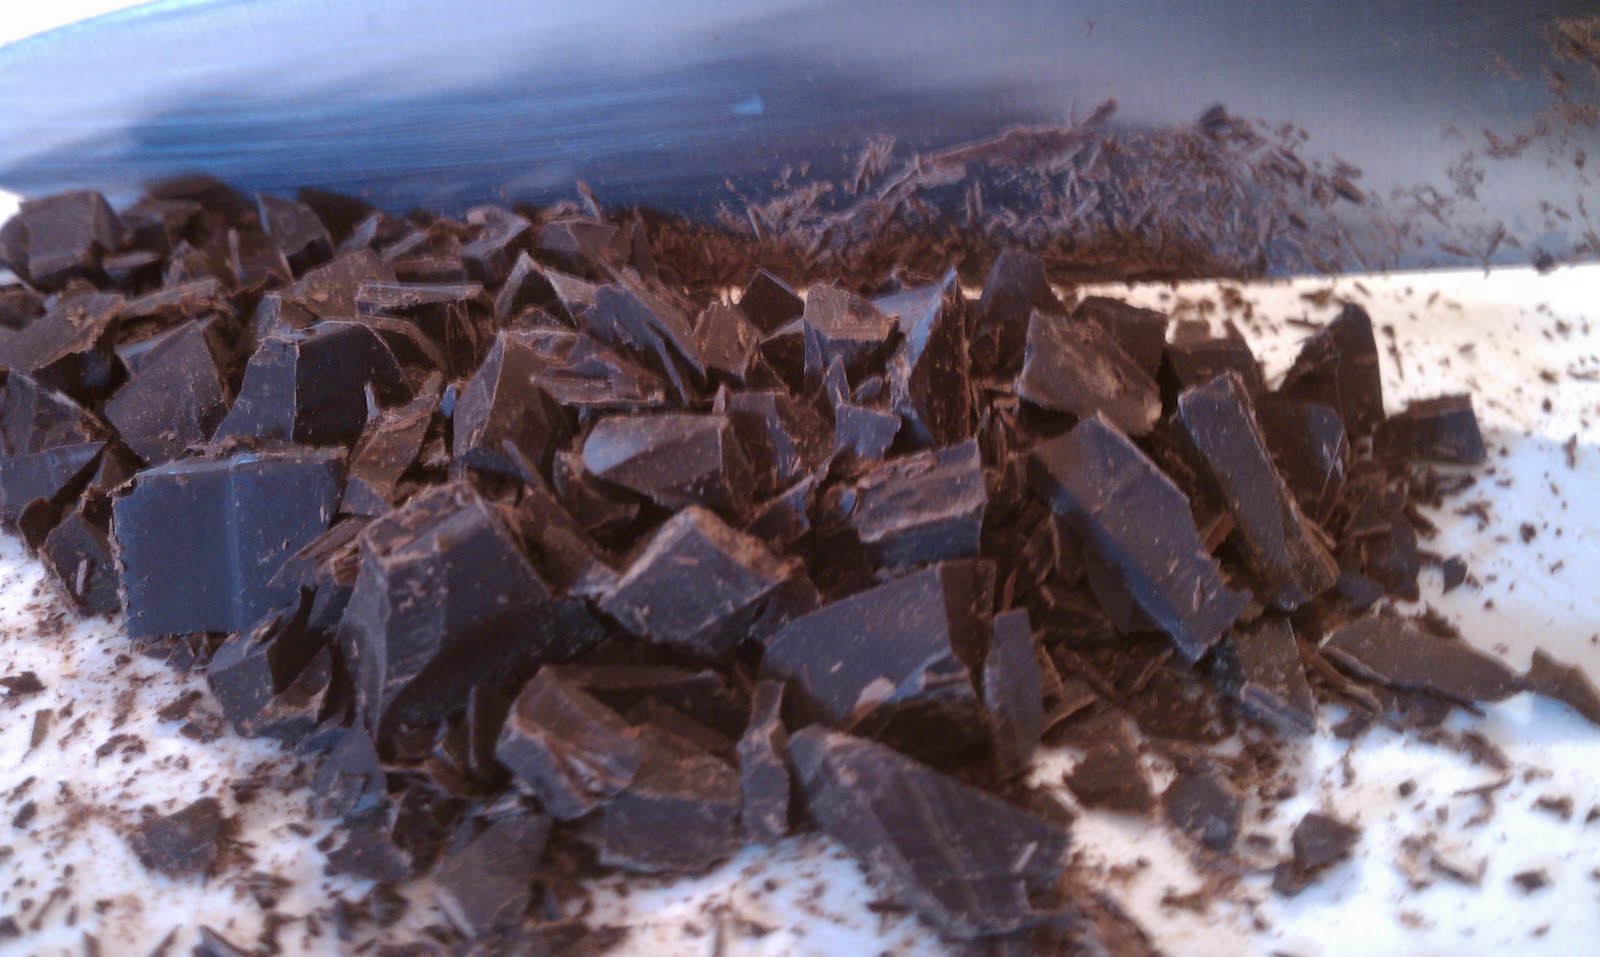
2       ounces unsweetened chocolate, finely chopped
4       tablespoons (1/2 stick) unsalted butter , melted
1/2    cup plus 2 tablespoons vegetable oil
2       large eggs
2       large egg yolks
2       teaspoons vanilla extract
2 1/2 cups (17 1/2 ounces) sugar
1 3/4 cups (8 3/4 ounces) unbleached all-purpose flour
3/4    teaspoon table salt
6       ounces bittersweet chocolate , cut into 1/2-inch pieces


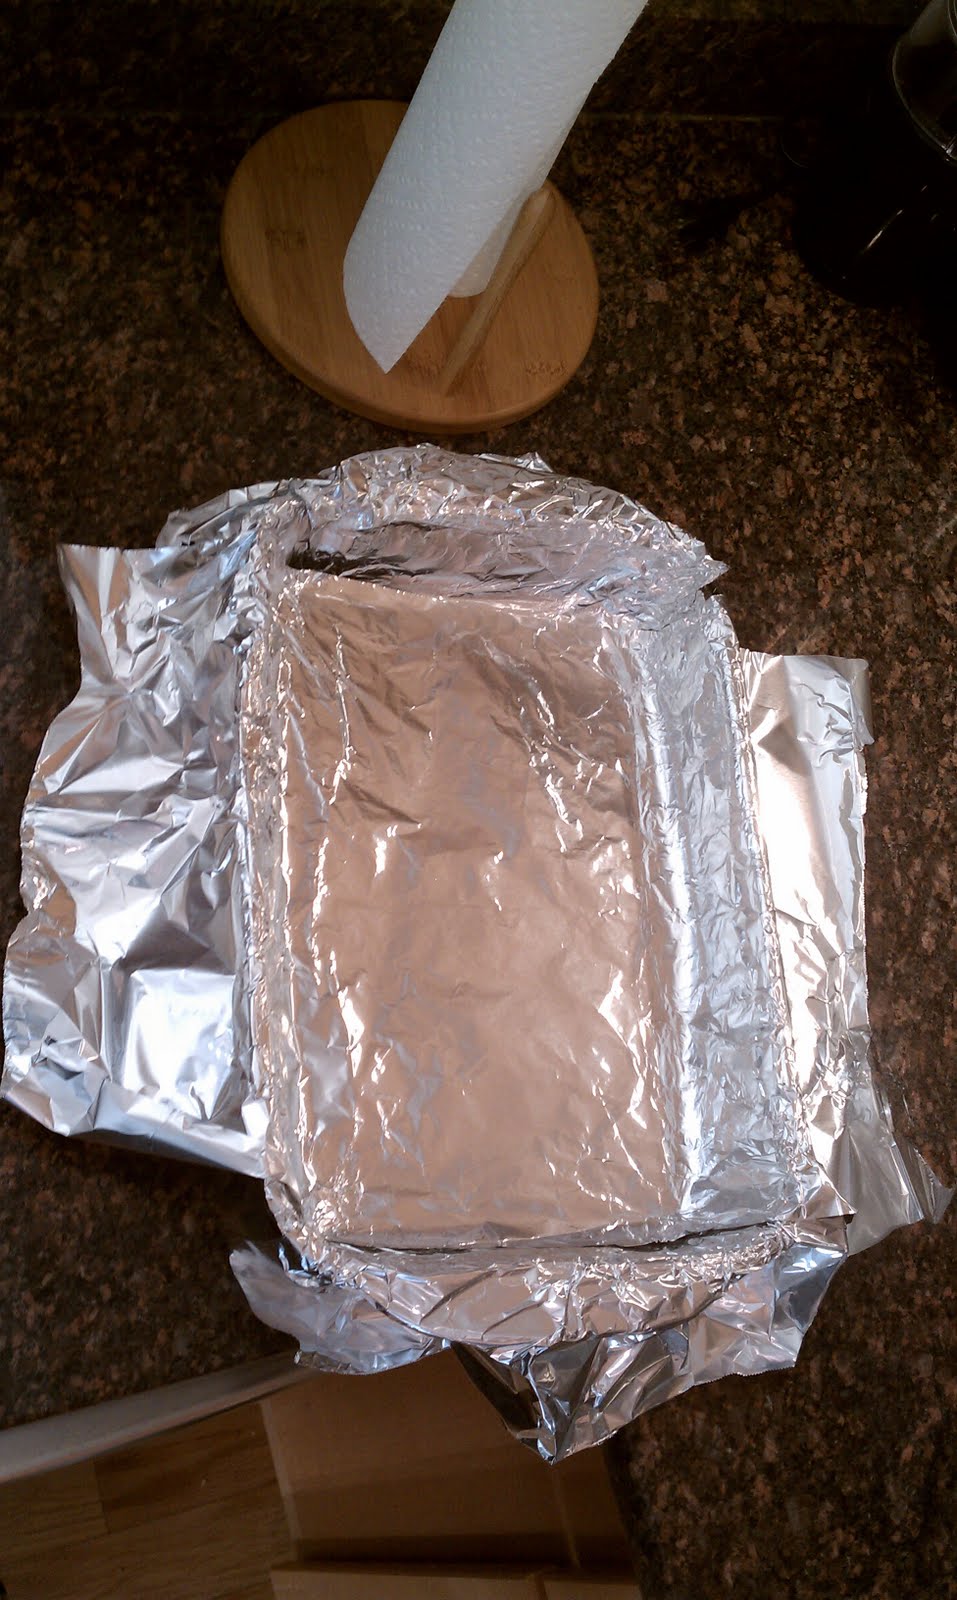
Making a Foil Sling

Place foil lengthwise
in pyrex
Add foil horizontally.
Press into sides,
Make sure there is
overhang. Spray foil.
Add batter over foil.
Grip sides of foil
to lift brownies out of
pan to cool.


Instructions


  1. Adjust oven rack to lowest position and heat oven to 350 degrees. 
  2. Make a foil sling. Cut 18-inch length foil and fold lengthwise to 8-inch width. Fit foil into length of 13 by 9-inch baking pan, pressing it into the corners and up sides of pan so that there are no air bubbles; allow excess to overhang pan edges. Cut 14-inch length foil and fit into width of pan in the same manner, perpendicular to the first sheet.  Make sure there is overhang in all directions to use as a handle later. 
  3. Spray with nonstick cooking spray (so much faster than butter).
  4. Whisk cocoa, espresso powder (if using), and boiling water together in large bowl until smooth. Add unsweetened chocolate and whisk until chocolate is melted. 
  5. Whisk in melted butter and oil. (Mixture may look curdled and separated.) 
  6. Add eggs, yolks, and vanilla and continue to whisk until smooth and homogeneous. 
  7. Whisk in sugar until fully incorporated. 
  8. Add flour and salt and mix with rubber spatula until combined. 
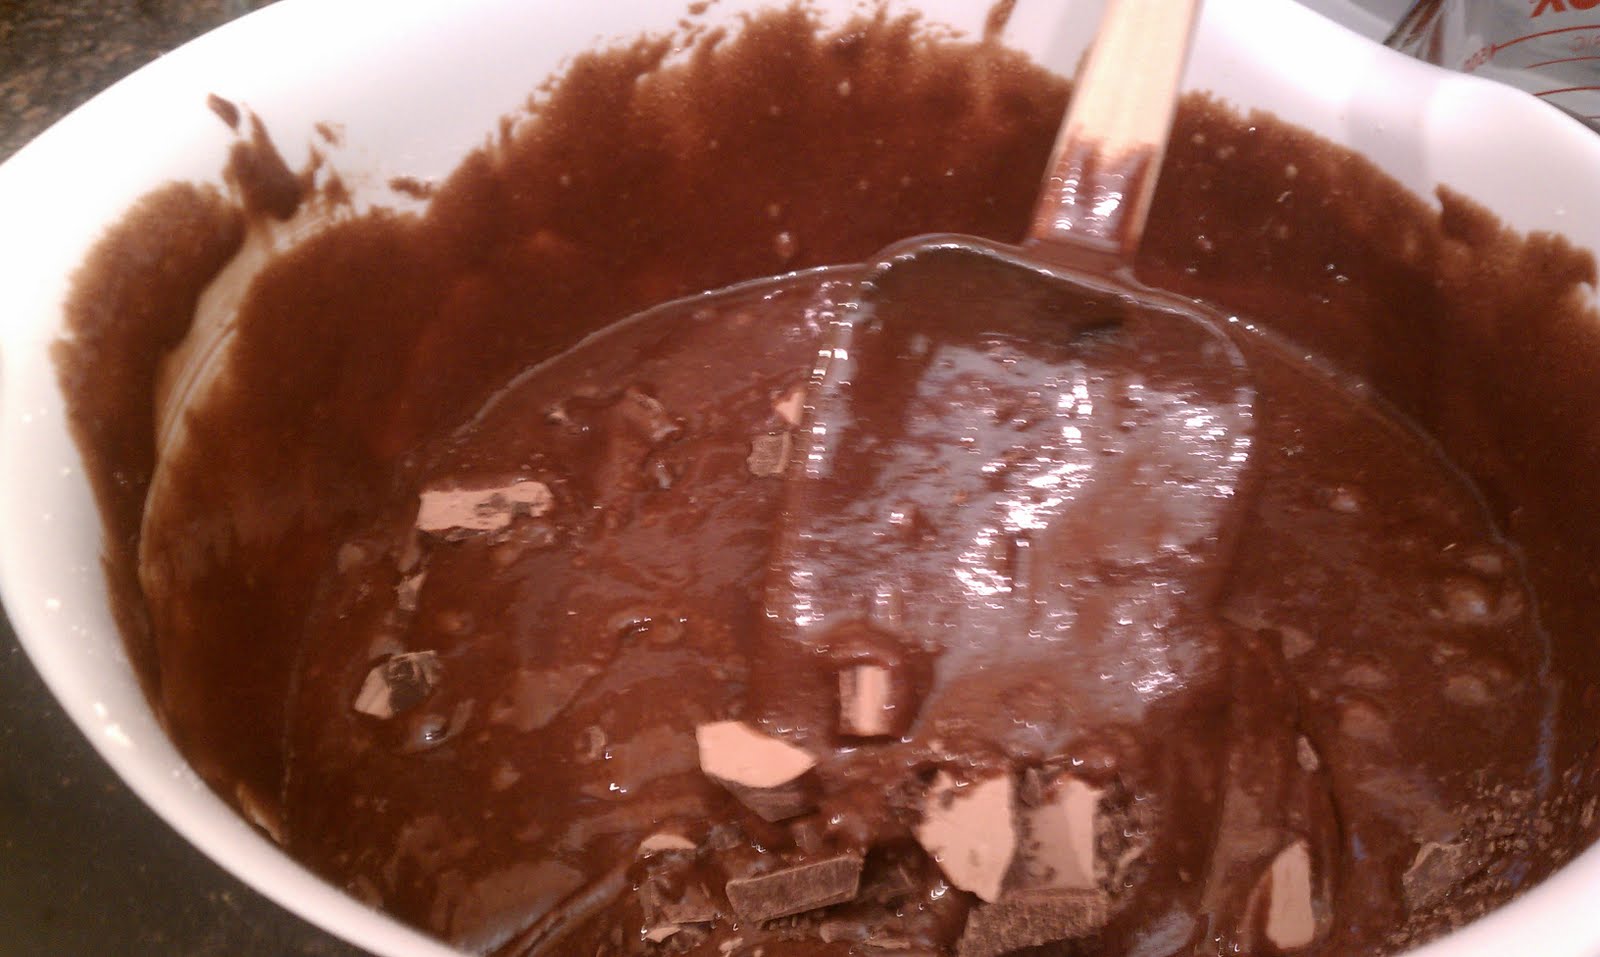
  9. Fold in bittersweet chocolate pieces.
  10. Scrape batter into prepared pan and bake until toothpick inserted halfway between edge and center comes out with just a few moist crumbs attached, 30 to 35 minutes. 
  11. Transfer pan to wire rack and cool 1½ hours. If using pyrex, remember to remove from pan after 10 minutes.
  12. Using foil overhang, lift brownies from pan. Return brownies to wire rack and let cool completely, about 1 hour. Cut into 2-inch squares and serve.

Tuesday, March 22, 2011

Peanut Butter/ Nutella Chocolate Cupcakes


The second I saw the recipe for Peanut Butter Chocolate Cupcakes in Barefoot Contessa's book, I knew I would be making them, because I am an unabashed sucker for classic peanut butter/chocolate combinations. You don't see as many peanut butter chocolate cupcakes in the cupcake world as you'd initially think considering the dominance of the peanut butter chocolate combination in the rest of the sweet/dessert/candy market. The best reason I can give for this is that these cupcakes are RICH. Not cloyingly sweet, just very, very rich. This is one of the reasons why the lightness of the texture in the cupcakes (that you get by creaming the batter almost like you're making frosting or cookie dough at the beginning) is such a good match. The end result is essentially a Tagalong cupcake.

The Nutella version of the frosting is moister, due to the higher oil content of Nutella, or at least this is what I am assuming because just like Nutella cookies are flatter and rise less than peanut butter cookies, this frosting just doesn't cream quite as well as the peanut butter version. This leads to a different but still very pleasant experience because Nutella is basically instant goodness on everything it touches. The salt in the frosting leaves a nice, noticeable, welcome kick to the frosting. I used kosher salt, but if you'd prefer, you can use a finer grain. Unlike baking, frosting measurements really don't have to be super accurate, so feel free to experiment with amounts until it reaches a stiffness and sweetness of your liking. My only strong recommendation is that you make sure your ingredients are room-temperature before using them, especially the butter. Cold butter just doesn't cream as well, and both the cupcakes and the frosting really get their great consistency from creamed butter.

Barefoot Contessa writes all of her baking for a standing mixer, but given the size of my urban kitchen, I'm a hand mixer kind of gal, so I've adapted it. By the way, an investment in a good quality hand mixer with clear differences in speeds (a distinct low, medium low, medium, medium-high, and high) is a solid way to invest in kitchenware if you plan on baking. A good one will last decades. A cheap target one will fail you in delicate recipes (luckily, this is NOT that delicate of a recipe).

Peanut Butter/Nutella Chocolate Cupcakes

Ingredients

Cupcakes

12 tablespoons (1 1/2 sticks) unsalted butter, at room temperature
2/3 cup granulated sugar
2/3 cup light brown sugar, packed
2 extra-large eggs, at room temperature
2 teaspoons pure vanilla extract
1 cup buttermilk, shaken, at room temperature
1/2 cup sour cream, at room temperature
2 tablespoons brewed coffee
1/2 teaspoon espresso powder
1 3/4 cups all-purpose flour
1 cup cocoa powder
1 1/2 teaspoons baking soda
1/2 teaspoon kosher salt

Peanut Butter Icing

1 cup confectioners' sugar
1 cup creamy peanut butter
5 tablespoons unsalted butter, at room temperature
3/4 teaspoon pure vanilla extract
1/4 teaspoon kosher salt
1/3 cup heavy cream
      Nutella Icing

 1 1/4 cup confectioners' sugar, plus more if needed for added stiffness
 1 cup Nutella
  5 tablespoons unsalted butter, at room temperature
  1/4 teaspoon pure vanilla extract
  1/4 teaspoon kosher salt
  1/2 cup heavy cream


Fluffy batter= fluffy cupcake
Creaming peanut butter frosting
Use a round 1/4 cup measure
Instructions

Cupcakes

  1. Preheat the oven to 350 degrees F. Line cupcake pans with paper liners.
  2. In a large bowl, cream the butter and 2 sugars with an electric hand mixer on high speed until light and fluffy, approximately 5 minutes. 
  3. Lower the speed to medium, add the eggs 1 at a time, then add the vanilla and mix well. 
  4. In a separate medium bowl, whisk together the buttermilk, sour cream, and coffee. 
  5. In another medium bowl, sift or whisk together the flour, cocoa, baking soda, and salt. 
  6. On low speed, add the buttermilk mixture and the flour mixture alternately in thirds to the mixer bowl, beginning with the buttermilk mixture and ending with the flour mixture. Mix only until blended. 
  7. Push down on the sides with a rubber spatula, then fold the batter with a rubber spatula to be sure it's completely blended.
  8. Divide the batter among the cupcake pans (1/4 cup measure or a rounded ice cream scoop per cupcake). 
  9. Bake in the middle of the oven for 20 to 25 minutes, until a toothpick comes out clean. 
  10. Cool for 5 minutes, remove from the pans, and allow to cool completely before frosting.

Frosting

  1. Place the confectioners' sugar, peanut butter, butter, vanilla, and salt in a medium sized bowl.
  2. With an electric mixer, mix ingredients on low until powdered sugar is combined.
  3. Move to medium-low speed until creamy, scraping down the bowl with a rubber spatula as you work. For the nutella icing, the consistency will be thicker, almost like a very soft fudge. For the peanut butter icing, the consistency will be more like a traditional butter cream.
  4. Add the cream and beat on high speed until the mixture is light, fluffy and smooth, and has increased in volume, like a store bought butter cream. (The nutella version may be slightly moister).