Showing posts with label seafood. Show all posts

Wednesday, January 28, 2015

Whole Maine Lobster

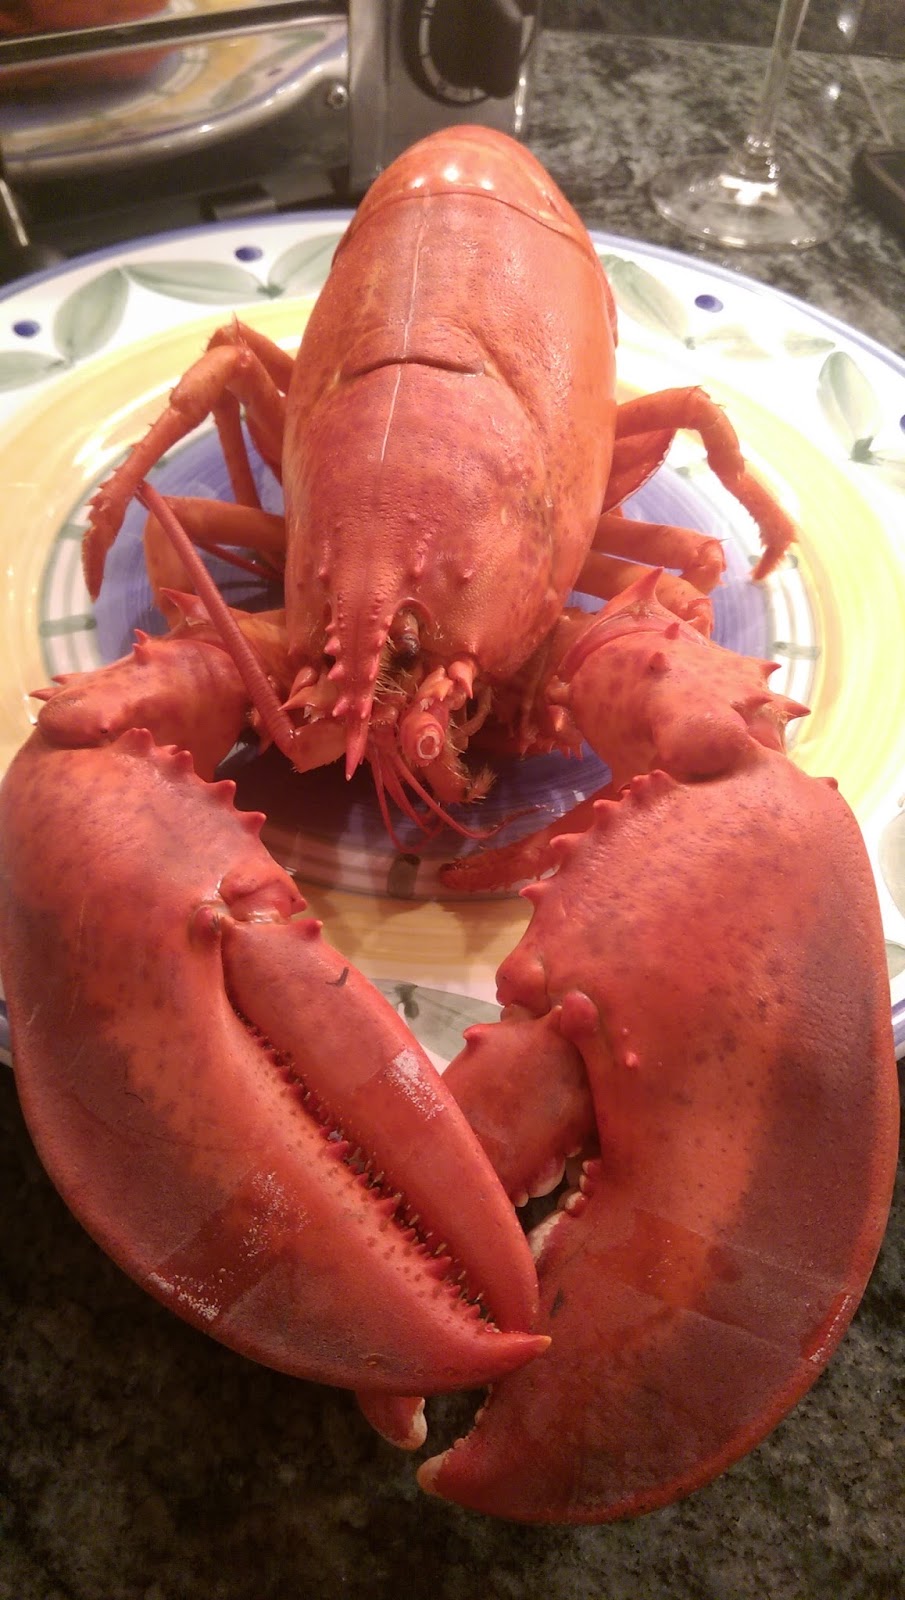
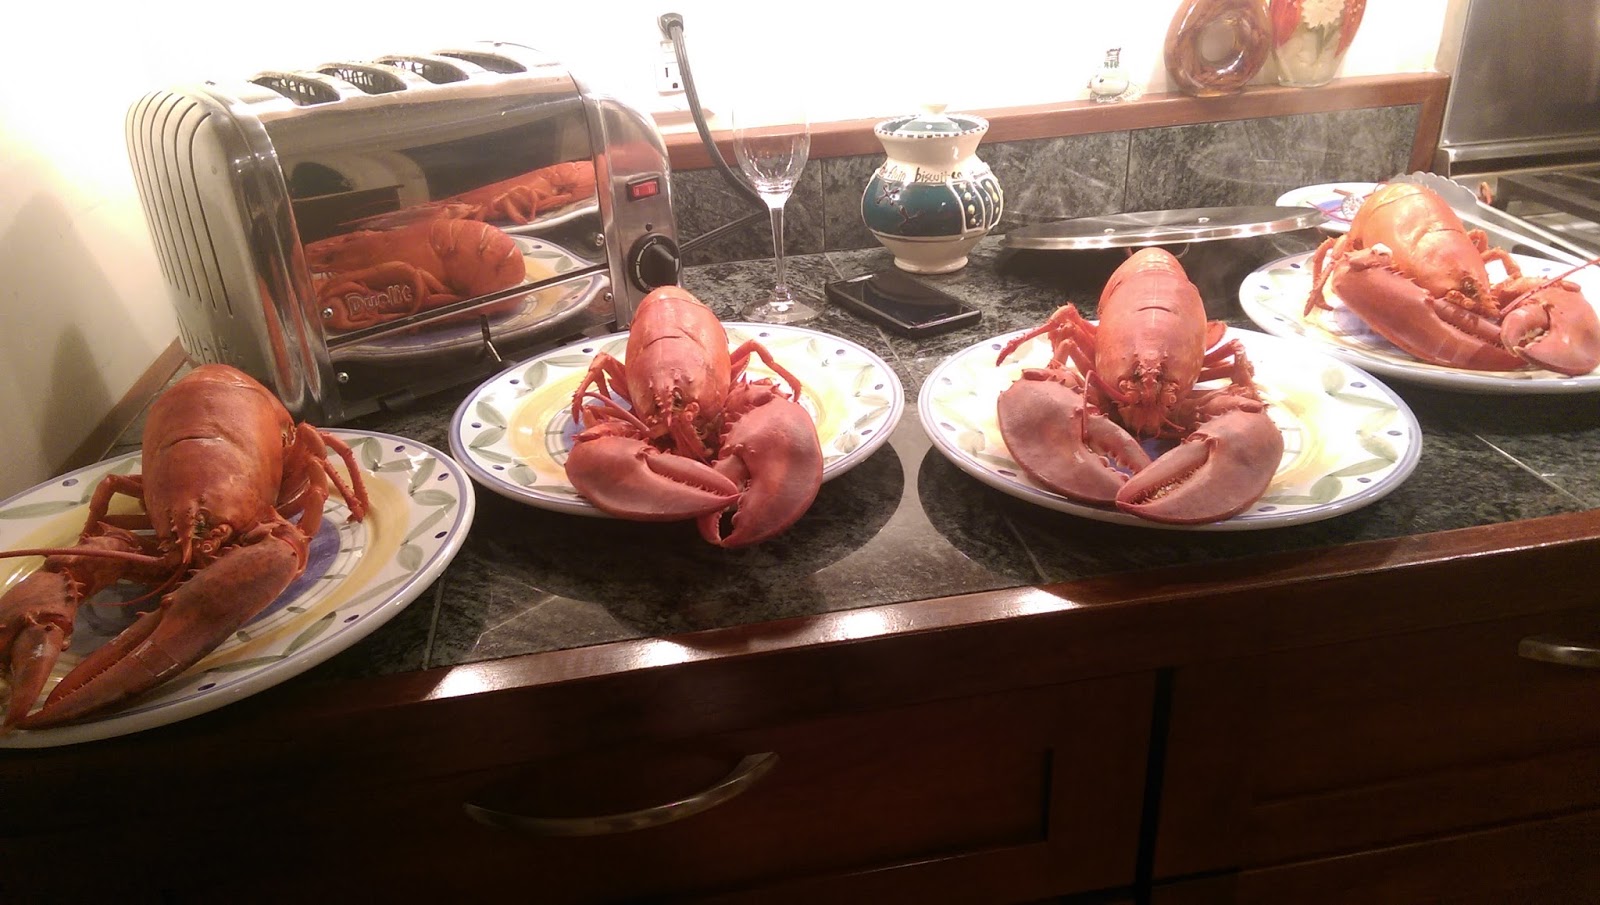
Every year, TK and I go up to the Berkshires for New Years. Over the years, we have tried going out on New Year's Eve with mixed results. In the end, we've settled that the best plan is to not leave the Lakehouse at all if possible. Instead, we do lobster. When in New England, we figure, we are pretty much obligated to procure fantastic local lobsters, which we serve with haricot verts and potato gratin. This differs from our Summer lobster meal, when we serve our lobster with corn on the cobb and jalepeno cheddar biscuits. It is something I look forward to all year, and a great way to kick off the New Year. You just can't go wrong with a perfect whole lobster, boiled in salt water and served with butter and lemon. When your base ingredients are that good, the best thing to do is to let them speak for themselves, serve them simply, and enjoy.

Our preferred size lobster is between 1.5 lbs and 2 lbs (or to be entirely accurate, however much over 1.5 lbs the seafood salesman will give us before charging us the 2 lbs. lobster rate). Larger lobsters do not automatically mean better meat. The real 20 lbs. giants that they raffle off  in stores actually tend to have tougher meat. Lobsters shed their shells, and at certain parts of the years their shells are softer and thinner than others. These soft-shelled lobsters are significantly easier to crack, barely needing the cracker at times. Still, the softer the shell is, the newer it is, and the more room to grow the lobster has. This means the lobster will have more water weight and less meat inside, so you might want to consider a slightly larger lobster. These particular lobsters were the more common hard-shells.

The generally most anticipated part of having lobster is the killing of the lobster. Now, I think of lobsters as mutant sea bugs, so I have very little pity for them. But no one wants to make anyone suffer. We like to sedate the lobsters a little bit. We store them with wet paper towels on top in the fridge before we're ready, and then remove them one at a time and drop them in the pot. Sometimes, the fridge will be enough to make them mellow, but for particularly feisty lobsters, we put them in the freezer for about half an hour or less to sedate them. We try to minimize the time between when they are out of the fridge and when they are in the water. We submerge them completely, and feel that that is more humane than dragging it out by knifing them in the skull beforehand, though some do choose to do so.

Boiled Whole Maine Lobsters
lobsters
sea salt
butter (1/4 cup per lobster)
lemon juice (1/2 lemon per lobster)


Boiling Time For Lobsters:
1 lbs lobsters: 8-10 minutes
1.5 lbs lobsters: 12-15 minutes
2 lbs lobsters: 15-18 minutes
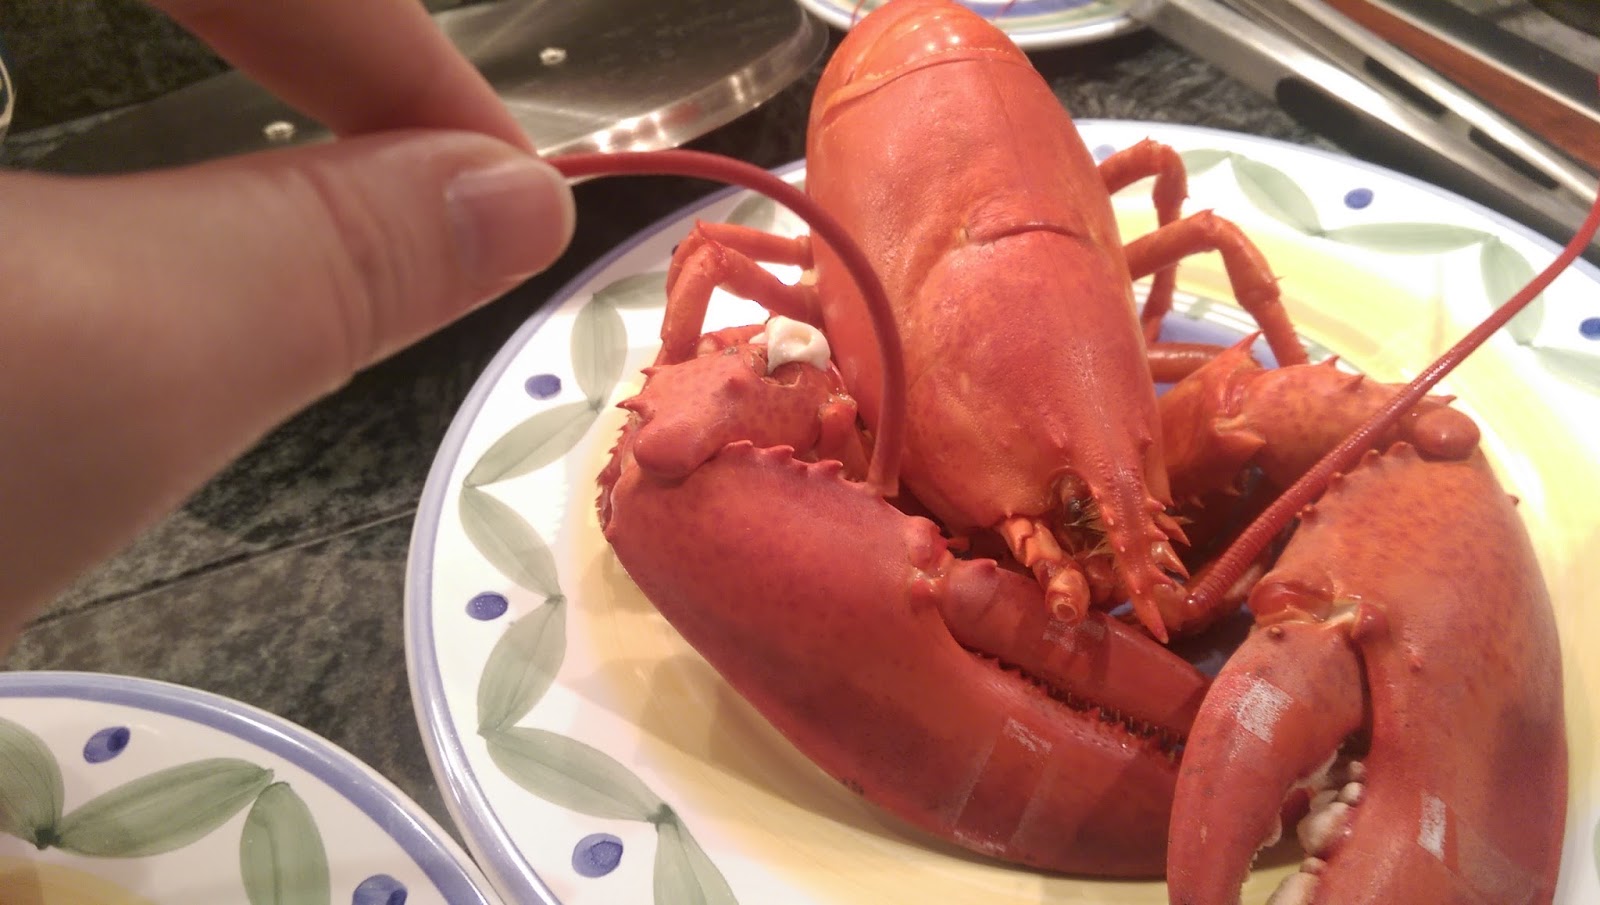


When you can pop the antennae off, your lobster is done.
  1. In the largest pot you can find with a tight-fitting lid, add 3 quarts of water for each lobster you want to boil, filling the pot about 2/3rd to 3/4 of the way full.
  2. Add generous amounts of sea salt (approx. 3 tablespoons per quart) to water and bring to a healthy boil. You are trying to mimic seawater.
  3. Remove your lobsters from the fridge one at a time and quickly dunk them head first into the boiling water. Make sure to remove the rubber bands before dropping them in the water as the rubber in the bands can actually change the taste of the boiling liquid. Don't worry, and don't drag it out. The lobster won't get you.
  4. Boil your lobsters for the necessary time depending on what size lobsters you have. (See above)
  5. The easiest way to tell if your lobster is done is to pull at one of its antennae. When it is fully cooked, it should pop-off in your hand with little to no resistance.
  6. Remove lobsters from pot and allow to rest and cool for at least five minutes.
  7. Melt butter in individual ramekins.
  8. Add lemon juice to the butter.
  9. Serve with lobsters, shell crackers, and a bowl for discarded shells.Remember this is not a race to see who can finish their lobster first.

Sunday, July 13, 2014

Mexican Style Shrimp Cocktail

Just as our Brown Sugar and Citrus Cured Salmon has become a tradition at our winter celebrations, this sweet-and-spicy shrimp cocktail based on an octopus recipe from the Rick Bayless cookbook has proved to be an immensely popular item at our parties during the warmer months. The first time we served this dish, our guests finished the entire bowl before E.S. even got to try one shrimp! Also like the cured salmon, this recipe is very simple.

Unlike your traditional shrimp cocktail arrangement – in which cooked shrimp are hung on the edge of a container of cocktail sauce – this recipe calls for the shrimp to be tossed in the sauce ahead of time, which allows the flavors of the sauce to penetrate the shrimp. Don’t add the shrimp to the sauce more than three hours before serving the cocktail, or the shrimp will start to get soft.

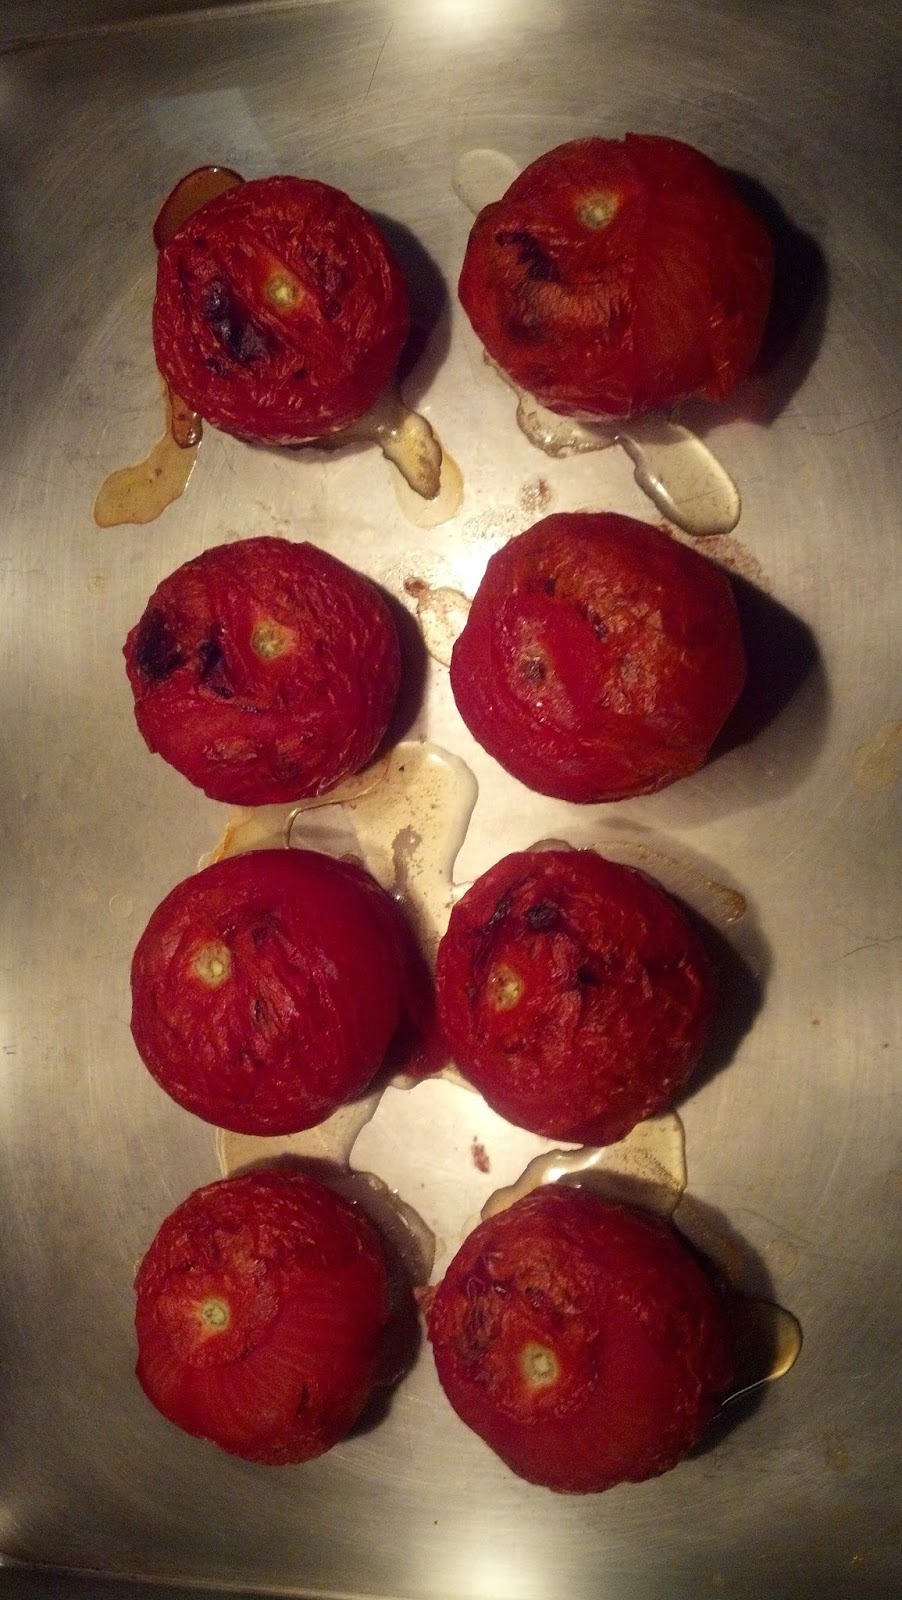
Tomatoes charred under a hot broiler, and a large quantity of hot sauce form the base of the cocktail sauce. I prefer Valencia or Cholula brand hot sauce for this recipe, as both have a subtle horseradish kick that compliments the shrimp nicely. Brown sugar and sherry vinegar provide a sweet contrast that balances the spice in the hot sauce.

Using precooked shrimp purchased from your local fishmonger makes this recipe a breeze. Just whip up the sauce in your food processor, chill in the refrigerator, and then toss in the shrimp. It’s that easy. Of course, if you want to cook your own shrimp, that will work too. Either way, be sure to remove all bits of shell and tail from your shrimp.

Serve this shrimp cocktail as part of a buffet in a large bowl, or as a plated first course in small glass bowls, topped with freshly sliced avocado and chopped cilantro.


Mexican Style Shrimp Cocktail

Ingredients

1 red onion, sliced thin
1 pound ripe tomatoes (2 large or 6 plum)
3 garlic cloves, peeled
1 tablespoon olive oil
2 tablespoons sherry vinegar
2 tablespoons brown sugar
¼ cup Mexican hot sauce (such as Valencia or Cholula brand)
2 ½ pounds cooked shrimp, shells and tails removed
1 ripe avocado, cut into small chunks
3 tablespoons chopped cilantro


Instructions

1. Roast the whole tomatoes on a rimmed baking sheet about four inches below a very hot broiler until splotchy black and thoroughly soft, at least 5 minutes per side. Remove and cool.

2.While the tomatoes are cooling, set the oven temperature to 425 degrees. Spread the onion and whole garlic cloves on a baking sheet and drizzle with the olive oil. Toss to combine. Place in the oven and roast until richly browned, about 15 minutes, stirring a few times to ensure even browning.

3. Pull the blackened skins off of the tomatoes, and scoop them into a food processor. Pulse several times to chop them into small pieces. Scrape into a medium bowl.

4. Scoop the onion and garlic into the food processor (don’t bother to clean the bowl of the food processor between uses). Pulse until finely chopped and add to the bowl with the tomatoes.

5. Add the sherry vinegar, brown sugar and hot sauce to the bowl and combine with the chopped vegetables. Season to taste with salt (I usually add about 2 teaspoons). Chill the cocktail sauce in the refrigerator.

6. An hour or two before you want to serve the shrimp cocktail, add the cleaned shrimp to the bowl and toss to combine. Try a shrimp to see if the cocktail needs additional salt or hot sauce. Once you are satisfied with the seasoning, return the bowl to the refrigerator.

7. When ready to serve, transfer the shrimp and sauce to an attractive bowl and top with the avocado and cilantro. Alternatively, divide the shrimp and sauce among small glass bowls and top each bowl with a few chunks of avocado and some chopped cilantro. Serve with high quality tortilla chips.

Related: Look at our Chilled Cucumber and Avocado Soup recipe to see how to pit an avocado.

Sunday, January 1, 2012

Brown Sugar and Citrus Cured Salmon

This salmon has become a staple at our holiday party and is always one of the first things to get eaten. It makes an elegant and impressive hors d'oeuvre, but it's simple to make and can be prepared days ahead of time and sliced just before the party.

The salmon can cure for anywhere from 24 to 48 hours. I prefer lightly-cured salmon, which is melt-in-your-mouth tender and still has prominent salmon flavor, so I only cure my salmon for 24 hours. If you prefer your cured salmon to have firmer flesh and saltier flavor, leave your fish in the cure for the full 48 hours. If you're squeamish about serving raw-ish fish to your guests, I would recommend curing your fish for longer than 24 hours.

This recipe will work well with any variety of salmon, but it has to be very fresh. Ask your fishmonger which salmon is the freshest, and choose that one. Try to begin curing the salmon on the same day you purchase your fish. This recipe will make enough fish to serve 6 as an appetizer. For larger parties, simply use a larger filet and increase the amount of curing mixture to maintain the correct ratio of fish to cure.

Ingredients 
1 pound very fresh salmon filet, skin on
1 cup Kosher salt
1 cup dark brown sugar
1 tablespoon black peppercorns
1/4 cup citrus zest from any combination of lemons, limes, oranges and grapefruits
several sprigs dill
creme fraiche


Instructions
  1. Combine the salt, sugar, peppercorns and zest in a medium bowl.
  2. Line the bottom of a glass baking dish with the dill. Pour a third of the curing mixture over the dill and smooth.
  3. Place the salmon, skin down, into the dish and pour the rest of the curing mixture over the fish. Smooth the curing mixture to form an even layer. The salmon should be completely encased in the curing mixture.
  4. Place a layer of plastic wrap directly onto the curing mixture, and place another glass baking dish on top of that. Weight with cans and place in the refrigerator for 24 to 48 hours.
  5. Remove the salmon from the curing mixture and rinse thoroughly under running water. Dry the salmon with paper towels and remove the skin using a filet knife. Slice as thinly as possible and serve with creme fraiche.

Monday, August 22, 2011

Chilled Cucumber-Avocado Soup with Crab Salad

I love cold soups, especially cold cucumber soup.  It reminds me of hot midday meals in the Caribbean and Mexico.  Of course, eating it at home is pretty good, too.

When I make this dish for guests I want it to transport them the same way it transports me, so I add lots of flavor.  The addition of avocado and coconut milk to pureed cucumber makes the soup creamy-smooth, and adds a pleasant sweetness.  I cut through that sweetness with just enough Thai green curry paste and serrano chile to linger on your palette.  The crab salad, which can be omitted for a vegetarian friendly plate, adds a luxurious element to the dish and compliments the flavors in the soup perfectly.

The soup is best eaten the day after it’s made to give the flavors time to develop.  If your blender is too small to accommodate all of the ingredients (remember to factor the water into your calculation), blend the soup in batches.  It’s worth splurging for jumbo lump crabmeat for this recipe.  The crab is dressed simply, so the relative quality of your product will really show though.

Chilled Cucumber-Avocado Soup with Crab Salad

Ingredients

Cucumber Avocado Soup
2 cucumbers, about 12 ounces each, peeled, seeded and coarsely chopped
2 Hass avocados, coarsely chopped
3 teaspoons Thai green curry paste
2 teaspoons sugar
3 teaspoons finely grated lime zest from 3 limes
2 serrano chiles, seeded and chopped
1 13-ounce can unsweetened coconut milk
3 tablespoons lime juice from 3 limes
Fine sea salt
Cayenne pepper
Ground white pepper
Siracha (optional)

Crab Salad (Optional)
1 pound jumbo lump crab meat, picked over
2-3 tablespoons lemon juice from 1 lemon
1 tablespoon minced chives
Black pepper


How to Pit An Avocado

Instructions

  1. In a blender, puree the cucumbers until smooth.  Add the avocados, curry paste, sugar, lime zest and chile.  Process until blended.  Add 3 1/2 cups of water, the coconut milk and lime juice and process until smooth.  Transfer the soup to a large bowl and season with salt, cayenne and white pepper to taste.  Cover and refrigerate until chilled, or overnight.
  2. When ready to serve the soup, place the crabmeat in a medium bowl and add the lemon juice and chives.  Toss gently to combine.  Season with salt, black pepper and cayenne to taste. 
  3. Taste and season the now developed flavors of the soup with salt, white pepper, and drops of siracha for added heat (optional--be gentle).
  4. To serve, mound a small pile of the crab salad in the center of a wide soup bowl.  Carefully ladle some of the soup around the crab.  The crab should still be visible above the soup.  Don’t’ submerge it.  Repeat with remaining bowls.  Finish the soup with a drizzle of olive oil and a pinch of freshly ground black pepper.

Saturday, July 30, 2011

Frogmore Stew


Not really a stew at all, but rather a boil of potatoes, corn, shrimp and spicy-smoked sausage, frogmore stew is a very traditional Southern dish, indigenous to the Carolinas but common along the Gulf coast as well. Traditionally, all of the ingredients are boiled in heavily-seasoned water, strained and eaten family-style. My mom likes to make frogmore stew for dinner at the height of summer. It’s a great way to highlight the amazing corn available in July and August, and the heat in the dish can make even the hottest summer night seem cool by comparison.

My version of frogmore stew is a bit more refined than the original. To build my boiling liquid, I start with a base of chicken stock and water, which I slowly simmer with onions, tomatoes, roasted red peppers, herbs and spices until dark and heavily flavored. Because I put so much work into my boiling liquid, I figure it would be a shame not to serve it. So I serve individual portions of the corn, potatoes, shrimp and sausage in wide bowls with some of the boiling liquid ladled over.

I recommend Andouille sausage for this recipe. You can substitute another spicy sausage for the Andouille, but make sure whatever sausage you use is spicy enough to sufficiently flavor the boiling liquid. If using a milder sausage, add additional red pepper flakes to the broth in step 3. Similarly, I recommend using head-on shrimp for this recipe. The heads add great flavor and brine to the boiling liquid. If you’re not using head-on shrimp, consider adding some additional salt to the boiling liquid in step 4.

Serve with crusty bread and remember to put out an extra bowl for shells and corn cobs.

Frogmore Stew

Ingredients

2 pounds Andouille sausage, or other spicy sausage
2 large red bell peppers
olive oil
8 cups chicken stock
8 cups water
2 medium onions, peeled and halved end-to-end
1 large tomato, cored and cut into 1-inch chunks, or 1 16 ounce canned-diced tomatoes, drained
6 garlic cloves, smashed
10 sprigs fresh thyme
6 bay leaves
1 tablespoon whole black pepper corns
¼ teaspoon crushed red pepper flakes
Kosher salt
10-12 small new red potatoes, halved
4 ears corn, husks and silver threads removed and broken into 2-3 pieces each
2 pounds shrimp, shells and heads on

Instructions

1. Adjust oven rack to upper-middle position and pre-heat oven to 425F. Poke each link of sausage several times with the twines of a fork, and place on a non-stick baking sheet. Lightly oil the peppers with the olive oil, and place on the baking sheet with the sausages. Place the baking sheet in the oven and roast for 20 minutes, or until the peppers are beginning to blister and the sausages are deeply browned.
2. Remove the baking sheet from the oven and allow the peppers and sausages to cool. When cool enough to handle, cut the sausages on the bias into 2-inch pieces and set aside. Cut each pepper into 6 or 8 pieces, making sure to remove any seeds, and set aside.
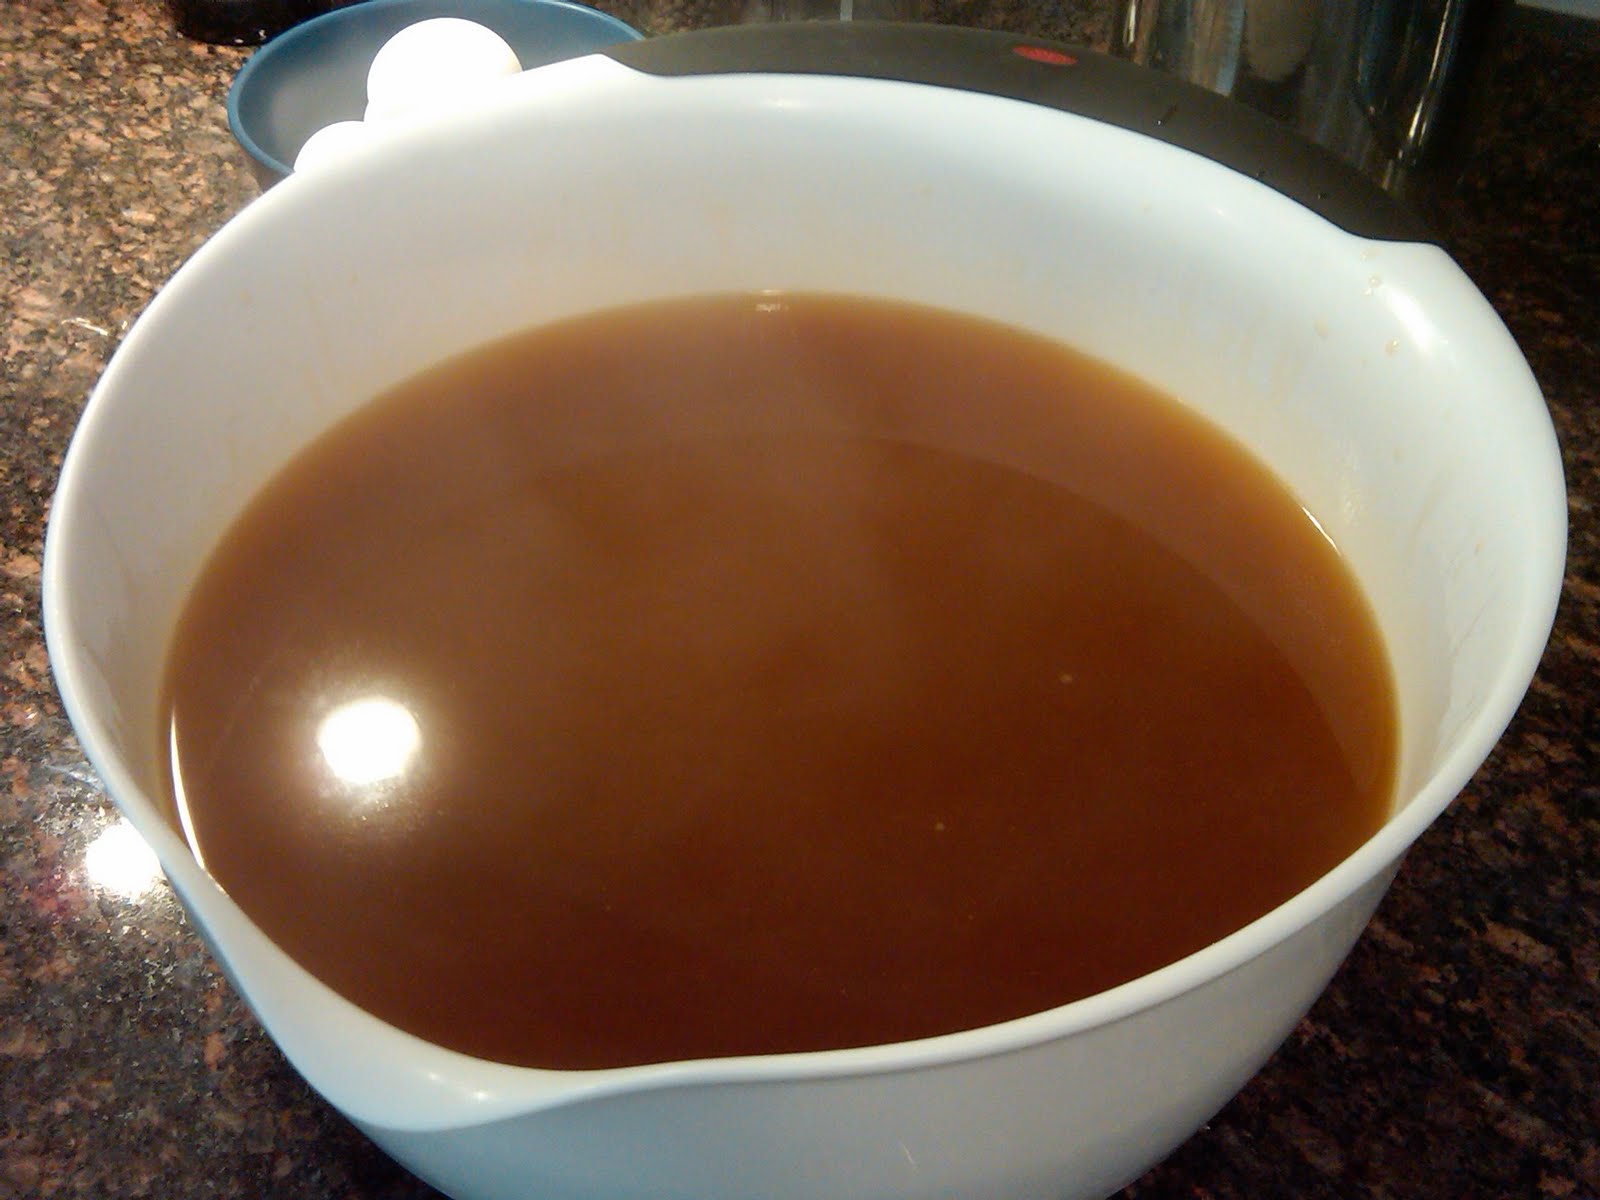
3. Put the chicken stock and water in a large stock pot, along with the onions, tomato, roasted peppers, garlic, thyme, bay, black pepper corns, red pepper flakes and salt to taste. Place over medium high and bring to a simmer. Reduce heat and simmer for one hour, skimming off any foam that rises to the surface.
4. Strain the boiling liquid through a fine mesh strainer into a large bowl. Discard the solids. Taste the boiling liquid to make sure that it is heavily seasoned. Add additional salt as necessary.
5. Wipe out the stock pot and then strain the boiling liquid through a fine mesh strainer back into the stock pot. Straining twice will result in a cleaner liquid. The boiling liquid can be set aside at this point for several hours until you’re ready to prepare the stew.
6. Bring the liquid to a gentle boil over medium to medium-high heat. Taste the liquid again. If it seems over-reduced, thin it out with a little water. Add the potatoes to the liquid, partially cover the pot and boil for 15 minutes, adjusting heat as necessary to maintain a gentle boil.
7. Add the corn and sausage to the liquid, partially cover the pot and boil for 10 more minutes, or until the potatoes are fully cooked.
8. Add the shrimp to the pot and cook, covered, for another 3 to 5 minutes, or until the shrimp are just cooked.
9. Place one piece of corn in each of four wide bowls, along with a few pieces of potato, a few pieces of sausage, and several shrimp. Ladle a little of the boiling liquid over each bowl, and serve immediately.

Sunday, June 5, 2011

Tomato and Avocado Ceviche


You can use almost any whitefish in this recipe, though we've had very good success with halibut. Other fish suggestd include tuna, salmon, sea bass, sole, sea scallop and shrimp. The recipe suggests thin fish such as sole, flounder or tilapia as easy because they do not need to be cut width-wise (which should be no thicker than 1/3 inch for even cooking). The important part is to keep the pieces of fish approximately the same size cubes so that they cook in the citrus at the same rate. Because we are essentially cooking the fish with the acid from the citrus and not applying any heat, it's important to use fresh (from the store that day, not frozen, etc) fish and fresh lemons and limes. The brightness of the lemons and limes are the key to the flavor of the dish. Don't worry, it cooks, and will turn opaque to prove it. You actually can overcook things with citrus, so don't leave it in the marinade too long.

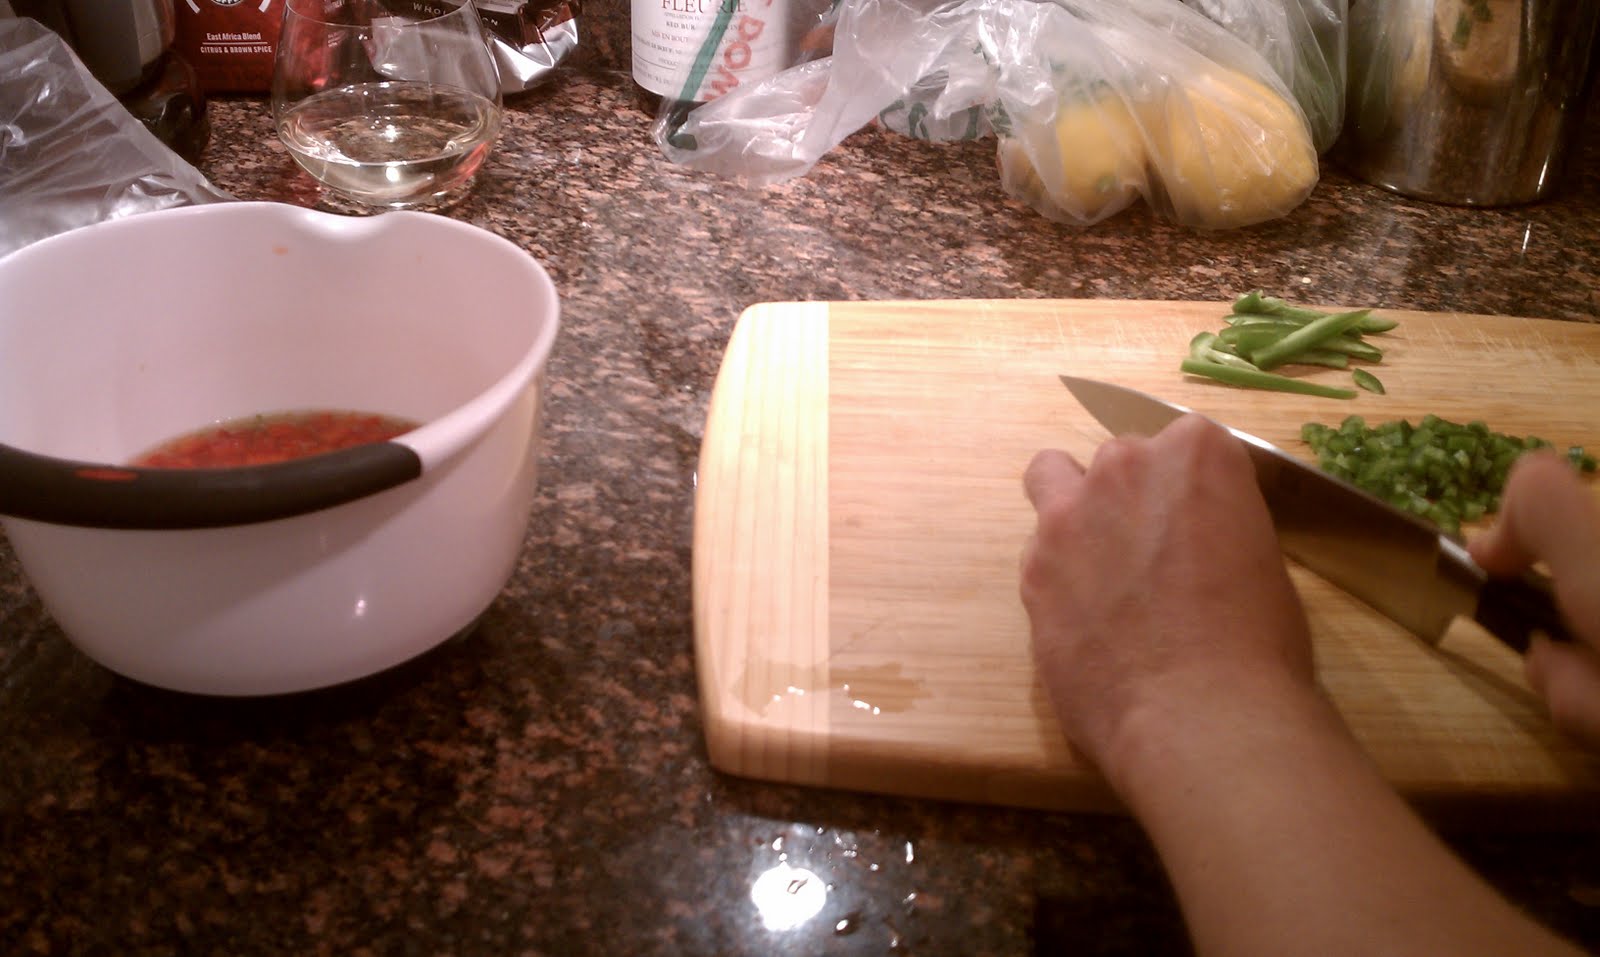
Be sure to pat all seafood dry with paper towels so that any moisture does not water down the marinade. To prep in advance, you can mix all the citrus marinade ingredients together (jalepeno, red pepper, garlic, lemon, lime, etc.) in one bowl, the cut seafood in another, and the added veggies minus avocado (scallions, cilantro, cherry tomatoes, oil, and sugar) in another. When it is time to start marinating, add the fish to the citrus. Add the avocado just before serving to prevent it from breaking down, turning brown, or making everything green. This will serve a generous 4 portions for a first course or a smaller 6 portions.


Tomato and Avocado Ceviche


Ingredients


1 pound extra-large shrimp (21 to 25 per pound), large sea scallops, skinless fish fillets, or a combination
1teaspoon grated lime zest from 1 lime
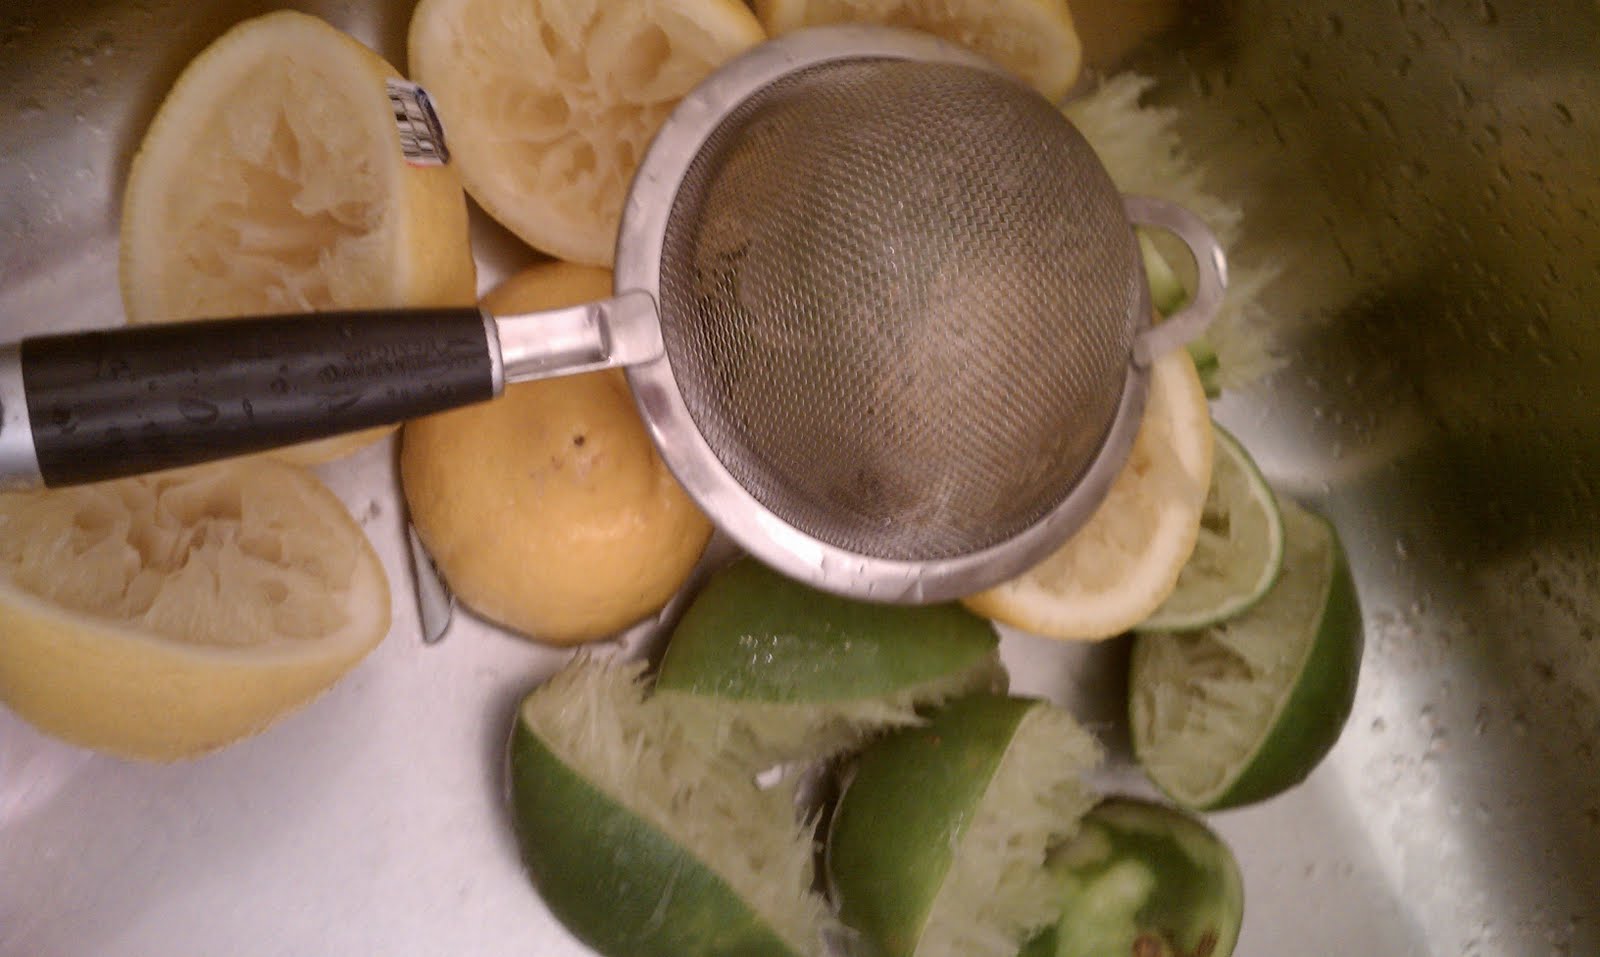
1/2cup juice from 4 limes
1/2cup juice from 4 lemons
1small red bell pepper , stemmed, seeded, and chopped fine
1-2 jalapeno chile (small), stemmed, seeded, and minced
1 medium garlic clove , minced or pressed through a garlic press
Salt
1/4cup extra-virgin olive oil
4-6 scallions , sliced thin (about 1 small bunch)
1cup cherry tomatoes , quartered
3tablespoons minced fresh cilantro leaves
1/2teaspoon sugar
1 ripe avocado , pitted and diced fine
Ground black pepper

Instructions

1. If using shrimp, peel them completely, devein, and slice each shrimp in half lengthwise using a paring knife (through the deveined groove in the back). If using scallops, remove the side tendon and slice into 1/3-inch-thick rounds. If using fish, remove any bones and slice into 1-inch squares about 1/3 inch thick.

2. Stir the lime zest, lime juice, lemon juice, bell pepper, jalapeno, garlic, and 1/2 teaspoon salt together in a medium bowl. Gently stir in the seafood, cover with plastic wrap, and refrigerate until the seafood is firm, opaque, and appears cooked, 45 to 60 minutes, stirring halfway through the marinating time.

3. Place the mixture in a fine-mesh strainer, leaving it a little wet, then return to the bowl. Gently stir in the oil, scallions, tomatoes, cilantro, and sugar followed by the avocado. Season with salt and pepper to taste before serving.

Friday, May 13, 2011

Fideos with Clams and Saffron

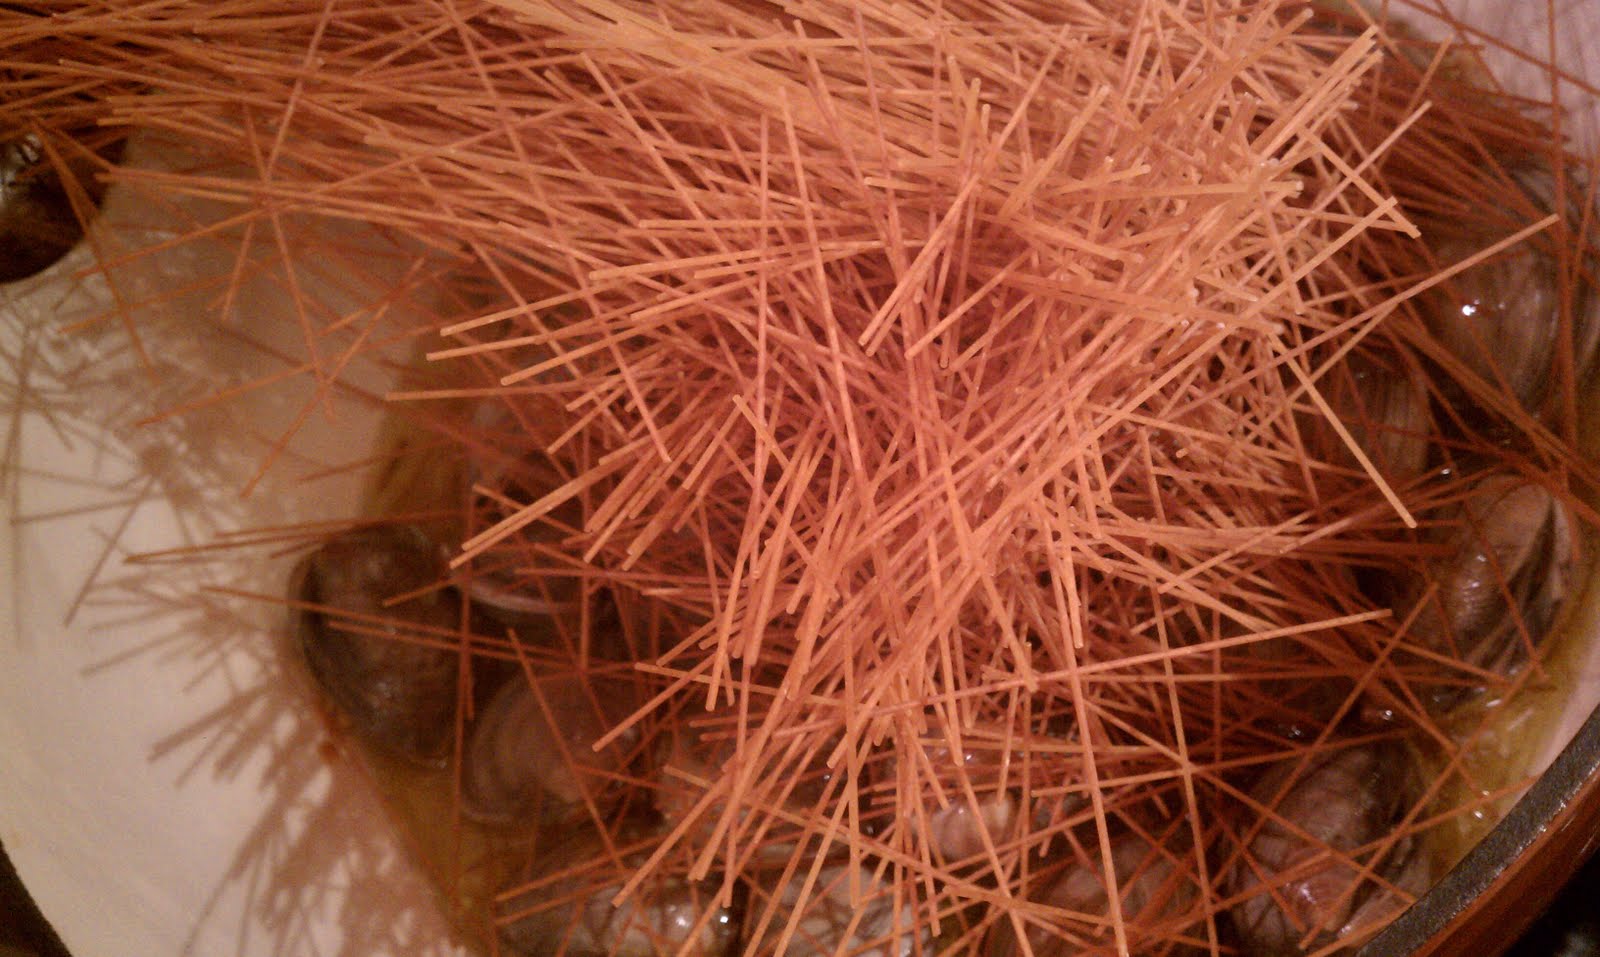
This is the first recipe TK and I ever made from the Top Chef cookbook, and it still is a regular on our menu when we're looking for something romantic, charming and relatively easy (minus the general annoyance of having to clean clams). The basic premise of very slowly cooking garlic in oil then absorbing it into toasted pasta (almost risotto style) then adding cream and saffron is pretty unbeatable. And the presentation of the just-opened clams is elegant and fun. That being said, we had to make some adjustments to the recipe (more veggies, more clams, less pasta), and work a little bit on the technique of getting a bird's nest of toasted pasta into a dutch oven. As a result, I recommend using the largest dutch oven you have, even if you aren't serving that many. (This dish serves 4 to 6).

One whole teaspoon of saffron is a decadent amount of saffron, and that is the luxury ingredient of this dish. You can lighten that a bit. For instance, if you are using the pre-packaged individual servings of saffron, one capsule will do even though that usually isn't quite a teaspoon. Too much saffron can overwhelm a dish, so don't go wildly overboard, but this is also definitely not a three or four strands and that's it dish. It is the star of this show and deserves to be treated as such.


Fideos with Clams and Saffron


Ingredients

3/4 pound fideos or capellini pasta
2 cups heavy cream
1 teaspoon saffron threads, crumbled
Salt
1 1/4 cup small cauliflower florets
1 1/4 cup small broccoli florets
1/3 cup extra virgin olive oil
10 garlic cloves, peeled and left whole
1/2 cup white wine or seafood stock
1 1/2 pound fresh medium clams, cleaned
Freshly ground black pepper
Chopped fresh flat-leaf parsley for garnish


Instructions
  1. Preheat the oven to 375 degrees. Break the fideos into 3-inch pieces. Arrange the pieces in an even layer on a rimmed baking sheet. Place in the oven and bake until golden brown, 8 to 10 minutes. Remove from the oven and set aside to cool. This exercise will also provide you with an awesome test of "where is my oven the hottest".
  2. Meanwhile, clean the clams thoroughly of any grit.
  3. In a medium saucepan, combine the cream, saffron, and salt to taste and place over medium heat. Bring just to a boil, whisking and watching the pot so the cream doesn’t boil over. Remove from the heat, stir in the cauliflower and broccoli, and set aside.
  4. Preheat the broiler. 
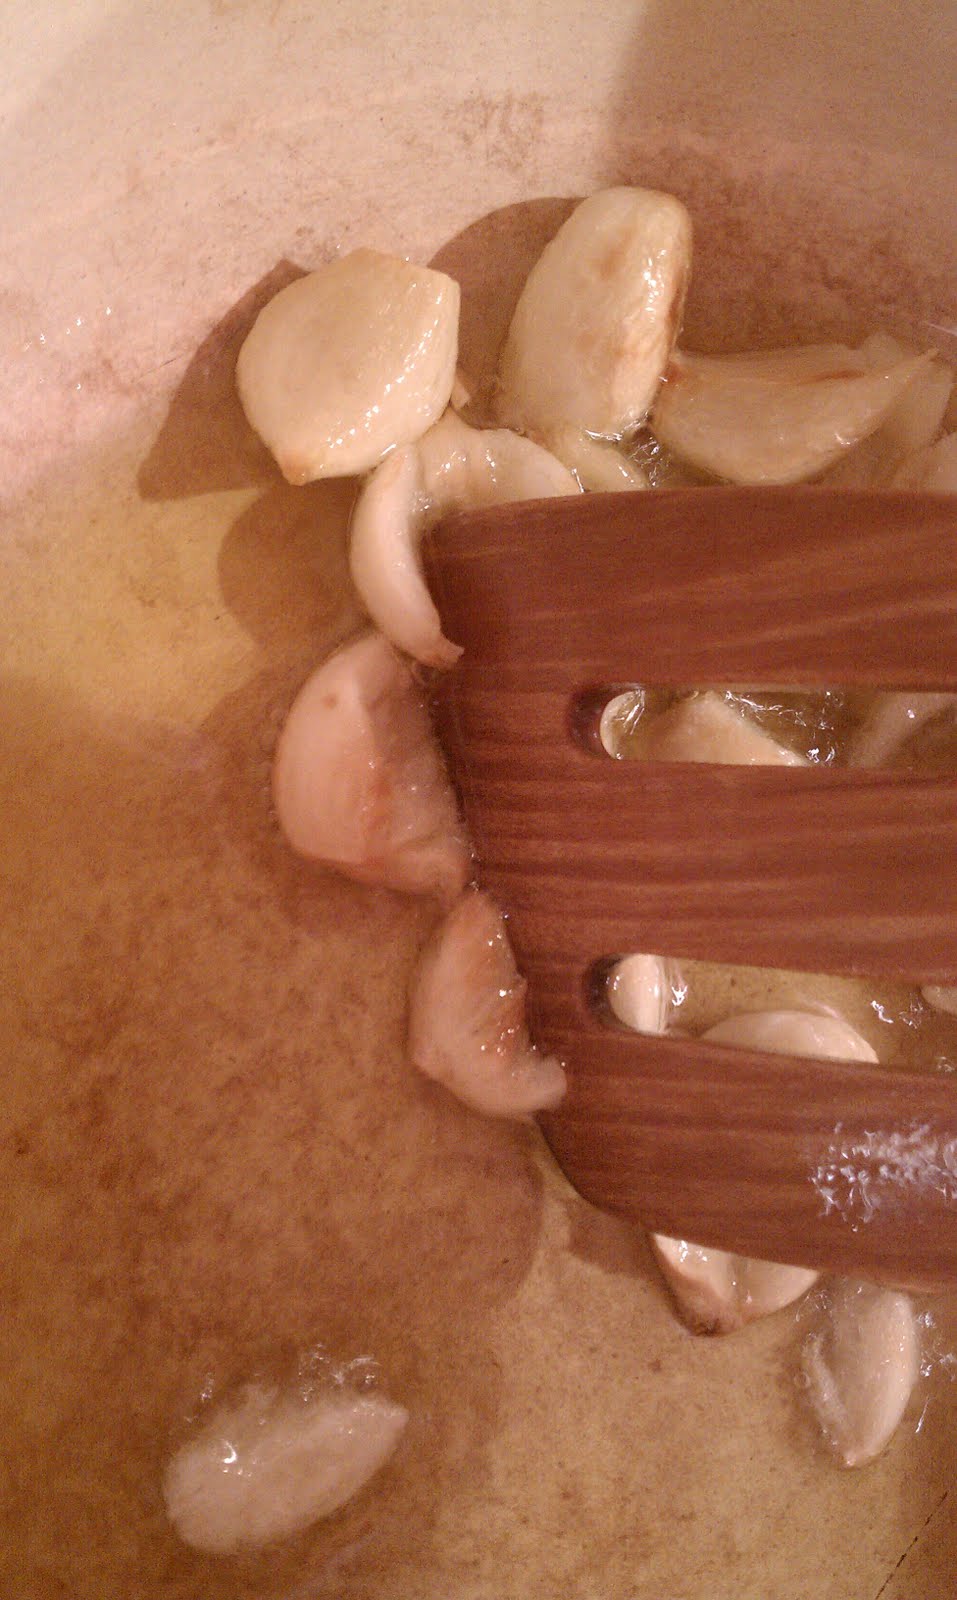
  5. In a large dutch oven, heat the oil and garlic over low heat, stirring, until the garlic begins to soften and turn golden, about 15 minutes. Don't rush it and burn the garlic. Break the garlic up with the back of a wooden spoon.
  6. Add the clams, fideos, and then wine. The fideos will make a bit of a mess and may not all fit immediately into the pot. Season with salt and pepper to taste. Close the lid and shake the pot to combine.
  7. Increase the heat to medium-high and cover the pan. Cook for about 4 minutes, shaking the pan, until the clams have JUST opened. Discard any unopened clams. Stir in the cauliflower and cream mixture and remove from the heat.
  8. Divide the clam and pasta mixture among 4 ovenproof dishes. Place the dishes in the oven and broil until golden brown, 2 to 4 minutes. Garnish with the chopped parsley and serve immediately.