Showing posts with label picnic. Show all posts

Wednesday, January 21, 2015

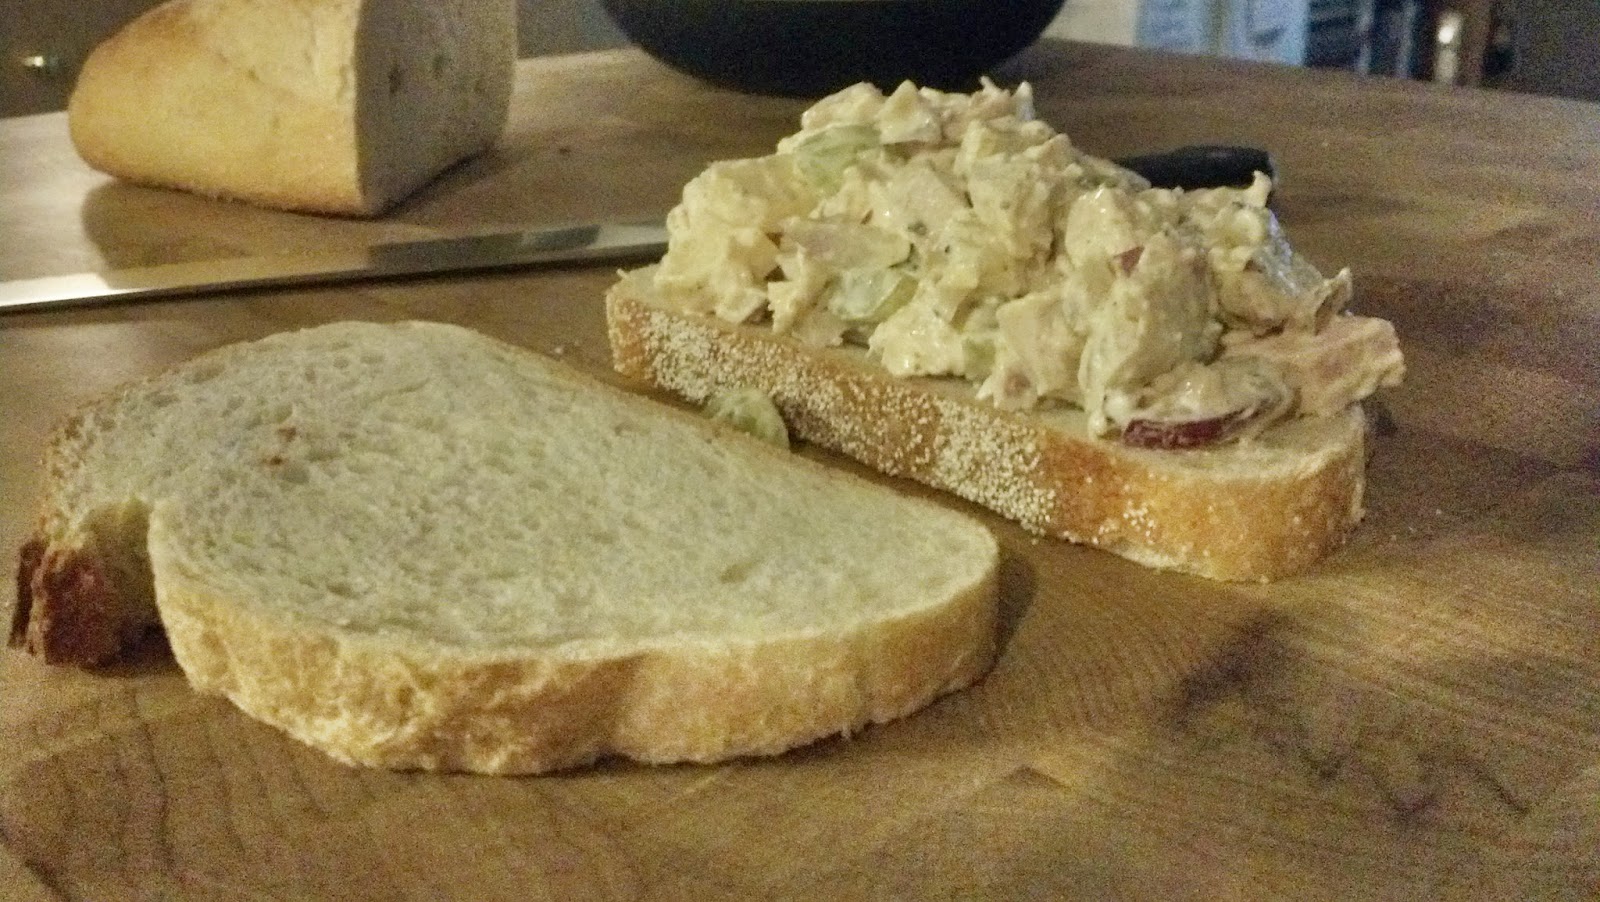
Classic Dijon Chicken Salad with Grapes And Apples

What can I say about chicken salad, my go-to item at your typical lunch counter? It's something I've made so many countless times it's never occurred to me to write it down before. There is nothing I find quite as comforting as large chunks of perfectly moist chicken. Using bone-in chicken goes a long way to ensuring your chicken is moist. The fat on the skin keeps the moisture in and the bones add flavor, all of which makes it a little more forgiving.

First, some basics. There is no RIGHT recipe for chicken salad, but the principles should be: some mayo/creaminess to bind it all together, some crunch for texture, some sweetness with some fruit, some onions for tang, and some mustard for flavor. Everything else is variable. I have used herbs, and I have left the herbs out because I wanted to keep it simple or because at the end of the day I dislike all things anise and licorice flavor and tarragon is constantly flirting at that border. I have used Sriracha. I have roasted chicken breast from frozen and cut straight from a whole roast chicken. I have used leftover grilled chicken legs. I have bought a rotisserie chicken. They all work with slightly different flavor.

This is my favorite, where I substitute apples for the classic celery and include grapes for sweetness. I prefer green grapes, whose skins I find to be slightly less bitter, but red grapes work too and add a nice bit of color. You can get away with using relatively tart apples in this recipe, but if the skins are thick you should consider peeling the apples first. If you don't have honey mustard on hand, use 1/2 teaspoon honey to 2 tablespoons mustard. Honey is powerful stuff, so use a very very gentle hand. 

Three breasts will make 2 to 3 sandwiches.


Dijon Chicken Salad With Grapes & Apples

3 Bone-In Split Chicken Breasts (Or 1 rotisserie chicken)
2 In-Season Apples (not Granny Smith, try Fuji, Braeburn or Pinklady)
1/3 cup seedless Grapes
1/2 cup Mayonnaise
1/2 red onion 
1 tablespoon Dijon Mustard
2 tablespoons Honey Mustard
1/4 teaspoon cayenne
salt
pepper
1 tablespoon finely cut herbs (optional, parsley or chives)

Instructions

  1. If you are roasting the chicken, place the chicken on a sheet pan. Season the chicken generously with salt and pepper. Drizzle lightly with oil then roast for twenty minutes at 350 degrees. Let chicken cool completely.
  2. Cut the breast away from the bone and remove and discard skin.
  3. Cut chicken into 1" chunks and toss into medium sized bowl, making sure to remember to remove any cartilage or tough connective tissue you come across.
  4. Cut grapes into halves or quarters depending on the size of the grapes. Add to chicken.
  5. Peel apples, if desired.
  6. Cut apples into 1/2" cubes and add to bowl.
  7. Cut red onion into 1/4" pieces and add to mixing bowl. Toss lightly.
  8. Add mayonnaise, dijon mustard, honey mustard, cayenne, and pepper to taste. Add salt if needed.
  9. Mix ingredients until combined. Be careful not to overly mix so that most chunks of chicken remain in tact.
  10. Serve either on a sandwich with lettuce and red onion or separately.

Sunday, July 13, 2014

Mexican Style Shrimp Cocktail

Just as our Brown Sugar and Citrus Cured Salmon has become a tradition at our winter celebrations, this sweet-and-spicy shrimp cocktail based on an octopus recipe from the Rick Bayless cookbook has proved to be an immensely popular item at our parties during the warmer months. The first time we served this dish, our guests finished the entire bowl before E.S. even got to try one shrimp! Also like the cured salmon, this recipe is very simple.

Unlike your traditional shrimp cocktail arrangement – in which cooked shrimp are hung on the edge of a container of cocktail sauce – this recipe calls for the shrimp to be tossed in the sauce ahead of time, which allows the flavors of the sauce to penetrate the shrimp. Don’t add the shrimp to the sauce more than three hours before serving the cocktail, or the shrimp will start to get soft.
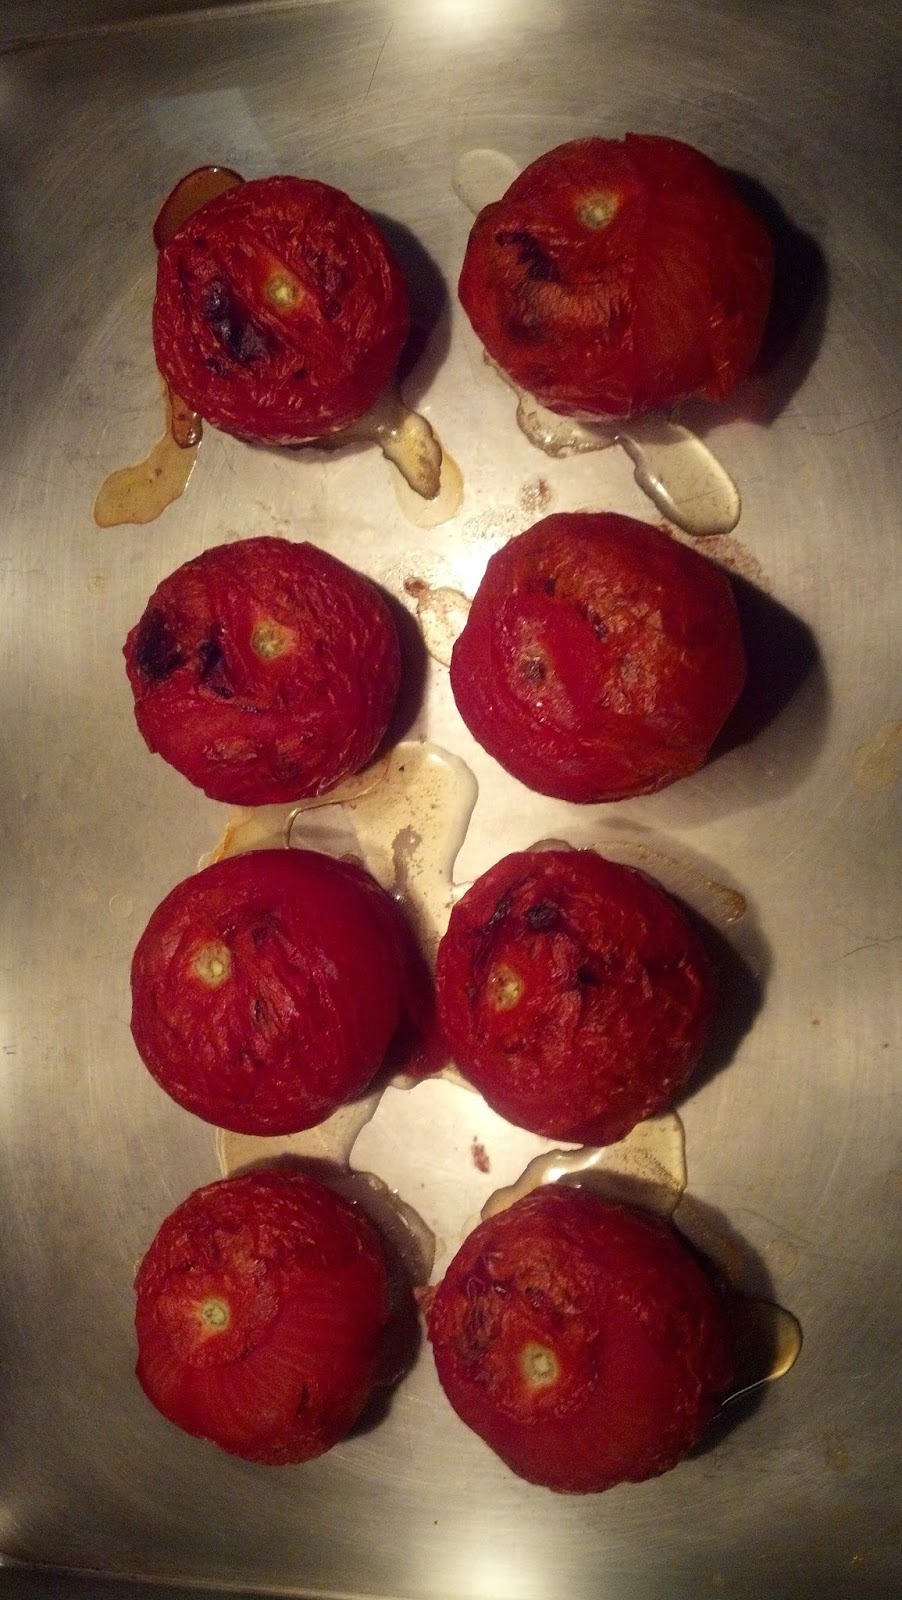
Tomatoes charred under a hot broiler, and a large quantity of hot sauce form the base of the cocktail sauce. I prefer Valencia or Cholula brand hot sauce for this recipe, as both have a subtle horseradish kick that compliments the shrimp nicely. Brown sugar and sherry vinegar provide a sweet contrast that balances the spice in the hot sauce.

Using precooked shrimp purchased from your local fishmonger makes this recipe a breeze. Just whip up the sauce in your food processor, chill in the refrigerator, and then toss in the shrimp. It’s that easy. Of course, if you want to cook your own shrimp, that will work too. Either way, be sure to remove all bits of shell and tail from your shrimp.

Serve this shrimp cocktail as part of a buffet in a large bowl, or as a plated first course in small glass bowls, topped with freshly sliced avocado and chopped cilantro.


Mexican Style Shrimp Cocktail

Ingredients

1 red onion, sliced thin
1 pound ripe tomatoes (2 large or 6 plum)
3 garlic cloves, peeled
1 tablespoon olive oil
2 tablespoons sherry vinegar
2 tablespoons brown sugar
¼ cup Mexican hot sauce (such as Valencia or Cholula brand)
2 ½ pounds cooked shrimp, shells and tails removed
1 ripe avocado, cut into small chunks
3 tablespoons chopped cilantro


Instructions

1. Roast the whole tomatoes on a rimmed baking sheet about four inches below a very hot broiler until splotchy black and thoroughly soft, at least 5 minutes per side. Remove and cool.

2.While the tomatoes are cooling, set the oven temperature to 425 degrees. Spread the onion and whole garlic cloves on a baking sheet and drizzle with the olive oil. Toss to combine. Place in the oven and roast until richly browned, about 15 minutes, stirring a few times to ensure even browning.

3. Pull the blackened skins off of the tomatoes, and scoop them into a food processor. Pulse several times to chop them into small pieces. Scrape into a medium bowl.

4. Scoop the onion and garlic into the food processor (don’t bother to clean the bowl of the food processor between uses). Pulse until finely chopped and add to the bowl with the tomatoes.

5. Add the sherry vinegar, brown sugar and hot sauce to the bowl and combine with the chopped vegetables. Season to taste with salt (I usually add about 2 teaspoons). Chill the cocktail sauce in the refrigerator.

6. An hour or two before you want to serve the shrimp cocktail, add the cleaned shrimp to the bowl and toss to combine. Try a shrimp to see if the cocktail needs additional salt or hot sauce. Once you are satisfied with the seasoning, return the bowl to the refrigerator.

7. When ready to serve, transfer the shrimp and sauce to an attractive bowl and top with the avocado and cilantro. Alternatively, divide the shrimp and sauce among small glass bowls and top each bowl with a few chunks of avocado and some chopped cilantro. Serve with high quality tortilla chips.

Related: Look at our Chilled Cucumber and Avocado Soup recipe to see how to pit an avocado.
Sunday, July 6, 2014

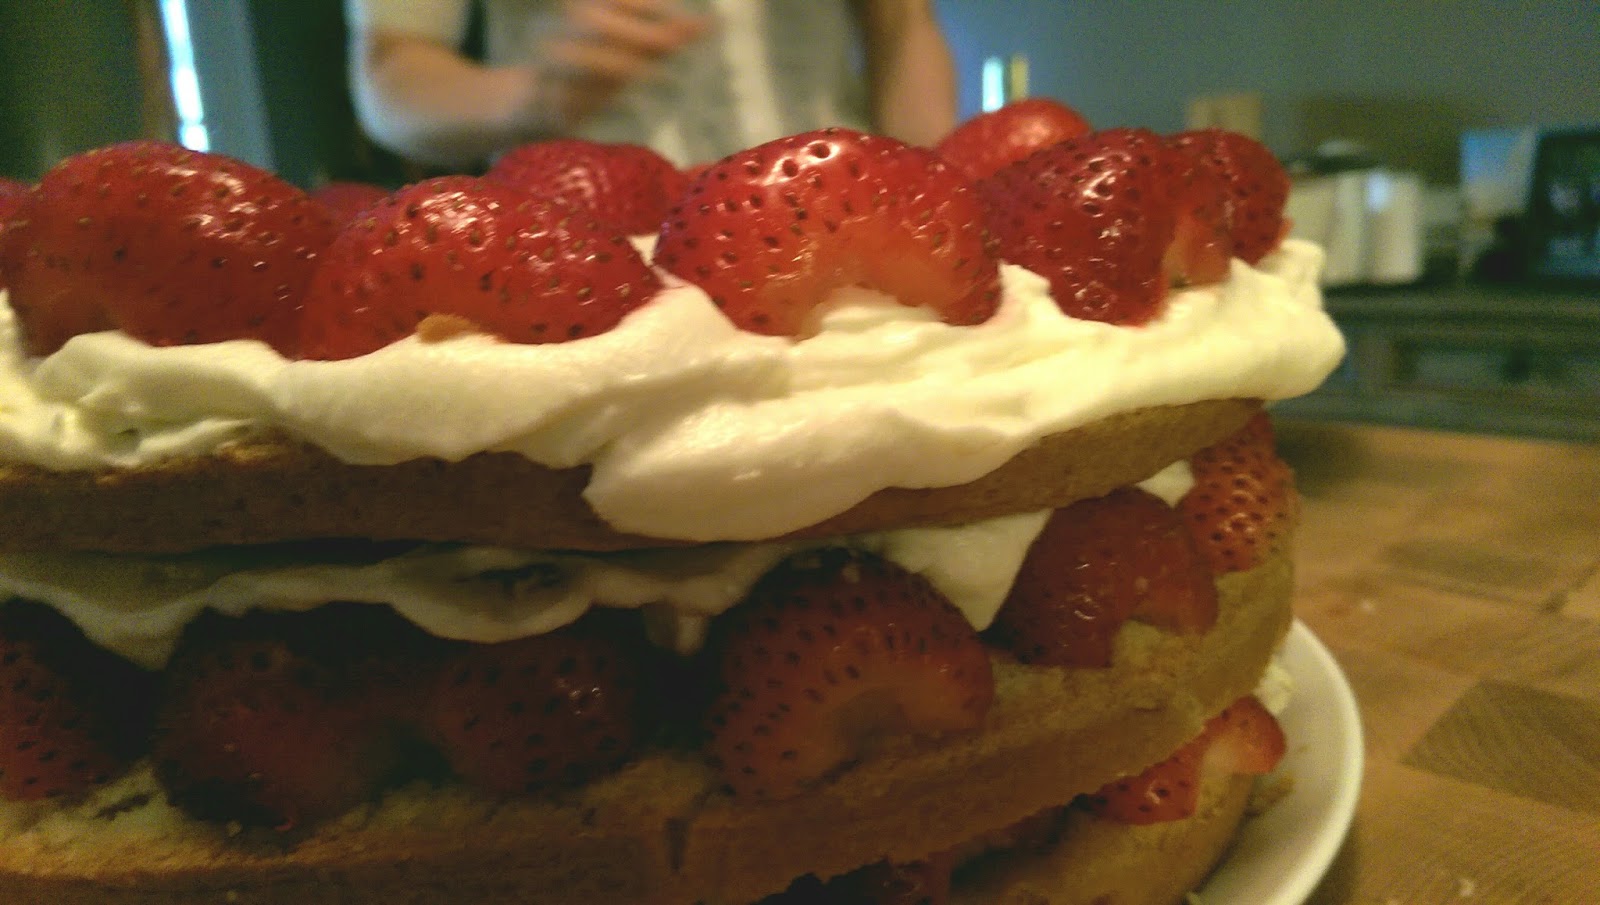
Strawberry Torta (Strawberry and Cream Cake)

Recently, my parents celebrated their 50th wedding anniversary. My mother is Swedish and my parents met in Sweden, so naturally she requested a Swedish dessert. There is nothing more Sweden-in-Summer to me than fresh jordgubbar (strawberries) and fresh whipped cream, lightly sweetened but still a touch of tang. Swedish cooking is about highlighting fresh ingredients while they are still in season, and this cake is really all about highlighting the natural goodness of the strawberries. The cream is just slightly sweetened so as not to overwhelm the berries. Strawberry and Cream torta (cake) is a cross-cultural favorite, and a great way to celebrate Summer, special occasions, or just because. While in traditional Swedish recipes a sponge cake is used, in this recipe a chiffon cake creates a more buttery flavor while keeping the light structure of a sponge cake.


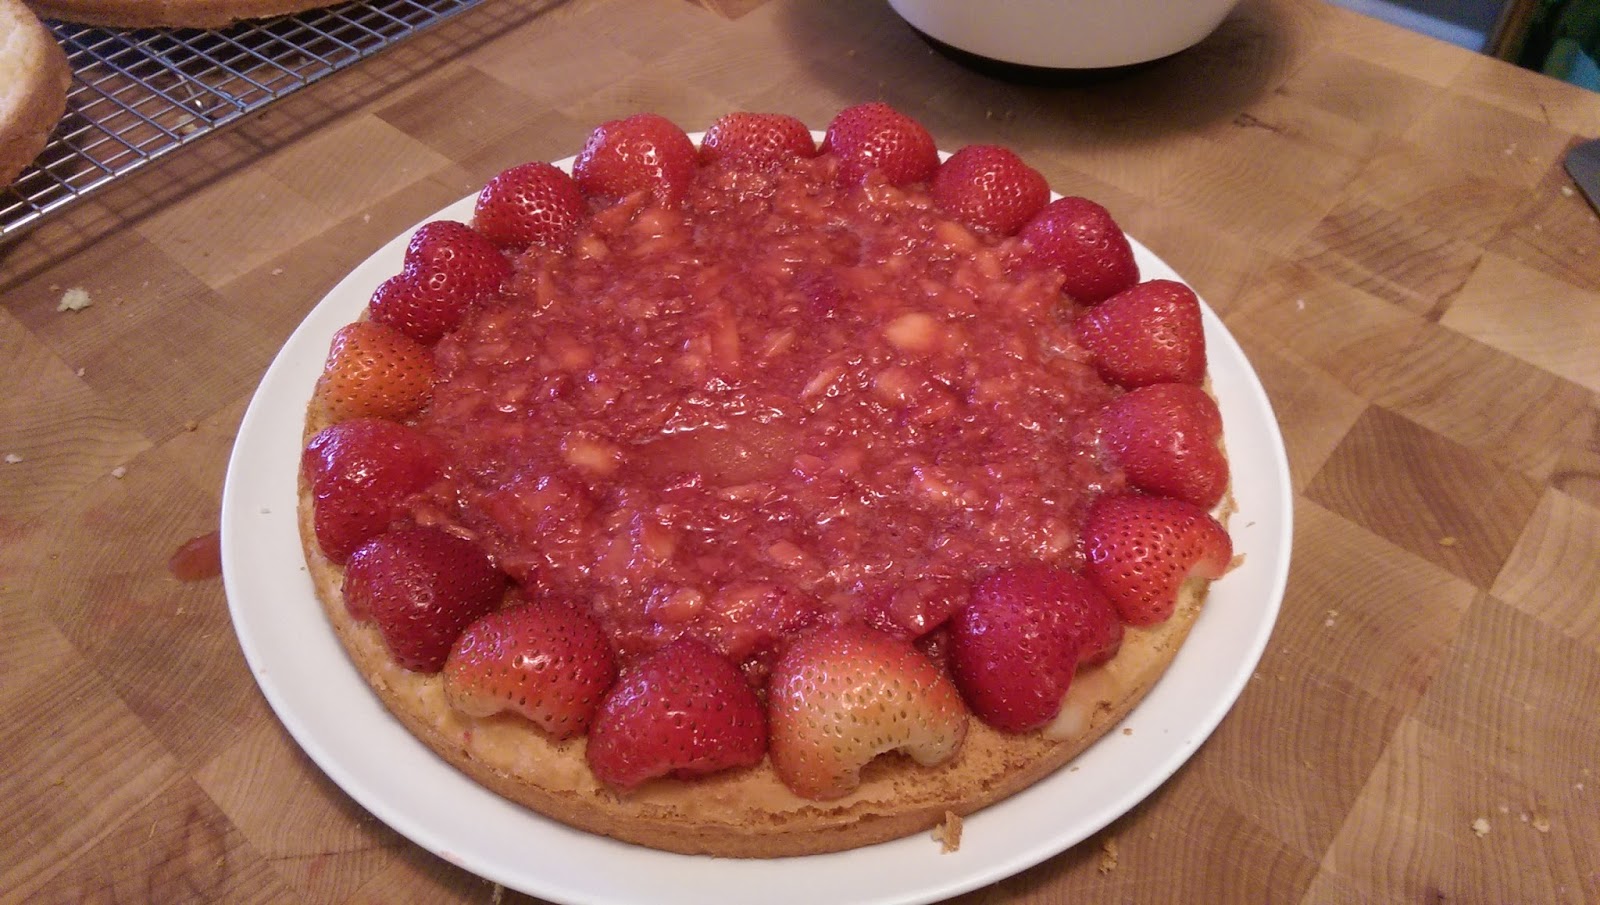
The most intimidating thing about making this cake is torting the cake- or dividing the cake into three layers. Even though it is a tall cake that requires a 2" tall pan or a springform pan, that takes a little precision from an admittedly clumsy person. The first time I made it I went with only two layers, but added mashed strawberry to the top layer, to be topped again with whipped cream. That was pretty good, and certainly was easier to manage with a knife, but I felt the cake to cream ratio could be a little better and that I needed to get comfortable cutting a single cake into three layers. This is particularly true if I ever want to learn how to make princess torta, the royalty of Swedish cakes.

So I went out and got myself a cake leveler. I try not to overdo it on the niche purpose baking goods, I really do. But I will say that this was a wise $7 investment if you're in for the layer cake long-haul. It took all the intimidation away, created nice, flat, even layers with a simple sawing motion. And is thin enough to tuck away in the baking gadgets drawer. I included a video on using the cake leveler below. You want to start just a little below where the top starts to crown (at the lowest point of the cake) for your first layer. If you are using the leveler and are having trouble getting it started, use the knife to start and then start sawing back and forth and gently rotating the cake.
The original recipe for this is from Cook's Illustrated, but I found the way they organized ingredient measurements to be confusing so I adjusted it for a better mis en place. I also am the type of person that always feels very guilty taking up a bunch of pantry space with a bag of cake flour, so I rewrote the recipe for all-purpose flour. If you have cake flour on hand, use 1 1/4 cup cake flour instead of the all purpose flour and omit the cornstarch from the recipe (1 cup cake flour=7/8 cup all purpose flour + 2 tablespoons corn starch). If you want to plan ahead, you can make the cake portion, free it in plastic wrap (at least double wrapped), then thaw 2 hours before you want to make the cake. If you want to make it the night before, leave cutting the cake to right before you are ready to decorate, cover in plastic wrap, and put in fridge for night.

Lastly, this particular cake that got photographed I made when friends brought over raspberries from their garden. So obviously I put the raspberries on the cake. You don't mess around with that. There's also raspberry in the Frambois we used (Chambourd) in place of Kirsch, due to Frambois being a little easier to locate, so it all works out.


Ingredients


For the cake
1 cup and 1 1/2 tablespoons All Purpose flour (If using cake flour, use 1 1/4 cup cake flour and omit the cornstarch)
2 1/2 tablespoons cornstarch
1 1/2 teaspoons baking powder
1/4 teaspoon table salt
1 cup sugar
2 large eggs, room temperature
3 egg yolks, room temperature
3 egg whites, room temperature
6 tablespoons unsalted butter, melted and cooled slightly
2 tablespoons water
2 teaspoons vanilla extract
plain bread crumbs (optional)

For the Strawberry Filling
2 pounds fresh strawberries (medium or large, about 2 quarts), washed, dried, and stemmed
5- 6 tablespoons sugar
2 tablespoons Kirsch or a Frambois like Chambourd
pinch table salt

 
For the Whipped Cream   
8 ounces cream cheese, room temperature 
1/2 cup sugar
1 teaspoon vanilla extract 
1/8 teaspoon table salt 
2 cups heavy cream (more local the better)

Instructions 

  1. FOR THE CAKE: Adjust oven rack to lower-middle position and heat oven to 325 degrees. Grease and line with a very light dusting of bread crumbs, (or flour if you don't want to be as Swedish about it) round 9 by 2-inch straight sided cake pan or 9-inch springform pan and line with parchment paper. 
  2. Set three tablespoons of the sugar aside for use later. 
  3. In medium mixing bowl, whisk flour, cornstarch, baking powder, salt, and rest of the sugar in mixing bowl. 
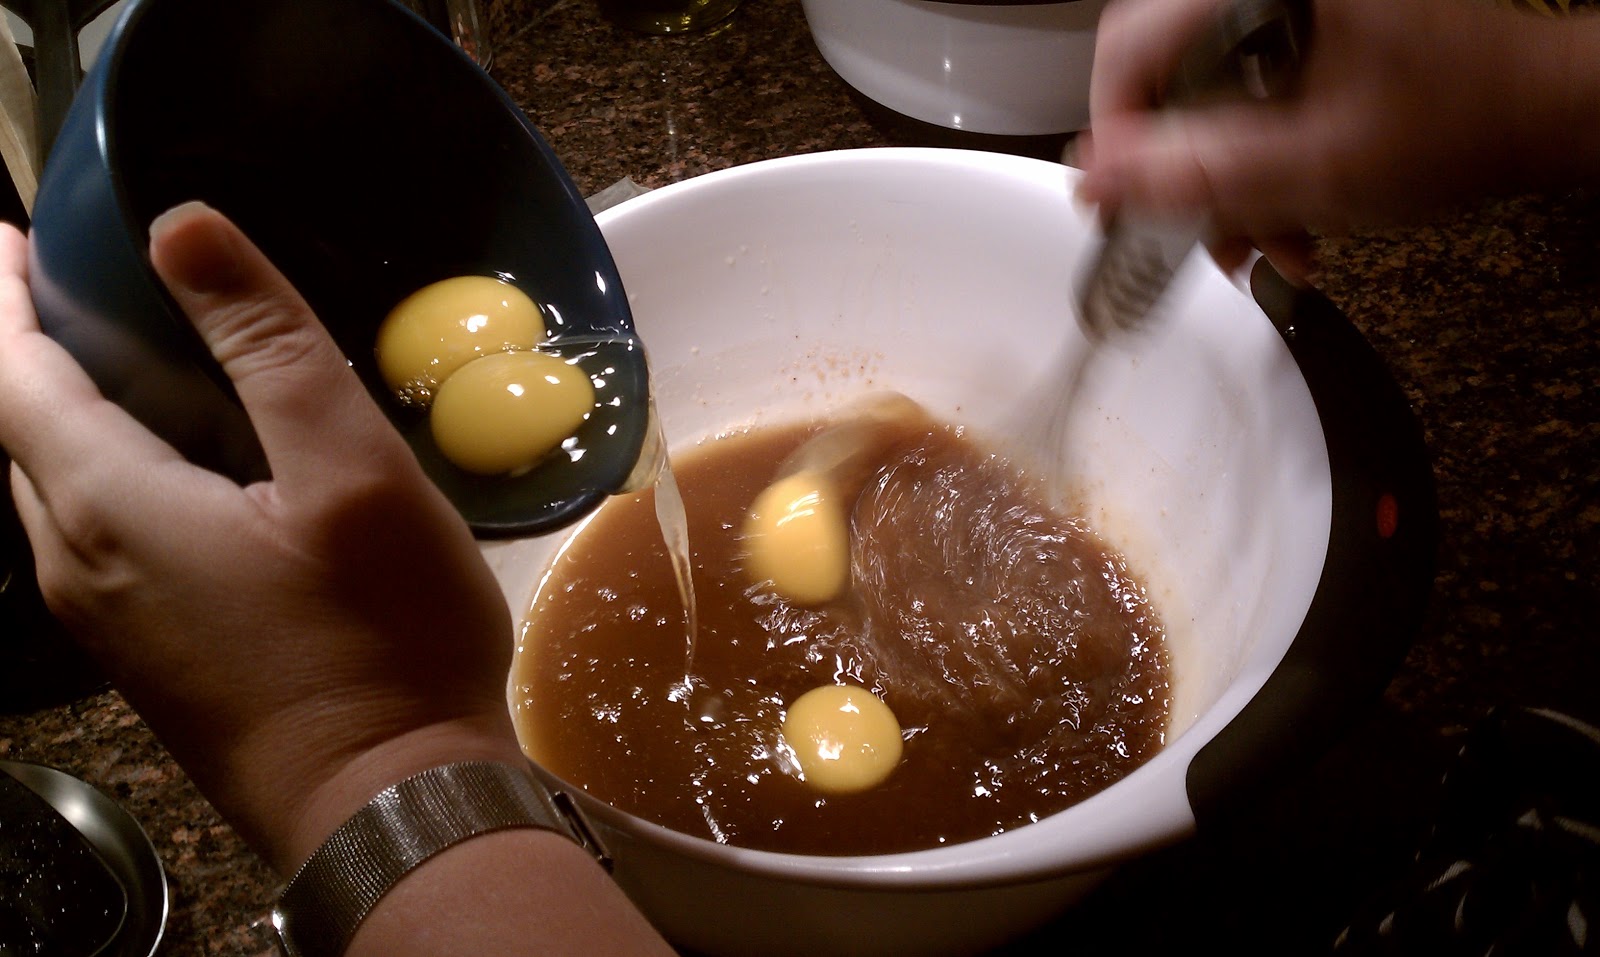
  4. Whisk in 2 whole eggs and 3 yolks, butter, water, and vanilla; whisk until smooth.
  5. In clean bowl of standing mixer fitted with whisk attachment, beat remaining 3 egg whites at medium-low speed until frothy, about 2 minutes. 
  6. With machine running, gradually add the reserved 3 tablespoons sugar. 
  7. Increase speed to medium-high, and beat until soft peaks form, about 2 minutes. 
  8. With a rubber spatula, stir one-third of whites into yolk batter to lighten. 
  9. Add remaining whites and gently fold into batter until no white streaks remain. 
  10. Pour batter into prepared pan and bake until toothpick or wooden skewer inserted into center of cake comes out clean, 30 to 40 minutes. 
  11. Cool in pan 10 minutes, then invert cake onto greased wire rack; peel off and discard parchment. Invert cake again; cool completely, about 2 hours, during which you can complete the filling and the cream.


  12. FOR THE STRAWBERRY FILLING: Halve 24 of best-looking berries and reserve. 
  13. Quarter remaining berries; toss with 4 to 6 tablespoons sugar (depending on sweetness of berries) in medium bowl and let sit 1 hour, stirring occasionally. 
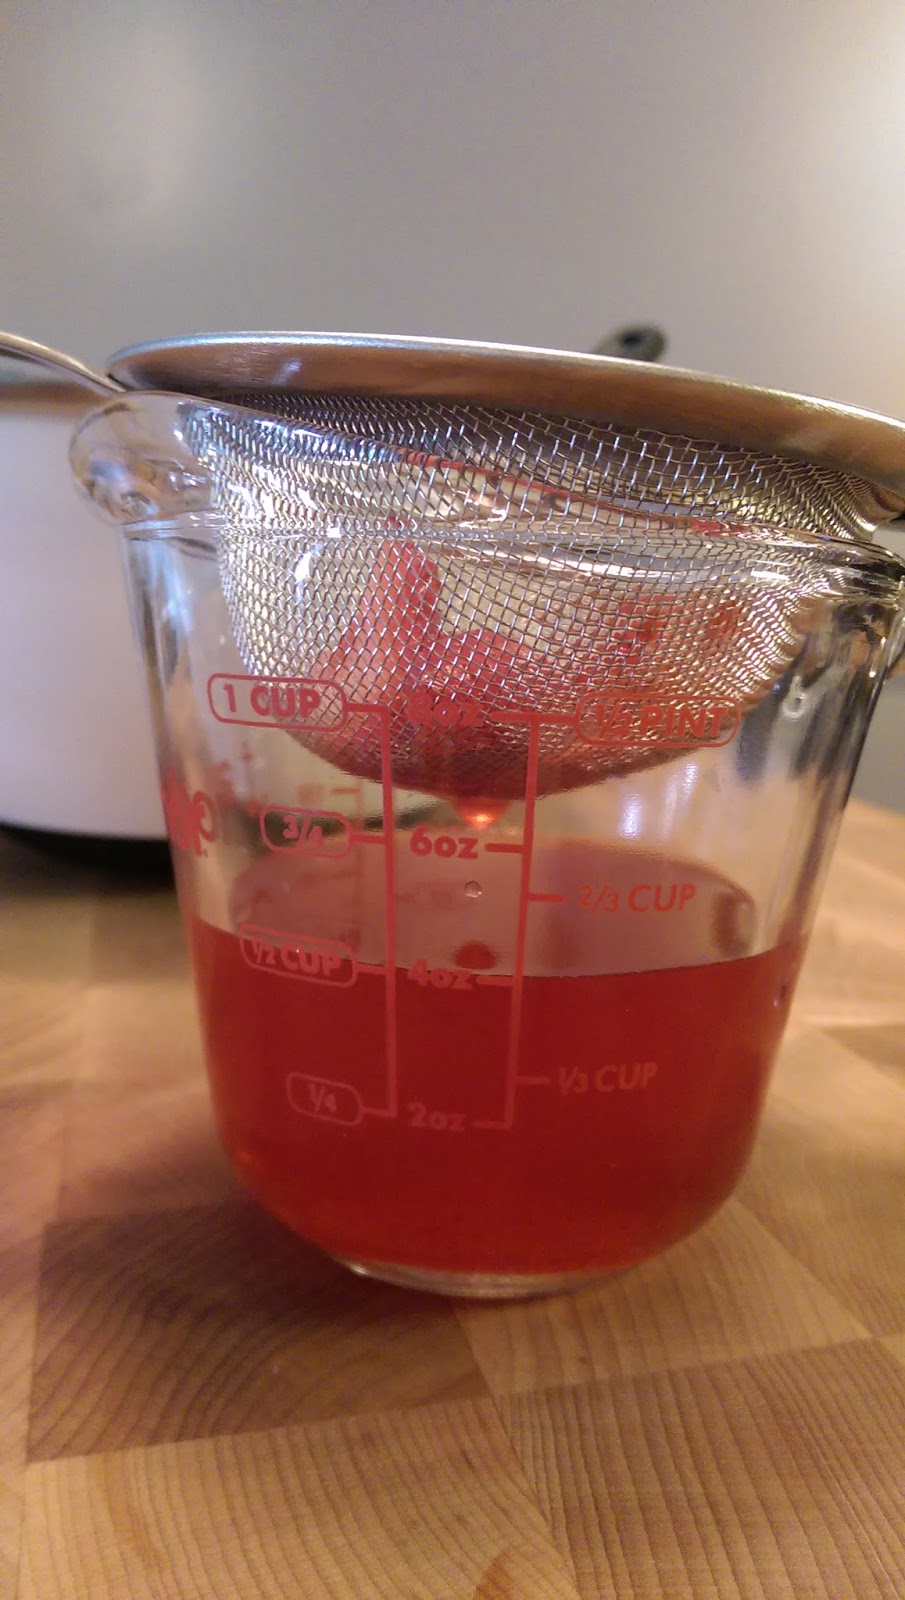
  14. Strain juices from berries and reserve (you should have about 1/2 cup). 
  15. In workbowl of food processor fitted with metal blade, give macerated berries five 1-second pulses (you should have about 1 1/2 cups). 
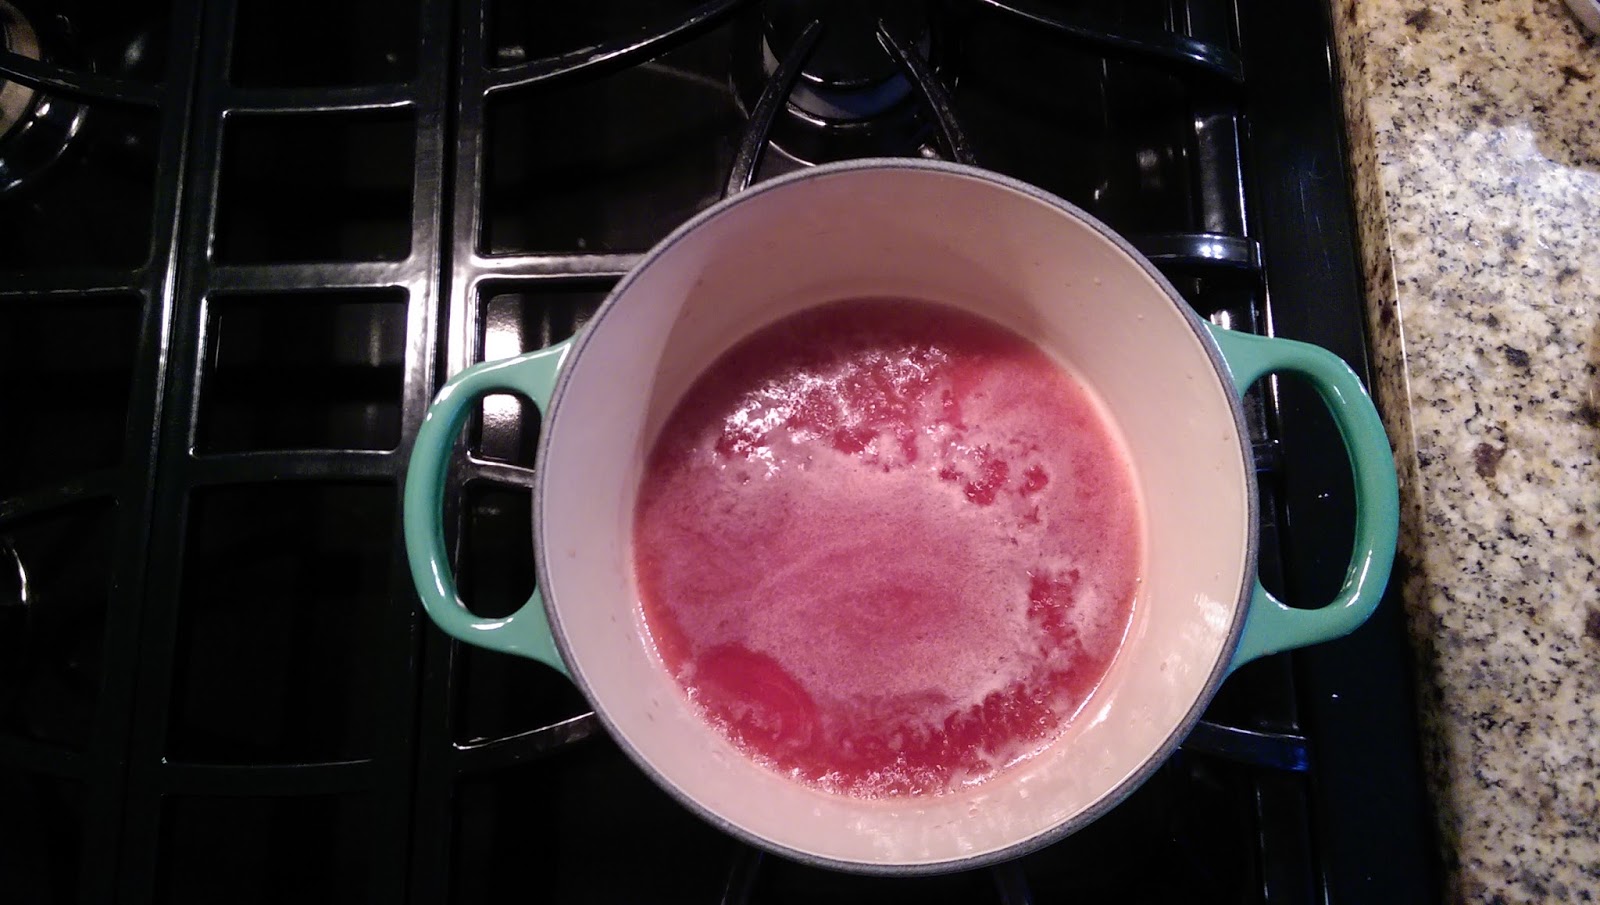
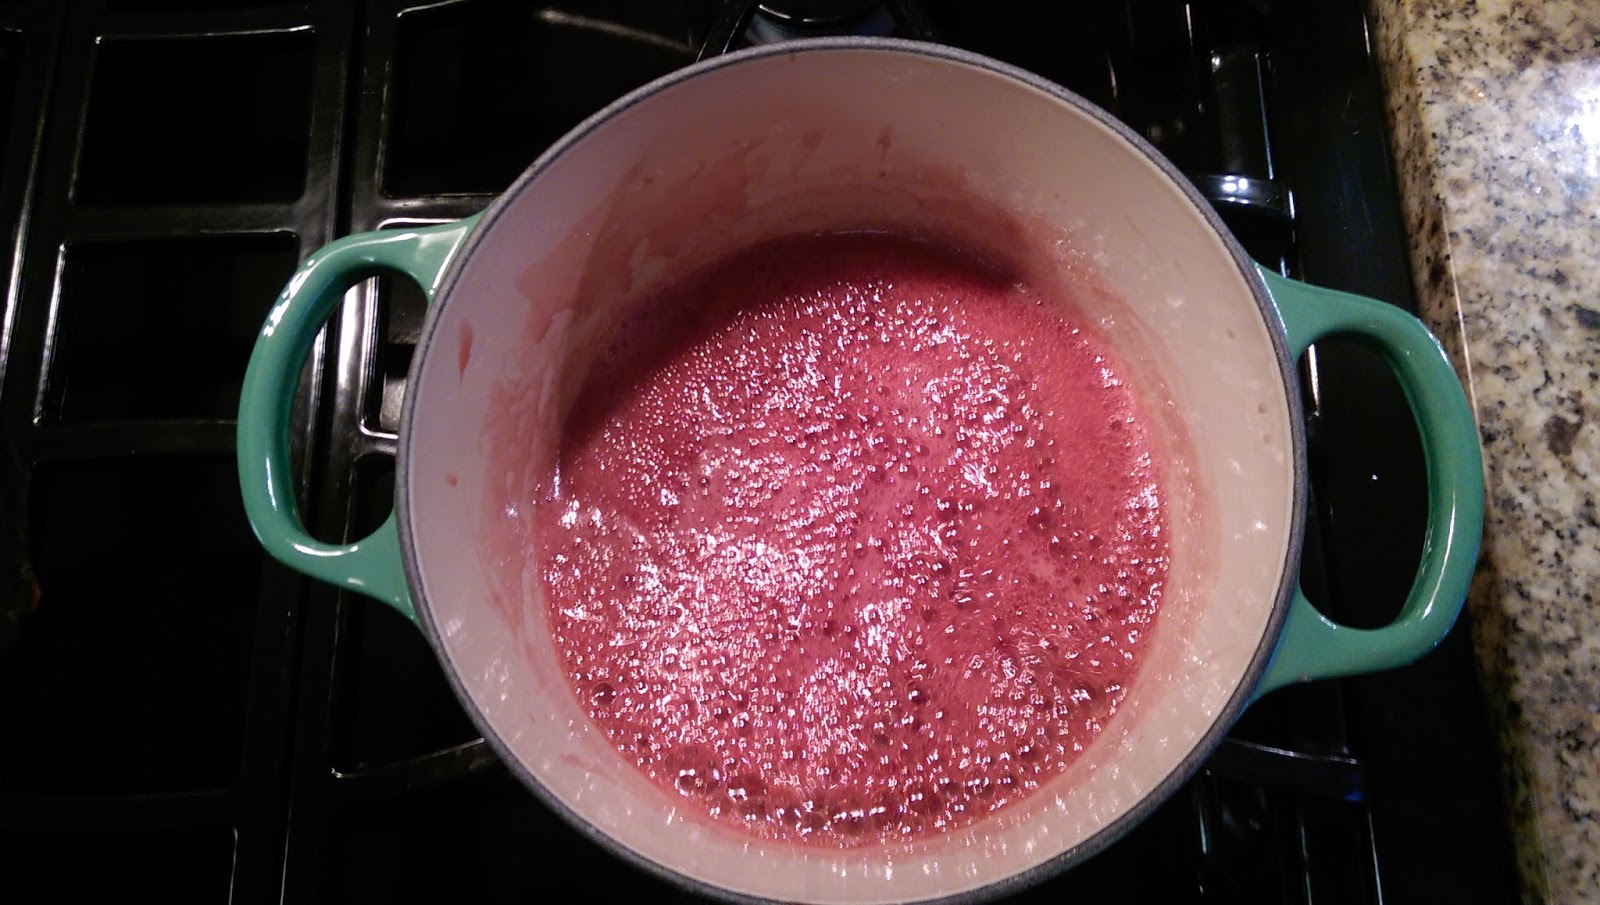
  16. In small saucepan over medium-high heat, simmer reserved juices and Frambois until syrupy and reduced to about 3 tablespoons, 3 to 5 minutes. 
  17. Pour reduced syrup over macerated berries, add pinch of salt, and toss to combine. Set aside until cake is cooled. If you want to wait to whip the cream and decorate right before serving, you can pause here.


  1. FOR THE WHIPPED CREAM: When cake has cooled, place cream cheese, sugar, vanilla, and salt in bowl of standing mixer fitted with whisk attachment. 
  2. Whisk at medium-high speed until light and fluffy, 2 to 3 minutes, scraping down bowl with rubber spatula as needed. Reduce speed to low and add heavy cream in slow, steady stream; when almost fully combined, increase speed to medium-high and beat until mixture holds stiff peaks, 2 to 3 1/2 minutes more, scraping bowl as needed (you should have about 4 1/2 cups).


  1. TO ASSEMBLE THE CAKE: If using a large serrated knife, slice cake into three even layers. If only making a two layer cake, slice in half with knife. If using a leveler, set the leveler slightly below where the cake starts to crown at the lowest part of the cake if your oven is uneven to cut the first layer. Halve the remaining cake.
  2. Place bottom layer on cardboard round or cake plate bottom side up and arrange ring of 20 strawberry halves, cut sides down and stem ends facing out, around perimeter of cake layer. 
  3. Pour one half of pureed berry mixture (about 3/4 cup) in center, then spread to cover any exposed cake. 
  4. Gently spread about one-third of whipped cream (about 1 1/2 cups) over berry layer, leaving 1/2-inch border from edge, reaching the tips of the strawberry ring. 
  5. Place middle cake layer (or top layer if only doing two layers) on top and press down gently Whipped cream layer should become flush with cake edge. 
  6. Repeat with 20 additional strawberry halves, remaining berry mixture, and half of remaining whipped cream.
  7. Gently press last cake layer upside down on top. If doing only two layers, go to step 28.
  8. Spread remaining whipped cream over top.
  9. Decorate with remaining cut strawberries. 
  10. Serve, or chill for up to 4 hours.

Wednesday, June 4, 2014

The Perfect Chocolate Chip Cookies with Toffee Chunks and Brown Butter

The chocolate chip cookie. The baseline from which all other cookies must be judged, and yet a category so generous that it includes several robust sub-categories: crispy thin chocolate chip cookies, oversize jumbo chocolate chip cookies, chocolate chip cookies containing alternatives to chocolate chips, and classic Tollhouse chocolate chip cookies. This recipe is a combination of those last two categories, and is my spin on the Cook's Illustrated chocolate chip cookie recipe. These are the chocolate chip cookies I bring into work on Monday, and that I might perhaps bring to your 4th of July picnic.

The secret to the recipe is browning most of the butter to add to the toffee notes of this chewy centered/crispy edged cookie. I took it a step further with a healthy dose of toffee bars, because if there is one thing that is true, it is that the Swedish people are a toffee-loving people. I prefer using Skol bars (or Daim if they are around, which is rare), but most often due to super market availability I end up using Heath Bars. I tend to think that taking the time to cut the larger bars into chunks makes for a better cookie, just like chocolate chunks make a better cookie than chocolate chips, but you can also find Bits of Heath or mini-heath bars that can speed the process up a bit. The end result is still a pretty awesome cookie, larger than your average Tollhouse cookie because, let's face it, nobody is satisfied by a single average size Tollhouse cookie. I challenge you to find a person who sees a larger chocolate chip cookie, and doesn't consider that a positive development.

As far as browning butter is concerned, the ideal is to have a light colored metal pan, as opposed to a nonstick pan. The dark coloring of the nonstick pan can make it a little more difficult to see when your butter is starting to brown and doesn't retain heat quite as well. When the butter is browned to a dark golden brown, it will start to smell nutty, and yes even a bit toffee-like. Your hand should get tired, if not from browning the butter than by the amount of whisking in this recipe. That can't be helped. Delicious will do what it does, and it'll take as long as it takes. Here is a video on how to make brown butter. Remember that it can go from brown to burnt quite fast, so move it from the hot pan to the heat proof bowl fast once it hits peak nuttiness. Brown butter is also the type of thing that you can make in larger batches and save in ice cube trays in the freezer for other recipes (although also remember that you need this brown butter hot enough to melt the rest of the butter for the recipe). You can either discard the milk solids through a strainer or use them. I tend to use them, as I don't mind the little flecks in the cookies and think they have flavor.

Much like I prefer delicious impurity filled grade B maple syrup for its more intense flavors, I prefer dark brown sugar to light brown sugar, but both work well. I tend to think that the darker my mix of brown butter and sugar is, the more complex my flavors end up being. Fun fact- if you have no brown sugar, a quick fix substitution is adding a tablespoon of molasses to white sugar, then pulsing in a food processor to blend. One final note, this is the recipe where I learned how to correctly level flour in a measuring cup. Scoop down and grab a full/overflowing cup of flour. Do not press down. Take a knife, and in one brisk swish, swipe it across the measuring cup. More accurate than filling from the bag or with scoops.    

Chocolate Chip Cookies with Toffee Chunks


Ingredients

  • 1 3/4 cups all-purpose flour (8 3/4 ounces, I prefer King Arthur)
  • 1/2 teaspoon baking soda
  • 14 tablespoons unsalted butter (1 3/4 sticks, 10 tablespoons for browning and 4 tablespoons reserved at room temperature)
  • 1/2 cup granulated sugar (3 1/2 ounces)
  • 3/4 cups packed dark brown sugar (5 1/4 ounces)
  • 1 teaspoon table salt
  • 2 teaspoons good vanilla extract
  • 1 large egg, room temperature
  • 1 large egg yolk, room temperature
  • 1 1/2 cups semisweet chocolate chips or chunks (12 oz for chunks, I prefer Ghiradelli semisweet or bittersweet)
  • 1 cup chopped heath bars (or other toffee bar such as Daim or Skol, etc.)

Instructions

  1. Adjust oven rack to middle position and heat oven to 375 degrees. Line 2 large (18- by 12-inch) baking sheets with parchment paper or silpat. 
  2. Whisk flour and baking soda together in medium bowl; set aside.
  3. Heat 10 tablespoons of the butter in a light colored skillet over medium-high heat until melted. Continue cooking, swirling pan constantly until butter is dark golden brown and has nutty aroma, about 3 minutes, depending on the heat of the pan. Remove skillet from heat quickly and, using heatproof spatula, transfer browned butter to large heatproof bowl. 
  4. Stir in remaining 4 tablespoons butter into hot butter until completely melted. These extra tablespoon make up for the milk solids that were burned off during the browning process.
  5. Add both sugars, salt, and vanilla to bowl with butter and whisk until fully incorporated.
  6.  Add egg and yolk and whisk until mixture is smooth with no sugar lumps remaining, about 30 seconds. Let mixture stand 3 minutes, then whisk for 30 seconds. Repeat process of resting and whisking 2 more times until mixture is thick, smooth, and shiny. Setting a timer can be helpful. The waiting process allows the sugar molecules to dissolve into the butter mixture better.
  7. Using rubber spatula or wooden spoon, stir in flour mixture until just combined, about 1 minute. 
  8. Stir in chocolate chips and toffee chunks, giving dough final stir to ensure no flour pockets remain.
  9. Divide dough 3 tablespoon portions (we use our smaller sized ice cream scoop or a little over an 1/8 cup measure). Arrange 2 inches apart on prepared baking sheets, 8 dough balls per sheet, staggered.
  10. Bake cookies 1 tray at a time until cookies are golden brown and still puffy, and edges have begun to set but centers are still soft, 10 to 14 minutes, rotating baking sheet halfway through baking.  Remember for the second set of cookies to give your oven a minute to come to temperature again after removing the first sheet.
  11. Let cool on rack for one minute, then transfer baking sheet to wire rack; cool cookies completely before serving. I know that part is hard. If you need to re-load the sheet, let the cookie sheet cool for five minutes before loading more cookies onto it.

Thursday, December 19, 2013

Wasabi Deviled Eggs with Sriracha

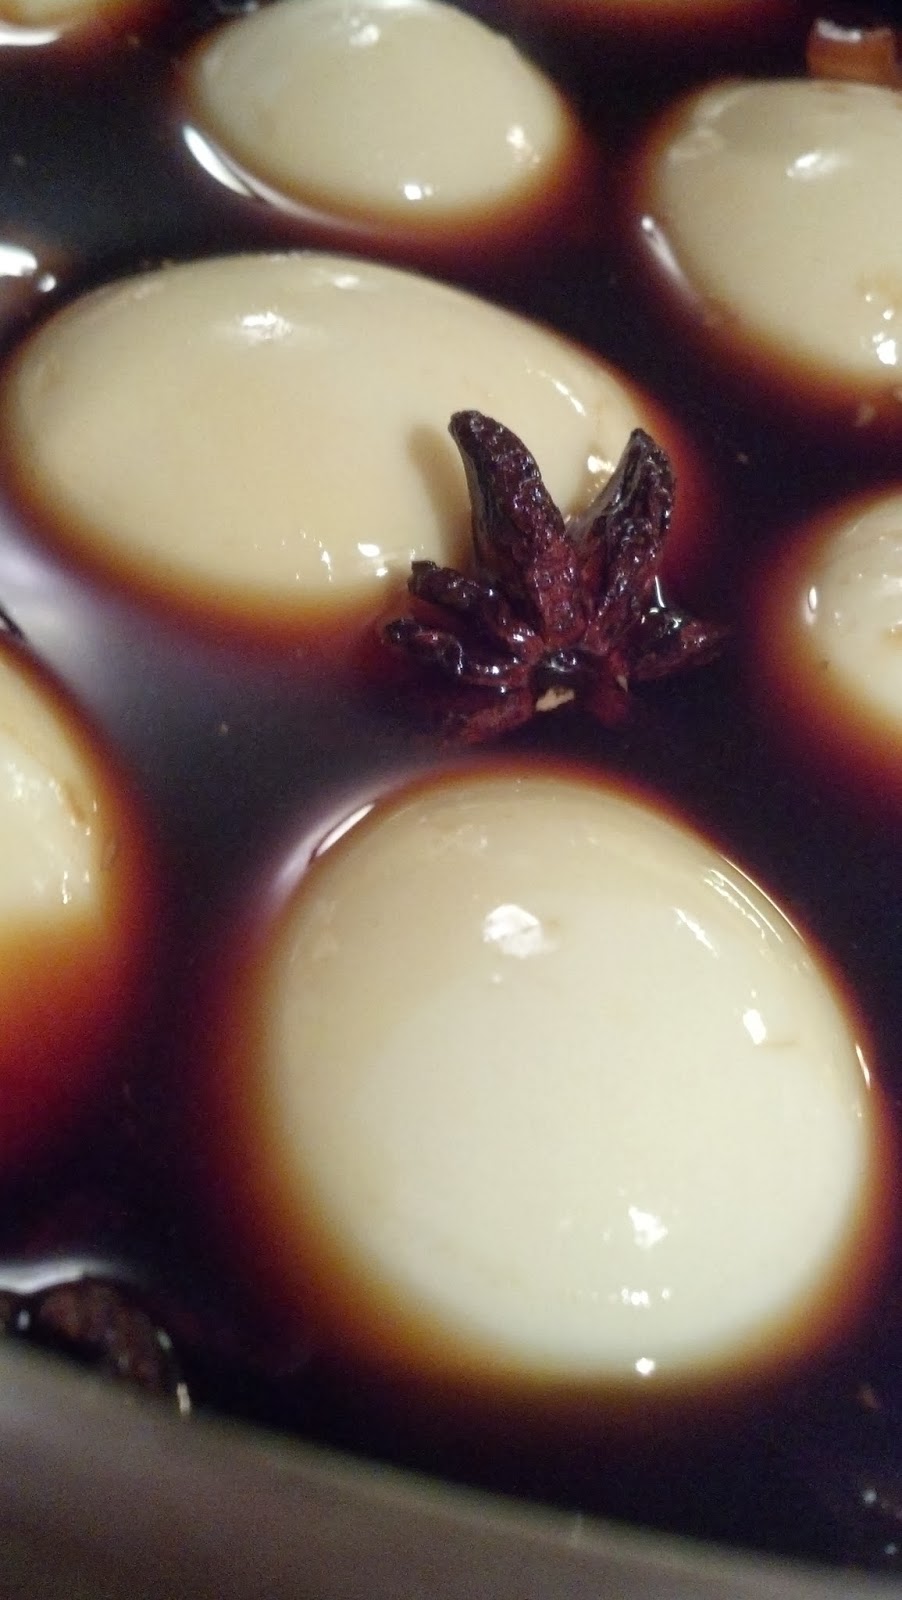
Deviled eggs are a timeless tradition of delectable snacking that lends itself well to pretty much any party or potluck in any season. These deviled eggs are no exception, and were added to our Holiday Party line up. They are salty, spicy, and have a subtle hint of star anise that makes for a more Eastern take of a Southern classic. I love deviled eggs in pretty much every available format, but the only thing better than one kind of deviled egg is SEVERAL kinds of deviled eggs.

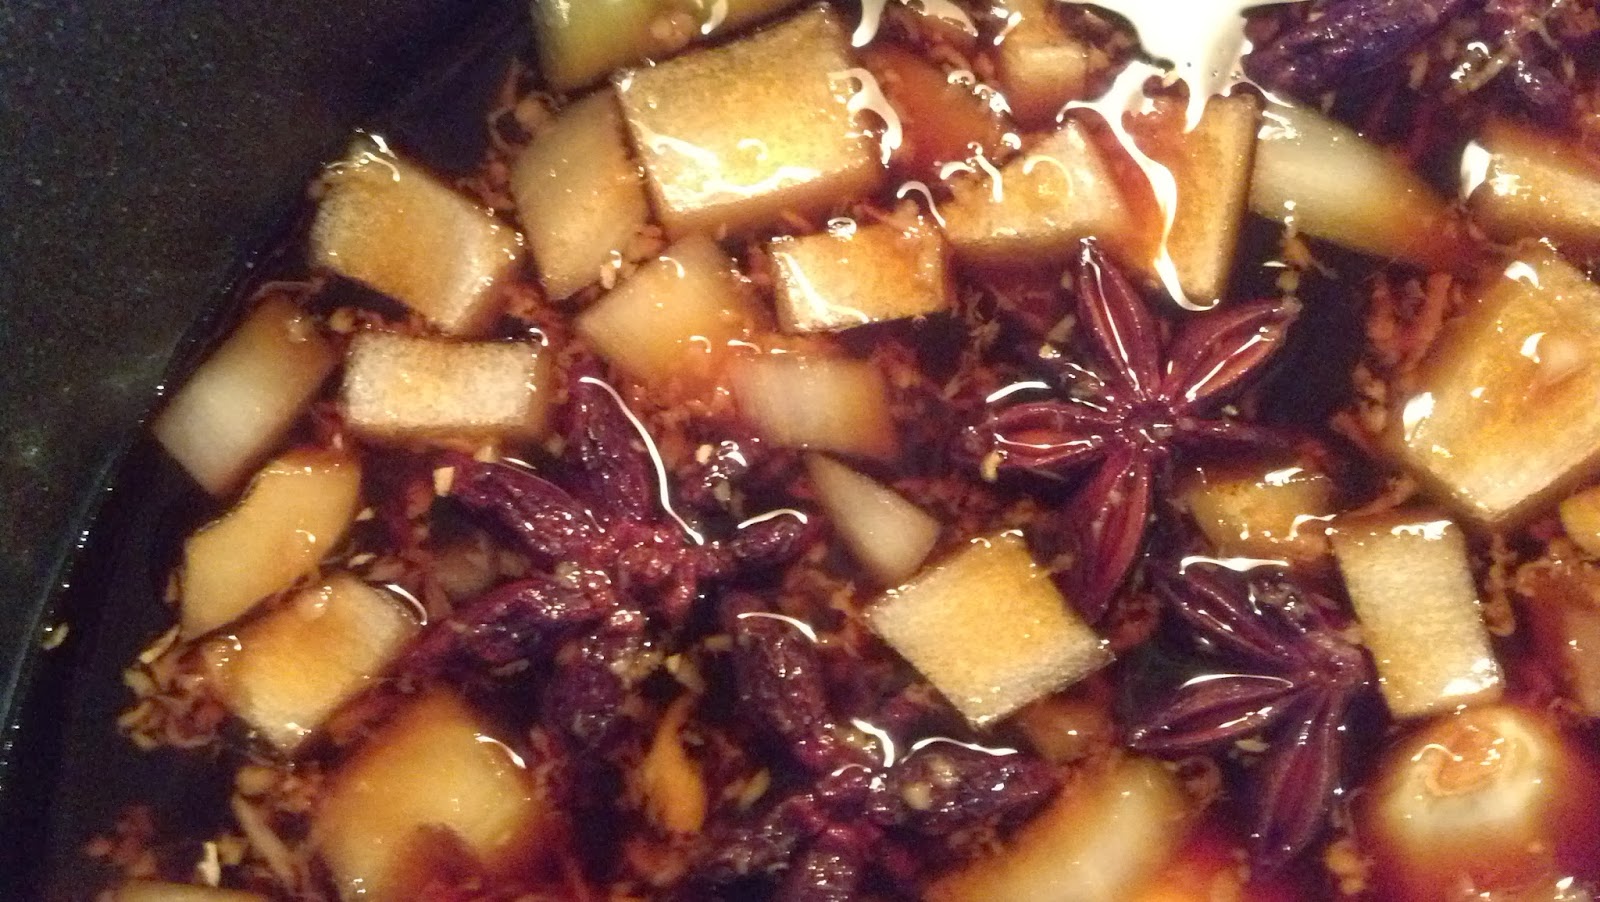
The original recipe (available at the Food and Wine website), uses scallions in the marinade, but we were fresh out of scallions when we first made these and substituted a combination of onions and garlic in its place, as this is essentially a marinade so presentation really isn't an issue. It worked wonderfully. The main flavors from the marinade are fresh ginger, soy, sake, and star anise and the onion is more of a background note. And given we are more likely to have an onion on hand than to have a bunch of scallions, it's been a useful substitute.

The star of this show is the wasabi and sriracha filling, which takes this from just being salty to packing a kick at the end of each bite that makes people eat them before I am able to take the "finished" photo of what they look like, which gives you a sense of their popularity. If you want a quick and dirty version that doesn't involve a bunch of star anise and hours of marinating, you can just make the filling and skip the marinade. Your eggs won't get a cool tint and will not have quite the complexity, but the filling is pretty delicious on its own. Even with the marinade, this still qualifies as a pretty easy recipe. If you want to throw some extra eggs in there, go ahead. We've squeezed in 15 eggs into the marinade without increasing the amounts of the marinade (this might require more stirring for even coating). Above that I would recommend making some extra marinade.
 

Wasabi Deviled Eggs with Sriracha

Makes 24 eggs

Ingredients

1/4 cup sugar
1/4 cup coarsely grated peeled fresh ginger
1/2 cup sake
1 cup water
2 cups soy sauce
10 star anise pods


1 medium yellow onion, chopped (or 1/2 cup of chopped scallions)
6 cloves garlic, peeled
1 dozen large eggs 
1 tablespoon Sriracha  
1/4 cup plus 1 tablespoon mayonnaise
1/4 cup snipped chives
2 1/2 teaspoons wasabi paste 
Chinese five-spice powder 


Instructions 

  1. In a medium saucepan, combine the water, soy sauce with the sake, star anise, onion (or scallions if using), garlic, sugar and grated ginger.
  2. Bring soy mixture to a boil. Transfer the mixture to a heatproof medium bowl and let cool completely. 
  3. Meanwhile, in a large saucepan, cover the eggs with cold water and bring to a boil. Boil for one minute, then cover the saucepan, remove from heat, and let stand 10 minutes until hard boiled.
  4. Drain the water from the large saucepan. Cool the eggs slightly under cold running water to stop the cooking process, then peel them under cold running water. 
  5. Add the eggs to the completely cooled soy mixture. Cover with plastic wrap and refrigerate the eggs for at least 4 hours, stirring once in awhile to ensure that all the eggs are fully immersed in the soy mixture and will color evenly.
  6. Drain the eggs and rinse lightly to remove any bits of scallion or ginger; pat dry. The outside of the eggs will become a tannish brown color.
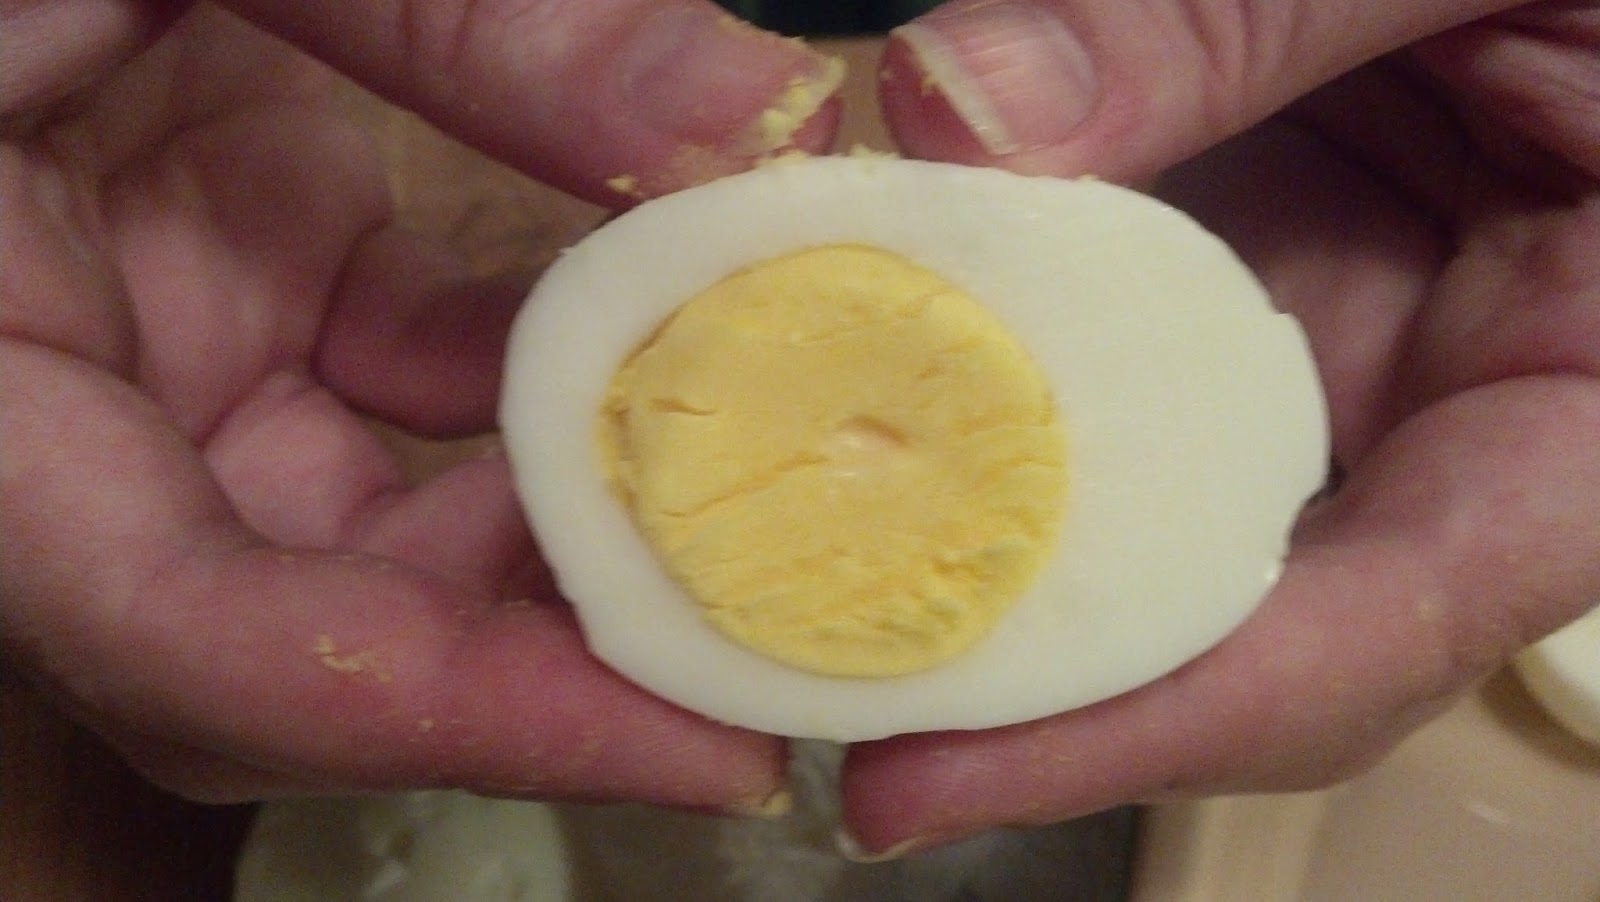
  7. Using a slightly moistened thin, sharp knife (non-serrated), cut the eggs in half lengthwise. Yolks should be bright yellow, cooked all the way through, and the knife should cut cleanly through the yolk.
  8. Gently pry the egg yolks into a medium bowl without breaking the cooked white. Leave the whites aside and mash yolks with a fork or potato masher until the mixture is as free of lumps as possible. If some remain, they will be taken care of during the piping process.
  9. Stir the mayonnaise, Sriracha, wasabi and 3 tablespoons of the snipped chives into the mashed yolks until fully combined.
  10. Transfer the mixture to a pastry bag fitted with a star or plain tip. Set the egg whites on a serving platter and pipe in the filling. If you don't have a pastry bag, cut off the corner of a plastic Ziploc bag, or just use a spoon for a slightly more rustic but equally delicious look. At this point, if you are making these ahead of time, you can stop here and store the eggs in a fridge overnight until ready to serve.
  11. Right before serving, sprinkle a pinch of Chinese five-spice powder on each of the deviled eggs then top with the remaining chive snips or thinly sliced scallions if wanted.