Showing posts with label kirsch. Show all posts

Saturday, September 6, 2014

Fresh Plum Ice Cream

Plums are my favorite of the fruits. I could eat an entire bag of plums in one sitting. The problem is that for every delicious, sweet, dripping and perfect plum, I eat probably five or so tart, hard, and not-yet-ready plums in anticipation. Plum season is woefully short. It occupies only a few weeks in August/September (although plums are available much longer). So the trick is to have some ways to use those close-but-no-cigar, not-quite-ready plums to capitalize on their increased availability. 

While making this recipe with in-their-prime plums is ideal (the better your fruit, the better your ice cream), you can extract an incredible amount of sweetness out of the plums through boiling, even if starting with a tart plum. Just the smell and the beautiful color of the plums in the pot will tell you how wonderful your ice cream is going to be. The end result is not overly sugary or cloying (the downfall of many fruit or berry ice creams) or rich. This is a light summer fruit ice cream that we've served with our Meyer Lemon Yogurt Cake in the photos.


Adding plum ice cream to ice cream maker This ice cream is also notable because you do not make a custard and you do not use eggs. Simply create your fruit and syrup, add cream, and blend. If you're worried about accidentally cooking the eggs when making custard, but want something with cream and more body and smoothness than a sorbet, this is a great option. The lovely color is all natural from the skin of the plums (which, no, you do not have to peel the plums, and don't worry about slight bruising). Any type of plum will do. Pick the ones most in season. We used red plums, but black or any can work. The recipe was written in David Lebovitz's Perfect Scoop for wild plums. We substituted frambois for the kirsch due to what we had on hand.

Serve by itself, with fresh fruit, with cake, or however you want. It makes one quart of ice cream.


Plum Ice Cream


Ingredients

1 pound plums (whatever available, around 5-8 depending on varietal)
1/3 cup water
3/4 cup plus 2 tablespoons sugar
1 cup heavy cream
1/2 teaspoon kirsch or frambois


Instructions

  1. The night before, make sure bowl for ice cream maker is chilling in the freezer.
  2. Cut plums in half and remove pits.
  3. Cut each half in quarters (approximately 8 slices per plum).
  4. Place in medium (3 qt) non-reactive saucepan.
  5. Add water. The juices from the plums will create the rest of the necessary moisture.
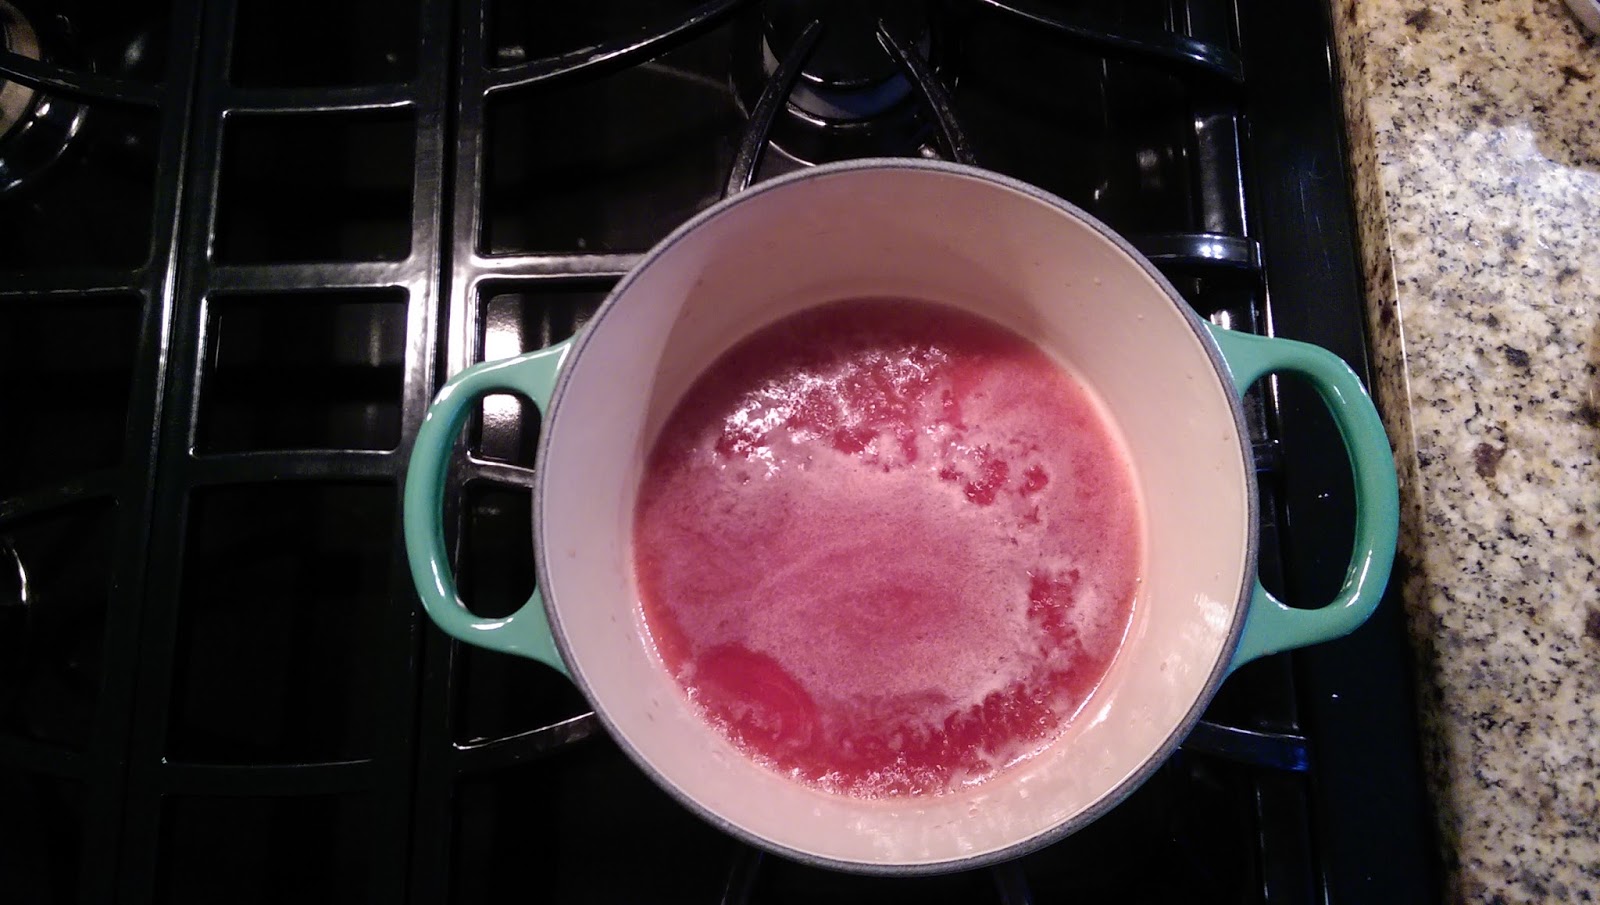
  6. Cover and cook over medium heat for about 8-10 minutes or until tender and easily split without resistance by pressing with the back of a wooden spoon.
  7. Remove from heat and stir in sugar until dissolved.
  8. Cool to room temperature (about an hour)
  9. Once cool, puree in a blender with the heavy cream and framboise until smooth and peels have been broken down as much as humanely possible.
  10. Chill mixture, pref. overnight but at least six hours.
  11. After thoroughly chilling, start ice cream maker and slowly add plum mixture in a drizzle. Note, this is written for our fairly standard $50 Cuisinart ice cream maker. If your ice cream maker's instructions are different, follow the directions for your ice cream maker.
  12. Run ice cream maker until mixture is no longer visibly moving around the scraper, and then wait a couple minutes longer, up to but not over twenty minutes total. This particular ice cream has taken pretty much the whole twenty minutes when we've made it before. If it is still moving at twenty minutes, you should still take it out (unless your ice cream maker says differently). Move to quart sized container and freeze until ready to serve.

Sunday, July 6, 2014

Strawberry Torta (Strawberry and Cream Cake)

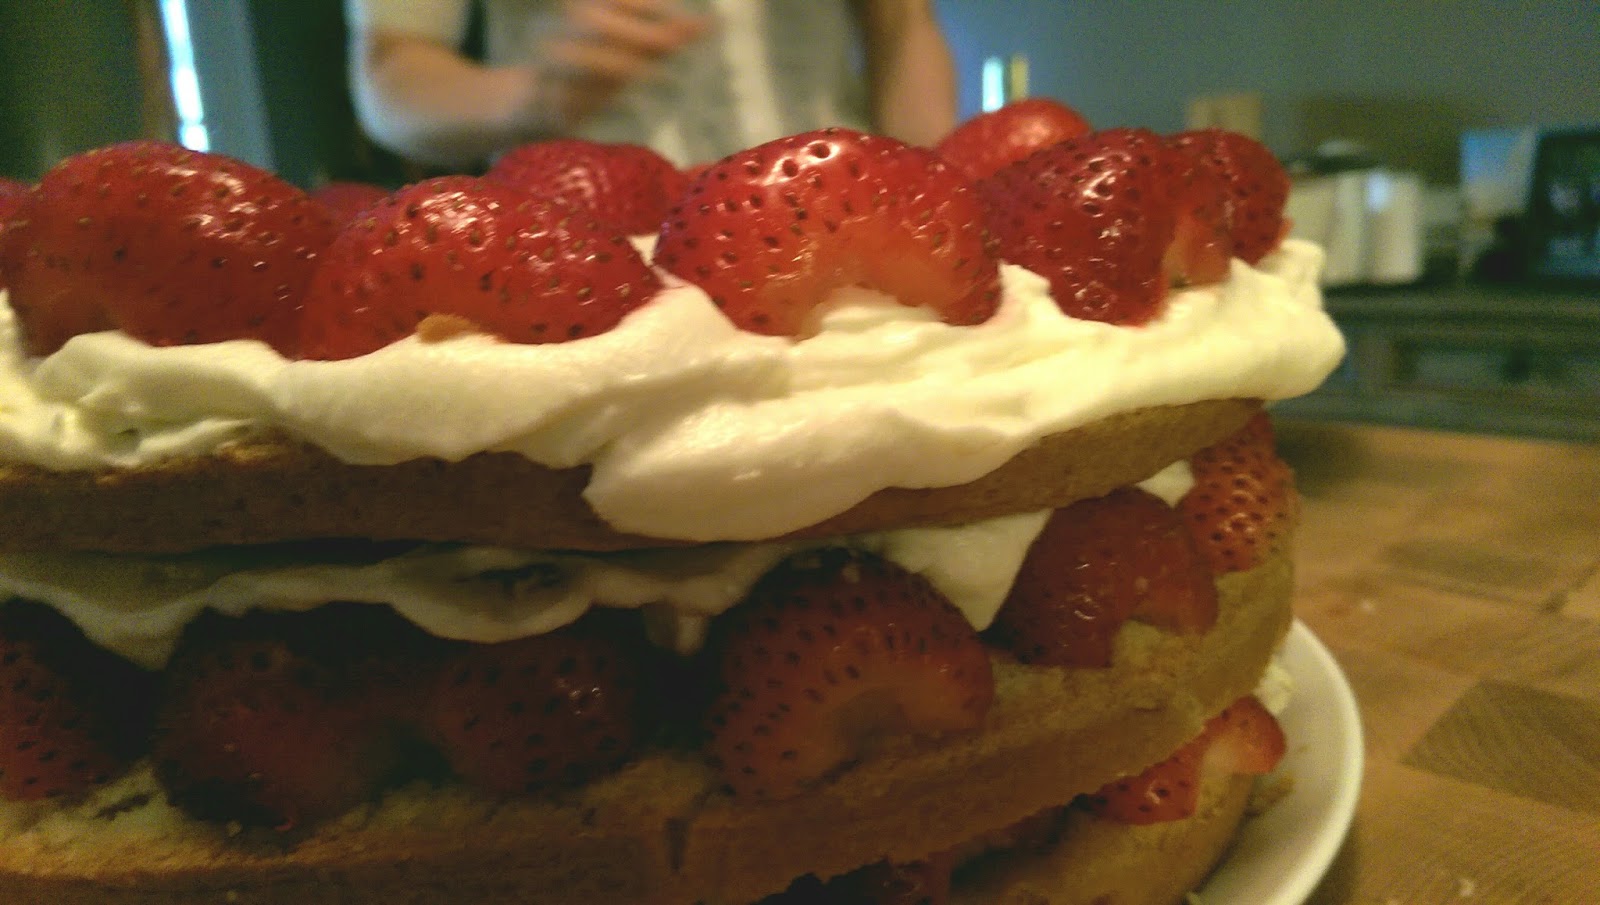
Recently, my parents celebrated their 50th wedding anniversary. My mother is Swedish and my parents met in Sweden, so naturally she requested a Swedish dessert. There is nothing more Sweden-in-Summer to me than fresh jordgubbar (strawberries) and fresh whipped cream, lightly sweetened but still a touch of tang. Swedish cooking is about highlighting fresh ingredients while they are still in season, and this cake is really all about highlighting the natural goodness of the strawberries. The cream is just slightly sweetened so as not to overwhelm the berries. Strawberry and Cream torta (cake) is a cross-cultural favorite, and a great way to celebrate Summer, special occasions, or just because. While in traditional Swedish recipes a sponge cake is used, in this recipe a chiffon cake creates a more buttery flavor while keeping the light structure of a sponge cake.


The most intimidating thing about making this cake is torting the cake- or dividing the cake into three layers. Even though it is a tall cake that requires a 2" tall pan or a springform pan, that takes a little precision from an admittedly clumsy person. The first time I made it I went with only two layers, but added mashed strawberry to the top layer, to be topped again with whipped cream. That was pretty good, and certainly was easier to manage with a knife, but I felt the cake to cream ratio could be a little better and that I needed to get comfortable cutting a single cake into three layers. This is particularly true if I ever want to learn how to make princess torta, the royalty of Swedish cakes.

So I went out and got myself a cake leveler. I try not to overdo it on the niche purpose baking goods, I really do. But I will say that this was a wise $7 investment if you're in for the layer cake long-haul. It took all the intimidation away, created nice, flat, even layers with a simple sawing motion. And is thin enough to tuck away in the baking gadgets drawer. I included a video on using the cake leveler below. You want to start just a little below where the top starts to crown (at the lowest point of the cake) for your first layer. If you are using the leveler and are having trouble getting it started, use the knife to start and then start sawing back and forth and gently rotating the cake.

The original recipe for this is from Cook's Illustrated, but I found the way they organized ingredient measurements to be confusing so I adjusted it for a better mis en place. I also am the type of person that always feels very guilty taking up a bunch of pantry space with a bag of cake flour, so I rewrote the recipe for all-purpose flour. If you have cake flour on hand, use 1 1/4 cup cake flour instead of the all purpose flour and omit the cornstarch from the recipe (1 cup cake flour=7/8 cup all purpose flour + 2 tablespoons corn starch). If you want to plan ahead, you can make the cake portion, free it in plastic wrap (at least double wrapped), then thaw 2 hours before you want to make the cake. If you want to make it the night before, leave cutting the cake to right before you are ready to decorate, cover in plastic wrap, and put in fridge for night.

Lastly, this particular cake that got photographed I made when friends brought over raspberries from their garden. So obviously I put the raspberries on the cake. You don't mess around with that. There's also raspberry in the Frambois we used (Chambourd) in place of Kirsch, due to Frambois being a little easier to locate, so it all works out.


Ingredients


For the cake
1 cup and 1 1/2 tablespoons All Purpose flour (If using cake flour, use 1 1/4 cup cake flour and omit the cornstarch)
2 1/2 tablespoons cornstarch
1 1/2 teaspoons baking powder
1/4 teaspoon table salt
1 cup sugar
2 large eggs, room temperature
3 egg yolks, room temperature
3 egg whites, room temperature
6 tablespoons unsalted butter, melted and cooled slightly
2 tablespoons water
2 teaspoons vanilla extract
plain bread crumbs (optional)

For the Strawberry Filling
2 pounds fresh strawberries (medium or large, about 2 quarts), washed, dried, and stemmed
5- 6 tablespoons sugar
2 tablespoons Kirsch or a Frambois like Chambourd
pinch table salt

 
For the Whipped Cream   
8 ounces cream cheese, room temperature 
1/2 cup sugar
1 teaspoon vanilla extract 
1/8 teaspoon table salt 
2 cups heavy cream (more local the better)

Instructions 

  1. FOR THE CAKE: Adjust oven rack to lower-middle position and heat oven to 325 degrees. Grease and line with a very light dusting of bread crumbs, (or flour if you don't want to be as Swedish about it) round 9 by 2-inch straight sided cake pan or 9-inch springform pan and line with parchment paper. 
  2. Set three tablespoons of the sugar aside for use later. 
  3. In medium mixing bowl, whisk flour, cornstarch, baking powder, salt, and rest of the sugar in mixing bowl. 
  4. Whisk in 2 whole eggs and 3 yolks, butter, water, and vanilla; whisk until smooth.
  5. In clean bowl of standing mixer fitted with whisk attachment, beat remaining 3 egg whites at medium-low speed until frothy, about 2 minutes. 
  6. With machine running, gradually add the reserved 3 tablespoons sugar. 
  7. Increase speed to medium-high, and beat until soft peaks form, about 2 minutes. 
  8. With a rubber spatula, stir one-third of whites into yolk batter to lighten. 
  9. Add remaining whites and gently fold into batter until no white streaks remain. 
  10. Pour batter into prepared pan and bake until toothpick or wooden skewer inserted into center of cake comes out clean, 30 to 40 minutes. 
  11. Cool in pan 10 minutes, then invert cake onto greased wire rack; peel off and discard parchment. Invert cake again; cool completely, about 2 hours, during which you can complete the filling and the cream.


  12. FOR THE STRAWBERRY FILLING: Halve 24 of best-looking berries and reserve. 
  13. Quarter remaining berries; toss with 4 to 6 tablespoons sugar (depending on sweetness of berries) in medium bowl and let sit 1 hour, stirring occasionally. 
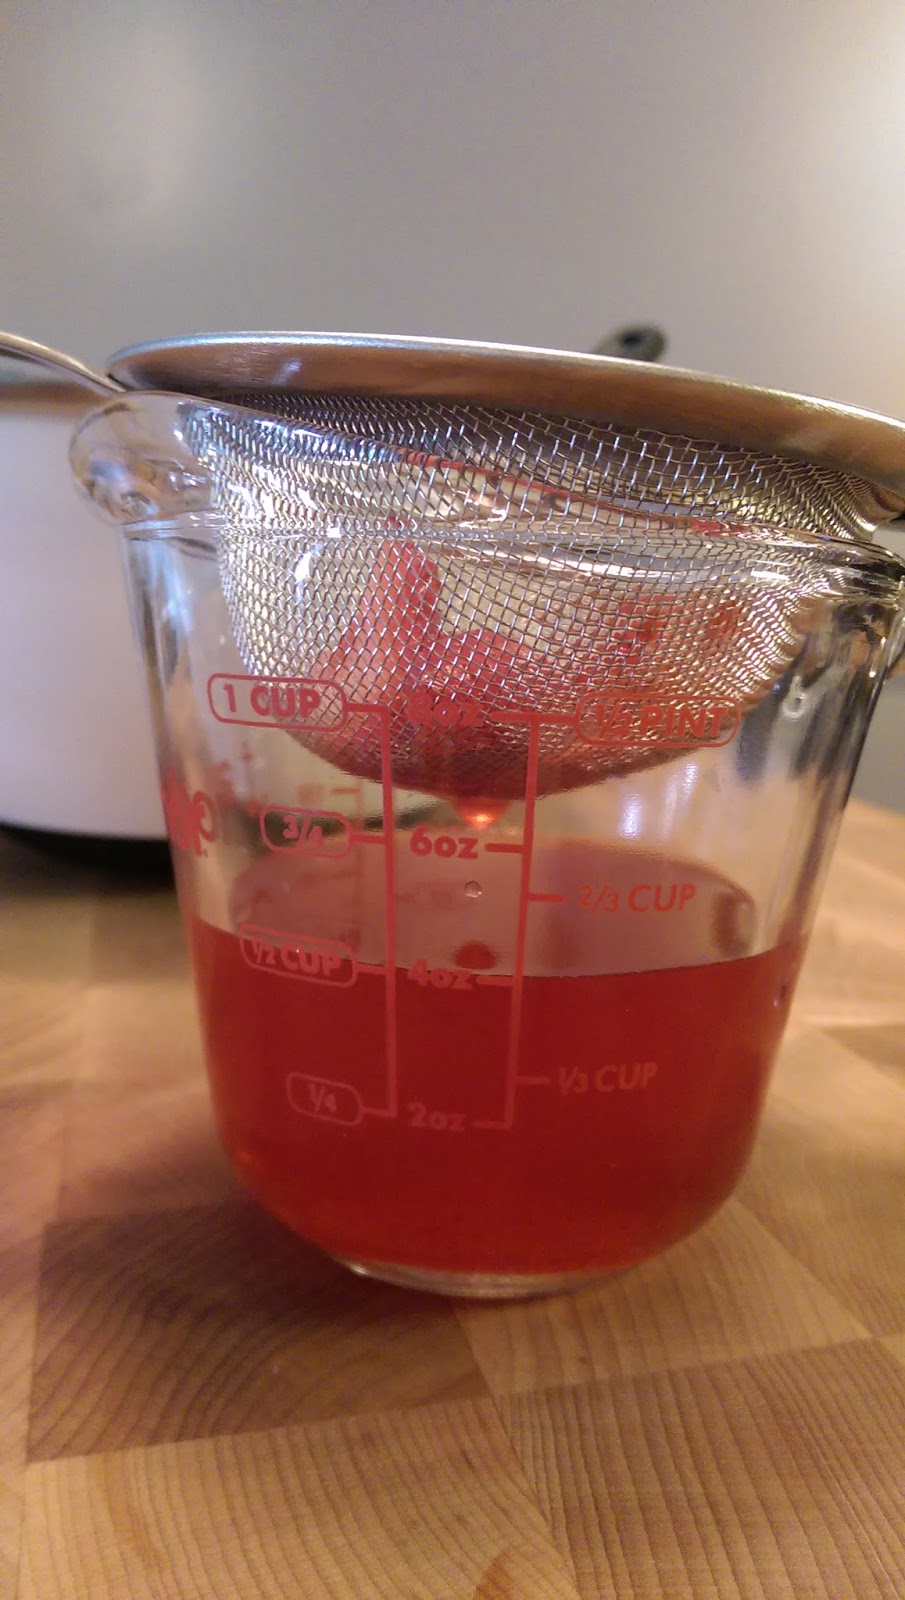
  14. Strain juices from berries and reserve (you should have about 1/2 cup). 
  15. In workbowl of food processor fitted with metal blade, give macerated berries five 1-second pulses (you should have about 1 1/2 cups). 
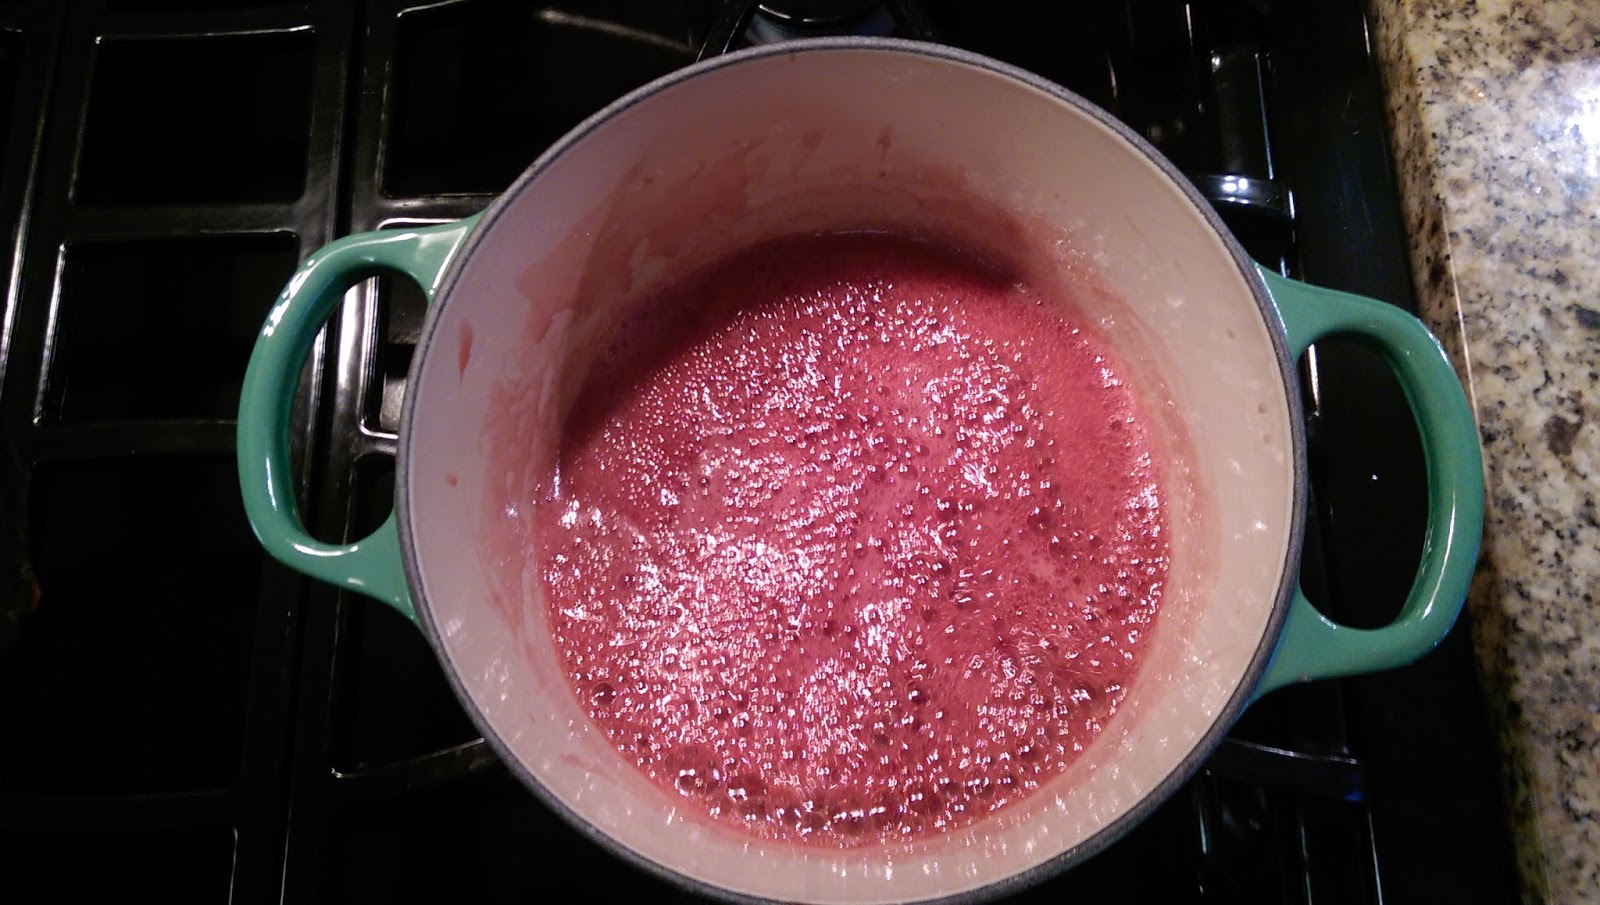
  16. In small saucepan over medium-high heat, simmer reserved juices and Frambois until syrupy and reduced to about 3 tablespoons, 3 to 5 minutes. 
  17. Pour reduced syrup over macerated berries, add pinch of salt, and toss to combine. Set aside until cake is cooled. If you want to wait to whip the cream and decorate right before serving, you can pause here.


  1. FOR THE WHIPPED CREAM: When cake has cooled, place cream cheese, sugar, vanilla, and salt in bowl of standing mixer fitted with whisk attachment. 
  2. Whisk at medium-high speed until light and fluffy, 2 to 3 minutes, scraping down bowl with rubber spatula as needed. Reduce speed to low and add heavy cream in slow, steady stream; when almost fully combined, increase speed to medium-high and beat until mixture holds stiff peaks, 2 to 3 1/2 minutes more, scraping bowl as needed (you should have about 4 1/2 cups).


  1. TO ASSEMBLE THE CAKE: If using a large serrated knife, slice cake into three even layers. If only making a two layer cake, slice in half with knife. If using a leveler, set the leveler slightly below where the cake starts to crown at the lowest part of the cake if your oven is uneven to cut the first layer. Halve the remaining cake.
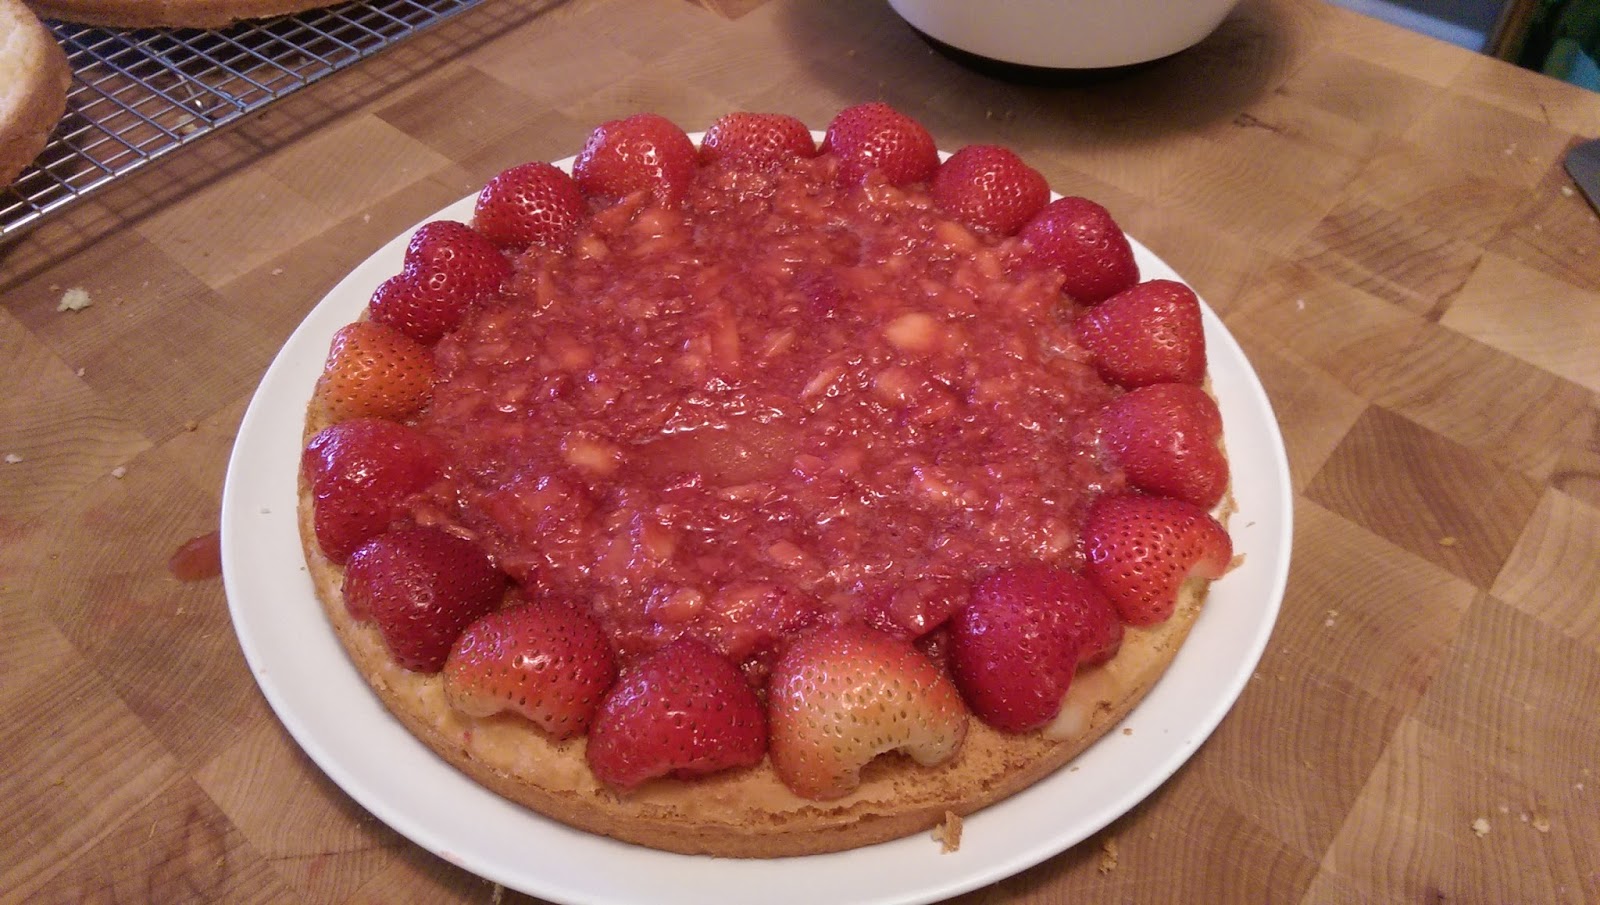
  2. Place bottom layer on cardboard round or cake plate bottom side up and arrange ring of 20 strawberry halves, cut sides down and stem ends facing out, around perimeter of cake layer. 
  3. Pour one half of pureed berry mixture (about 3/4 cup) in center, then spread to cover any exposed cake. 
  4. Gently spread about one-third of whipped cream (about 1 1/2 cups) over berry layer, leaving 1/2-inch border from edge, reaching the tips of the strawberry ring. 
  5. Place middle cake layer (or top layer if only doing two layers) on top and press down gently Whipped cream layer should become flush with cake edge. 
  6. Repeat with 20 additional strawberry halves, remaining berry mixture, and half of remaining whipped cream.
  7. Gently press last cake layer upside down on top. If doing only two layers, go to step 28.
  8. Spread remaining whipped cream over top.
  9. Decorate with remaining cut strawberries. 
  10. Serve, or chill for up to 4 hours.