Showing posts with label sides. Show all posts

Sunday, November 20, 2011

Pumpkin Spice Bread

This is part of our Christmas tradition in my household, and the making of it surrounding both Thanksgiving and Christmas is very serious business indeed, lest you forget the flour or the baking soda. (Both have been done by various daughters). Most pumpkin breads are super dense and saccarin sweet. This one, while still sweet and still moist, tries to be just a little more bread-like rather than cake-like. 

This recipe is originally called Jenean's Pumpkin Bread, and comes from a falling apart 70s era cookbook of recipes from our hometown in Virginia. However, we might have adapted Jenean's recipe a bit, reducing the amount of sugar and oil and doubling all of the spices, so really, it is just the family recipe now. For those of you who are health nuts, there is a healthier version of this recipe using applesauce that my sister has created, but this is the original version that does not take the health of one's father into account at all, knowing that said father will probably consume at least half of one loaf single-handedly over a forty eight hour period.

Because we make this in bulk every holiday, we often end up freezing a loaf or two for later by wrapping tightly in foil. It will keep for about a month in the freezer. You can also prepare the dry ingredients ahead of time to make a sort of bread mix for later, keeping in mind that for baking purposes, sugar is a wet ingredient. Serves perfectly topped with butter.


Pumpkin Spice Bread

Ingredients
2 cups sugar
1 cup salad oil
2 cups pumpkin (1 15 oz can)
4 eggs
3 cups flour
1/2 tsp salt
1/2 tsp baking powder
2 tsp cloves
2 tsp nutmeg
2 tsp cinnamon
1 tsp baking soda

Instructions

1. Grease inside of loaf pans with butter or butter wrapper. Be sure to be thorough. 
2. Blend sugar and salad oil together with hand mixer in large bowl. 
3. Add eggs and pumpkin. 
4. Sift dry ingredients together in separate bowl (flour, cloves, nutmeg, cinnamon, baking soda, baking powder, and salt) and add to pumpkin blend.
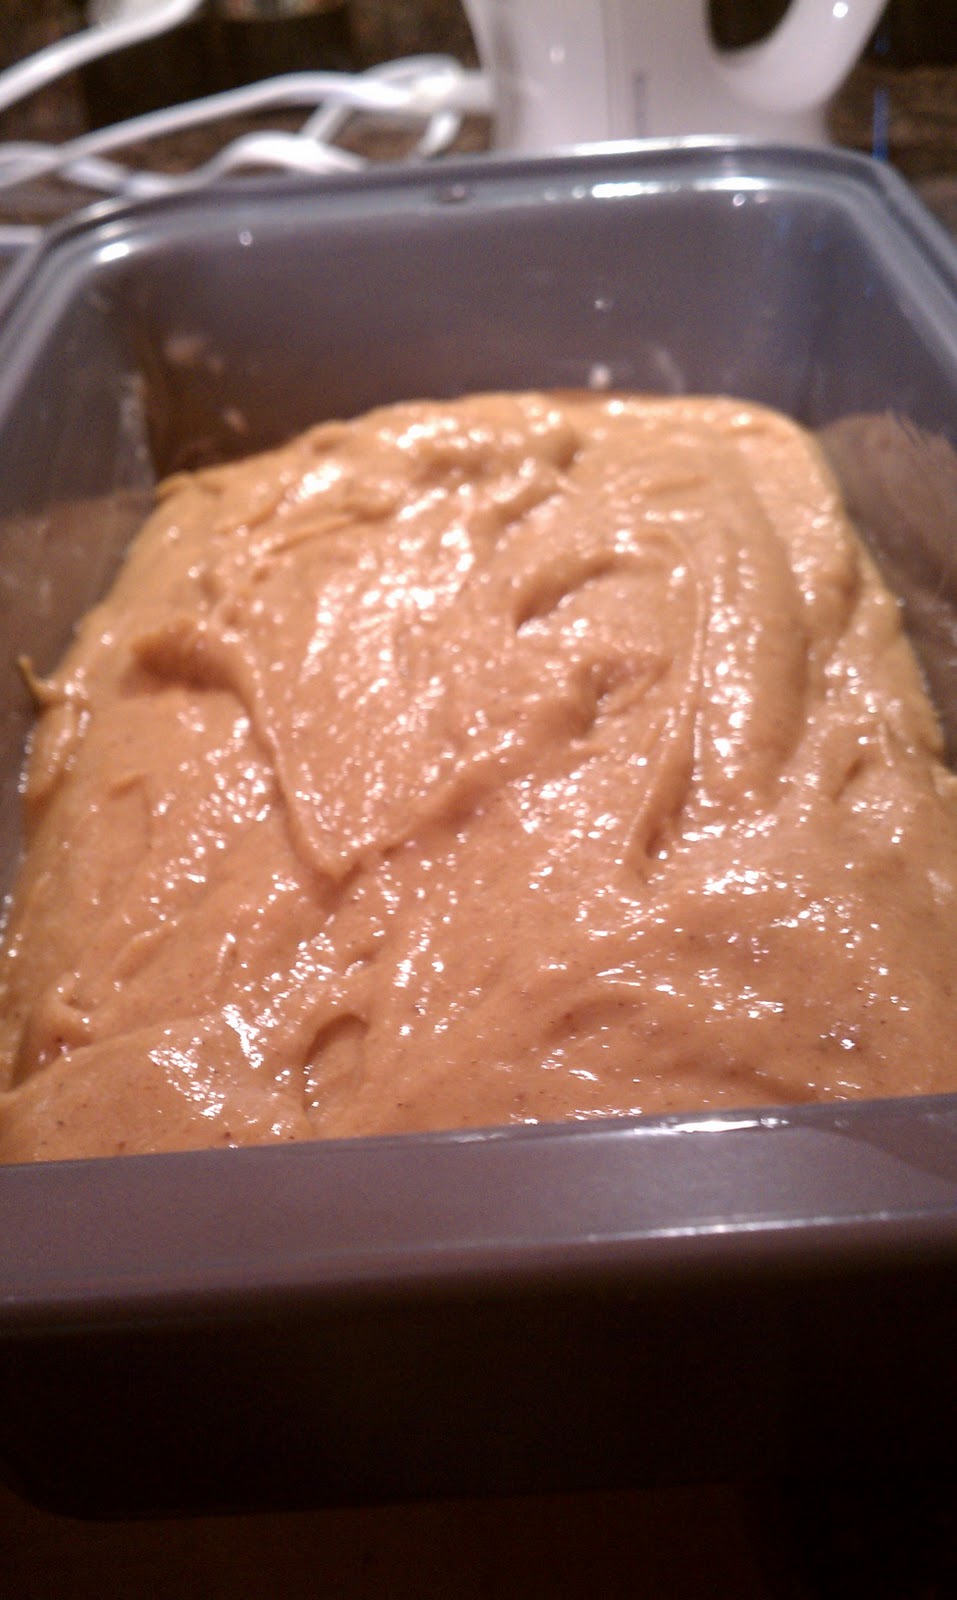
5. Mix together until well combined. Pour mixture evenly into two loaf pans.
6. Bake at 350 degrees for 1 hour 15 minutes.
7. Let cool for 30 minutes in pan, then remove and allow to finish cooling on wire racks.


Saturday, September 24, 2011

Spanakopita Triangles


I know everyone says that spanakopita is an obvious answer to the "what to serve vegetarians" question. Or in my particular case the "what to feed vegetarians who don't for some crazy unknown reason love mushrooms"? But this spanakopita has a ton of flavor, some unconventional pine nuts, and the pepper on top that really make this recipe. Plus, this recipe was my introduction to phyllo, which gave me confidence to try other things phyllo and thus unlock a whole new world of cooking. Adding the bread crumbs really does help prevent the sheets from sticking together as you assemble them.

This recipe can be a little time intensive. Layering out all that phyllo and rolling the triangles takes time. The benefit of it, however, is that as long as you're doing phyllo, you can do a lot, and it freezes quite well. I almost always make at least a double recipe and save the leftovers. When it's a weekday and TK and I have both worked late but frankly don't want the grease of delivery, there's delicious homemade spanakopita. You don't even have to thaw them, in fact, you don't want to thaw them at all, as that would make the phyllo soggy when cooked. Pop them straight from the freezer to a cookie sheet, top with melted butter, salt, and pepper, and cook.

Two triangles make a meal. One makes a solid side or first course. If you want appetizer-sized triangles, Cut horizontally six ways instead of vertically halfways and use a tablespoon instead of a 1/4 cup measure. The smaller triangles will be more delicate but can likewise be frozen. There will be plenty of filling for all the phyllo you desire. One box per batch. Try your feta before you add it. You may have to adjust the salt content of the dish based on how salty your feta is. We like to serve with a quick dipping sauce of yogurt, cucumber, lemon juice and pepper.


Ingredients

 
1/4 cup good olive oil
1 cup chopped yellow onion
3 scallions, white and green parts, chopped
2 (10-ounce) packages frozen chopped spinach, defrosted
4 extra-large eggs, lightly beaten
3 tablespoons freshly grated Parmesan cheese
Plain dry bread crumbs (not seasoned or panko)
1 teaspoon grated nutmeg
2 teaspoons kosher salt
1 teaspoon freshly ground black pepper
2 cups small-diced feta cheese (12 ounces)
3 tablespoons toasted pine nuts
24 sheets frozen phyllo dough, defrosted
1/4 pound (1 stick) unsalted butter, melted
Flaked sea salt, such as Maldon, for sprinkling

Directions

  1. Thaw frozen spinach in strainer until no ice remains.
  2. Preheat the oven to 375 degrees F.
  3. Heat the olive oil in a medium saute pan, add the onion, and cook for 5 minutes over medium-low heat. Add the scallions, and cook for another 2 minutes until the scallions are wilted but still green. 
  4. Meanwhile, gently squeeze the water out of the spinach and place in a large bowl.
  5. When the onion and scallions are done, add them to the spinach. Mix in the eggs, Parmesan cheese, 3 tablespoons bread crumbs, the nutmeg (use a rasp to grate if you have fresh nutmeg), salt, and pepper. Gently fold in the feta and pine nuts.
  6. Place 1 sheet of phyllo dough flat on a work surface with the long end in front of you. Brush the dough lightly with butter and sprinkle it with a teaspoon of bread crumbs.
  7. Working quickly, slide another sheet of phyllo dough on top of the first, brush it with butter, and sprinkle lightly with bread crumbs. (Use just enough bread crumbs so the layers of phyllo don't stick together.) Pile 4 layers total on top of each other this way, brushing each with butter and sprinkling with bread crumbs. 
  8. Cut the sheets of phyllo in half lengthwise. 
  9. Place 1/3 cup spinach filling in the bottom right corner of the strips of phyllo. If necessary, shape the filling to make sure it fills the corners of the triangle you are about to form. Fold the phyllo over the filling diagonally like you are folding a flag (see video). Then fold the triangle of phyllo over straight and then diagonally again. Continue folding first diagonally and then straight until you reach the end of the sheet and the filling is enclosed in the phyllo.
  10. Continue assembling phyllo layers and folding the filling until all of the filling is used or you run out of phyllo. If you are planning on serving later, freeze the folded phyllo triangles in a tupperware containern neatly stacked until you are ready to cook, then continue on with the directions, placing the frozen unthawed triangles on the sheet pan.
  11. Place on a sheet pan, seam sides down. Brush with melted butter, sprinkle with flaked salt, and bake for 30 to 35 minutes, until the phyllo is browned and crisp. Serve hot. 

Sunday, July 31, 2011

Polenta Cakes

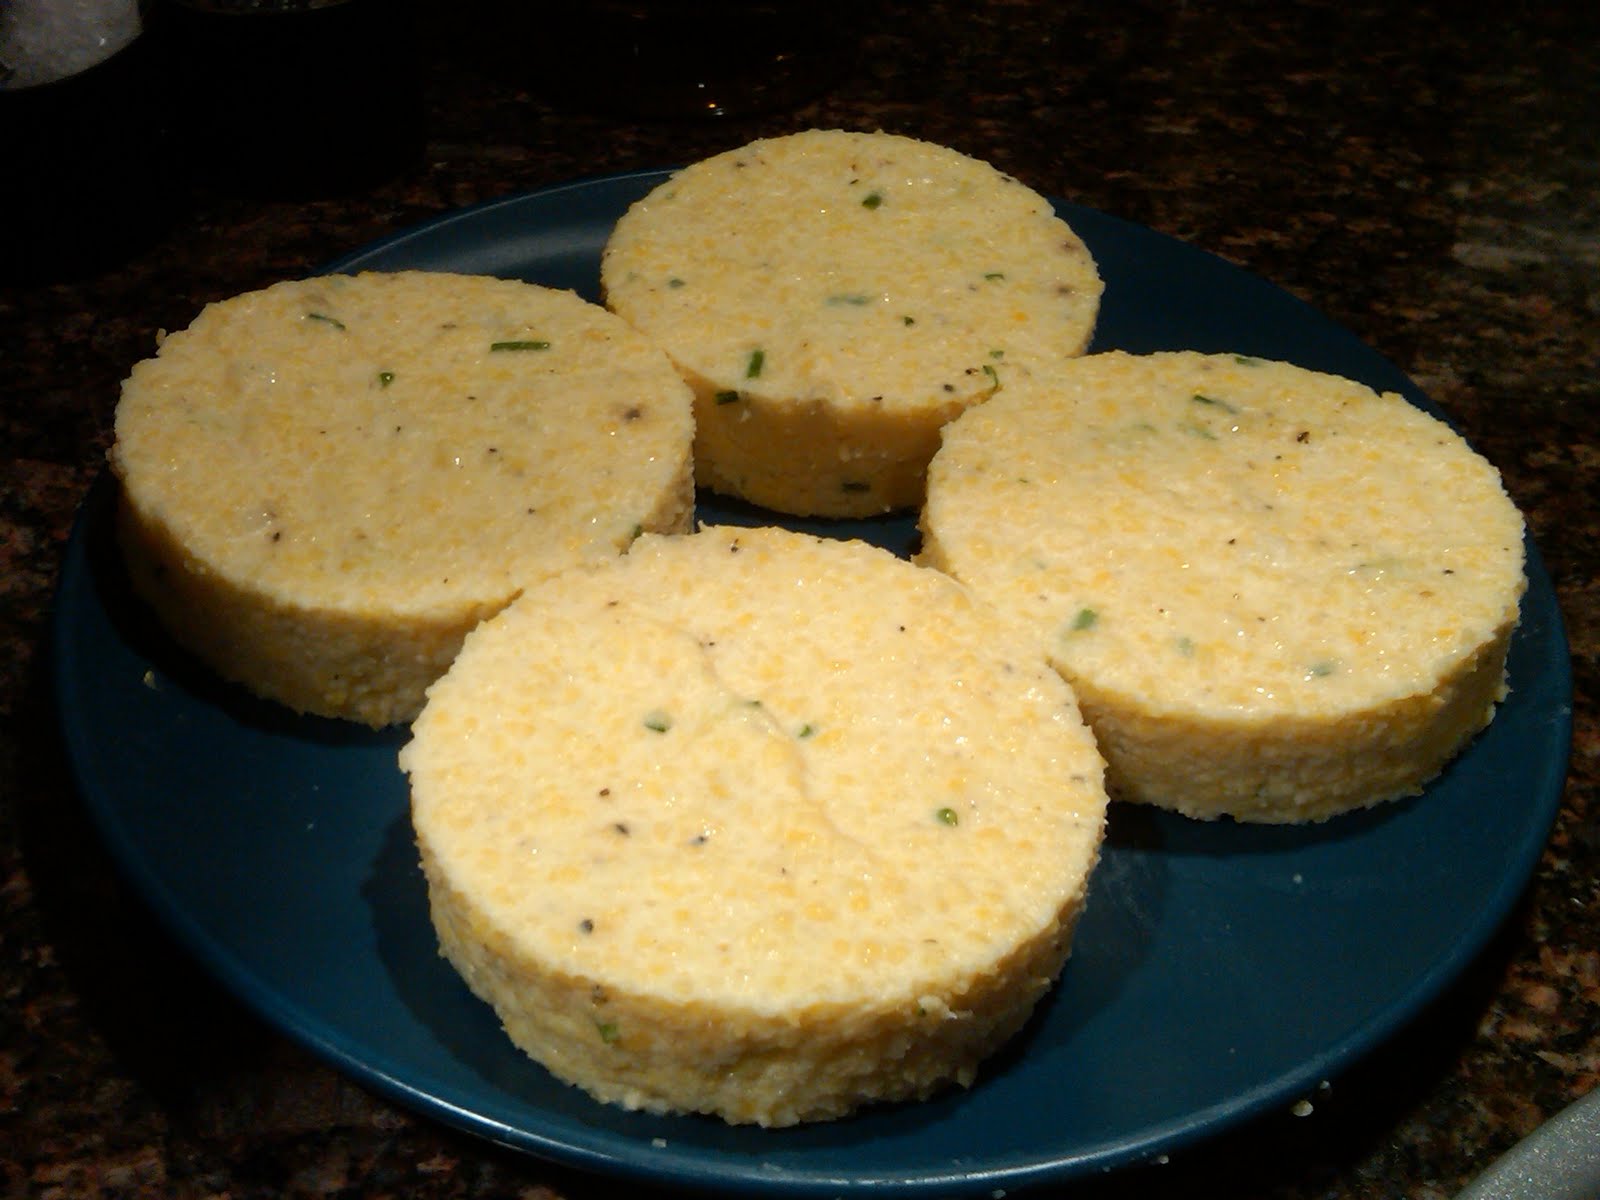
There are two kinds of polenta in life. Creamy polenta, like grits, should collapse when ladled directly on a plate. Firm polenta is usually served shaped and is often fried to crisp the top and bottom. These would be the latter kind. From Thomas Keller's French Laundry cookbook, these polenta cakes are the kind of thing I usually think of as a restaurant dish, but it turns out are perfectly accessible and manageable to make in the home, especially for company.

This polenta cake recipe we paired with TK's fantastic short ribs, and the very rich sauce and very rich polenta really gave a wonderful restaurant quality feel. Although not a weekday item, they make a decent company side, because you have to chill them down and wait, and preparing things ahead is the key to successful dinner parties. You can even pre-cut the circles using a biscuit cutter, cookie cutter, or baking round, put them on a plate, and then just fire them up on the stove a few minutes before serving. And since the nature of the recipe kinda forces you to make a lot (you have to harden the polenta in a baking dish prior to cutting the cakes, and baking dishes can only be so small), it makes sense for guests, or to make some for now, and save the rest for a second meal later.

If you're not like me and don't have things like mascarpone cheese on hand (shocking, I know), you can try substituting equal parts cream cheese and sour cream. All this being said, just like sour cream is just not the same as creme fraiche (though easily substitutable for), nothing is truly like mascarpone. Just make sure to adjust any necessary firming times. Make sure to use regular polenta, not instant polenta. Extra fine polenta that is low in starch and has not been processed is also useable and will speed up your cooking time.

Polenta Cakes

Ingredients

2 1/2 cups chicken stock
3 cups water
1/2 teaspoon minced garlic
1 1/2 cups polenta
8 tablespoons unsalted butter, at room temperature
2 tablespoons marscapone
2 tablespoons minced chives
Kosher salt and freshly ground pepper
Flour


Instructions
  1. Bring the chicken stock, water, and garlic to a boil in a saucepan.
  2. Whisking constantly, pour in the polenta.
  3. Return the liquid to a simmer and cook the polenta over very low heat, stirring occasionally, for 25 to 35 minutes, or until the polenta is thick and smooth.
  4. When the polenta is cooked, stir in the marscapone, butter, chives, and salt and pepper to taste.
  5. Spread the polenta in a 9 x 13 inch baking pan. Let it cool to room temperature.
  6. Once cooled, cover the surface of the polenta directly with plastic wrap to seal off air and refrigerate. Allow plenty of time for the polenta to fully firm up (at least three hours).
  7. With a 2-inch round cutter or biscuit cutter (or similar size), cut 8 rounds into the firm polenta.
  8. Heat about 1/8" of canola or vegetable oil in any ovenproof skillet to medium heat.
  9. Add some flour to a round cake pan and gently coat the pieces of polenta with flour. Shake off any excess.
  10. Add floured polenta round to the skillet and cook for 2-3 minutes on each side (until evenly browned on both sides and hot. If they brown too quickly (before the center is hot), the pan can be placed in a 350 degree oven to finish cooking.
  11. Serve warm. Any leftover polenta can be saved for three days.

    Tuesday, June 7, 2011

    Mac and Cheese with Mustard and Kielbasa

    There are two ways to go with Mac and Cheese. You can go super-classy and upscale and fill it with truffles and imported cheese. Or you can try and make it so that a ten year old will like it. This recipe attempts to make the bridge between the two, and not be quite as rubbery as whatever Velveeta or Kraft is throwing out there and thus tolerable to an adult palate. I'm not saying this fills all of my sizable mac and cheese needs, but it does a good job at being an item that does not take that long to throw together, is not that expensive, and can last for a whole week of leftovers for lunch.

    There is a vegetarian option for this as well which is a quality option if you're not feeling kielbasa. The final step with the bread crumb topping and sitting under a broiler is surprisingly important to bringing the dish together. The first time we made this we just threw some crumbs on top of the dutch over and cooked it that way, but putting it in a pyrex really changed the cosistency and allowed for the classic, neat squares of mac and cheese. (It was still plenty delicious the other way, just looser in consistency and a bit runnier.)

    Basically, this whole recipe is a modified bechemel sauce. Make sure and bring the pasta past al dente, and lean on the side of overcooked over undercooked. If you wish to halve the recipe, use an 8" pyrex instead of the full size. But remember-- good leftovers!

    Ingredients

    • 6 slices white sandwich bread (good-quality, about 6 ounces), torn into rough pieces
    • 3 tablespoons unsalted butter (cold), cut into 6 pieces 
    • 1 pound elbow macaroni
    • 1 tablespoon table salt
    • 5 tablespoons unsalted butter
    • 1 medium onion , chopped fine
    • 6 tablespoons all-purpose flour
    • 8 ounces smoked kielbasa , cut lengthwise into quarters, then cut crosswise into 1/2 inch slices
    • 1 1/2 teaspoons powdered mustard
    • 1/4 teaspoon cayenne pepper (optional)
    • 5 cups milk
    • 8 ounces Monterey Jack cheese, shredded (2 cups)
    • 8 ounces sharp cheddar cheese, shredded (2 cups)
    • 4 teaspoons Dijon mustard
    • 5-10 dashes tabasco sauce (or to taste) 
    • 1/2 teaspoon table salt
    • 1/2  cup frozen peas (optional--good for kids) 

    Instructions

    1. For the bread crumbs: Pulse bread and 3 tablespoons butter in food processor until crumbs are no larger than 1/8 inch, ten to fifteen 1-second pulses. Set aside.
    2. For the pasta and cheese: Adjust oven rack to lower-middle position and heat broiler.
    3. Bring 4 quarts water to boil in Dutch oven over high heat. Add macaroni and 1 tablespoon salt; cook until pasta is tender. Drain pasta and set aside in colander.
    4. In now-empty Dutch oven, heat remaining 5 tablespoons butter over medium-high heat until foaming. Add onion and cook, stirring occasionally, until onion begins to brown, about 6 minutes. Add flour, mustard powder, and cayenne (if using) and whisk well to combine. Continue whisking until mixture becomes fragrant and deepens in color, about 1 minute. This cooks off the raw flour taste.
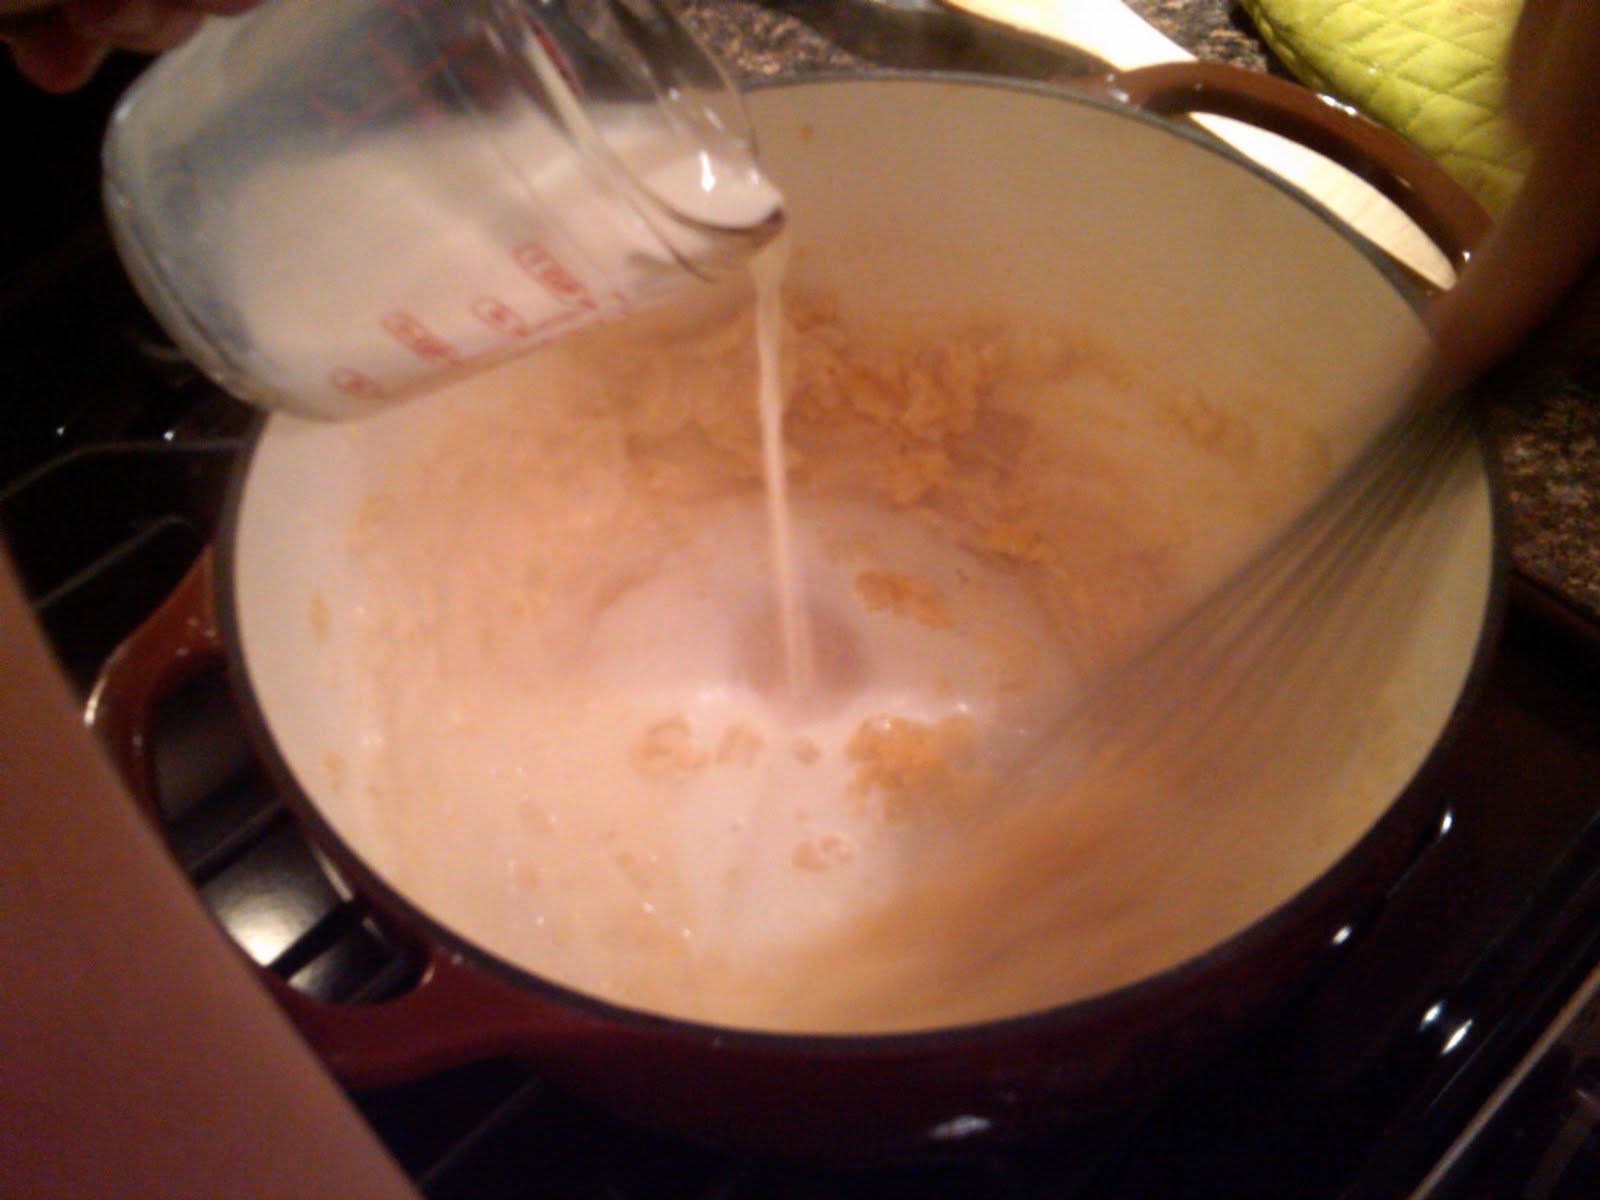
    5. Gradually whisk in milk; bring mixture to boil, whisking constantly (mixture must reach full boil to fully thicken). Your hand will get hot.
    6. Reduce heat to medium and simmer, whisking occasionally, until thickened to consistency of heavy cream, about 5 minutes.
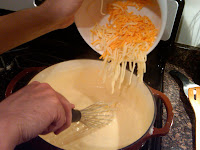
    7. Off heat, whisk in cheeses and 1/2 teaspoon salt until cheeses are fully melted.
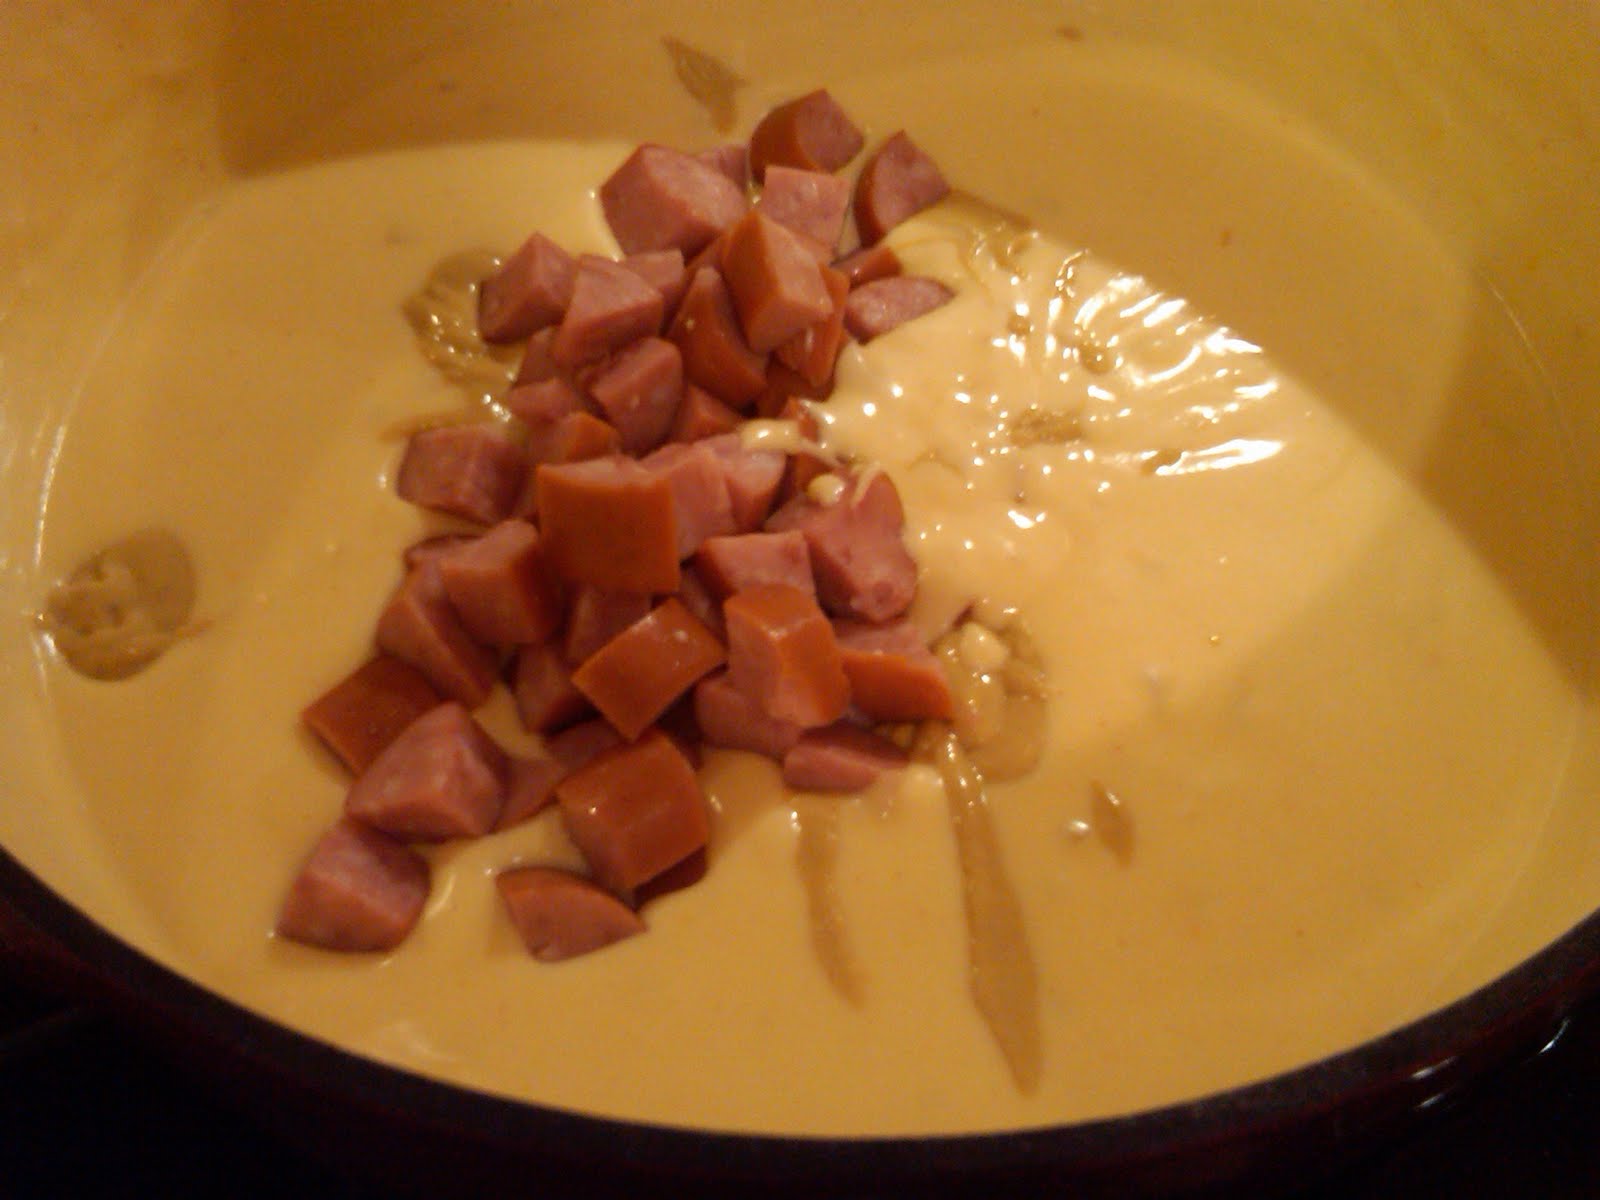
    8. Add pasta, kielbasa, and Dijon mustard; cook over medium-low heat, stirring constantly, until mixture is steaming and heated through, about 6 minutes.
    9. If you are using peas (optional), add them here and cook until heated through (1-2 minutes)
    10. Add tabasco to taste, as well as salt and white pepper if necessary.
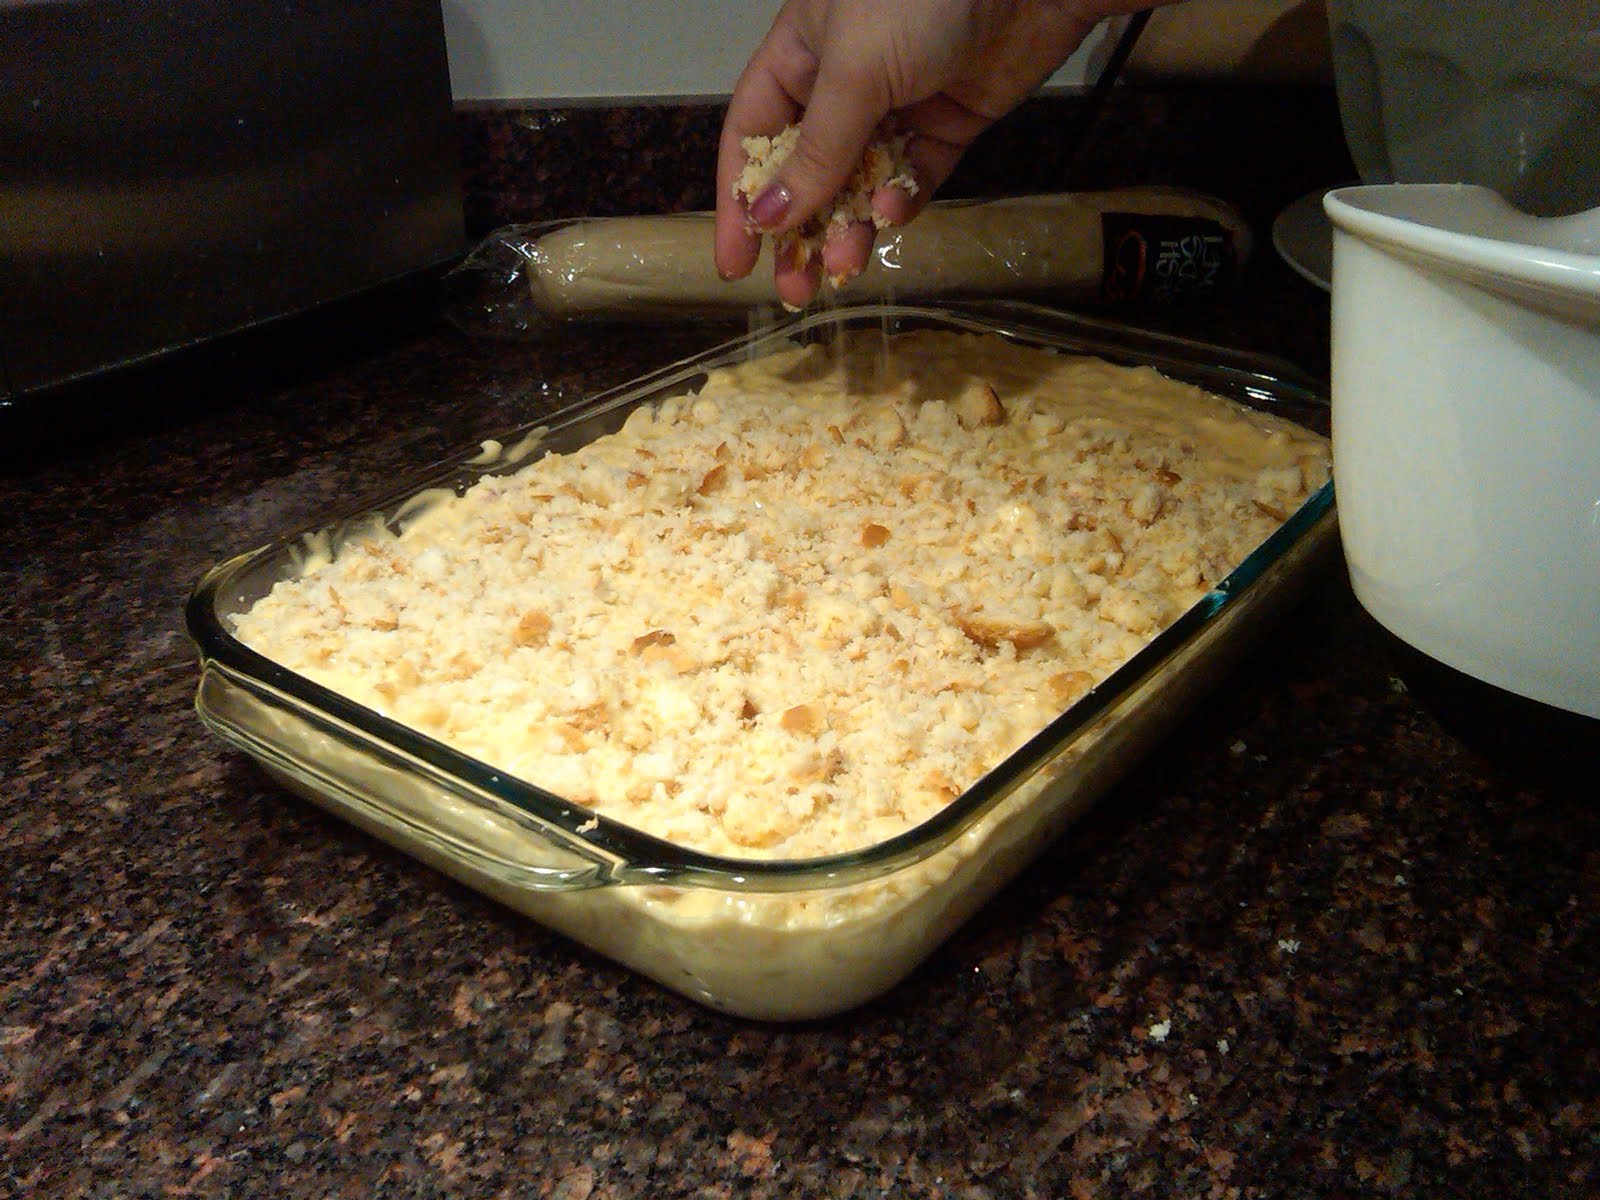
    11. Transfer mixture to broiler-safe 9 by 13-inch baking dish and sprinkle evenly with bread crumbs. Add more than you think you have to, completely cover the macaroni. 
    12. Broil until crumbs are deep golden brown and crisp, 3 to 5 minutes, rotating pan if necessary for even browning. Cool about 5 minutes, then serve.


    Saturday, April 16, 2011

    Jalepeno Cheddar Biscuits


    These are not going to be the spiciest of jalepeno cheddar biscuits. If you'd like them to pack more kick, increase the amount of jalepeno and leave a little bit of the white veins on the jalepenos (where the spice comes from). You can also add a dash of tabasco, though be gentle, they are biscuits, after all, and you are not parboiling the peppers, so there will be a freshness of the raw pepper that may remain post-baking. Most people find this enjoyable.

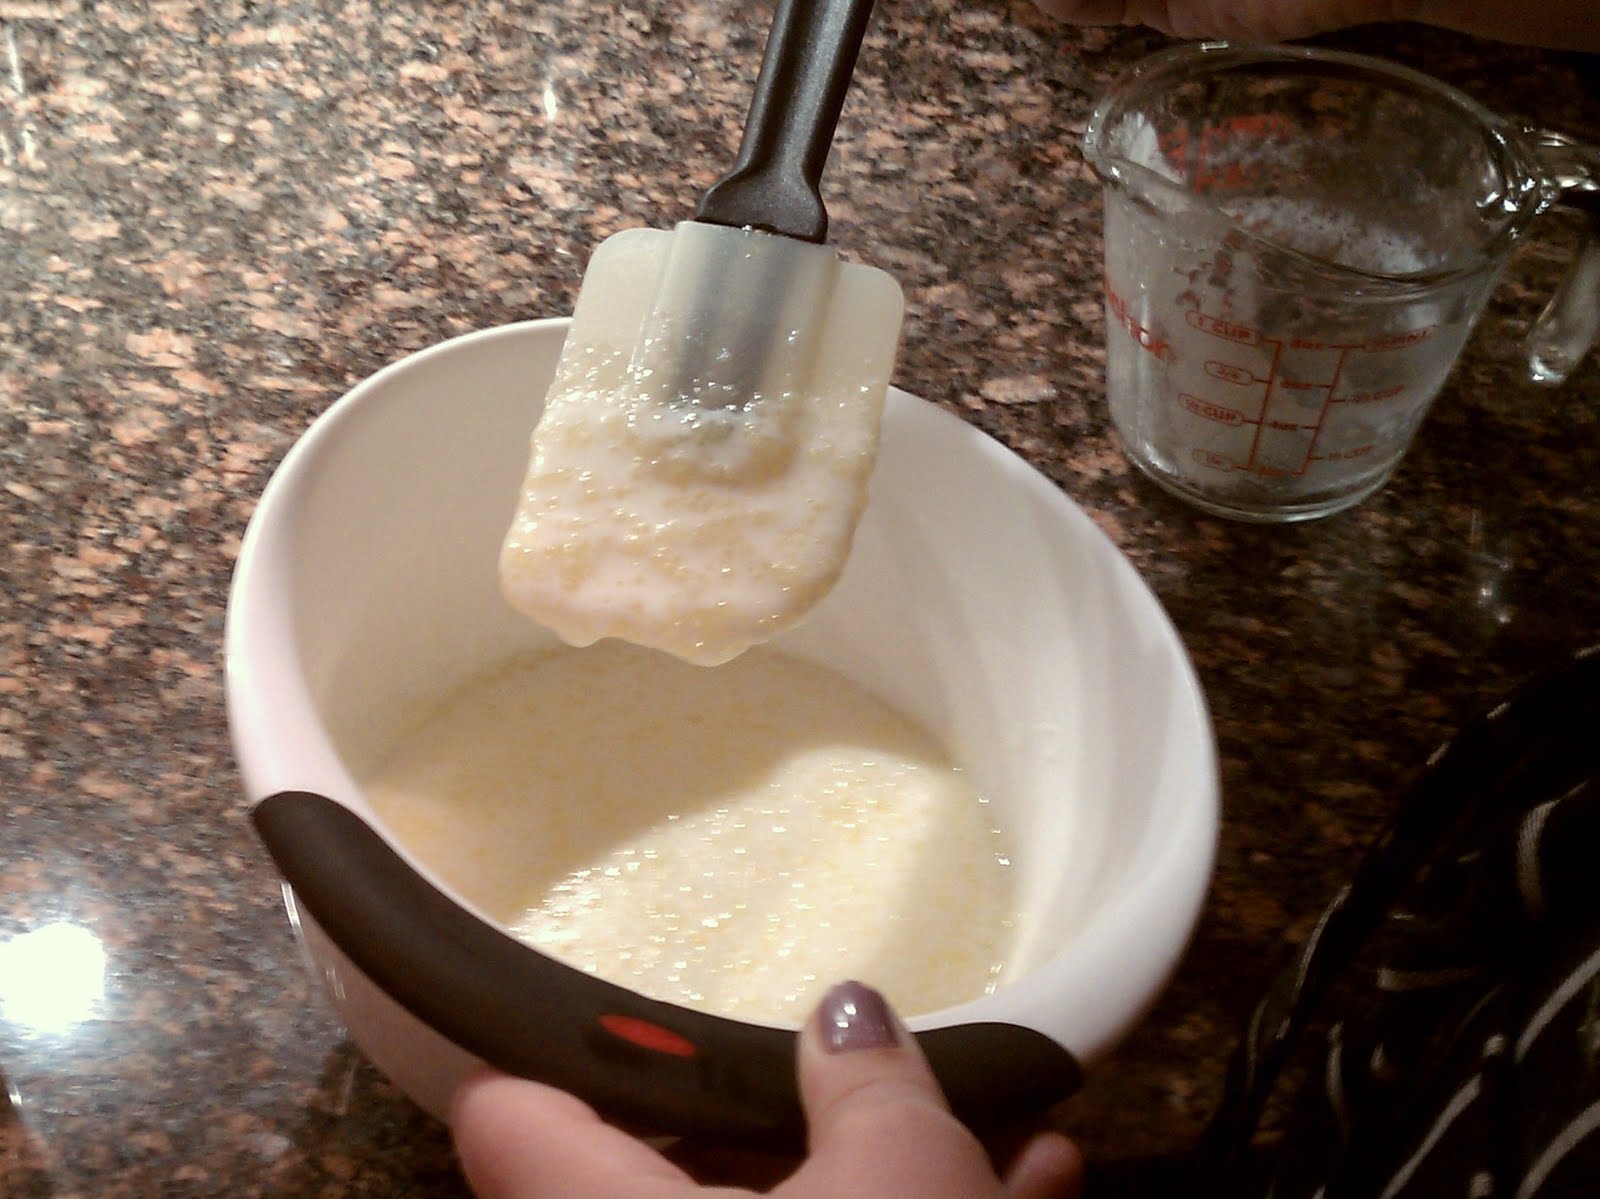
    If buttermilk isn't available, clabbered milk can be used instead. To make clabbered milk, mix 1 cup milk with 1 tablespoon lemon juice and let stand 10 minutes. Buttermilk is still preferable, though. When you stir the melted butter into cold buttermilk, the butter will clump and curdle and in general look gross. This is by design, and is actually a secret to a light and fluffy biscuit. You can use either an ice cream scoop or a 1/4 cup measure to drop the biscuits onto a parchment paper lined baking sheet. These are drop biscuits, so they are meant to look a little messy.

    We've served these with chili, lobster, fried chicken, and gumbo. Basically, a good picnic and summer food.

    Ingredients
    The curdled milk is good, though it looks wrong.

    2  cups unbleached all-purpose flour (10 ounces)
    2  teaspoons baking powder
    1/2  teaspoon baking soda
    1  teaspoon sugar
    3/4  teaspoon table salt
    1/2  cup shredded cheddar cheese (2 ounces)
    1/4  cup diced jalepenos (5 or so peppers)
    1  cup buttermilk (cold)
    8  tablespoons unsalted butter , melted and cooled slightly (about 5 minutes), plus 2 tablespoons melted butter for brushing biscuits

    Instructions

    1. Adjust oven rack to middle position and heat oven to 475 degrees. Whisk flour, baking powder, baking soda, sugar, salt, cheese, and jalepenos in large bowl. Combine buttermilk and 8 tablespoons melted butter in medium bowl, stirring until butter forms small clumps (see photo below).
    2. Add buttermilk mixture to dry ingredients and stir with rubber spatula until just incorporated and batter pulls away from sides of bowl. Using greased 1/4-cup dry measure, scoop level amount of batter and drop onto parchment-lined rimmed baking sheet (biscuits should measure about 2 1/4 inches in diameter and 1 1/4 inches high). Repeat with remaining batter, spacing biscuits about 1 1/2 inches apart. Bake until tops are golden brown and crisp, 12 to 14 minutes.
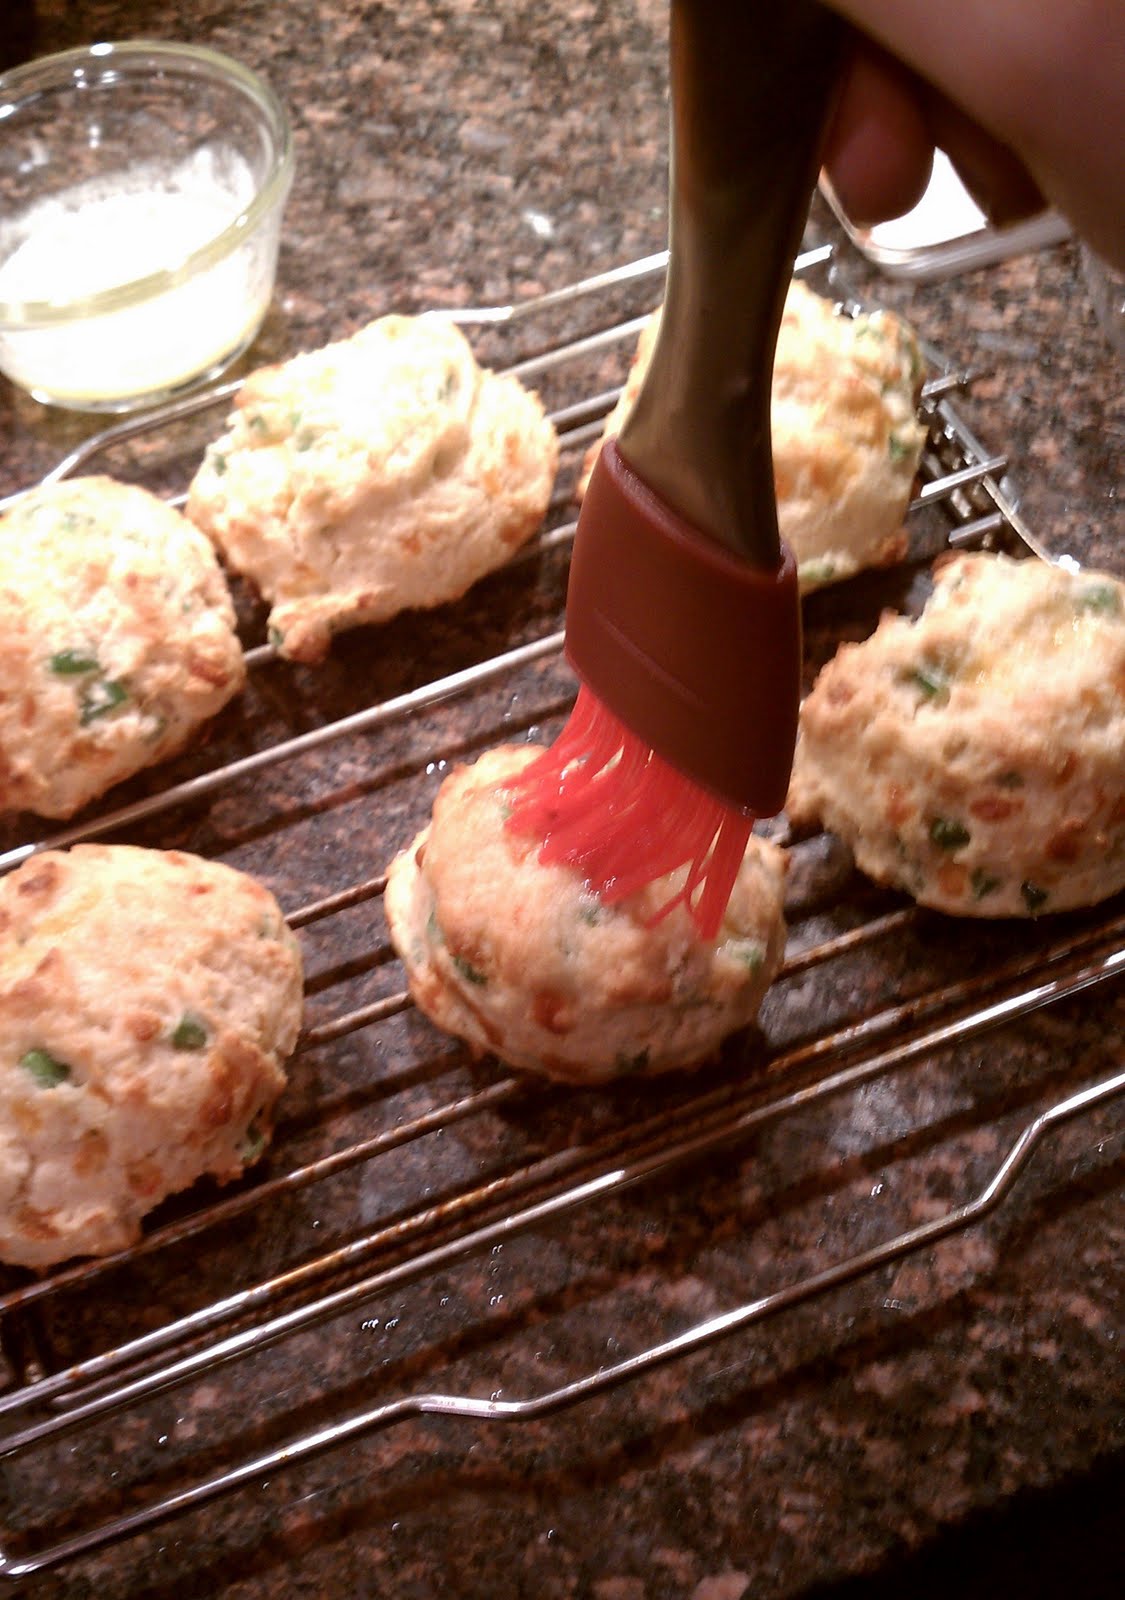
    3. Brush biscuit tops with remaining 2 tablespoons melted butter. Transfer to wire rack and let cool 5 minutes before serving. If serving the next day, you can revive the biscuits with ten minutes in a 300 degree oven, making sure to store in a sealed container.

    Wednesday, April 6, 2011

    Chive Risotto Cakes

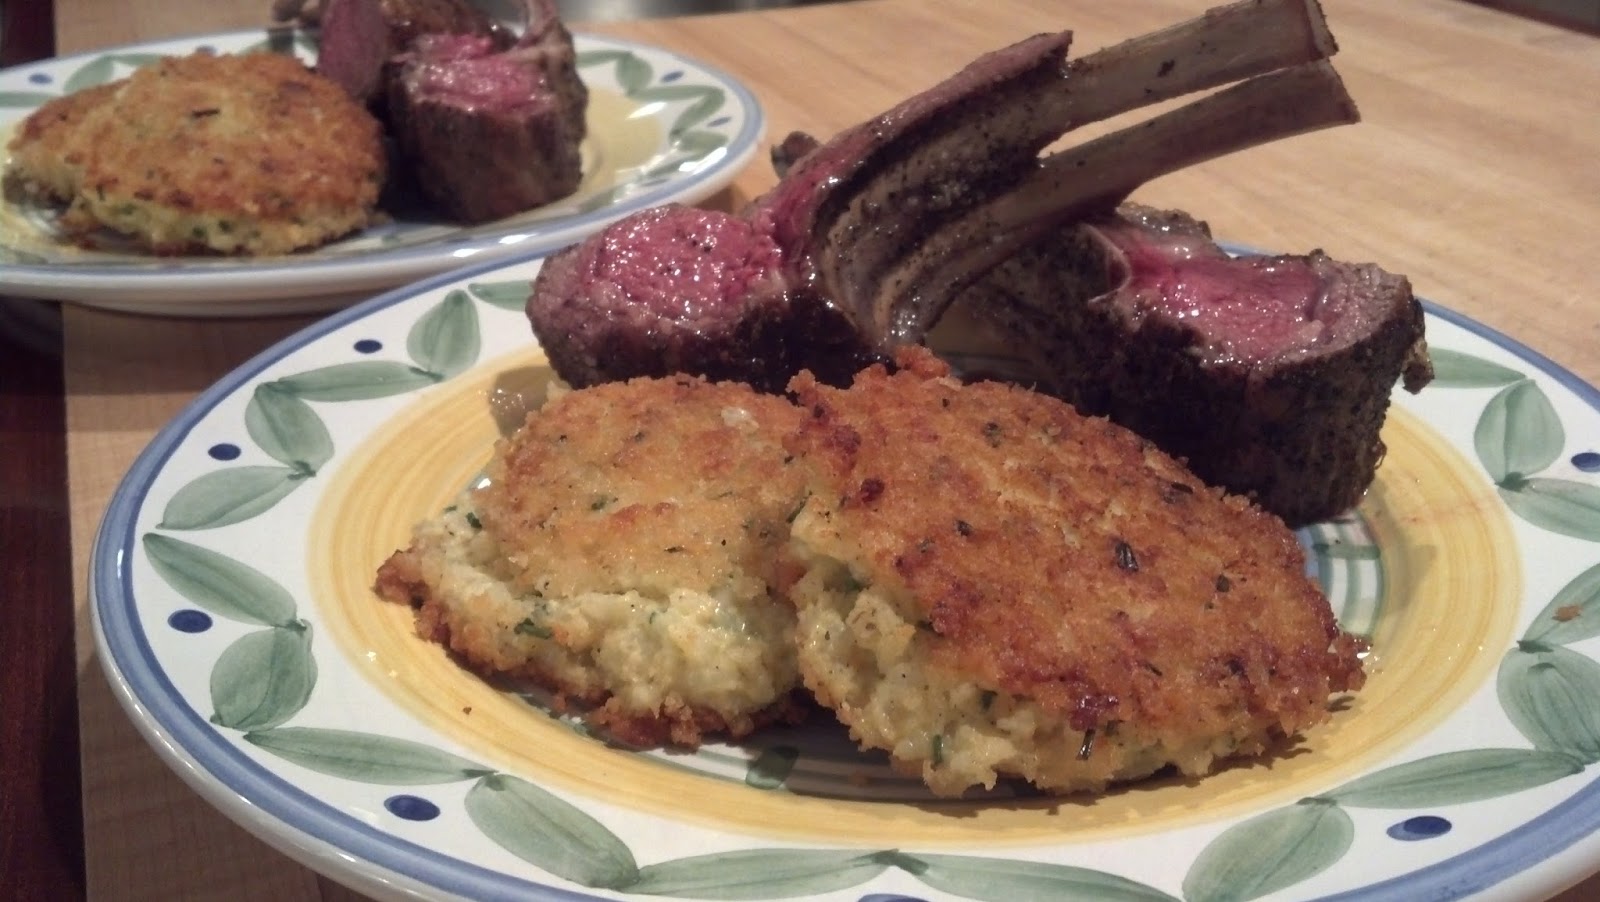
    I'm a big fan of chives. I'm a fan of the entire onion family of course, but to me the chive is just the right combo between fresh herb and onion tang to cross that bridge. Its one of my favorite additions to add life to sides such as polenta and risotto. To me, nothing tastes quite like Spring than adding a little chives and some lemon. Add in a little cheese and yogurt and you have these risotto cakes. They take awhile to chill, but include all the things a successful side should contain- flavor (but complementary to the main course), creaminess, and texture in the form of the crisp panko coating.

    This is an adjusted creation of Barefoot Contessa, and are a classy and easy side for a dinner party. The mixture should chill at least three hours and preferably overnight before forming the cakes. After the first chill, you'll want to prepare them ahead up to the point of covering in panko, and then refrigerate them for at least three hours.  (Keeping them chilled is the key to them not falling apart in the pan during flipping). If you do not have three hours, you can speed it up by storing them in the freezer for 30 minutes. This also has the added benefit of allowing you to prepare this mostly ahead of your guests coming, then just finish in the pan with some olive oil and serve around the time the meat comes out of the oven.

    You can prepare your own Greek Yogurt for this recipe, or just buy it ready-made. We have also substituted fontal cheese (a slightly cheaper version of Italian Fontina Cheese) when available. A word on Fontina: this is a recipe where some really excellent Fontina will go a long way. We've certainly made it with cheaper domestic Fontina that can be found at the local Harris Teeter, but getting the pricier stuff does pay off in this recipe. The other side of that is that depending on what brand of Fontina you purchase, you might have different salt-content in the cheese, so be sure and try your cheese before dumping a bunch of salt into the rice. This dish can get too salty, so a gentle hand is in order.

    Ingredients

    Kosher salt
    1 cup uncooked Arborio rice 
    1/2 cup Greek yogurt 
    2 extra-large eggs 
    6 tablespoons minced fresh chives
    1 pressed garlic clove (optional) 
    1 1/2 cups grated Italian fontina cheese (5-6 ounces) 
    1 teaspoon freshly ground black pepper 
    3/4 cup panko (Japanese dried bread flakes) 
    olive oil

    Directions


    1. Bring a large (4-quart) pot of water to a boil over medium-low heat and add 1 1/2 teaspoon salt and the Arborio rice. Cook, stirring occasionally, for 20 minutes. The grains of rice will be quite soft. Drain the rice in a sieve and run under cold water until completely cool to touch. Drain well.
    2.  Meanwhile, whisk together the yogurt, eggs, chives, fontina, salt to taste, and the pepper in a medium bowl. Add the cooled rice and mix well. Cover with plastic wrap and refrigerate overnight or at least 3 hours, until firm.
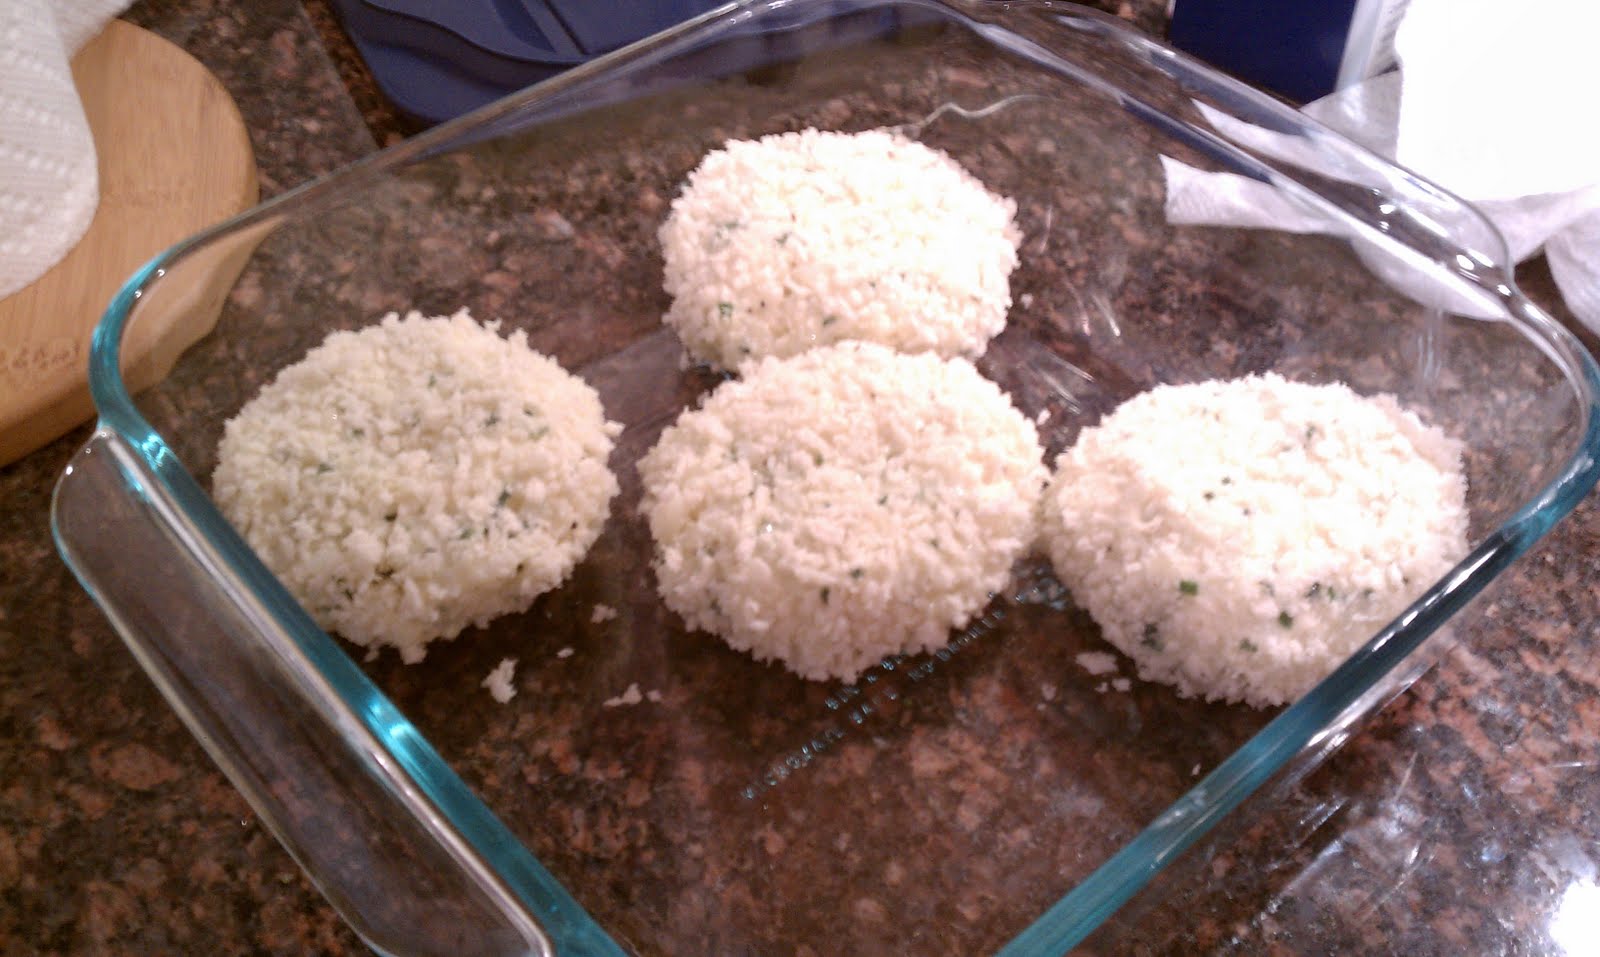
    4.  After chilling, spread the panko in a shallow dish. Form balls of the rice mixture using a standard (2 1/4-inch) ice-cream scoop or a large spoon. Pat the balls into patties 3 inches in diameter and 3/4-inch thick. Place 4 to 6 patties in the panko, turning once to coat both sides.
    5. Place on a plate and chill in refrigerator for three hours. If you need to speed the process, sometime can be spent in the freezer but do not freeze all the way through. The cakes should be chilled and firm. If you are chilling for an extended period of time (you can leave the patties for up to 24 hours), you may want to hold off on adding the panko until you are ready to cook.
    6.  When ready to serve, heat 3 tablespoons of olive oil in a large skillet over medium to medium-low heat. Place the patties in the hot oil and cook, turning once, for about 4-5 minutes on each side until the risotto cakes are crisp and nicely browned. Place on a sheet pan lined with parchment paper and keep warm in the oven for up to 30 minutes. Continue cooking in batches, adding oil as necessary, until all the cakes are fried. Makes 8 cakes or 4 generous side portions.


    Total Cook Time: 6-24 hours, 1 hour cooking time, 6 hours plus inactive time