Showing posts with label first course. Show all posts

Sunday, July 13, 2014

Mexican Style Shrimp Cocktail

Just as our Brown Sugar and Citrus Cured Salmon has become a tradition at our winter celebrations, this sweet-and-spicy shrimp cocktail based on an octopus recipe from the Rick Bayless cookbook has proved to be an immensely popular item at our parties during the warmer months. The first time we served this dish, our guests finished the entire bowl before E.S. even got to try one shrimp! Also like the cured salmon, this recipe is very simple.

Unlike your traditional shrimp cocktail arrangement – in which cooked shrimp are hung on the edge of a container of cocktail sauce – this recipe calls for the shrimp to be tossed in the sauce ahead of time, which allows the flavors of the sauce to penetrate the shrimp. Don’t add the shrimp to the sauce more than three hours before serving the cocktail, or the shrimp will start to get soft.
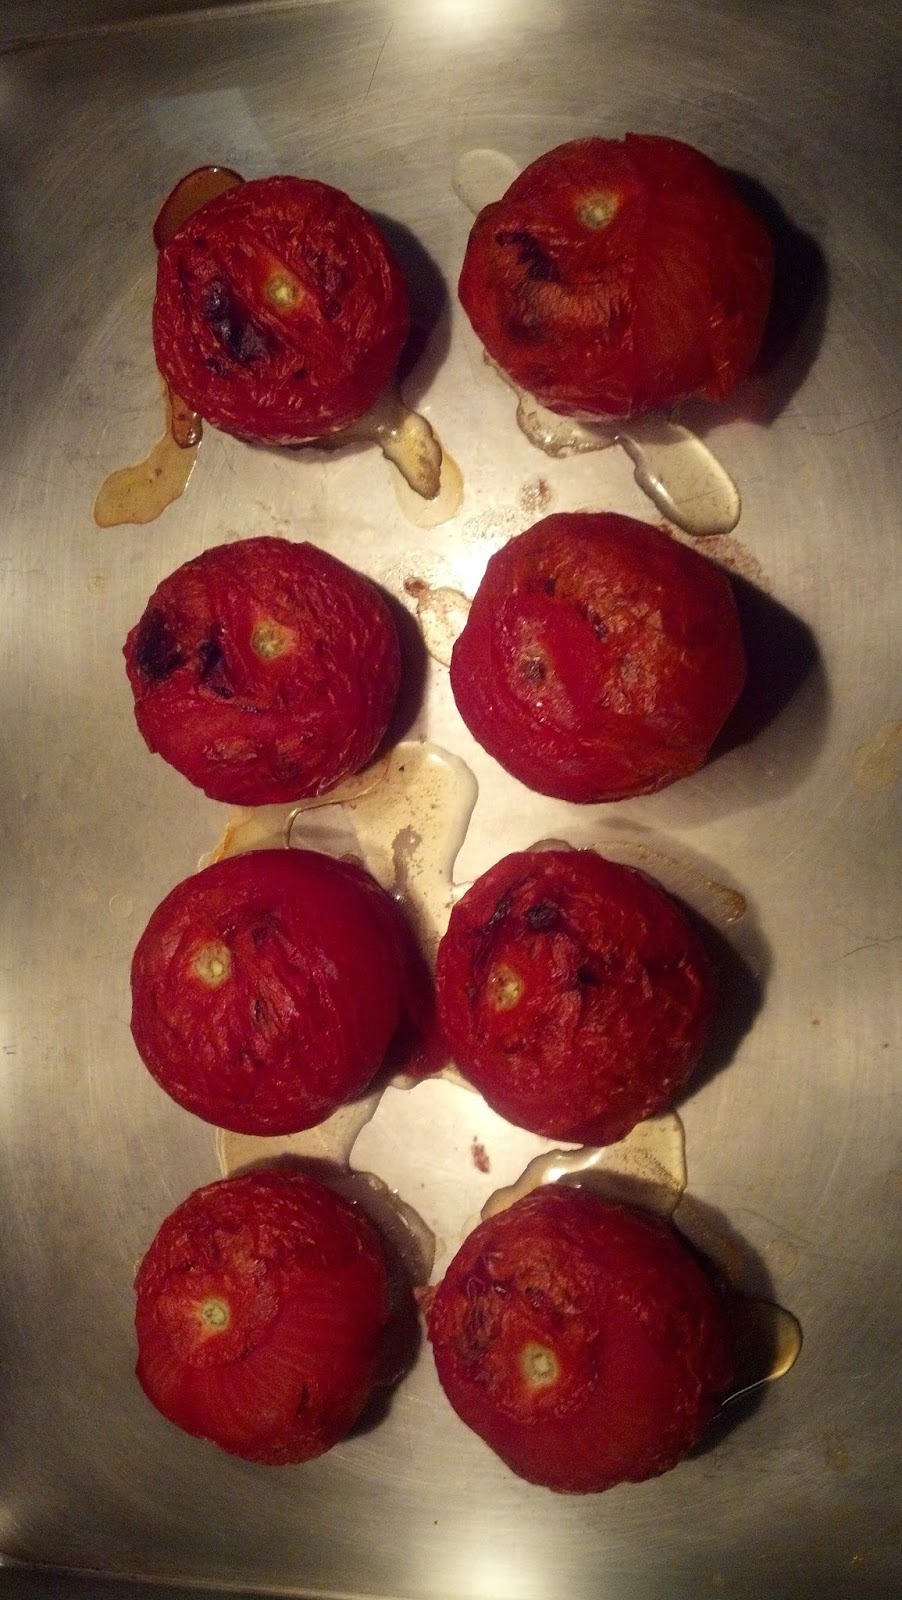
Tomatoes charred under a hot broiler, and a large quantity of hot sauce form the base of the cocktail sauce. I prefer Valencia or Cholula brand hot sauce for this recipe, as both have a subtle horseradish kick that compliments the shrimp nicely. Brown sugar and sherry vinegar provide a sweet contrast that balances the spice in the hot sauce.

Using precooked shrimp purchased from your local fishmonger makes this recipe a breeze. Just whip up the sauce in your food processor, chill in the refrigerator, and then toss in the shrimp. It’s that easy. Of course, if you want to cook your own shrimp, that will work too. Either way, be sure to remove all bits of shell and tail from your shrimp.

Serve this shrimp cocktail as part of a buffet in a large bowl, or as a plated first course in small glass bowls, topped with freshly sliced avocado and chopped cilantro.


Mexican Style Shrimp Cocktail

Ingredients

1 red onion, sliced thin
1 pound ripe tomatoes (2 large or 6 plum)
3 garlic cloves, peeled
1 tablespoon olive oil
2 tablespoons sherry vinegar
2 tablespoons brown sugar
¼ cup Mexican hot sauce (such as Valencia or Cholula brand)
2 ½ pounds cooked shrimp, shells and tails removed
1 ripe avocado, cut into small chunks
3 tablespoons chopped cilantro


Instructions

1. Roast the whole tomatoes on a rimmed baking sheet about four inches below a very hot broiler until splotchy black and thoroughly soft, at least 5 minutes per side. Remove and cool.

2.While the tomatoes are cooling, set the oven temperature to 425 degrees. Spread the onion and whole garlic cloves on a baking sheet and drizzle with the olive oil. Toss to combine. Place in the oven and roast until richly browned, about 15 minutes, stirring a few times to ensure even browning.

3. Pull the blackened skins off of the tomatoes, and scoop them into a food processor. Pulse several times to chop them into small pieces. Scrape into a medium bowl.

4. Scoop the onion and garlic into the food processor (don’t bother to clean the bowl of the food processor between uses). Pulse until finely chopped and add to the bowl with the tomatoes.

5. Add the sherry vinegar, brown sugar and hot sauce to the bowl and combine with the chopped vegetables. Season to taste with salt (I usually add about 2 teaspoons). Chill the cocktail sauce in the refrigerator.

6. An hour or two before you want to serve the shrimp cocktail, add the cleaned shrimp to the bowl and toss to combine. Try a shrimp to see if the cocktail needs additional salt or hot sauce. Once you are satisfied with the seasoning, return the bowl to the refrigerator.

7. When ready to serve, transfer the shrimp and sauce to an attractive bowl and top with the avocado and cilantro. Alternatively, divide the shrimp and sauce among small glass bowls and top each bowl with a few chunks of avocado and some chopped cilantro. Serve with high quality tortilla chips.

Related: Look at our Chilled Cucumber and Avocado Soup recipe to see how to pit an avocado.

Thursday, June 12, 2014

Heirloom Tomato Sorbet with Chive Oil

As a little kid, I used to love it when restaurants would serve sorbet as first course or as a palate cleanser between courses.  "Early dessert!" I'd think to myself when greeted with basil ice cream as an amuse or presented with pear sorbet before my main course.  Those are the memories that inspire me to work sorbets and ice creams into unexpected parts of my menus today.  I try to find recipes that surprise my guests – and get them excited for the meal to come.

This recipe for tomato sorbet, from Thomas Keller's The French Laundry Cookbook, is particularly good.  The sorbet has intense tomato flavor, but is still clean enough to be refreshing between courses, thank in part to the addition of orange zest.  Wait until late summer when the very best tomatoes are available to make this sorbet.  The wait will be worth it.

Keller's method for making chive oil is as simple as can be, and pairs beautifully with the sorbet.  Just hold the chives under hot running water for a couple of minutes and then blend with the oil.  The heat created by the friction of the blade spinning through the oil is enough to heat the mixture and infuse the flavor of the chives into the oil.  The oil is best if made at least one day ahead of time, and then strained just before use.

Ingredients

Simple Syrup

3/4 cup sugar
3/4 cup water

Tomato Sorbet
2 1/4 pounds heirloom tomatoes, peeled, seeded and cut into 1-inch pieces
1 tablespoon canola oil
1/3 cup finely chopped yellow onion
2 tablespoons red wine vinegar
Pinch of chopped tarragon
Pinch of cayenne
3/4 cup plus 2 tablespoons simple syrup
Julienned zest of 1/2 orange (removed with a zester; 1 teaspoon), brought to a boil in cold water, strained and repeated 2 additional times
Kosher salt
Freshly ground black pepper

Chive Oil

1 packed cup chives
1 cup canola oil

Fleur de sel
Extra chives for garnish

Instructions

For the simple syrup
  1. Combine the sugar and water in a saucepan and bring to a boil, stirring to dissolve the sugar.  
  2. Remove from heat, let cool to room temperature, and then refrigerate.
For the sorbet: 

  1. Place the tomatoes in a saucepan and bring to a simmer over medium heat. 
  2. Cook, stirring often, for about 45 minutes, or until the tomatoes have reduced by half.  There may still be a small amount of liquid remaining.
  3. Meanwhile, heat the oil in a skillet over low heat.  
  4. Add the onions to the skillet and cook gently for 7 to 8 minutes, or until tender.
  5. Place the reduced tomatoes and the onions in a blender and puree them until very smooth.  
  6. Press the mixture through a fine mesh strainer (there will be about 1 cup of puree) and return it to the clean blender.  
  7. Add the remaining sorbet ingredients and blend again.  
  8. Strain through a clean fine mesh strainer.  There should be about 1 1/2 cups sorbet base.  
  9. Cool the mixture over ice, stirring often.
  10. Freeze the sorbet in an ice-cream machine according to the manufacturer's directions.  
  11. Store the sorbet in a covered container in the freezer.  The sorbet is best eaten the day it is made.


For the chive oil: 
  1. Place the chives in a strainer and run hot water over them for about two minutes to soften and remove the chlorophyll taste.
  2. Place half of the chives in a blender with the oil.  
  3. Turn on the blender to medium speed and allow the chives to blend for a minute to begin the process. 
  4.  Turn the speed to high and continue to blend for another 2 minutes.  If your blender has a hole at the top, remove the stopper to allow some air in.
  5. Add half of the remaining chives to the machine and blend for another 2 minutes, then add the remaining chives and blend for 2 more minutes.
  6. Remove the puree to a covered container and refrigerate for at least 24 hours.
  7. When ready to use, strain the oil through a fine mesh strainer lined with cheesecloth.
To serve
  1. Spoon a little of the chive oil into the center of a six small bowls.  
  2. Top each with a quenelle of tomato sorbet.  
  3. Sprinkle each bowl with a few grains of fluer de sel and garnish with the extra chives.

Wednesday, December 18, 2013

Cranberry Cheddar Gougeres

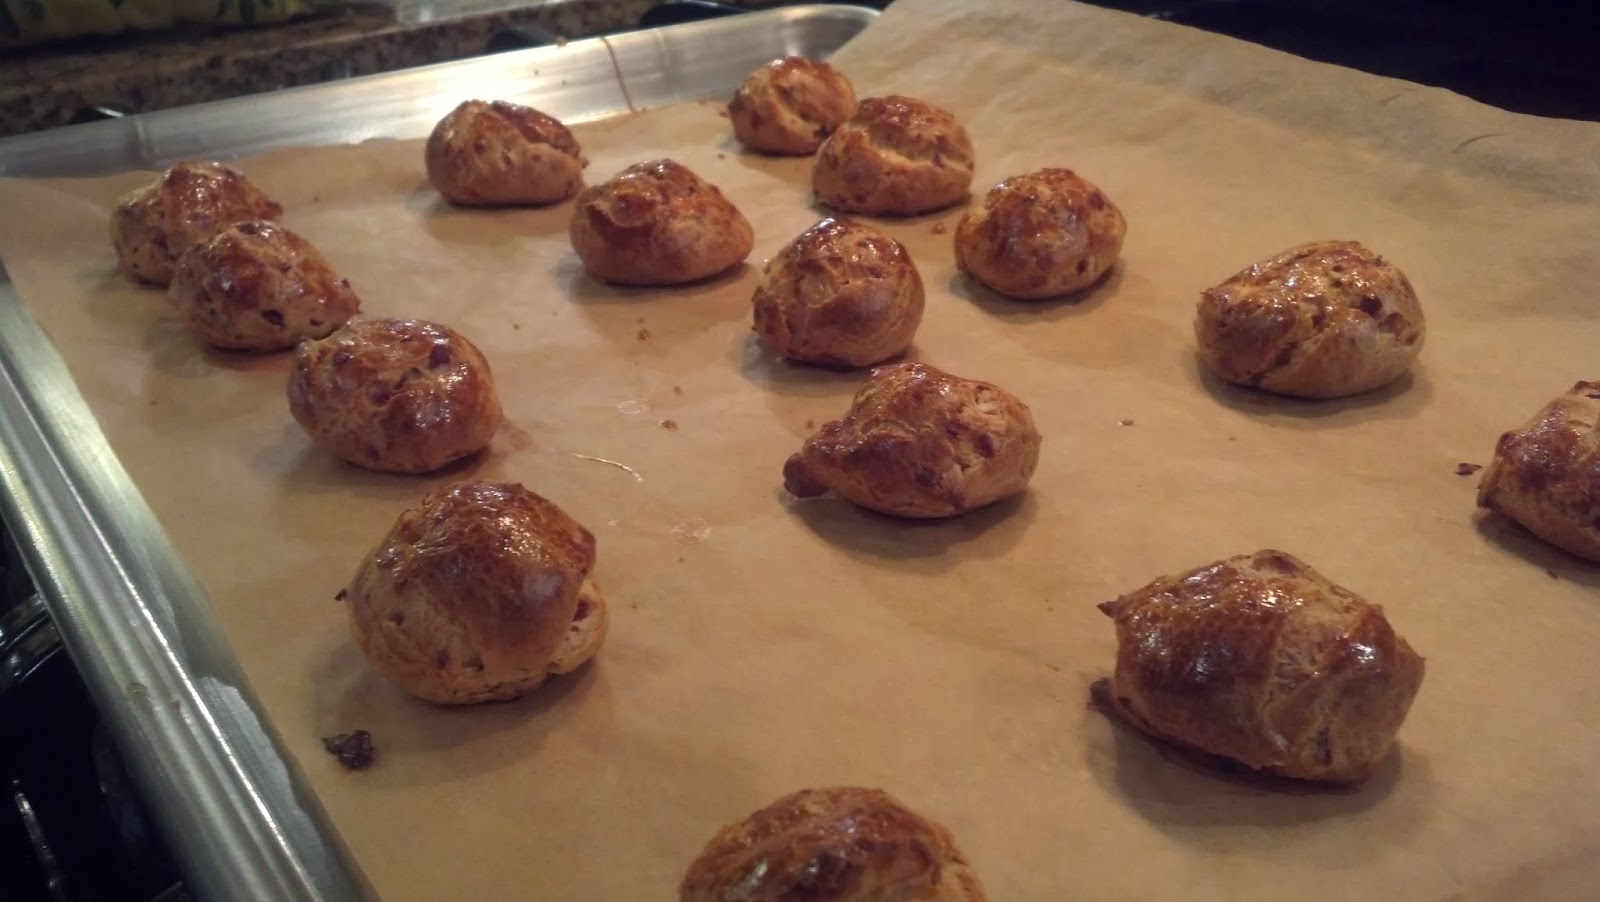
A gougere is a French pastry that is light, airy, and deliciously cheesy. Essentially, it is a cheese puff the way a cheese puff should be. If you have never experienced the delight of biting into a piping hot gougere and have the steam from the oven explode in your mouth or had an entire room consumed by the smell of cheesy goodness cooking in the oven, I insist you stop whatever you are doing and find yourself a gougere to eat, unless what you are doing is making gougeres, in which case, you are on the right track.  

There are many variations on a gougere (which is classically made with gruyere cheese or sometimes other French cheeses), but all of them are based on the idea of a light, airy cheese pastry made with a pot au choux dough, which is a cooked dough that uses moisture instead of a rising agent (like yeast) to rise. All of which makes it sound very fancy and much more difficult than it is.

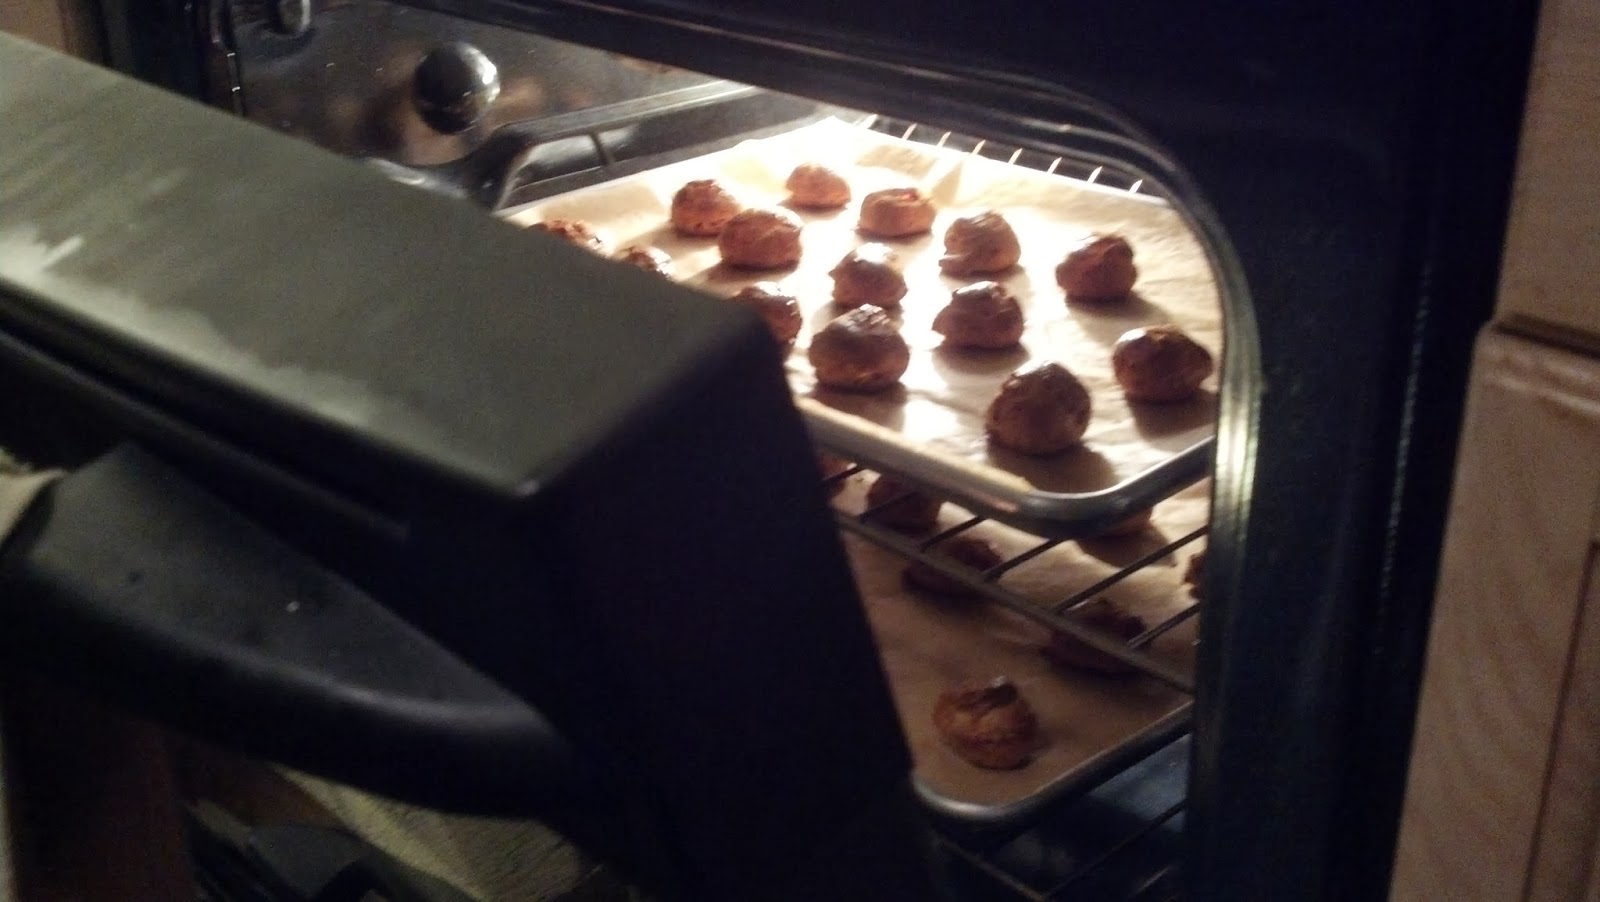
Usually, you see gougeres in small bite size balls (each 1-2 bites), but when we were in Burgundy recently, TK and I were frequently served much larger almost biscuit sized gougeres that were equally light and delicious.We will get to those later, but for now, here are some of the regular bite sized gougeres in a fun recipe from the New York Times website that adds a little holiday cheer to this classic (and thus made it a perfect addition to our Holiday Party line-up), while speeding it up along the edges for a quick and easy treat. Obviously, cheddar is not particularly French, nor are cranberries, but delicious is delicious. The dough looks marvelously festive before baking with little red cranberry flecks, the cheese kinda takes over the show during baking and the cranberry taste is a relatively subtle sweet note in the dough. Because these are tiny, they don't necessarily require the piping that larger gougeres may need to get that distinctly spiral. Obviously, piping doesn't HURT the recipe, but it can be a mess when all you need is a teaspoon scoop.

This is a food processor recipe, which is both awesome, convenient, and makes it difficult to make more than one batch at a time, unless you are willing to rock multiple food processors which frankly I am not. For the record, you can make this recipe by hand. You have to finely chop the cranberries by hand in the beginning and then stir until your arm can't stir anymore and then stir some more to incorporate the eggs, cranberry, and cheese later, but it can be done. But why would you take a recipe that has given you the gift of a food processor and then not use it? In addition, this is a freezer-friendly recipe. You can make these a week before your party and just heat them up right before you are ready to serve. You won't get the same intense cheese smell filling your house at reheating (only a moderate cheese smell filling your house), but they will still taste delicious and you'll still be able to serve them piping hot with a simple ten minutes in a 350 degree oven.


Cranberry Cheddar Gougeres

Ingredients


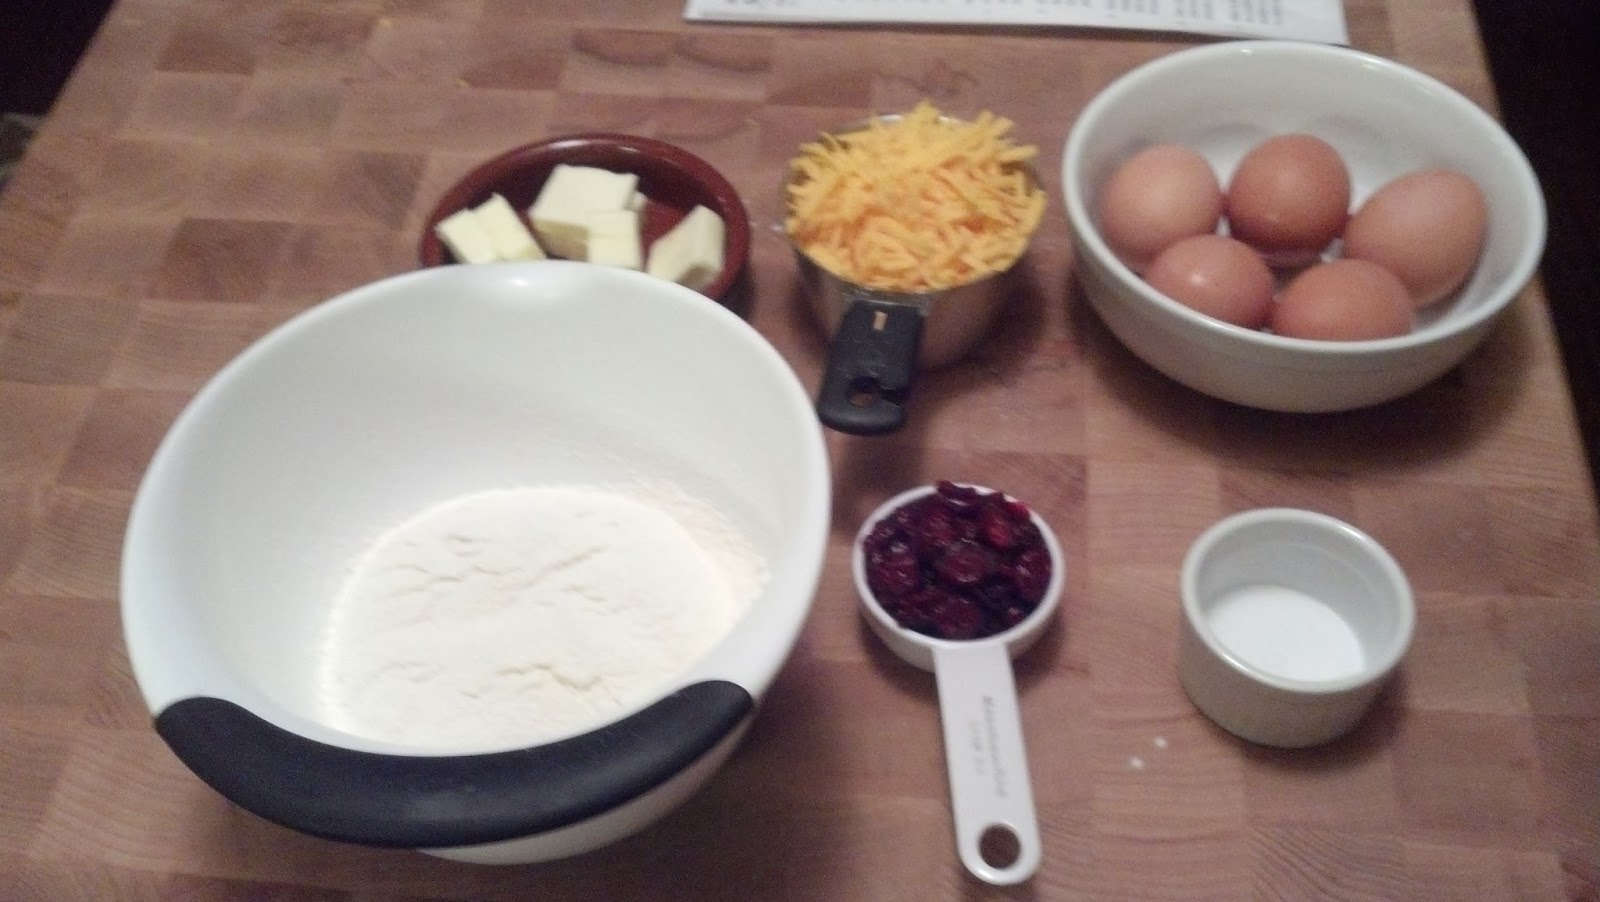
  • 1/4 cup dried cranberries
  • 3 ounces unsalted butter (6 tablespoons)
  • 1 teaspoon salt
  • 1 cup sifted flour
  • 5 large eggs
  • 1 cup grated sharp Cheddar


Preparation


  1. Turn on food processor and finely chop cranberries by dropping them in through feed tube. Remove cranberries, but don’t bother cleaning bits clinging to the bowl, as they'll end up back in bowl eventually. 
  2. Place 1 cup water in a 2-quart saucepan. Add butter and salt, bring to a simmer and cook just until butter melts. 
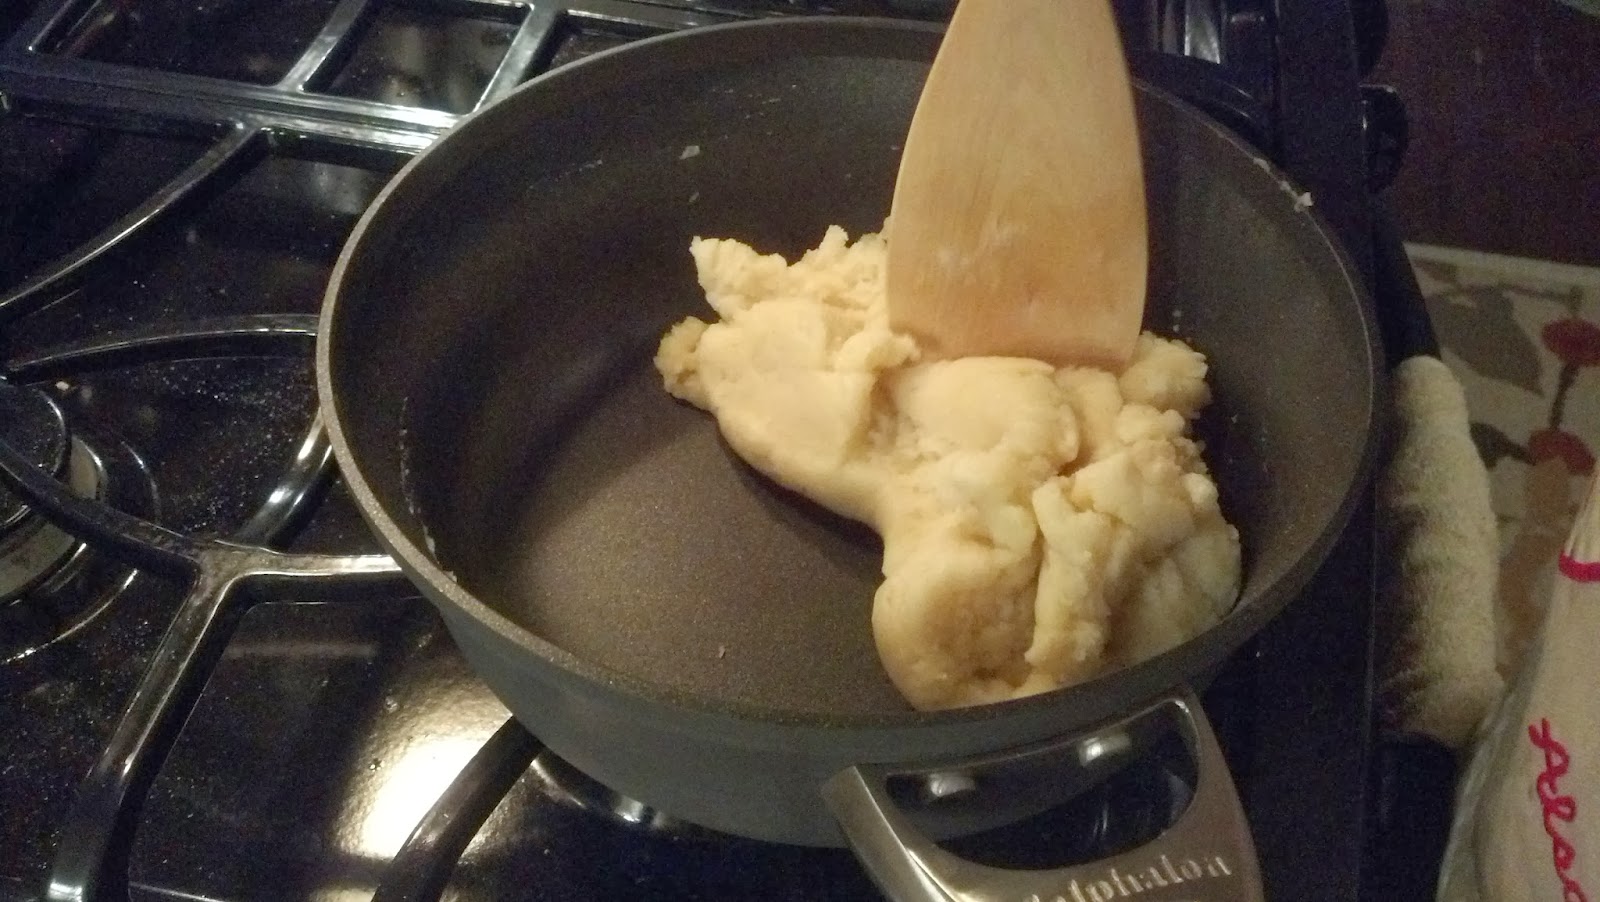
  3. Remove from heat and add flour all at once, stirring vigorously with a wooden spoon.
  4. Return saucepan to medium to medium high heat and cook dough, stirring constantly, about a minute or two until the dough forms a ball and does not stick to the sides of the saucepan.
  5. Transfer dough to food processor.
  6. Heat oven to 425 degrees.
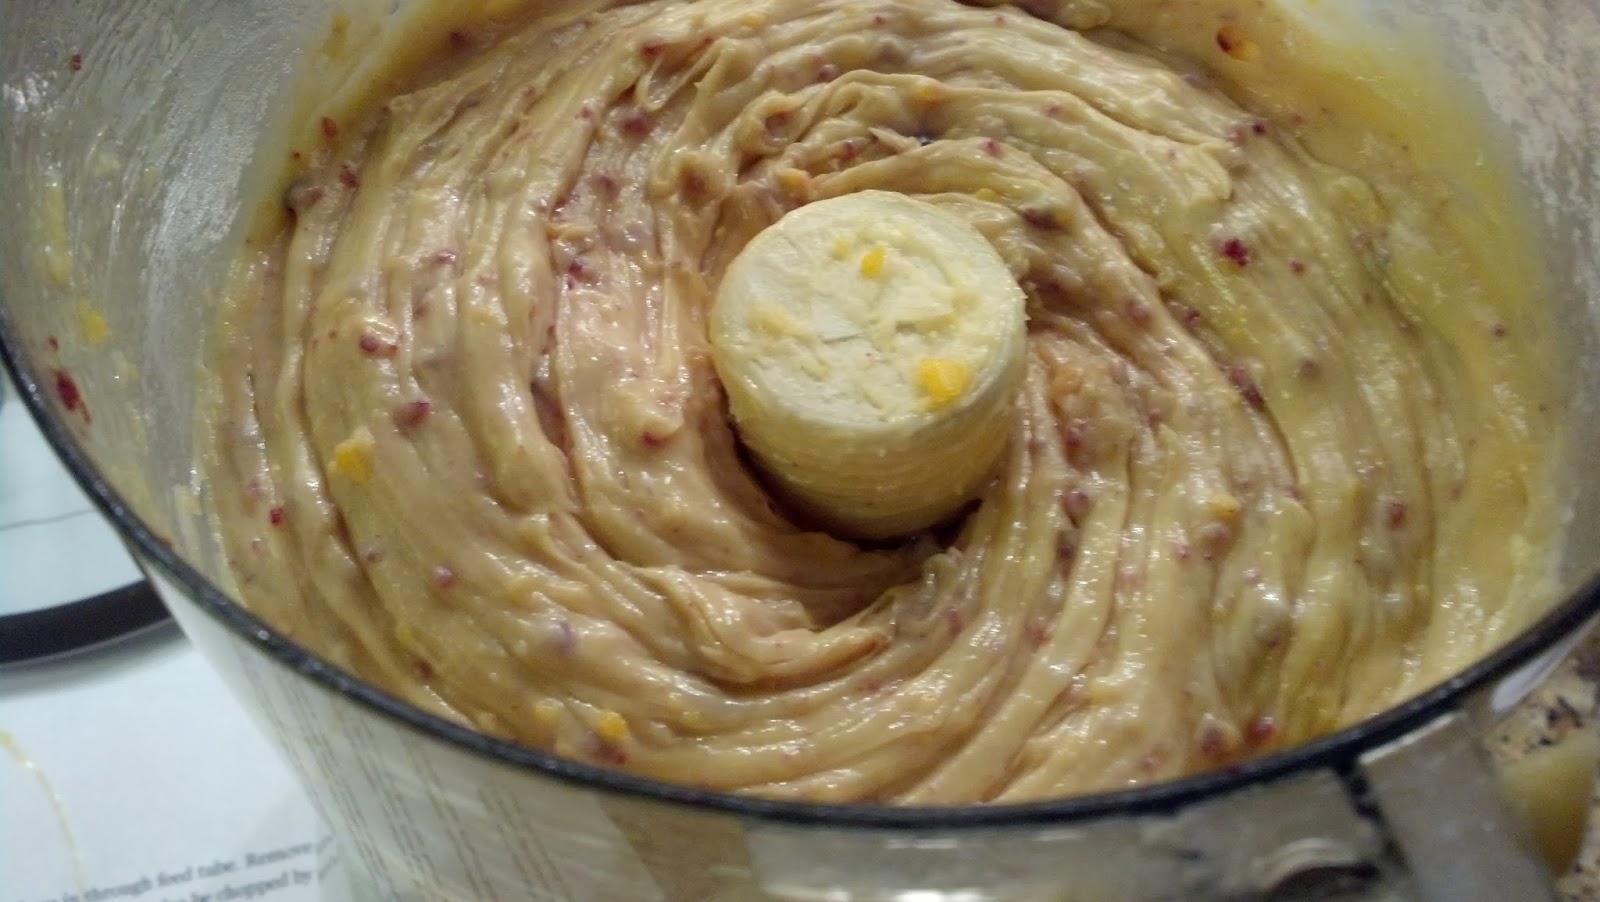
  7. Turn on food processor and add 1 egg to the dough. As soon as it’s completely incorporated, add another, and continue adding eggs 1 at a time until you have used 4.
  8. Add chopped cranberries and Cheddar and pulse to blend.
  9. Line 2 baking sheets with parchment or silpat if available. Drop heaping teaspoons of batter, in mounds about 1 inch across, on baking sheets, leaving 2 inches between them.
  10. Dipping your fingertips in cold water, gently press down any peaks or tips to the mounds of dough so that the dough is flat and will form a clean circular puff.
  11. Beat remaining egg. Brush tops of mounds with egg, taking care not to let any drip down the sides.If after your first batch you find the coloring to be overly dark or slightly burned, you can wait to brush the egg until 7 minutes in to the first fifteen minutes of cooking (or whenever the first time you rotate baking sheets is).
  12. Bake 15 minutes, until puffed and lightly browned, rotating baking sheets halfway between cooking.
  13. Reduce heat to 350 degrees and bake another 10 to 15 minutes, until well browned and again rotating baking sheets halfway.
  14. Shut off oven, open oven door a few inches and leave gougères another 15 minutes before removing them. If you are serving them immediately, serve right away, they do not need any time to cool and are best hot.
  15. Before making your next round, wait ten minutes for baking sheets to cool, replace parchment paper, and repeat process.If you are making these ahead of time, move gougeres to cooling racks. When completely cooled, the gougères can be transferred to a heavy plastic bag and frozen. Reheat them for 10 minutes at 350 degrees.


Sunday, May 27, 2012

Chilled English Pea Soup with Crispy Prosciutto

I based this recipe on the Chilled Garden Pea Soup recipe in the Eleven Madison Park Cookbook by Daniel Humm and Will Guidara.  Like almost all of the recipes in Eleven Madison Park, I had to simplify this one considerably before I could attempt to make it.  By omitting the "buttermilk snow" and by substituting a piece of crispy prosciutto for the more-involved "prosciutto crisp," I was able to bring this recipe down to earth while staying true to the vibrant flavors in the dish.  The sweet-fresh flavor of spring peas is complemented by the tartness of buttermilk and the sting of green onion.  Crispy prosciutto, served on the side, adds salt and a little whimsy to the dish.

The most involved part of this recipe is shelling the peas.  Two cups doesn't sound like a lot, but after you've been shelling peas for 30 minutes and your measuring cup still looks empty, you'll realize that it's actually a lot.  That being said, the fresh peas are what make this dish special, so don't even think about cheating and using frozen peas.  If you're lucky enough to find freshly-shelled peas, available at some farmers markets, they're a great alternative.

This recipe makes enough to serve 6 as a small first course or amuse bouche.  If you want to serve it as a middle course, simply double the amounts in the recipe.  The soup is best if made the day before serving, allowing the flavors to intensify overnight.  The crispy prosciutto can be prepared several hours ahead of time, but are best if eaten the day they are prepared.

Chilled English Pea Soup with Crispy Proscuitto

Ingredients

Kosher salt
1/3 cup chopped green onions, green parts only
2 cups shelled English peas
1/2 cup buttermilk
2 tablespoons good olive oil
6 mint leaves
6 thin slices prosciutto
Freshly ground black pepper
Tabasco sauce

Instructions

1. Bring a large pot of salted water to a boil.  Fill a large bowl with ice and water.  Add the green onions to the boiling water and cook for about 30 seconds. 
2. Using a slotted spoon, transfer them to the ice water.  Once cool, drain them on paper towels. 
3. Add the peas to the boiling water and cook for 3 to 4 minutes. 
4. Using a slotted spoon, transfer them to the ice water and drain with the green onions once cool.
5. Place the green onions and peas in a blender along with the buttermilk, olive oil, mint leaves, 1 tablespoon salt and 6 cups of water. 
6. Blend on high speed until completely smooth, 4 or 5 minutes. 
7. Pass soup through a fine mesh strainer, pressing against the sides gently with the back of a wooden spoon to strain.  Clean the strainer, and then strain again into a clean bowl.  If the soup isn't completely smooth and free of all solid particles, strain again for a third time.
8. Chill the soup over ice, stirring occasionally. 
9. Cover and refrigerate overnight.
Crispy Proscuitto
10. The next day, preheat the oven to 375 degrees.  Line a rimmed baking sheet with Silpat.  Carefully lay the slices of prosciutto on top and bake for 10 to 15 minutes, or until crisp and slightly dark. 
11. Remove using tongs and drain on paper towels.  Store the prosciutto in an airtight container until ready to serve.
12. Remove the soup from the refrigerator and season to taste with additional Kosher salt, black pepper and Tabasco.
13. To serve, fill 6 chilled demitasse or other small cups (such as a tall shot glass or espresso cup) with equal portions of the soup.  Place a piece of prosciutto to the side of each cup and serve immediately.

Monday, February 13, 2012

Poached Pears in White Wine

The poached pear is a controversial dessert. It's easy to make, but can be easy to screw up as well. It can be romantic and easy to serve, or it could just be an easy way out. The trick to good poached pears is, first and foremost, picking the right pears that are already in season, ripe, and oozing delicious pear, before being bruised and abused and thus not so pretty to serve. I've found that Bartlet work well, as do Bosc. Purchase them a bit firm, before you plan on using them, and let them ripen for a couple of days. If they start to go too fast, you can either slow them down via the fridge, or you can poach them, and they'll hold in their syrup for about three days. This brings us to another advantage of the poached pear, the fact that you can prep it all and save it in its syrup for a mighty three days before dessert/salad/etc. is served. That gives you two days to screw up your tart crust enough times to give up and just serve poached pears, or two days to masterfully perfect the rest of your meal in a more leisurely manner.

Lastly, choose a wine that you like to drink as your wine for poaching. Sometimes wine that maybe was a well-intentioned gift but wasn't really what you like to drink gets sidelined for cooking purposes, and that's fine if we're just de-glazing a pan, but when you poach a pear, you are essentially giving the pear the complexion of whatever wine you are using, so lay off the yellow tail for a bit. Use a sauvignon blanc or chardonnay that you drink on a regular basis, and you'll get lovely bright colors in your pear. A chardonnay will lend oakier tones, because it is chardonnay and that's an oakier wine. TK and I are not so big on the chardonnay, so we always use sauvignon blanc, but either of those wines will work and will avoid being overly sweet. You want the sweet to come from the vanilla bean, not the wine. The wine is there for brightness.

How do you serve your poached pears? Well, you can add some nuts and frisee and some goat cheese and you have your self a pretty nice upscale salad, or you can slice and add to a decedent pear tart with frangipane, or you can serve simply and beautifully with some vanilla or ice cream and tea cookies. It can serve as the sweet counter to a savory cheese plate or first course, or stand alone as a dessert. It's really a versatile little course that's good to have in your pocket.


Poached Pears with White Wine

1 bottle white wine (750 ml)
2/3 cup granulated sugar (about 4 1/2 ounces)
2 tablespoons lemon juice from 1 lemon plus 4 or 5 large strips zest removed with vegetable peeler
1 cinnamon stick
15 - 20 whole black peppercorns
3 whole cloves
1/8 teaspoon table salt
1 vanilla bean, slit in half lengthwise (optional, but encouraged)
4 ripe but firm pears (about 8 ounces each), preferably Bosc or Bartlett

Instructions
  1. Combine wine, sugar, lemon juice and zest, cinnamon, peppercorns, cloves, and salt in large, nonstick saucepan or dutch oven. 
  2. Scrape seeds from vanilla bean pod using a paring knife and add seeds (they look like fine caviar) to the saucepan as well as the scraped out pod.
  3. Bring mixture to simmer over medium heat, stirring occasionally to dissolve sugar.
  4. Peel pears with vegetable peel making long verticle stripes from stem to blossom end of pear.
  5. Working quickly to avoid discoloration, cut pears in half.
  6. Remove seed core of pear.
  7. Cut out the blossom end of pear, then cut a long narrow "V" from cored center of pear up to and around the stem of the pear, removing the stem and the fibrous center core of pear (see photo below of pear halves for what pears should look like).
  8. Gently slide pears into simmering wine using a spatula or slotted spoon.
  9. Increase heat to high and return to simmer then reduce heat to low. Simmer while covered until pears are tender enough that a toothpick or skewer inserted into pear should slide in and out with very little resistance and the outer edges of pears have turned translucent. Turn pears in liquid halfway through poaching time using wooden spoon or spatula. Pears should simmer for about 10 minutes total.
  10. Off heat, cool pears in liquid, partially covered, until pears have turned translucent and are cool enough to handle, about 1 hour. (Pears and liquid may be transferred to nonreactive bowl or container, cooled to room temperature, covered, and refrigerated for up to 3 days.)
  11. Remove from liquid and serve pears as desired, additionally slicing if necessary. If preparing a tart, dry pears on paper towels to prevent tart from becoming soggy.

Sunday, January 1, 2012

Brown Sugar and Citrus Cured Salmon

This salmon has become a staple at our holiday party and is always one of the first things to get eaten. It makes an elegant and impressive hors d'oeuvre, but it's simple to make and can be prepared days ahead of time and sliced just before the party.

The salmon can cure for anywhere from 24 to 48 hours. I prefer lightly-cured salmon, which is melt-in-your-mouth tender and still has prominent salmon flavor, so I only cure my salmon for 24 hours. If you prefer your cured salmon to have firmer flesh and saltier flavor, leave your fish in the cure for the full 48 hours. If you're squeamish about serving raw-ish fish to your guests, I would recommend curing your fish for longer than 24 hours.

This recipe will work well with any variety of salmon, but it has to be very fresh. Ask your fishmonger which salmon is the freshest, and choose that one. Try to begin curing the salmon on the same day you purchase your fish. This recipe will make enough fish to serve 6 as an appetizer. For larger parties, simply use a larger filet and increase the amount of curing mixture to maintain the correct ratio of fish to cure.

Ingredients 
1 pound very fresh salmon filet, skin on
1 cup Kosher salt
1 cup dark brown sugar
1 tablespoon black peppercorns
1/4 cup citrus zest from any combination of lemons, limes, oranges and grapefruits
several sprigs dill
creme fraiche


Instructions
  1. Combine the salt, sugar, peppercorns and zest in a medium bowl.
  2. Line the bottom of a glass baking dish with the dill. Pour a third of the curing mixture over the dill and smooth.
  3. Place the salmon, skin down, into the dish and pour the rest of the curing mixture over the fish. Smooth the curing mixture to form an even layer. The salmon should be completely encased in the curing mixture.
  4. Place a layer of plastic wrap directly onto the curing mixture, and place another glass baking dish on top of that. Weight with cans and place in the refrigerator for 24 to 48 hours.
  5. Remove the salmon from the curing mixture and rinse thoroughly under running water. Dry the salmon with paper towels and remove the skin using a filet knife. Slice as thinly as possible and serve with creme fraiche.

Sunday, December 18, 2011

Bacon Wrapped Dates with Honey Mascarpone

These dates are the hit of our holiday party every year. I first made them after learning that Talula's in Arlington had stopped serving bacon wrapped dates. This was unacceptable, so I had to learn how to make my own bacon-date combination. This is what I have come up with. My first attempt I used thick-cut bacon. Despite being better in most circumstances , it throws off the proper bacon-to-date-ratio in this recipe. I choose mascarpone because of the texture, mild sweetness, creaminess, and because it handles heat well. Letting the cheese warm to room temperature really made filling the dates much easier and resulted in fewer broken bags, as it requires less squeezing. If your ziploc bag starts to ooze out the edges try cutting around the leak and placing a new bag over the old one to keep the spout small. This is much less messy then dealing with an increasing number of bag leaks or trying to change bags.

A word on selecting your dates: The easiest thing to do is buy the box of pre-pitted dates, but often the pitted organic dates are superior in size and deliciousness. The soft ones are really easy to pit as you slice them open. If your dates are a bit harder (such as the ones my parents bring me back from West Coast date country), they can be obnoxious to pit. I have no specific solution to this. The pre-pitted packages are the easiest to wrap and less dependent on tooth picks, but the awesomeness of a nice, plump date is worth noting. We use raw honey in this recipe. If you haven't stopped by an Appalachian road stand recently, regular honey works just as well.

It's warmth and friendliness makes this concotion a perfect candidate for a winter holiday treat. After all, the salt of the bacon and the sweet of the date combined with slightly sweet cheese is a perfect little bite, and great for grazing. Because you can make them ahead and they are relatively to churn out assembly line style once you get going, you can make as many as you want. I try to budget 2-3 dates per person. Some will eat more, some will eat less.

Bacon Wrapped Dates with Honey

Ingredients
2 Bacon Packages (thin sliced, about 32 slices) cut in half
2 lbs Medjool Dates (pref. pitted, better if large, and soft)
1 lbs Mascarpone cheese (2 8 oz tubs), at room temperature
1/3 cup Honey (raw honey if available)
      Olive Oil
      Coarse Sea Salt (such as Fleur de Sel)

Cooking time: 1 hour prep, 25 minutes to cook. Makes 64 dates.

Instructions
  1. Mix together softened mascarpone cheese with 1/3 of a cup honey until soft, smooth and creamy.
  2. Add cheese to gallon ziploc bag, placing cheese as close to one corner as possible. Snip the very edge (1/8") of the corner of the ziploc bag to create an impromptu pastry bag. If you have an actual pastry bag, use it.
  3. Slice dates down the center on one side, revealing the center. If necessary, remove the pit. Open the date so the center of the pit is exposed.
  4. Fill center of the dates with cheese. The dates do not have to close all the way and can have some overflow. The warmer the cheese is, the easier it will be to squeeze.
  5. Slice strips of bacon in half. Try to select bacon with minimum fat content on the edges.
  6. Place the date cheese-side down at the end of the strip of bacon and roll. Dates can be stored rolled up until ready to cook. If dates are large, pick dates with a toothpick to ensure that the bacon stays rolled prior to baking.
  7. Cook at 375 degrees for 25 minutes on a wire rack place on top of a cookie sheet.
  8. Serve immediately. If desired, sprinkle with quality olive oil and fleur de sel before serving.

Menu: Christmas Party Menu

Another  year, another holiday party. This is the one party that we have taken to throwing every year, partially as an excuse to buy a Christmas tree. Partially because this time of the year just makes me want to make cookies, cookies, and yet more cookies. Yet again, we were a little insane in the amount of food we prepared, but there are so many things we've started looking forward to as "something we'll do for the holiday party" that it's just hard to stop yourself. We'll be posting recipes as we find the time, recover from our hangovers, and look with horror at the mess we made.

This year, we added a spicy nut mix, homemade liver mousse, and a second vegetarian option of spicy sweet potato (a recipe I made up and am still working on perfecting). We also made pignoli cookies, which I had for the first time during our recent Tuscany trip. I insisted on trying to replicate them. These aren't quite as good as the ones I had in Italy but were an excellent first attempt and stand up on their own. In addition, we had our old favorites. You just can't go wrong with this beef recipe, or with bacon wrapped dates that matter. There's bacon. There's date. It's perfect.


So enjoy, and have a happy holiday season!


Appetizers -
Chicken "Faux Gras" Mousse with Cucumber Gelee
Truffle Butter Popcorn
Pistachio and Cranberry Stuffed Brie with Raw Honey

Main Courses -
Spanakopita Triangles (Vegetarian) We made these smaller than the dinner-sized portions we usually make. Just cut the phyllo six ways horizontally instead of in half vertically.
Chipotle Sweet Potato Pockets (Vegetarian)
Ginger and Vodka Cured Beef Tenderloin

Cookies -
Molasses Crinkles
Holiday Rice Krispie Treats

Beverages -
Mulled Wine
Egg Nog