Showing posts with label leftovers. Show all posts

Wednesday, January 21, 2015

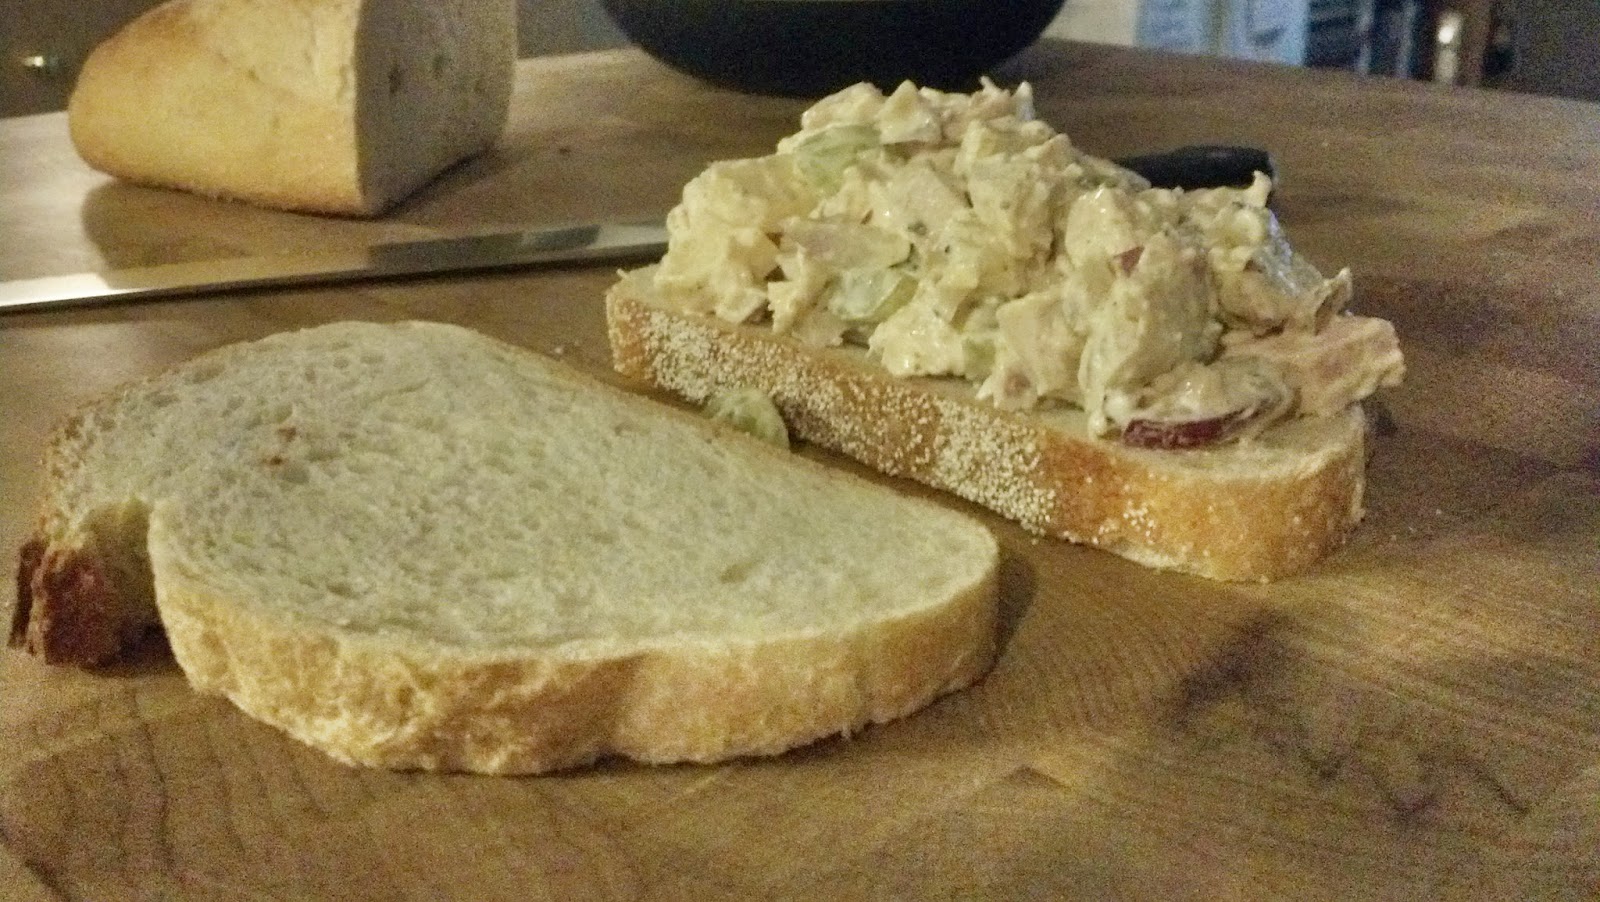
Classic Dijon Chicken Salad with Grapes And Apples

What can I say about chicken salad, my go-to item at your typical lunch counter? It's something I've made so many countless times it's never occurred to me to write it down before. There is nothing I find quite as comforting as large chunks of perfectly moist chicken. Using bone-in chicken goes a long way to ensuring your chicken is moist. The fat on the skin keeps the moisture in and the bones add flavor, all of which makes it a little more forgiving.

First, some basics. There is no RIGHT recipe for chicken salad, but the principles should be: some mayo/creaminess to bind it all together, some crunch for texture, some sweetness with some fruit, some onions for tang, and some mustard for flavor. Everything else is variable. I have used herbs, and I have left the herbs out because I wanted to keep it simple or because at the end of the day I dislike all things anise and licorice flavor and tarragon is constantly flirting at that border. I have used Sriracha. I have roasted chicken breast from frozen and cut straight from a whole roast chicken. I have used leftover grilled chicken legs. I have bought a rotisserie chicken. They all work with slightly different flavor.

This is my favorite, where I substitute apples for the classic celery and include grapes for sweetness. I prefer green grapes, whose skins I find to be slightly less bitter, but red grapes work too and add a nice bit of color. You can get away with using relatively tart apples in this recipe, but if the skins are thick you should consider peeling the apples first. If you don't have honey mustard on hand, use 1/2 teaspoon honey to 2 tablespoons mustard. Honey is powerful stuff, so use a very very gentle hand. 

Three breasts will make 2 to 3 sandwiches.


Dijon Chicken Salad With Grapes & Apples

3 Bone-In Split Chicken Breasts (Or 1 rotisserie chicken)
2 In-Season Apples (not Granny Smith, try Fuji, Braeburn or Pinklady)
1/3 cup seedless Grapes
1/2 cup Mayonnaise
1/2 red onion 
1 tablespoon Dijon Mustard
2 tablespoons Honey Mustard
1/4 teaspoon cayenne
salt
pepper
1 tablespoon finely cut herbs (optional, parsley or chives)

Instructions

  1. If you are roasting the chicken, place the chicken on a sheet pan. Season the chicken generously with salt and pepper. Drizzle lightly with oil then roast for twenty minutes at 350 degrees. Let chicken cool completely.
  2. Cut the breast away from the bone and remove and discard skin.
  3. Cut chicken into 1" chunks and toss into medium sized bowl, making sure to remember to remove any cartilage or tough connective tissue you come across.
  4. Cut grapes into halves or quarters depending on the size of the grapes. Add to chicken.
  5. Peel apples, if desired.
  6. Cut apples into 1/2" cubes and add to bowl.
  7. Cut red onion into 1/4" pieces and add to mixing bowl. Toss lightly.
  8. Add mayonnaise, dijon mustard, honey mustard, cayenne, and pepper to taste. Add salt if needed.
  9. Mix ingredients until combined. Be careful not to overly mix so that most chunks of chicken remain in tact.
  10. Serve either on a sandwich with lettuce and red onion or separately.

Wednesday, December 18, 2013

Cranberry Cheddar Gougeres

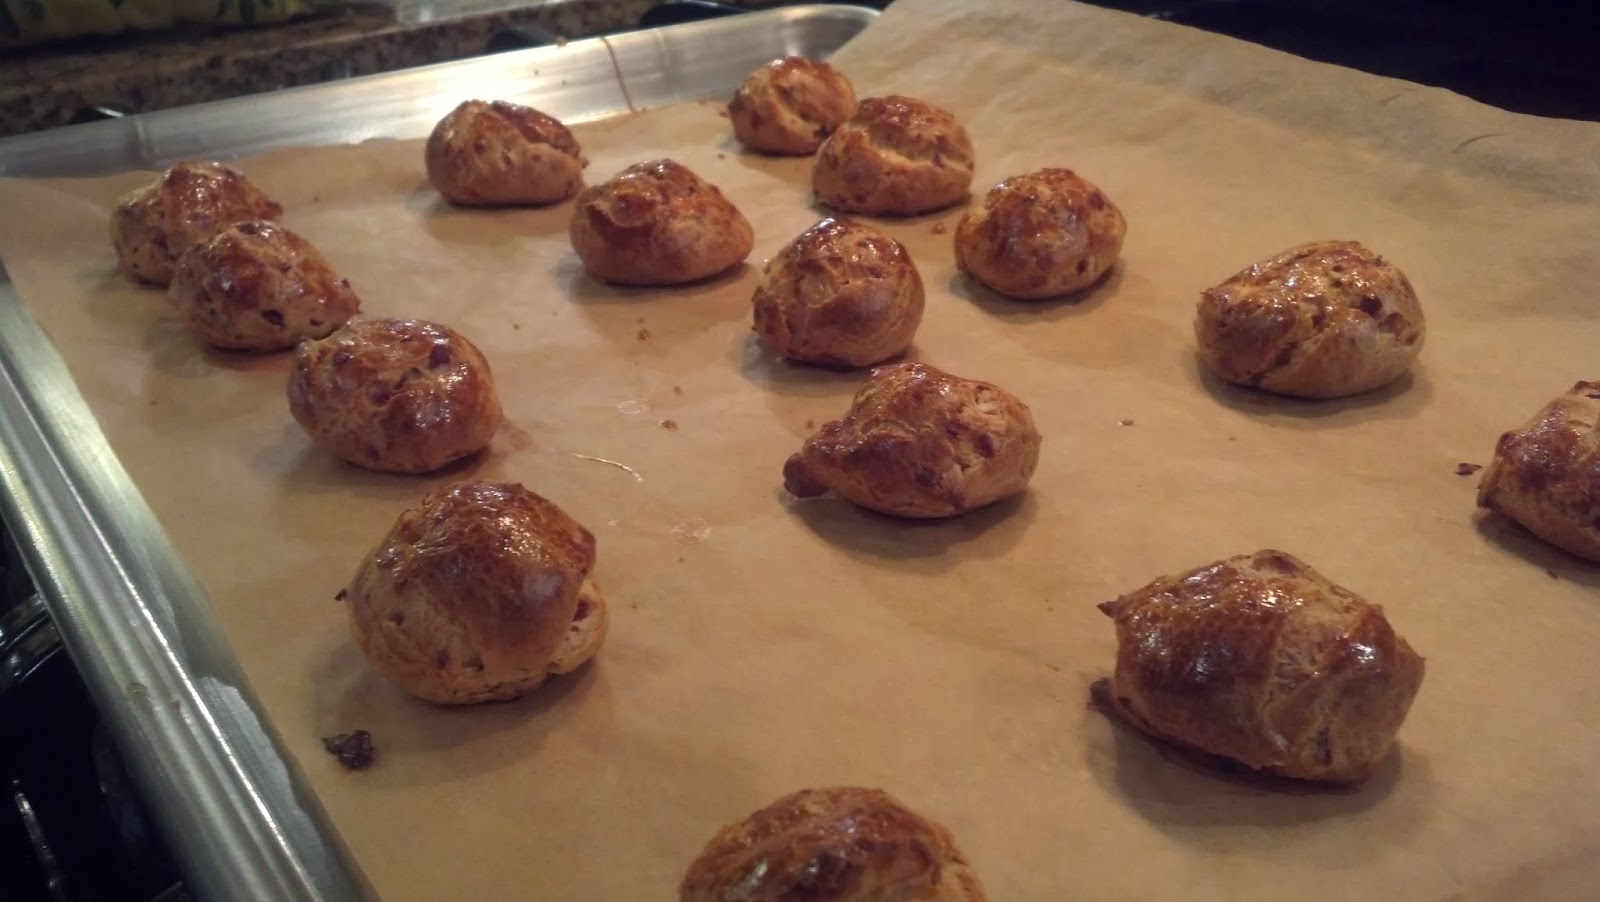
A gougere is a French pastry that is light, airy, and deliciously cheesy. Essentially, it is a cheese puff the way a cheese puff should be. If you have never experienced the delight of biting into a piping hot gougere and have the steam from the oven explode in your mouth or had an entire room consumed by the smell of cheesy goodness cooking in the oven, I insist you stop whatever you are doing and find yourself a gougere to eat, unless what you are doing is making gougeres, in which case, you are on the right track.  

There are many variations on a gougere (which is classically made with gruyere cheese or sometimes other French cheeses), but all of them are based on the idea of a light, airy cheese pastry made with a pot au choux dough, which is a cooked dough that uses moisture instead of a rising agent (like yeast) to rise. All of which makes it sound very fancy and much more difficult than it is.

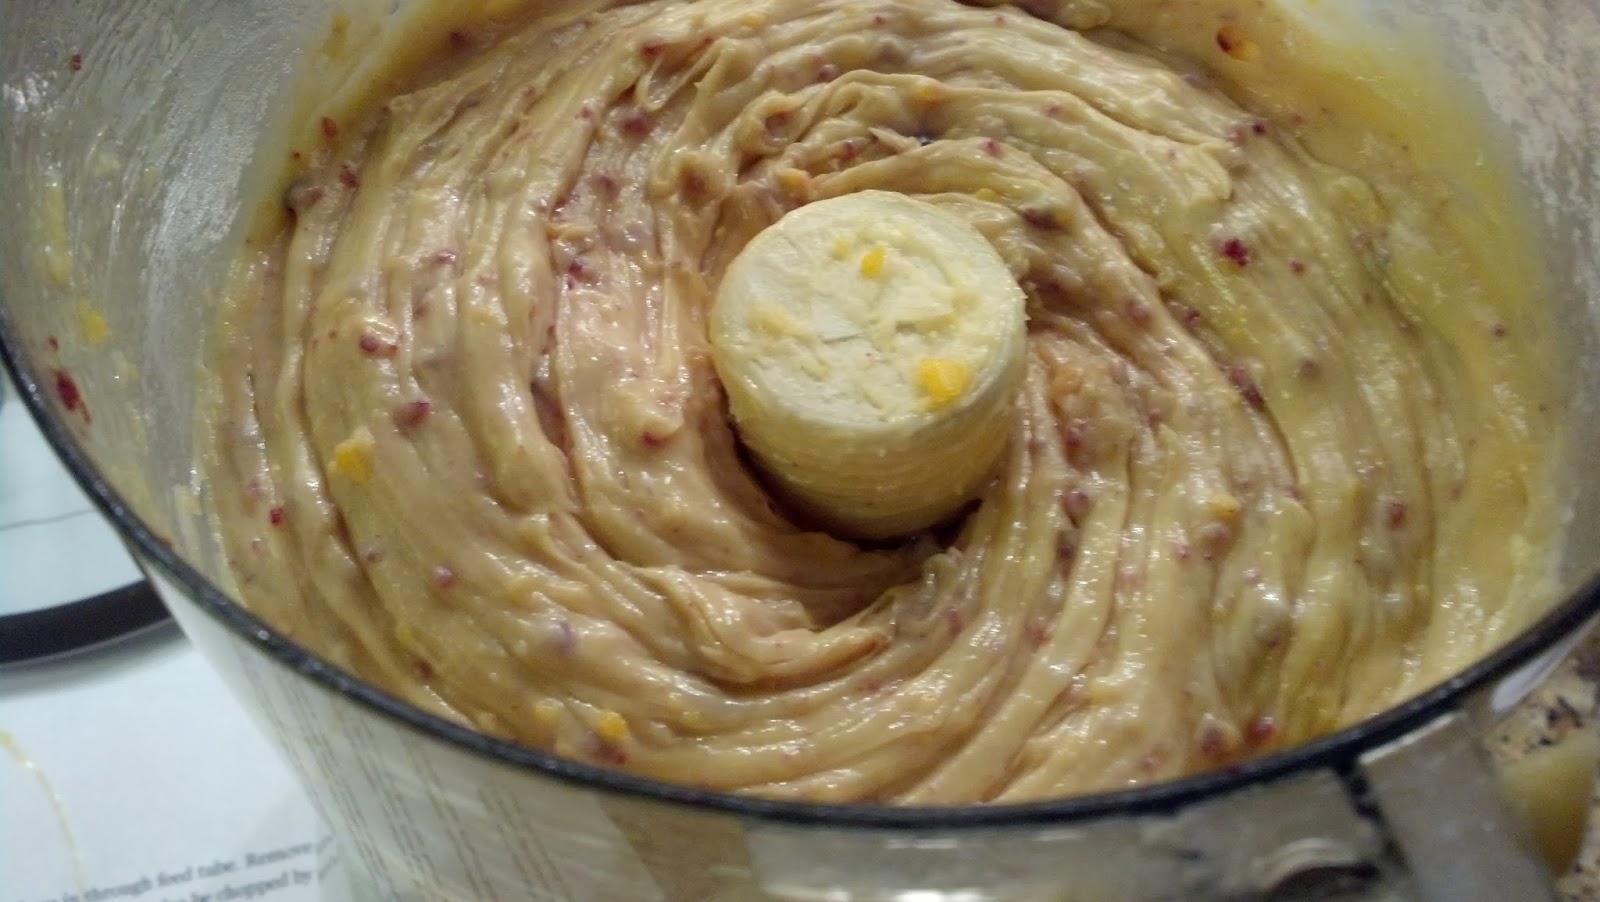
Usually, you see gougeres in small bite size balls (each 1-2 bites), but when we were in Burgundy recently, TK and I were frequently served much larger almost biscuit sized gougeres that were equally light and delicious.We will get to those later, but for now, here are some of the regular bite sized gougeres in a fun recipe from the New York Times website that adds a little holiday cheer to this classic (and thus made it a perfect addition to our Holiday Party line-up), while speeding it up along the edges for a quick and easy treat. Obviously, cheddar is not particularly French, nor are cranberries, but delicious is delicious. The dough looks marvelously festive before baking with little red cranberry flecks, the cheese kinda takes over the show during baking and the cranberry taste is a relatively subtle sweet note in the dough. Because these are tiny, they don't necessarily require the piping that larger gougeres may need to get that distinctly spiral. Obviously, piping doesn't HURT the recipe, but it can be a mess when all you need is a teaspoon scoop.

This is a food processor recipe, which is both awesome, convenient, and makes it difficult to make more than one batch at a time, unless you are willing to rock multiple food processors which frankly I am not. For the record, you can make this recipe by hand. You have to finely chop the cranberries by hand in the beginning and then stir until your arm can't stir anymore and then stir some more to incorporate the eggs, cranberry, and cheese later, but it can be done. But why would you take a recipe that has given you the gift of a food processor and then not use it? In addition, this is a freezer-friendly recipe. You can make these a week before your party and just heat them up right before you are ready to serve. You won't get the same intense cheese smell filling your house at reheating (only a moderate cheese smell filling your house), but they will still taste delicious and you'll still be able to serve them piping hot with a simple ten minutes in a 350 degree oven.


Cranberry Cheddar Gougeres

Ingredients


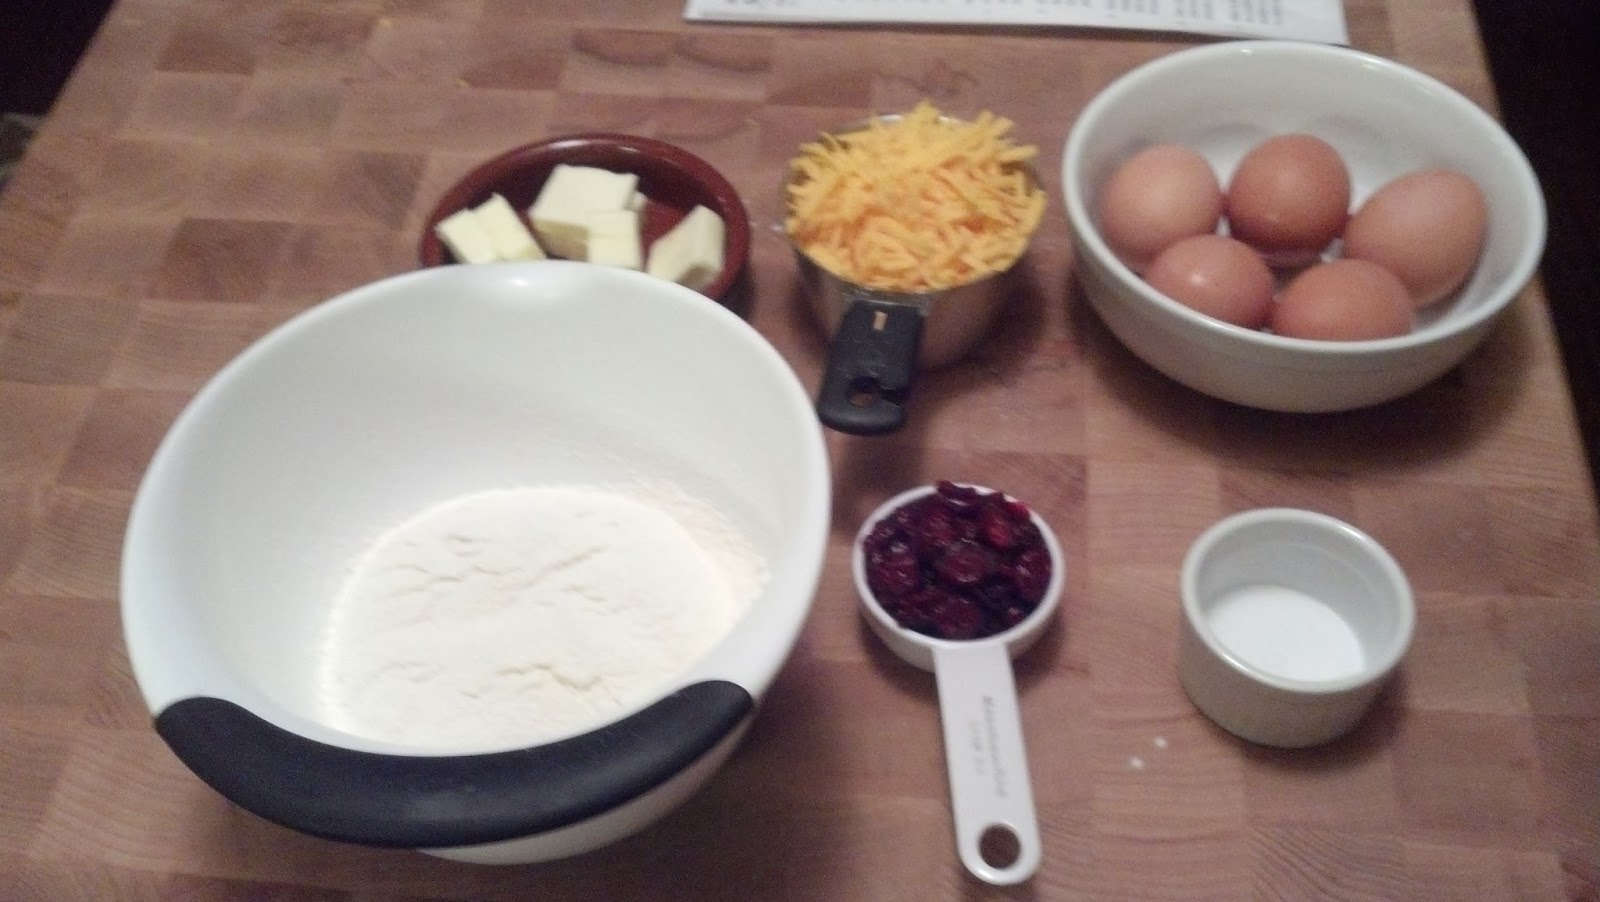
  • 1/4 cup dried cranberries
  • 3 ounces unsalted butter (6 tablespoons)
  • 1 teaspoon salt
  • 1 cup sifted flour
  • 5 large eggs
  • 1 cup grated sharp Cheddar


Preparation


  1. Turn on food processor and finely chop cranberries by dropping them in through feed tube. Remove cranberries, but don’t bother cleaning bits clinging to the bowl, as they'll end up back in bowl eventually. 
  2. Place 1 cup water in a 2-quart saucepan. Add butter and salt, bring to a simmer and cook just until butter melts. 
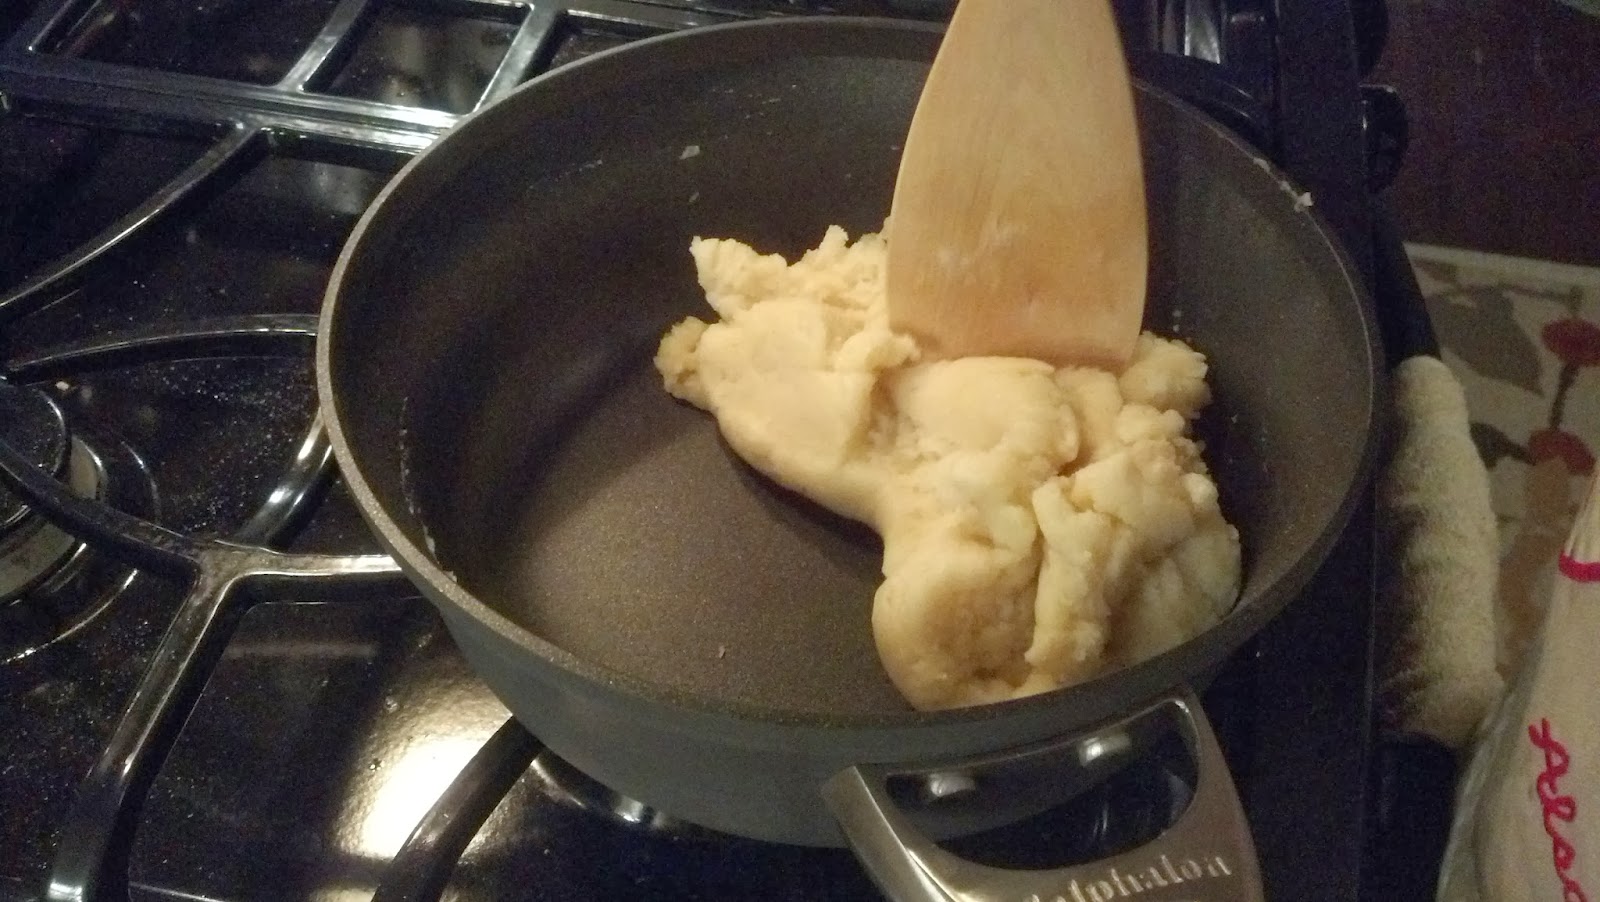
  3. Remove from heat and add flour all at once, stirring vigorously with a wooden spoon.
  4. Return saucepan to medium to medium high heat and cook dough, stirring constantly, about a minute or two until the dough forms a ball and does not stick to the sides of the saucepan.
  5. Transfer dough to food processor.
  6. Heat oven to 425 degrees.
  7. Turn on food processor and add 1 egg to the dough. As soon as it’s completely incorporated, add another, and continue adding eggs 1 at a time until you have used 4.
  8. Add chopped cranberries and Cheddar and pulse to blend.
  9. Line 2 baking sheets with parchment or silpat if available. Drop heaping teaspoons of batter, in mounds about 1 inch across, on baking sheets, leaving 2 inches between them.
  10. Dipping your fingertips in cold water, gently press down any peaks or tips to the mounds of dough so that the dough is flat and will form a clean circular puff.
  11. Beat remaining egg. Brush tops of mounds with egg, taking care not to let any drip down the sides.If after your first batch you find the coloring to be overly dark or slightly burned, you can wait to brush the egg until 7 minutes in to the first fifteen minutes of cooking (or whenever the first time you rotate baking sheets is).
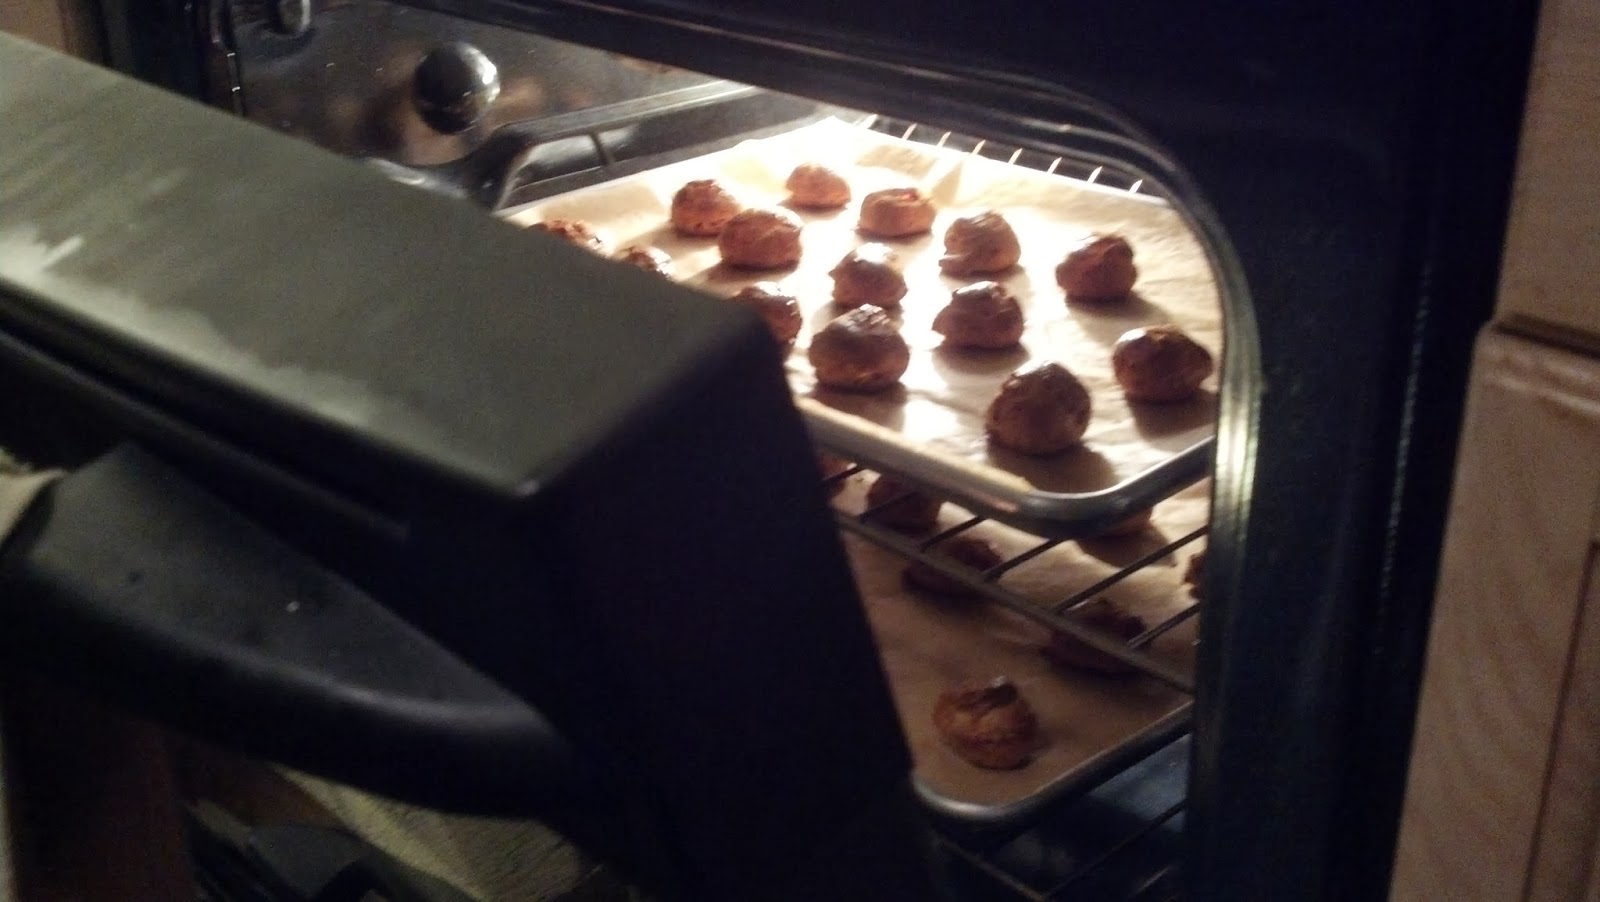
  12. Bake 15 minutes, until puffed and lightly browned, rotating baking sheets halfway between cooking.
  13. Reduce heat to 350 degrees and bake another 10 to 15 minutes, until well browned and again rotating baking sheets halfway.
  14. Shut off oven, open oven door a few inches and leave gougères another 15 minutes before removing them. If you are serving them immediately, serve right away, they do not need any time to cool and are best hot.
  15. Before making your next round, wait ten minutes for baking sheets to cool, replace parchment paper, and repeat process.If you are making these ahead of time, move gougeres to cooling racks. When completely cooled, the gougères can be transferred to a heavy plastic bag and frozen. Reheat them for 10 minutes at 350 degrees.


Friday, January 20, 2012

Pasta With Kalamata Olives, Garlic and Basil

This is a pretty easy way to take a simple pasta dish and make it complex and deeply layered. The acid of the tomato paste, brightness of the lemon, salt of the anchovy paste (or olive paste if preparing as vegetarian/no anchovy version), and fresh herb of the basil create flavors all around. It's a warm, flavorful meal that isn't half bad for lunch the next day, either.

To make the recipe vegetarian, just substitute kalamata olive paste for the anchovies/anchovy paste. You can also do this if you are simply scared of the anchovy, as many people are. I encourage you, however, not to fear these salty, oily fish, but embrace it. The easiest way to think of anchovy is as the X factor in a lot of things, such as this dish, or Ceasar salad. You can't fully taste it, but it adds a brine-y note that is distinct and often what people love about these dishes. Admittedly, it can be a mess to work with straight from the jar (always get the white filets). It's oily. That's why we often substitute in a little bit of anchovy paste in place of the filets to save time and clean-up. The filets are better, but so is not cleaning an extra knife and cutting board and figuring out what to do with the rest of the jar of anchovies. Like with tomato paste, we buy the tubes of anchovy paste, and keep the leftovers in the fridge for later. This way we don't feel wasteful buying a whole can of tomato paste and then only using a tablespoon. How many recipes really call for a whole can of tomato paste, anyway?

If you find the salt of kalamata olives is too strong, you can use Manzilla olives in their place. The original recipe for this had bread crumbs to thicken, but we've never really had a problem with the sauce being runny, so we've removed them, though we have continued to use the full amount of garlic. Basil can be expensive, and you can reduce it as low as half a cup if necessary.


Cooking Time: 40 minutes, Serves 4


Ingredients

1/4       cup extra-virgin olive oil
6          medium garlic cloves, minced or pressed through garlic press (about 2 tablespoons)
1          tablespoon minced white anchovy fillets (4 to 6 fillets)  
           OR 1 teaspoon of anchovy paste 
           OR 1 teaspoon kalamata olive paste (if vegetarian)
1          tablespoon tomato paste
1/4-1/2 teaspoon hot red pepper flakes
1/4        cup oil-packed sun-dried tomatoes , drained, rinsed, patted dry, and cut into thin strips
1           cup pitted kalmata olives , well rinsed and coarsely chopped (1 8 oz bottle)
1 3/4     teaspoons table salt
1           pound rigatoni (mezze) or farfalle (any short pasta will work)
2           ounces finely grated Parmesan cheese (about 1 cup)
3           tablespoons chopped fresh parsley leaves
1 1/2     cups lightly packed fresh basil leaves , roughly torn
            Ground black pepper
1           lemon , cut into wedges


Instructions

  1. Combine 2 tablespoons quality olive oil, garlic, anchovies (or paste of choice if substituting), tomato paste, red pepper flakes, sun-dried tomatoes, and olives in medium bowl. Make sure olives are well-rinsed of brine prior to chopping and adding. Set aside.
  2. Meanwhile, bring 4 quarts water to boil in Dutch oven over high heat. Add rigatoni and salt.
  3. While pasta is cooking, heat 12" nonstick skillet to medium heat and add olive mixture and remaining olive oil. Cook until olive mixture is aromatic and oil has turned rusty red, 4 to 6 minutes. 
  4. Remove 1 cup pasta cooking water from pot and add to skillet. Bring to simmer and cook for 2 minutes. Remove pan from heat while pasta finishes cooking.
  5. When pasta is just shy of al dente, drain pasta, reserving 1/2 cup of pasta cooking water, and transfer back to Dutch oven. 
  6. Add olive mixture to pasta and toss over medium heat until pasta absorbs most of liquid, about 2 minutes. Stir in 1/2 cup Parmesan. Adjust consistency of sauce with reserved pasta water. (Sauce should cling to pasta but not be too loose or runny.) 
  7. Remove pot from heat and stir in parsley and basil; adjust seasoning with pepper. 
  8. Sprinkle with parmesan and serve with lemon wedges to be added prior to eating.
Wednesday, October 5, 2011

Cilantro Pesto

This pesto is one of the very first things I learned to cook, and will always hold a warm place in my heart because of that. I liked this recipe so much, I bought Robin Miller's cookbook. Of course, I've since added sun dried tomatoes, extra olive oil, a little more garlic, and pepper. But all good recipes get adjusted as they age.

In addition to being a quick and easy dinner option (over chicken, pasta, or even peas. Basically anything you would put pesto on), this recipe is neat because you can freeze the leftover pesto (this recipe is the double batch of the original recipe, as I always make enough to freeze when I make it) in an ice cube tray and take out individual ice cubes each time you want to use it. Put the ice cubes in a rammekin, and leave them next to the flame on the stove while you heat water to boil. It'll thaw by the time the pasta is done. Just one ice cube per person.

My favorite pasta to make this with is three cheese tortellini, but any will work. The original recipe is for chicken. Be sure and be generous with fresh grated Parmesan cheese when you serve. You can add a little parmesan to the pesto if you want, but it works better to just be generous when serving.

A note on the garlic: this recipe is designed to have a rather strong garlic taste when it is finished. This is because when I freeze the pesto, it is less garlicky when thawed. I, for one, am sorta a nut for garlic, so this really doesn't bother me, but if you are not a raw garlic person, either add two fewer cloves of garlic or freeze and thaw before use.

Cilantro Pesto

2 bunches cilantro (about 2 cups)
1/2 cup plus two tablespoons sour cream
1/4 cup sun dried tomatoes
6 tablespoon toasted pine nuts
8 large cloves garlic
1/4 to 1/3 cup extra virgin olive oil
1 1/2 teaspoon freshly ground pepper
1/2 teaspoon sea salt
1/8 teaspoon cayenne


Instructions
  1. Place the pine nuts in a small dry skillet and set over medium heat. 
  2. Toast the nuts until golden brown, about 3 minutes, shaking the pan frequently to prevent burning. Allow to cool to avoid wilting the lettuce. 
  3. Add cilantro, sun dried tomatoes, sour cream, garlic, salt, and pepper to a blender or food processor. 
  4. Add the cooled pine nuts.
  5. Pulse to combine. 
  6. Slowly add olive oil to running blender.
  7. Process and blend until smooth and thick. If necessary, add more sour cream or olive oil to taste. You may need to check to make sure pine nuts have not stuck to the bottom of the blender.
  8. Season with cayenne to taste. 
  9. Pour over pasta to serve. Use prudence when using, pesto is strong stuff.
  10. If freezing, portion out immediately into an empty ice cube tray or two as necessary. Thaw individual ice cubes when ready to use later.

Saturday, September 24, 2011

Spanakopita Triangles


I know everyone says that spanakopita is an obvious answer to the "what to serve vegetarians" question. Or in my particular case the "what to feed vegetarians who don't for some crazy unknown reason love mushrooms"? But this spanakopita has a ton of flavor, some unconventional pine nuts, and the pepper on top that really make this recipe. Plus, this recipe was my introduction to phyllo, which gave me confidence to try other things phyllo and thus unlock a whole new world of cooking. Adding the bread crumbs really does help prevent the sheets from sticking together as you assemble them.
This recipe can be a little time intensive. Layering out all that phyllo and rolling the triangles takes time. The benefit of it, however, is that as long as you're doing phyllo, you can do a lot, and it freezes quite well. I almost always make at least a double recipe and save the leftovers. When it's a weekday and TK and I have both worked late but frankly don't want the grease of delivery, there's delicious homemade spanakopita. You don't even have to thaw them, in fact, you don't want to thaw them at all, as that would make the phyllo soggy when cooked. Pop them straight from the freezer to a cookie sheet, top with melted butter, salt, and pepper, and cook.

Two triangles make a meal. One makes a solid side or first course. If you want appetizer-sized triangles, Cut horizontally six ways instead of vertically halfways and use a tablespoon instead of a 1/4 cup measure. The smaller triangles will be more delicate but can likewise be frozen. There will be plenty of filling for all the phyllo you desire. One box per batch. Try your feta before you add it. You may have to adjust the salt content of the dish based on how salty your feta is. We like to serve with a quick dipping sauce of yogurt, cucumber, lemon juice and pepper.


Ingredients

 
1/4 cup good olive oil
1 cup chopped yellow onion
3 scallions, white and green parts, chopped
2 (10-ounce) packages frozen chopped spinach, defrosted
4 extra-large eggs, lightly beaten
3 tablespoons freshly grated Parmesan cheese
Plain dry bread crumbs (not seasoned or panko)
1 teaspoon grated nutmeg
2 teaspoons kosher salt
1 teaspoon freshly ground black pepper
2 cups small-diced feta cheese (12 ounces)
3 tablespoons toasted pine nuts
24 sheets frozen phyllo dough, defrosted
1/4 pound (1 stick) unsalted butter, melted
Flaked sea salt, such as Maldon, for sprinkling

Directions

  1. Thaw frozen spinach in strainer until no ice remains.
  2. Preheat the oven to 375 degrees F.
  3. Heat the olive oil in a medium saute pan, add the onion, and cook for 5 minutes over medium-low heat. Add the scallions, and cook for another 2 minutes until the scallions are wilted but still green. 
  4. Meanwhile, gently squeeze the water out of the spinach and place in a large bowl.
  5. When the onion and scallions are done, add them to the spinach. Mix in the eggs, Parmesan cheese, 3 tablespoons bread crumbs, the nutmeg (use a rasp to grate if you have fresh nutmeg), salt, and pepper. Gently fold in the feta and pine nuts.
  6. Place 1 sheet of phyllo dough flat on a work surface with the long end in front of you. Brush the dough lightly with butter and sprinkle it with a teaspoon of bread crumbs.
  7. Working quickly, slide another sheet of phyllo dough on top of the first, brush it with butter, and sprinkle lightly with bread crumbs. (Use just enough bread crumbs so the layers of phyllo don't stick together.) Pile 4 layers total on top of each other this way, brushing each with butter and sprinkling with bread crumbs. 
  8. Cut the sheets of phyllo in half lengthwise. 
  9. Place 1/3 cup spinach filling in the bottom right corner of the strips of phyllo. If necessary, shape the filling to make sure it fills the corners of the triangle you are about to form. Fold the phyllo over the filling diagonally like you are folding a flag (see video). Then fold the triangle of phyllo over straight and then diagonally again. Continue folding first diagonally and then straight until you reach the end of the sheet and the filling is enclosed in the phyllo.
  10. Continue assembling phyllo layers and folding the filling until all of the filling is used or you run out of phyllo. If you are planning on serving later, freeze the folded phyllo triangles in a tupperware containern neatly stacked until you are ready to cook, then continue on with the directions, placing the frozen unthawed triangles on the sheet pan.
  11. Place on a sheet pan, seam sides down. Brush with melted butter, sprinkle with flaked salt, and bake for 30 to 35 minutes, until the phyllo is browned and crisp. Serve hot. 

Tuesday, June 7, 2011

Mac and Cheese with Mustard and Kielbasa

There are two ways to go with Mac and Cheese. You can go super-classy and upscale and fill it with truffles and imported cheese. Or you can try and make it so that a ten year old will like it. This recipe attempts to make the bridge between the two, and not be quite as rubbery as whatever Velveeta or Kraft is throwing out there and thus tolerable to an adult palate. I'm not saying this fills all of my sizable mac and cheese needs, but it does a good job at being an item that does not take that long to throw together, is not that expensive, and can last for a whole week of leftovers for lunch.

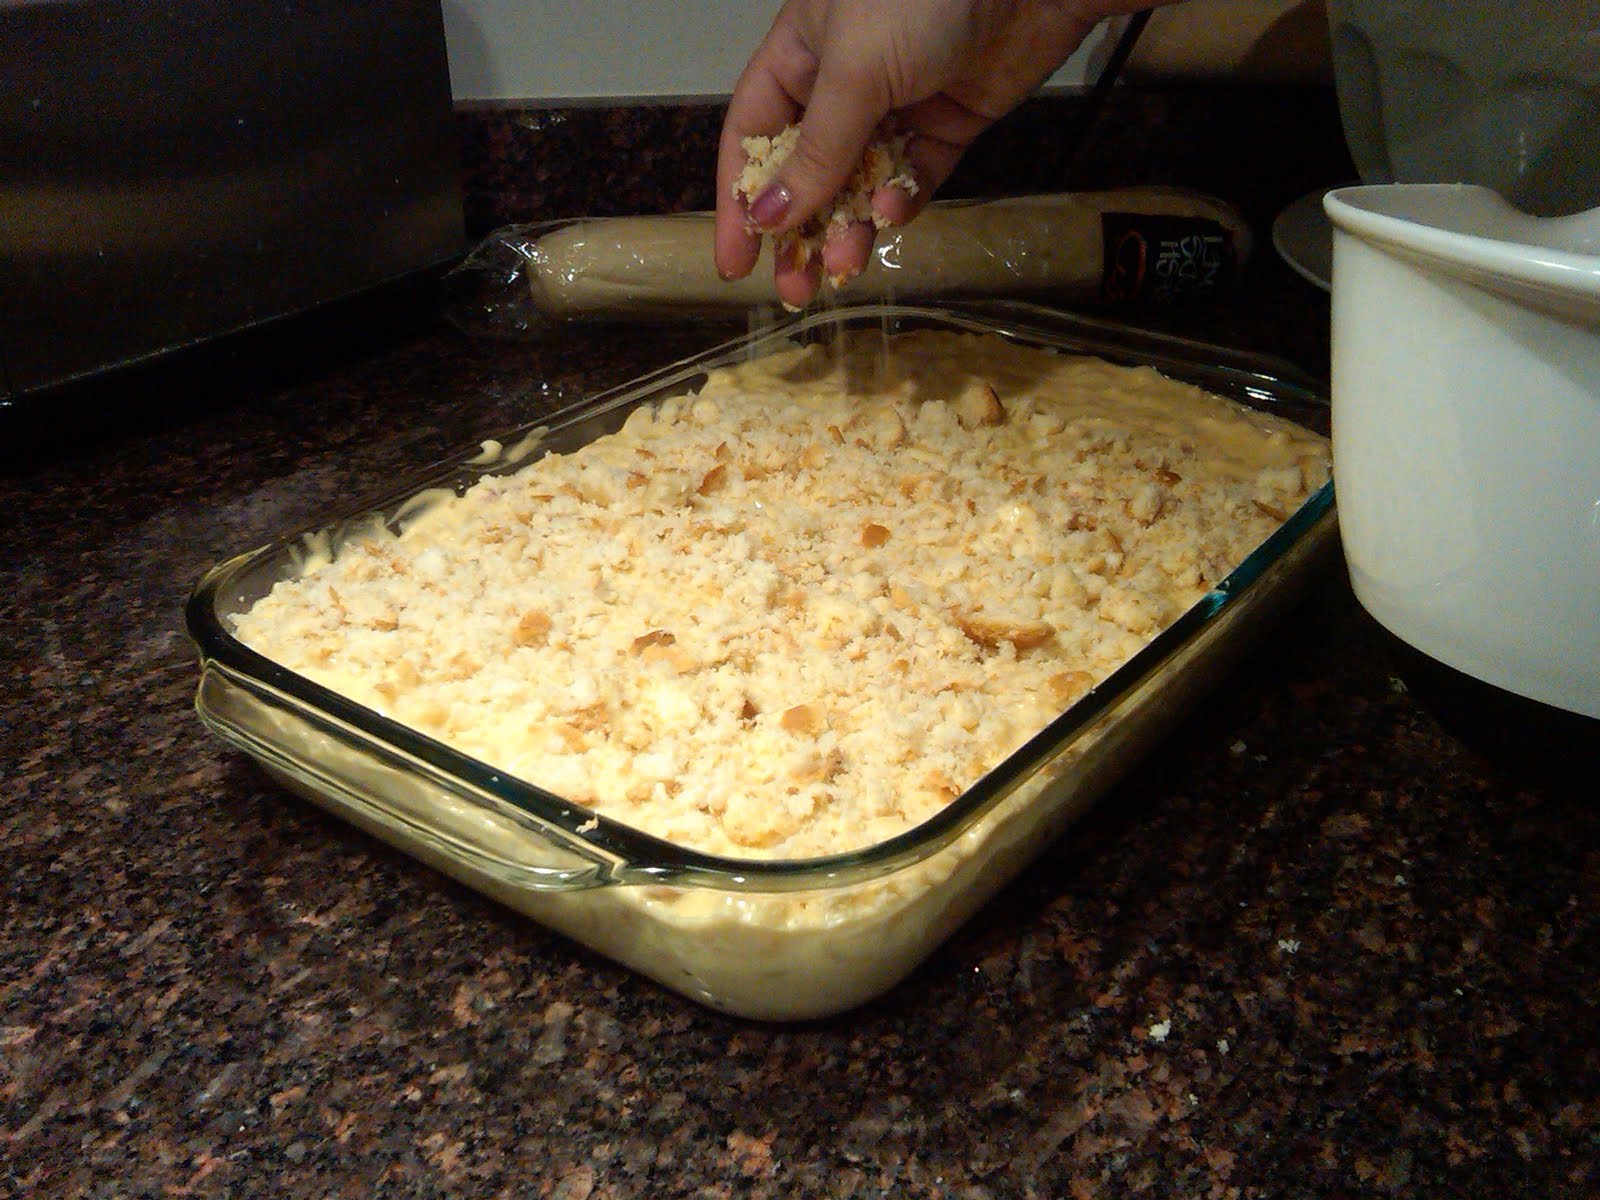
There is a vegetarian option for this as well which is a quality option if you're not feeling kielbasa. The final step with the bread crumb topping and sitting under a broiler is surprisingly important to bringing the dish together. The first time we made this we just threw some crumbs on top of the dutch over and cooked it that way, but putting it in a pyrex really changed the cosistency and allowed for the classic, neat squares of mac and cheese. (It was still plenty delicious the other way, just looser in consistency and a bit runnier.)

Basically, this whole recipe is a modified bechemel sauce. Make sure and bring the pasta past al dente, and lean on the side of overcooked over undercooked. If you wish to halve the recipe, use an 8" pyrex instead of the full size. But remember-- good leftovers!

Ingredients

  • 6 slices white sandwich bread (good-quality, about 6 ounces), torn into rough pieces
  • 3 tablespoons unsalted butter (cold), cut into 6 pieces 
  • 1 pound elbow macaroni
  • 1 tablespoon table salt
  • 5 tablespoons unsalted butter
  • 1 medium onion , chopped fine
  • 6 tablespoons all-purpose flour
  • 8 ounces smoked kielbasa , cut lengthwise into quarters, then cut crosswise into 1/2 inch slices
  • 1 1/2 teaspoons powdered mustard
  • 1/4 teaspoon cayenne pepper (optional)
  • 5 cups milk
  • 8 ounces Monterey Jack cheese, shredded (2 cups)
  • 8 ounces sharp cheddar cheese, shredded (2 cups)
  • 4 teaspoons Dijon mustard
  • 5-10 dashes tabasco sauce (or to taste) 
  • 1/2 teaspoon table salt
  • 1/2  cup frozen peas (optional--good for kids) 

Instructions

  1. For the bread crumbs: Pulse bread and 3 tablespoons butter in food processor until crumbs are no larger than 1/8 inch, ten to fifteen 1-second pulses. Set aside.
  2. For the pasta and cheese: Adjust oven rack to lower-middle position and heat broiler.
  3. Bring 4 quarts water to boil in Dutch oven over high heat. Add macaroni and 1 tablespoon salt; cook until pasta is tender. Drain pasta and set aside in colander.
  4. In now-empty Dutch oven, heat remaining 5 tablespoons butter over medium-high heat until foaming. Add onion and cook, stirring occasionally, until onion begins to brown, about 6 minutes. Add flour, mustard powder, and cayenne (if using) and whisk well to combine. Continue whisking until mixture becomes fragrant and deepens in color, about 1 minute. This cooks off the raw flour taste.
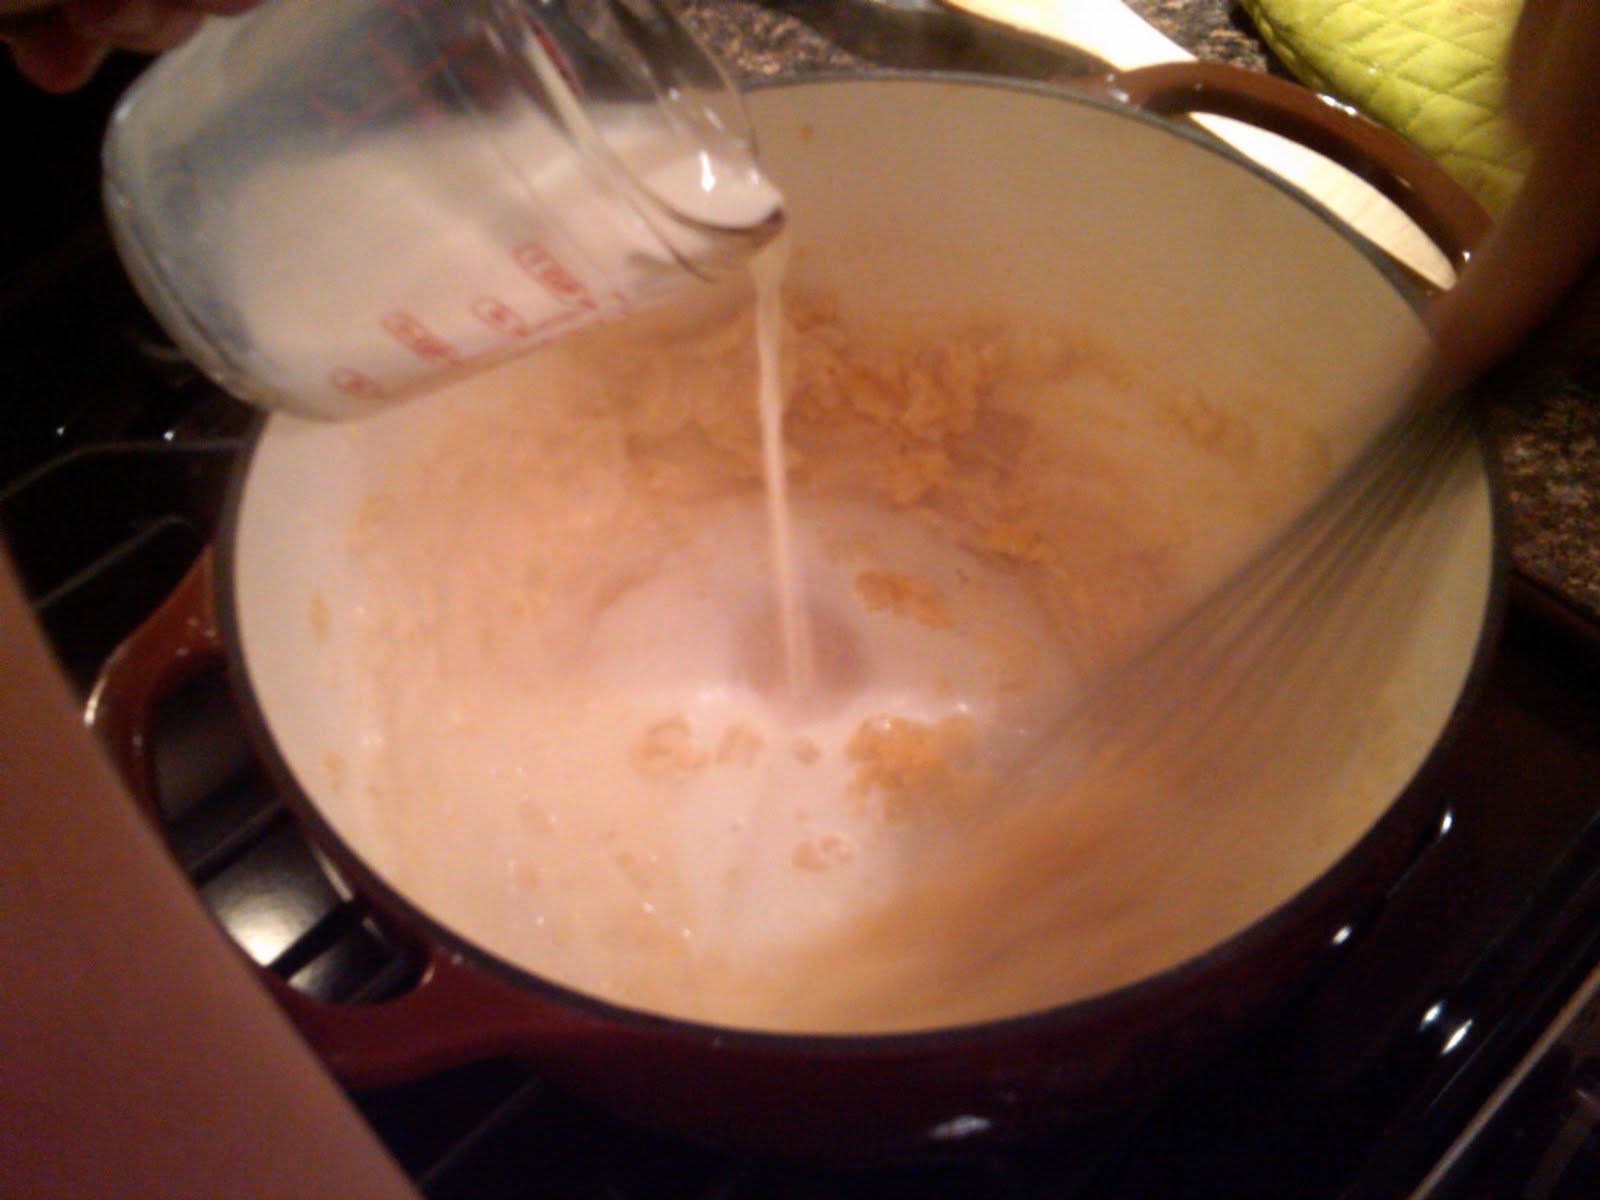
  5. Gradually whisk in milk; bring mixture to boil, whisking constantly (mixture must reach full boil to fully thicken). Your hand will get hot.
  6. Reduce heat to medium and simmer, whisking occasionally, until thickened to consistency of heavy cream, about 5 minutes.
  7. Off heat, whisk in cheeses and 1/2 teaspoon salt until cheeses are fully melted.
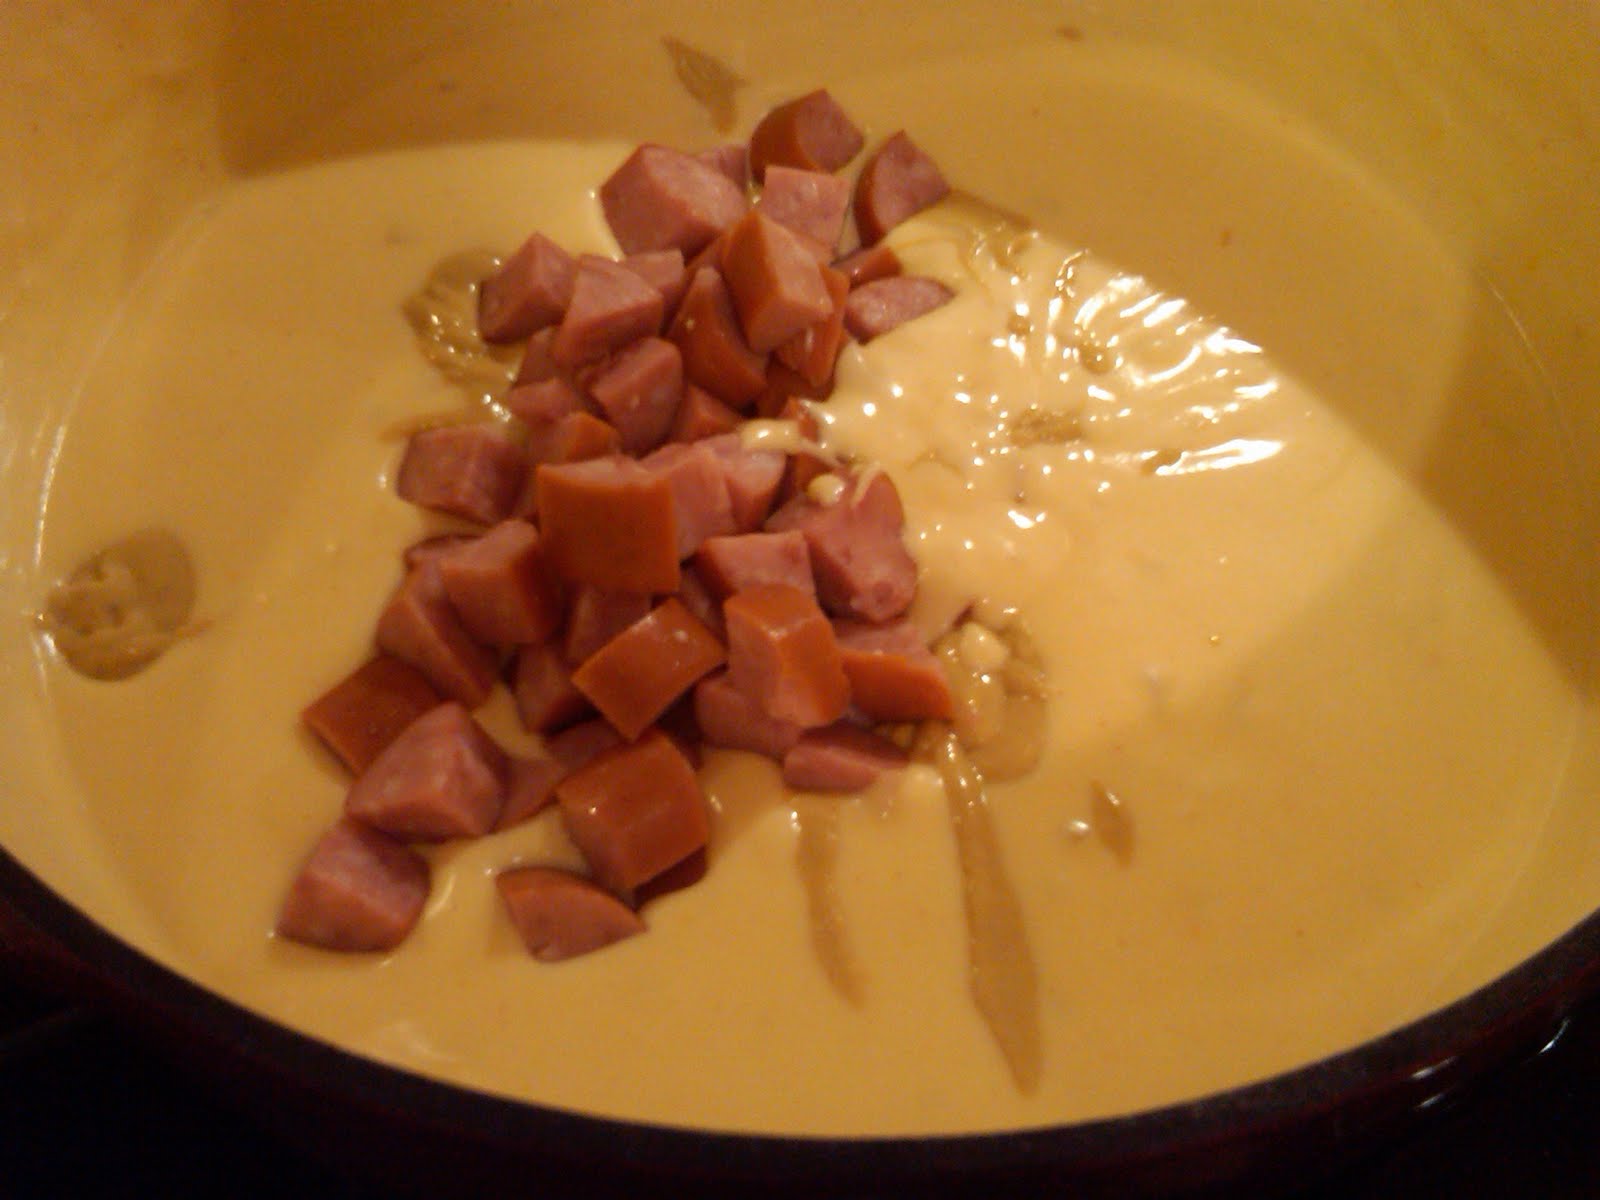
  8. Add pasta, kielbasa, and Dijon mustard; cook over medium-low heat, stirring constantly, until mixture is steaming and heated through, about 6 minutes.
  9. If you are using peas (optional), add them here and cook until heated through (1-2 minutes)
  10. Add tabasco to taste, as well as salt and white pepper if necessary.
  11. Transfer mixture to broiler-safe 9 by 13-inch baking dish and sprinkle evenly with bread crumbs. Add more than you think you have to, completely cover the macaroni. 
  12. Broil until crumbs are deep golden brown and crisp, 3 to 5 minutes, rotating pan if necessary for even browning. Cool about 5 minutes, then serve.


Tuesday, February 1, 2011

Super Bowl Chili


Chili is one of my favorite things in the world, and this is not just because you can serve it in a bread bowl. Anything that is beloved to the point of having a ring of competitive contests surrounding it is my type of food, because anything worth doing right is worth sparking unsolvable arguments about the best way to go about doing it.

This chili is from Cooks Illustrated, with slight variation. It's goal is to be the type of chili you expect at a Super Bowl party. That is, not crazy fancy competition chili where the presence of tomatoes is heavily debated, but what you think of when you order chili at a ski area during playoff season.

The best part of the chili is serving it with limes at the end. This was something of a revelation for me as you don't look at a bowl of chili and think "let me cut some limes and squirt them over the sour cream and cheddar". But you SHOULD think that, because it really brightens the flavors and evens out the heartiness. Other toppings include all your chili basics: cheddar, sour cream, scallions, avocados, tomatoes, jalepenos, tabasco, onions, anything you want.

The recipe can easily be cut in half, and a full batch fills our larger dutch oven to the brim. That being said, chili makes awesome leftovers. It might even be better the next day as the flavors marry, another reason this is a winner for guests.

So, without further ado...


Super Bowl Chili:

8
strips thick-cut bacon
2 medium onions , chopped fine (about 2 cups)
1 red bell pepper , cut into 1/2-inch cubes
6 med. cloves garlic , minced or pressed (about 2 tablespoons)
1/4 cup chili powder
1 tablespoon ground cumin
2 teaspoons ground coriander
1 teaspoon red pepper flakes
1 teaspoon dried oregano
1/2teaspoon cayenne pepper
1/4 to
1/2
teaspoon ground chipotle pepper (optional-- instead of tabasco)
2
lbs 85% lean ground beef (or 1 lb. 80% and 1 lb. 90%)
1
1
15-ounce can red kidney beans , drained and rinsed
15 ounce can black beans, drained and rinsed
1 28 ounce can diced tomatoes , with juice
1 28 ounce can tomato puree

Table salt
Tabasco
2
limes , cut into wedges

  1. Fry bacon in Dutch oven over medium heat, stirring frequently, until browned, about 8 minutes. Pour off all but 2 tablespoons fat, leaving bacon in pot.
  2. Add onions, red bell pepper (did I mention it had to be red?), garlic, chili powder, cumin, coriander, pepper flakes, oregano, cayenne, and chipotle (if using, use moderation, adds a lot of heat); cook, stirring occasionally, until vegetables are softened and beginning to brown, about 10 minutes. There will be a fond on the bottom of the pot. This is good. You are not burning anything, just make sure to de-glaze later.
  3. Increase heat to medium-high and add half the beef; cook, breaking up pieces with wooden spoon, until no longer pink and just beginning to brown, 3 to 4 minutes. Add remaining beef and cook, breaking up pieces with wooden spoon, until no longer pink, 3 to 4 minutes. The 85% beef is a good medium between over fatty (80%) and over meaty 90%) according to Cooks Illustrated, but if I had to choose one of the two, I'd go healthy and maybe add an extra strip or two of bacon for some more fat to mellow the beef taste.
  4. Add rinsed beans, tomatoes, tomato puree, and 1/2 teaspoon salt; bring to boil, then reduce heat to low and simmer, covered, stirring occasionally, for 1 hour.
  5. Remove cover and continue to simmer at least 1 hour longer, stirring occasionally (if chili begins to stick to bottom of pot, stir in 1/2 cup water and continue to simmer), until beef is tender and chili is dark, rich, and slightly thickened. If needed, skim any pools of fat off.
  6. Add 3-4 dashes tabasco sauce. Adjust seasoning as desired. Serve with lime wedges.


Total cook time: about 3 hours (2 1/2 hours cook time, 1/2 hour prep)