Showing posts with label breakfast. Show all posts

Monday, February 25, 2013

Lenox Almond Biscotti (Basic Biscotti)

Almond Biscotti is a delicious and complex cookie perfect for dunking in coffee and serving either with breakfast, tea, or as a dessert with either ice cream or coffee. The almond scent and taste takes a plain shortbread style cookie and elevates it to the level of Italian dolci, ie, one of the best things ever. Biscotti is one of those things that for a very long time I labeled as "to be bought, not made". This was because I made the following (false) assumptions: a) I would have to make a large batch that I would never be able to finish and b) that it was too difficult to make. On point a, biscotti is meant to be dry and absorbent. It might almost be better after sitting out for a day, which is when the crunchiness that you associate with biscotti really sets in. This recipe lasts for about a week. I can't give you an exact total because I have always finished all the cookies within a week and they have always been delicious and not a hint stale. On the latter point, it is also surprisingly simple to make, once you get over your intimidation factor and the number of times it needs to go in the oven.

The dough is sticky and wet, a little surprising for what you think of as a dry, crumbly cookie. The thicker you make your logs, the flatter and wider your finished biscotti will be. So if you want a more domed biscotti, make your log taller and a little smaller. The log will spread a surprising amount, so be sure and place a solid amount of distance between the two. If you have problems with the logs touching during baking, as I did in these pictures, simply use a pastry scraper or a long serrated knife to separate the two logs along the seam or as close as you can get to it immediately after taking the logs out of the oven to cool. The smell of almond will fill your entire kitchen when making these, which both reassures you that you are on the right track and let's everyone else know that you mean business in the kitchen. Don't worry, we are delicious, the cookies tell you, right when you are trying to figure out what "starts to turn light golden" means. (The answer is right when the edges and tops just start to pick up a slight hint of color, but before the bottoms are thoroughly golden). The almond taste, while decidedly present, is a bit more delicate than its cooking nose would have you think. More of a subtle note than a hit you over the head nutty flavor.

This is your basic almond biscotti. From here, you can dunk half of it in melted chocolate (milk, white or dark chocolate) or vary it up in unlimited manners, including Crystallized Ginger with Orange Zest Biscotti, recipe to come soon, or Pistachio and Cranberry Biscotti, but this is your building block recipe, one of the first recipes I made from Dorie Greenspan's Baking, From My Home to Yours cookbook, adapted slightly because the oven I am using tends to run a little cool (if your oven runs hot, simply take five minutes off the cook time), and because I am not overly fond of the gritty texture of corn meal. This cookbook is wonderful if you are looking for a baking Bible. All the recipes are easy to vary according to taste but still create a sophisticated product on its own. For a dinner party these are great to prepare the day before for coffee at the end.

Lenox Almond Biscotti 


Cooking time: 40 Minutes Active, 1 1/2 hours Inactive
Makes about 30 cookies

1 1/2 cups all-purpose flour
1 1/2 teaspoons baking powder
1/4 teaspoon salt
1/2 cup yellow cornmeal
1 stick (8 tablespoons) unsalted butter, at room temperature
1 cup sugar
2 large eggs
1 1/2 teaspoons pure almond extract
3/4 cup sliced almonds, blanched or unblanched


1. Center a rack in the oven and preheat the oven to 350 degrees F. Line a baking sheet with parchment or a silicone mat.
2. Optional: Run corn meal through a food processor for 30 seconds.
2. Whisk the flour, baking powder and salt together. Add the cornmeal and whisk again to blend.
3. Using a hand mixer in a large bowl (or a standing mixer with a paddle attachment if you have it), beat the butter and sugar together at medium speed for 3 minutes, until very smooth.
4. Add the eggs and continue to beat, scraping down the bowl as needed, for another 2 minutes, or until the mixture is light, smooth and creamy.
5. Beat in the almond extract.
6. Reduce the mixer speed to low and add the dry ingredients, mixing only until they are incorporated. You'll have a soft, stick-to-your-fingers dough that will ball up around the paddle or beaters.
7. Scrape down the bowl, toss in the almonds and mix with a rubber spatula just to blend.
8. Scrape half the dough onto one side of the baking sheet. Using your fingers and a rubber spatula or scraper, work the dough into a log about 12 inches long and 1 1/2 inches wide. The log will be more rectangular than domed, and bumpy, rough and uneven.
9. Form a second log with the remaining dough on the other side of the baking sheet. The logs will spread during cooking, so make sure there is a solid amount of space between them.
10. Bake for 20 minutes, rotating once, or until the logs are just becoming lightly golden on top but still soft and springy to the touch.
11. If the two logs have starting touching, use a pastry scraper or long serrated knife to quickly separate the logs.
11. Transfer the baking sheet to a wire rack and cool the logs on the baking sheet for 30 minutes.
12. If you turned off the oven, bring it back up to 350 degrees F.
13. Using a wide metal spatula, transfer the logs to a cutting board and, with a pastry scraper or a long serrated knife, trim the ends and cut the logs into 3/4-inch-thick slices.
14. Return the slices to the baking sheet — this time standing them up like a marching band — and slide the sheet back into the oven. If you are concerned about even baking, rotate the thicker and less baked slices with the more golden slices on the pan prior to re-baking.
15. Bake the biscotti for another 20 minutes, or until they are golden and firm. Transfer them to racks and cool to room temperature.

Sunday, January 1, 2012

Brown Sugar and Citrus Cured Salmon

This salmon has become a staple at our holiday party and is always one of the first things to get eaten. It makes an elegant and impressive hors d'oeuvre, but it's simple to make and can be prepared days ahead of time and sliced just before the party.

The salmon can cure for anywhere from 24 to 48 hours. I prefer lightly-cured salmon, which is melt-in-your-mouth tender and still has prominent salmon flavor, so I only cure my salmon for 24 hours. If you prefer your cured salmon to have firmer flesh and saltier flavor, leave your fish in the cure for the full 48 hours. If you're squeamish about serving raw-ish fish to your guests, I would recommend curing your fish for longer than 24 hours.

This recipe will work well with any variety of salmon, but it has to be very fresh. Ask your fishmonger which salmon is the freshest, and choose that one. Try to begin curing the salmon on the same day you purchase your fish. This recipe will make enough fish to serve 6 as an appetizer. For larger parties, simply use a larger filet and increase the amount of curing mixture to maintain the correct ratio of fish to cure.

Ingredients 
1 pound very fresh salmon filet, skin on
1 cup Kosher salt
1 cup dark brown sugar
1 tablespoon black peppercorns
1/4 cup citrus zest from any combination of lemons, limes, oranges and grapefruits
several sprigs dill
creme fraiche


Instructions
  1. Combine the salt, sugar, peppercorns and zest in a medium bowl.
  2. Line the bottom of a glass baking dish with the dill. Pour a third of the curing mixture over the dill and smooth.
  3. Place the salmon, skin down, into the dish and pour the rest of the curing mixture over the fish. Smooth the curing mixture to form an even layer. The salmon should be completely encased in the curing mixture.
  4. Place a layer of plastic wrap directly onto the curing mixture, and place another glass baking dish on top of that. Weight with cans and place in the refrigerator for 24 to 48 hours.
  5. Remove the salmon from the curing mixture and rinse thoroughly under running water. Dry the salmon with paper towels and remove the skin using a filet knife. Slice as thinly as possible and serve with creme fraiche.

Sunday, November 20, 2011

Pumpkin Spice Bread

This is part of our Christmas tradition in my household, and the making of it surrounding both Thanksgiving and Christmas is very serious business indeed, lest you forget the flour or the baking soda. (Both have been done by various daughters). Most pumpkin breads are super dense and saccarin sweet. This one, while still sweet and still moist, tries to be just a little more bread-like rather than cake-like. 

This recipe is originally called Jenean's Pumpkin Bread, and comes from a falling apart 70s era cookbook of recipes from our hometown in Virginia. However, we might have adapted Jenean's recipe a bit, reducing the amount of sugar and oil and doubling all of the spices, so really, it is just the family recipe now. For those of you who are health nuts, there is a healthier version of this recipe using applesauce that my sister has created, but this is the original version that does not take the health of one's father into account at all, knowing that said father will probably consume at least half of one loaf single-handedly over a forty eight hour period.

Because we make this in bulk every holiday, we often end up freezing a loaf or two for later by wrapping tightly in foil. It will keep for about a month in the freezer. You can also prepare the dry ingredients ahead of time to make a sort of bread mix for later, keeping in mind that for baking purposes, sugar is a wet ingredient. Serves perfectly topped with butter.


Pumpkin Spice Bread

Ingredients
2 cups sugar
1 cup salad oil
2 cups pumpkin (1 15 oz can)
4 eggs
3 cups flour
1/2 tsp salt
1/2 tsp baking powder
2 tsp cloves
2 tsp nutmeg
2 tsp cinnamon
1 tsp baking soda


Instructions

1. Grease inside of loaf pans with butter or butter wrapper. Be sure to be thorough. 
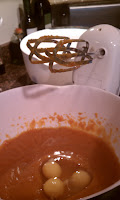
2. Blend sugar and salad oil together with hand mixer in large bowl. 
3. Add eggs and pumpkin. 
4. Sift dry ingredients together in separate bowl (flour, cloves, nutmeg, cinnamon, baking soda, baking powder, and salt) and add to pumpkin blend.
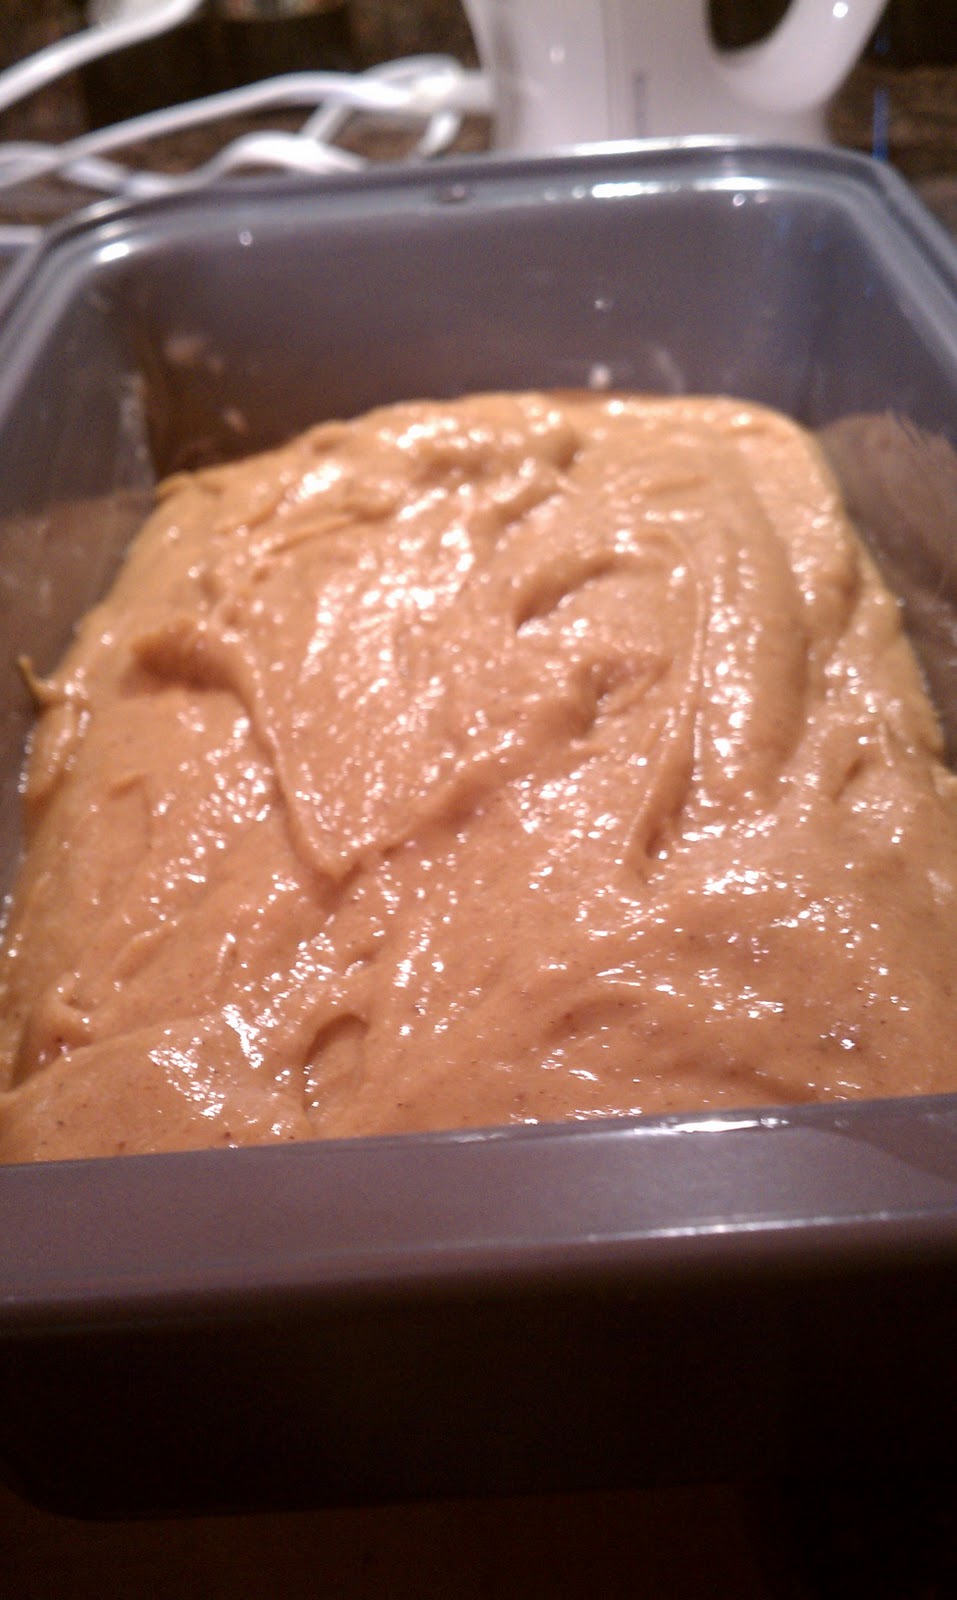
5. Mix together until well combined. Pour mixture evenly into two loaf pans.
6. Bake at 350 degrees for 1 hour 15 minutes.
7. Let cool for 30 minutes in pan, then remove and allow to finish cooling on wire racks.


Sunday, March 20, 2011

Bourbon French Toast

French Toast (usually with a side of bacon) is my go-to brunch item and vessel of choice for delicious grade B maple syrup (mmm, impurities).

The most important decision with French Toast is, ahem, the toast bit. You can make French Toast with whatever you have in general sandwich supplies, or with leftover dinner bread (not a baguette, but larger loaves). I've had more success the thicker and fresher the bread. So, if you're buying supplies and not just scanning your kitchen come the morning, think Texas Toast (basically thicker white bread), or a loaf of challah bread from the bakery if you can get it. The best French Toast I've made is with homemade challah, but assuming you haven't just baked bread, store bought challah is easy enough to find and just the right absorbency. Plus, anytime you can cut your own bread and choose your thickness, it's is a win.

This being said, if your bread is super fresh, it will probably need to be dried out at a little in order to absorb well. The tradition for French Toast is for it to be leftover, day old bread, so that's one way to achieve it with fresh bread, but the preservatives in most store breads mean that we have to parch it out a little. What you don't want is rock-hard bread, or toast. You still want it soft in the middle. Just a bit dried out on the outside.

You want to be careful to make sure that when the bread is done soaking, the pan is already hot and buttered, which means you need to start heating the pan and adding the butter before and while the bread is soaking. If your timing does not match up perfectly, they can rest on a small plate while the butter melts, but try not to let them rest too long.

This recipe does NOT make a ton more than it says it makes, so if you have extra mouths to feed, make a double batch. Nor is this what I would call a "quick and easy" breakfast. You do indeed make a mess. But that's what Sunday breakfast is FOR. It is based loosely on this Cooks Illustrated recipe, but has since taken on a life of its own.

Bourbon French Toast


8large slices hearty white sandwich bread or good-quality challah
11/2 cups whole milk , warmed
2 large egg yolks
1 large egg
3 tablespoons light brown sugar
11/2 teaspoon ground cinnamon
1/2 teaspoon nutmeg
2 tablespoons unsalted butter , melted, plus 2 tablespoons for cooking
1/4 teaspoon table salt
1 tablespoon vanilla extract
1 tablespoon Jack Daniels bourbon
1 teaspoon honey (optional, or less to taste)

Maple syrup, warmed


Instructions


  1. Adjust oven rack to middle position and heat oven to 300 degrees. Place bread on wire rack set in rimmed baking sheet. Bake bread until almost dry throughout (center should remain slightly moist), about 16 minutes, flipping slices halfway through cooking. Remove bread from rack and let cool. This step can be skipped if the bread is already slightly stale (but not hard). Return baking sheet with wire rack to oven and reduce temperature to 200 degrees.

  2. Whisk warmed milk, egg and yolks from room-temp eggs (leave in a bowl of luke warm water for five minutes to bring them up to temperature straight from the fridge), sugar, cinnamon, nutmeg, 2 tablespoons melted butter (pref NOT immediately from the microwave, please, though still warm), salt, Jack Daniels and vanilla in large bowl until well blended. Add honey carefully to taste. Do not overdo it on the honey. You just want a note. Remember to warm the milk before adding the melted butter or the mixture will curdle and need to be re-done.

  3. Transfer mixture to 13- by 9-inch baking pan.

  4. Soak bread in milk mixture (as many as you can fit in a frying pan) until saturated but not falling apart, 16-23 seconds per side. Count. It may require a little more or less depending on bread thickness, so its good to get an idea of how long it is (exactly) for the bread you're using. Using firm slotted spatula, pick up bread slice and allow excess milk mixture to drip off; repeat with remaining soaked slices. They should not break but should be somewhat delicate to move.
  5. Meanwhile, heat ½ tablespoon butter in 12-inch skillet over medium to medium-low heat.
  6. When foaming subsides, use slotted spatula to transfer slices soaked bread to skillet and cook until golden brown, 3 to 4 minutes. Flip and continue to cook until second side is golden brown, 3 to 4 minutes. (If toast is cooking too quickly, reduce temperature slightly.)
  7. Transfer to baking sheet in oven. Repeat cooking with remaining bread, adding ½ tablespoon of butter for each batch.
  8. Serve warm with maple syrup and powdered sugar on top if you are feeling fancy. As always, I prefer Grade B.