Showing posts with label braises. Show all posts

Tuesday, December 27, 2011

Braised Pork Belly (Fresh Bacon)

Anyone who knows me, knows that I love bacon. Pork belly, also known as "fresh bacon," is simply uncured slab bacon. It's where bacon comes from, so it follows that I would love it just as much as I love its smokey, crispy, mouth-watering relative. To no one's surprise, it turns out that I do.

Braised for hours in stock and aromatics, pork belly can be as tender as fillet of beef, but with so much more flavor. Just like a strip of bacon, the belly is composed of layers of fat and meat. Slow cooking helps to soften the tough layers of meat, while also infusing the tender layers of fat with the flavors of the braising liquid. When I buy belly, I try to look for pieces that have a good balance of fat and meat. Too much fat can be overwhelming in the mouth, and too much meat can result in a dry final product.
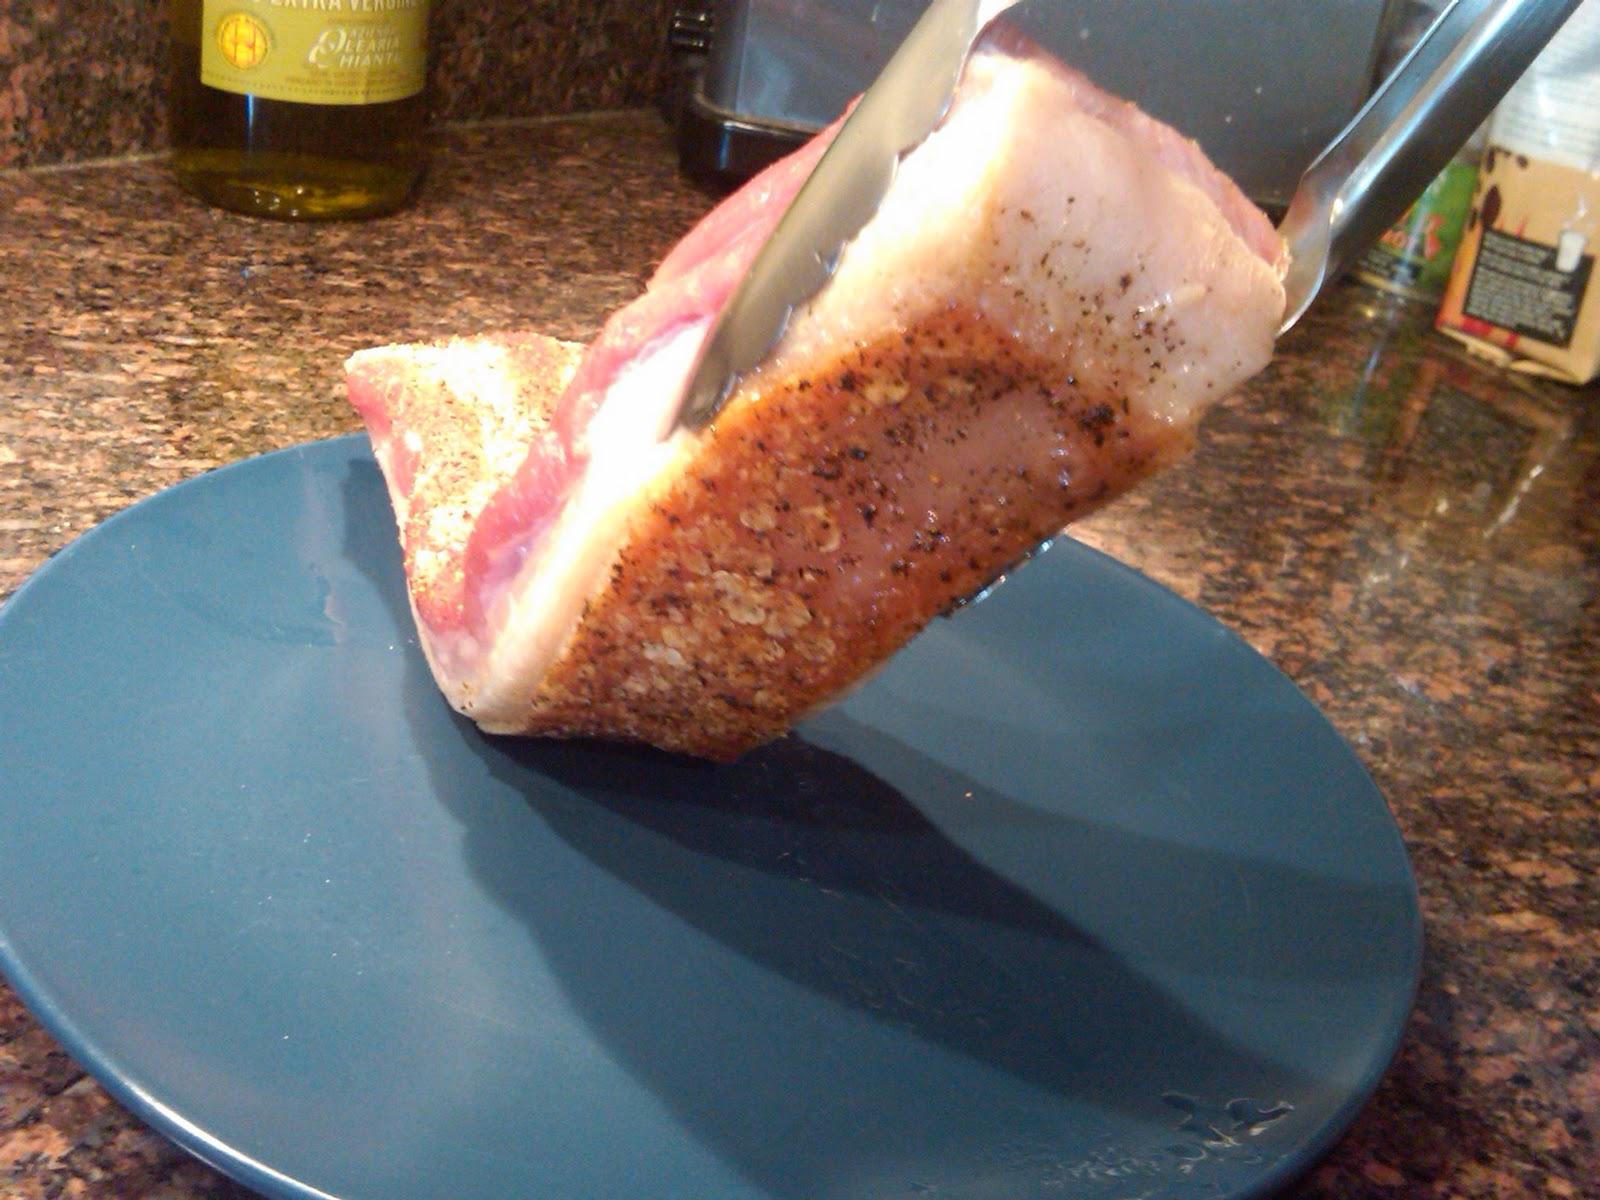
This recipe is based on Tom Colicchio's recipe for fresh bacon in "Think Like A Chef." The first few times I attempted Colicchio's recipe, I was always happy with the belly itself but couldn't quite nail the sauce. The original recipe finished the belly by browning it in a hot oven with the braising liquid still in the skillet. Something about putting that beautiful sauce in a hot oven ruined it every time. As a solution, I strain my braising liquid into a small sauce pan and gently reduce on the stove top until I get it just right. Meanwhile, I brown the belly with a little bit of extra stock, instead of my precious sauce.

The belly can be prepared through step 3 and held for several hours before completing. When buying pork belly, be sure to ask your butcher to leave the skin on. Also, try to pick a piece of belly that is relatively uniform in thickness. Pork belly is so cheap, don't be afraid to buy more than you need and trim it down to the choicest pieces at home. Serve with mashed potatoes, soft polenta, or our polenta cakes.
 

Ingredients

1 tablespoon canola oil
Kosher salt
Freshly ground black pepper
2 pounds pork belly, skin on
1 onion, roughly chopped
2 carrots, roughly chopped
2 celery stalks, roughly chopped
1 leek, white and light green part only, roughly chopped
6 garlic cloves, peeled
 
4 cups chicken stock


Instructions
  1. Heat oven to 350°F. Heat the oil in a large ovenproof skillet over medium heat until shimmering. Generously season the pork with salt and pepper. Add it to the pan, skin side down, and cook until the skin is well browned, about 15 minutes. Transfer the pork to a plate.
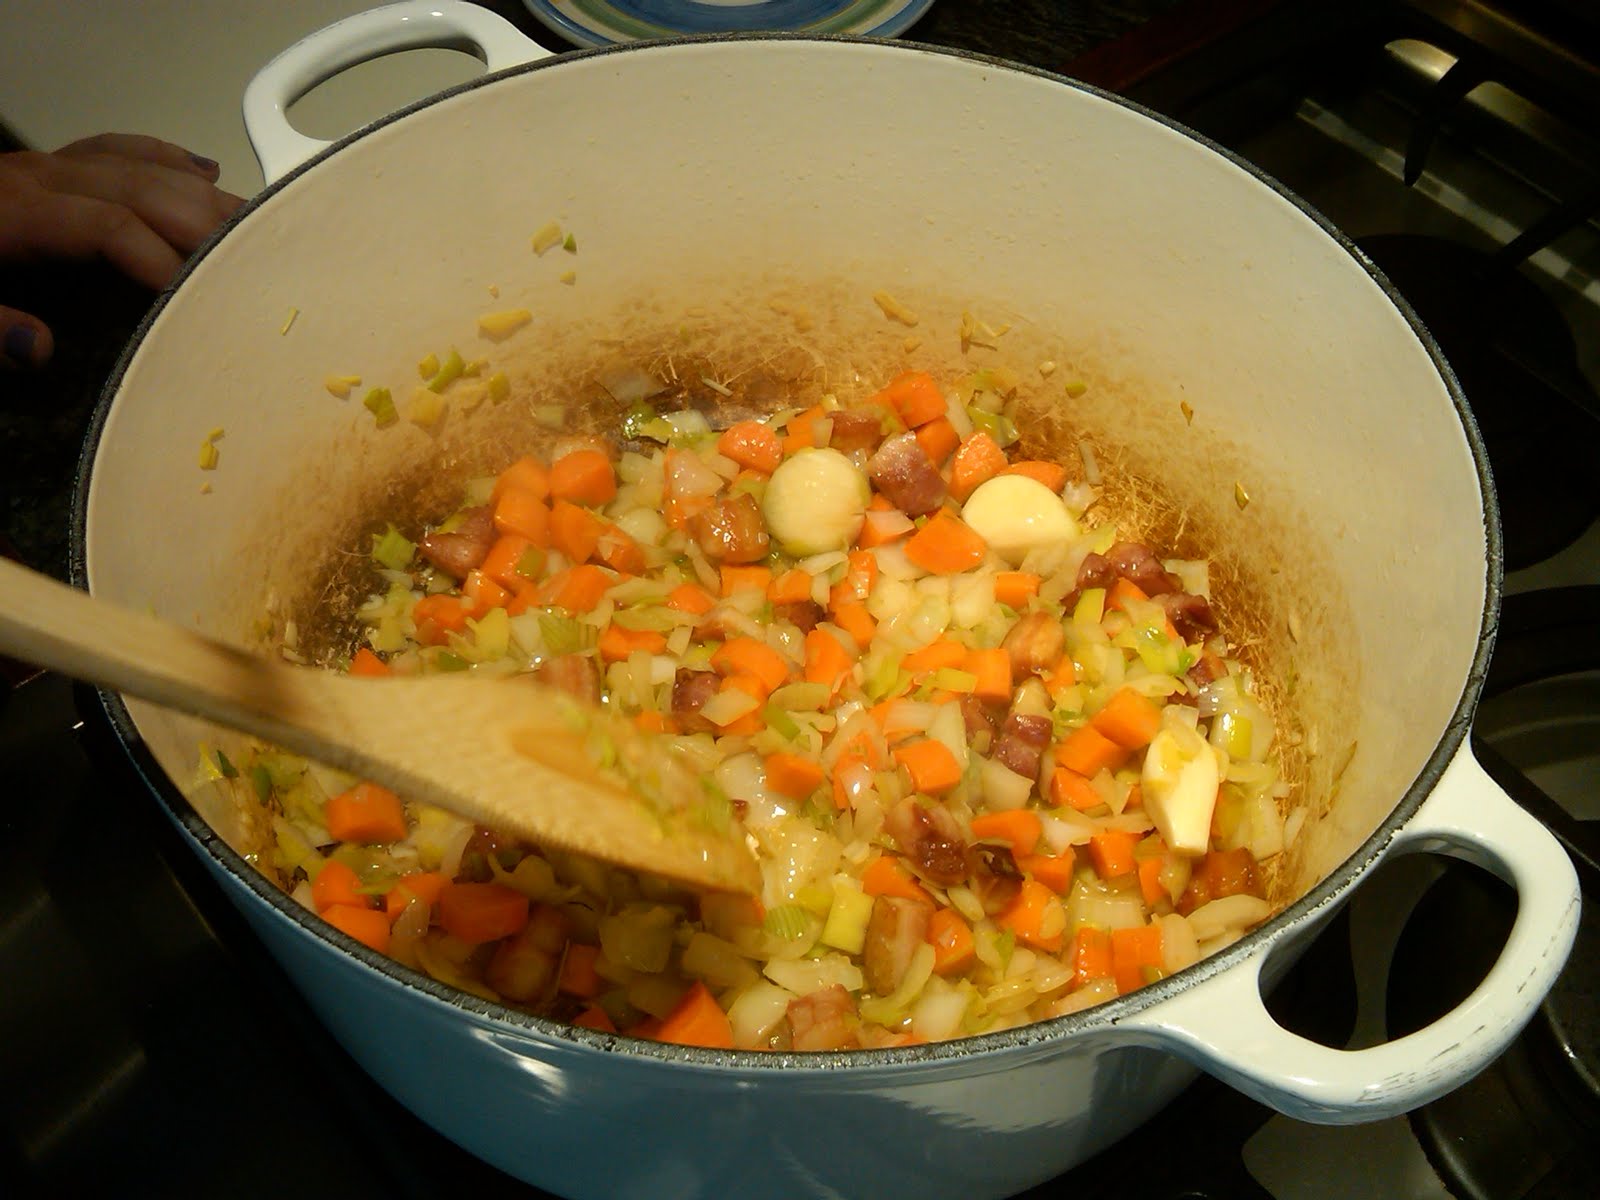
  2. Pour off all but about 2 tablespoons of the fat and add the onion, carrots, celery, leek, and garlic to the skillet. Cook the vegetables, stirring occasionally, until they are tender and beginning to brown, about 20 minutes. 
  3. Return the pork belly to the skillet, skin side down and fat side up, and add about 2 cups of stock (it should surround but not cover the meat). Bring the stock to a simmer, then transfer the skillet to the oven. 
  4. Gently simmer the pork, uncovered, for 1 hour, then add another cup of stock. Continue cooking until the pork is tender enough to cut with a fork, about 1 hour longer.
  5. Remove the skillet from the oven and allow the pork to cool in the braising liquid. This will take at least one hour.
  6. When ready to complete, increase the oven temperature to 400°F. 
  7. Remove the pork from the liquid, then gently lift off and discard the skin (use a small knife to separate any pieces that don’t come away from the fat easily). Score the fat, making crosshatch incisions, then cut the pork into 4 portions. This is rich stuff, so I recommend serving no more than one, 2-inch square piece to each guest.
  8. Strain the braising liquid through a fine mesh strainer into a small saucepan and discard the solids. Bring to a simmer over medium-low heat and reduce to a sauce-like consistency, skimming off any fat that rises to the surface. 
  9. Meanwhile, return pork, scored side up, to the skillet. Pour the remaining 1 cup of stock around the pork and transfer to the oven. Allow to cook, without basting, until the pork is heated through and the fat nicely browned, about 20 minutes.
  10. Serve the pork in shallow bowls with some of the sauce ladled over the top and around the meat.

Sunday, August 21, 2011

Osso Buco

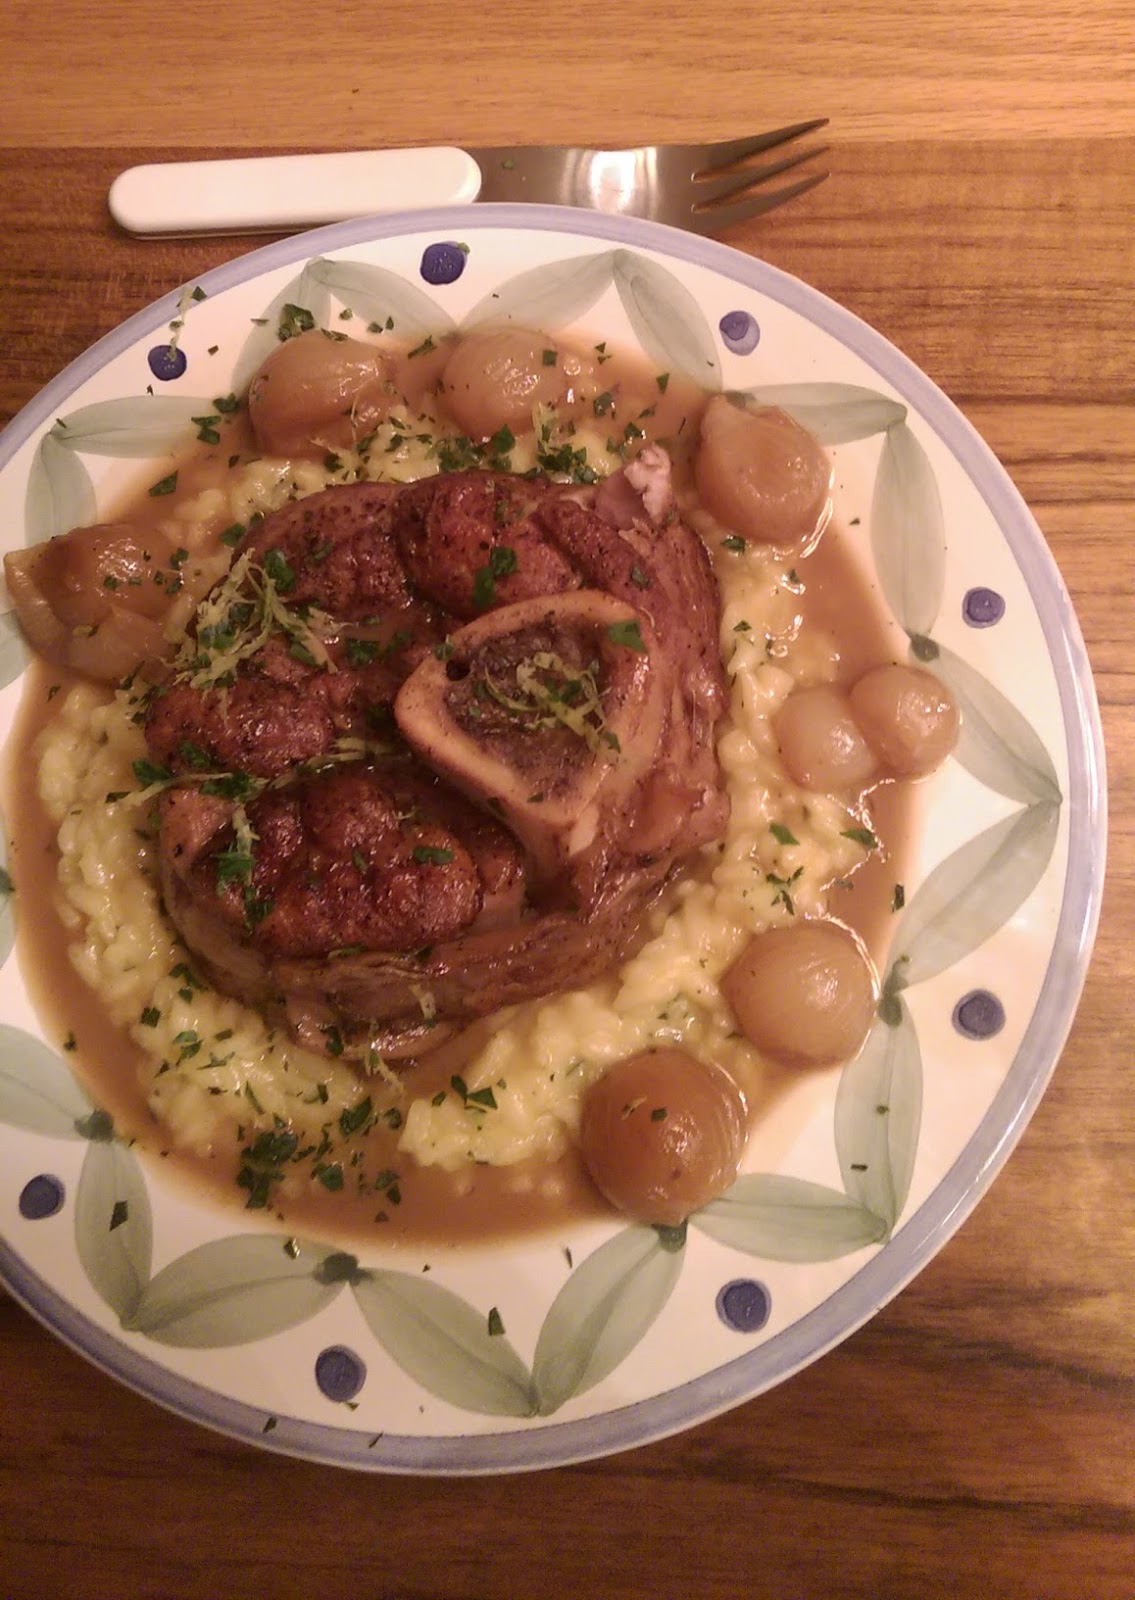
My relationship with this dish began when I was only a small child. My parents had taken me out to eat at an Italian restaurant. When the waiter came to the table he announced osso buco as one of the night’s specials. I remember thinking the name sounded silly, and asking my dad what it was. “Veal braised in wine,” he said. Like a fool, I wasn’t impressed. I suppose that’s what prompted him to order it. When it came to table he showed me how the hole in the middle of the bone was filled with marrow. He spread some onto a piece of bread for me to taste, and my life was never the same again.

Osso buco, which literally translates to ‘bone with a hole,’ is a thick slice of veal shank, traditionally braised for many hours in white wine and aromatics. Slow cooking transforms the tough shank meat into fall-off-the-bone deliciousness. Oh, and did I mention the bone marrow? Sometimes, it’s hard to decide which to eat first.

These days, I like to make osso buco for guests because I can throw it into the oven two hours ahead of time and forget about it. It also never fails to impress. When I’m lucky, E.S. will make risotto to accompany the osso buco, but simpler starches like egg noodles or mashed potatoes are equally delicious. I finish the dish with a sprinkling of gremolata, a mixture of parsley and lemon zest, which helps to brighten the dish and cut through the sweetness of the veal.

I recommend using slices of veal shank that are at least 1½ inches thick for this recipe. If you only see thinner piece in the case, ask your butcher if he can cut you some thicker pieces (2 inches is ideal). As with my braised lamb shank recipe, I finish the osso buco in the oven, which allows the meat to re-brown and helps the shank to hold their form on the plate. Serve with crusty bread for soaking up the extra braising liquid and, of course, for the bone marrow.

Osso Buco


Ingredients

4 slices veal shank, 1½ to 2 inches thick
Kosher salt
Black pepper
2 tablespoons olive oil
1 medium carrot, chopped
1 medium onion, chopped
½ celery rib, chopped
6 garlic cloves, chopped
5 sprigs parsley
1 sprig thyme
2 bay leaves
10-12 black peppercorns
3 whole cloves
1 cup dry white wine
2 cups veal or chicken stock
1 tablespoon chopped parsley
1 tablespoon grated lemon zest from one lemon


Instructions

1. Preheat oven to 325F. Cut four pieces of kitchen twine, each about a foot long. Place a length of twine on a cutting board and lie a piece of veal shank on its side on top of twine, making sure to center the shank on the twine. Lift the ends of the twine up around the shank and tie as tightly as possible. Pat the shanks dry with paper towels and season generously with salt and pepper.
2. Heat oil in a Dutch oven large enough to hold the shanks in one layer over medium-high heat. When the oil begins to shimmer add the shanks and brown well on all sides, about 6 minutes. Brown the shanks in batches if necessary. Remove to a plate.
3. If the pot looks dry, add a little more oil. Reduce the heat to medium and add the carrot, onion, celery and garlic. Cook the vegetables, stirring frequently, until softened.
4. Place the parsley sprigs, thyme, bay leaves, peppercorns and cloves in a small coffee filter to make a bouquet garni (see pictures). Fold the filter over itself and tie shut with a piece of kitchen twine.
5. When the vegetables are cooked add a little bit of the wine to the pot and, using wooden spoon, scrape up any browned bits from the bottom of the pot. Arrange the shanks over the vegetables in a single layer, along with the bouquet garni. Add the wine and stock to the pot. The liquid should reach about halfway up the shanks. Increase the heat to high and bring to a boil. Cover and place in the oven for 1 hour.
6. After one hour, flip the shanks over and add additional stock to the pot if needed to keep the level halfway up the shanks. Return to the oven and cook for 1 hour more.
7. Remove the pot from the oven and place on the stove top. Increase oven temperature to 400F. Remove shanks from liquid and place on a baking sheet. Once the oven has come up to temperature, place shanks in oven and allow to re-brown. Meanwhile, finish the sauce.
8. Strain the braising liquid into a medium saucepan and bring to a simmer over medium heat. Simmer the sauce until thick and velvety, about 10 minutes, skimming off any fat that rises to the surface. Once thickened, season to taste with Kosher salt and freshly ground black pepper.
9. Combine the chopped parsley and lemon zest in a small bowl.
10. To serve, remove the string from each shank and ladle some of the reduced sauce over the top. Finish with a sprinkling of the parley and lemon zest mixture.

Thursday, March 17, 2011

Braised Lamb Shanks

The shin portion of the leg, lamb shanks are best when braised until tender and falling off the bone. As a kid, braised lamb shanks were one of my favorite things to order when my family would go out for nice dinners. I loved how the meat would melt in my mouth, and I found there to be something particularly satisfying about leaving only the giant bone on my plate. Today, when I serve this dish to guests, I like seeing them get as excited about eating it as I did when I was a kid.

Over the years I’ve made several versions of this dish, but this is my favorite. The spice mixture is based on the lamb shank recipe in Joy of Cooking, and includes coriander, cumin, cinnamon and allspice, all of which pairs beautifully with the lamb and will make your apartment smell amazing. I re-brown the shanks in the oven after braising, and then perch them on top of small-cut carrots and potatoes that cooked with the lamb. It makes for a particularly classy presentation, but you could just as easily serve the shanks over buttered egg noodles and save yourself some work.

Be patient when trimming the shanks; the more fat and silver skin you trim away, the more tender your shanks will be after cooking. You can substitute essentially any root vegetables for the carrots and potatoes used here, just make sure to cut them into equal sized pieces to ensure even cooking. If your Dutch oven isn’t large enough to hold the shanks in one layer, prepare the shanks though step 3, and then transfer the shanks and prepared braising liquid to a roasting pan and cover tightly with aluminum foil to braise.

Braised Lamb Shanks with Carrots and Potatoes

 
Ingredients
2 lamb shanks
Kosher salt
freshly ground black pepper
4 tablespoons olive oil
2 medium onions, halved pole-to-pole, and cut into ¼ inch slices
4 large garlic cloves, chopped
1 teaspoon ground coriander
1 teaspoon ground cumin 
ground cinnamon
ground allspice
2 cups chicken stock or lamb stock 
1 cup dry white wine, such as sauvignon blanc 
1/3 cup tomato puree 
2 cups carrots, cut into ½ inch pieces
2 cups small yellow potatoes, cut into ½ inch pieces
1 tablespoon finely grated lemon zest
2 tablespoons parsley, chopped

Instructions


  1. Adjust oven rack to middle position, and preheat oven to 300°F. Using a long, thin knife with a semi-flexible blade, trim as much external fat and silver skin from the lamb shanks as possible. Generously season the trimmed shanks with Kosher salt and freshly ground black pepper.
  2. Heat 2 tablespoons of the olive oil in a Dutch oven large enough to hold the shanks in a single layer over medium-high heat until shimmering but not smoking. Add the shanks to the pot and brown well on all sides, 6 to 10 minutes. Remove the shanks to a plate, and pour off the fat from the pot.
  3. Reduce heat to medium, and add remaining 2 tablespoons olive oil to pot, along with the onions and garlic. Cover and cook, stirring occasionally, until the onions are quite soft, about 10 minutes. If onions begin to brown, lower the heat a bit. Add coriander, cumin, ½ teaspoon black pepper, a pinch of ground cinnamon and a pinch of ground allspice to pot. Stir well to coat the onions. Add stock, wine and tomato puree to pot. Using a wooden spoon, scrape up any brown bits from the bottom of the pot. Increase heat to high and bring to a boil.
  4. Return lamb shanks to pot, cover, place in pre-heated oven and bake for one hour. After one hour, add potatoes and carrots to pot, and continue to bake for another hour, or until the meat is falling off the bone.
  5. Remove pot from oven and place on stovetop. Increase oven temperature to 400°F. Remove shanks from pot and place on baking sheet. Once the oven has come up to temperature, place shanks in oven and allow to re-brown. Meanwhile, finish the sauce.
  6. Strain the braising liquid into a medium saucepan and bring to a simmer over medium heat. Simmer the sauce until thick and velvety, about 10 minutes, skimming off any fat that rises to the surface. Once thickened, season to taste with Kosher salt and freshly ground black pepper. Meanwhile, separate the potatoes and carrots from the onions, and discard the onions (they will have given all their flavor to the sauce at this point). Combine the chopped parsley and lemon zest in small bowl.
  7. To serve, divide the potatoes and carrots between two shallow serving bowls. Top each pile of vegetables with a lamb shank, and then ladle enough of the sauce over each shank to almost submerge the vegetables. Finish each plate with a sprinkling of the parley and lemon zest mixture, and serve.

Friday, February 18, 2011

Short Ribs Braised In Syrah

We adapted this recipe from Michel Richard’s Happy in the Kitchen. Like many of Richard’s recipes, making these short ribs is a long and involved process (it takes two days and requires 20 different ingredients). The techniques employed and the equipment required, however, are both simple and familiar. Just remember to set aside plenty of time, and this recipe can be a lot of fun, and very rewarding.

What really sets this recipe apart from your average short rib is the quality of the sauce. Smooth and rich, with complex flavor, the sauce is a thing of beauty. Syrah, which forms the base of the sauce, has plenty of depth and power to match up against the richness of the short rib. The star anise we include in the bouquet garni helps to highlight the sweet elements in the sauce. Finally, port and honey are added to the sauce at end to temper any harshness in the wine.

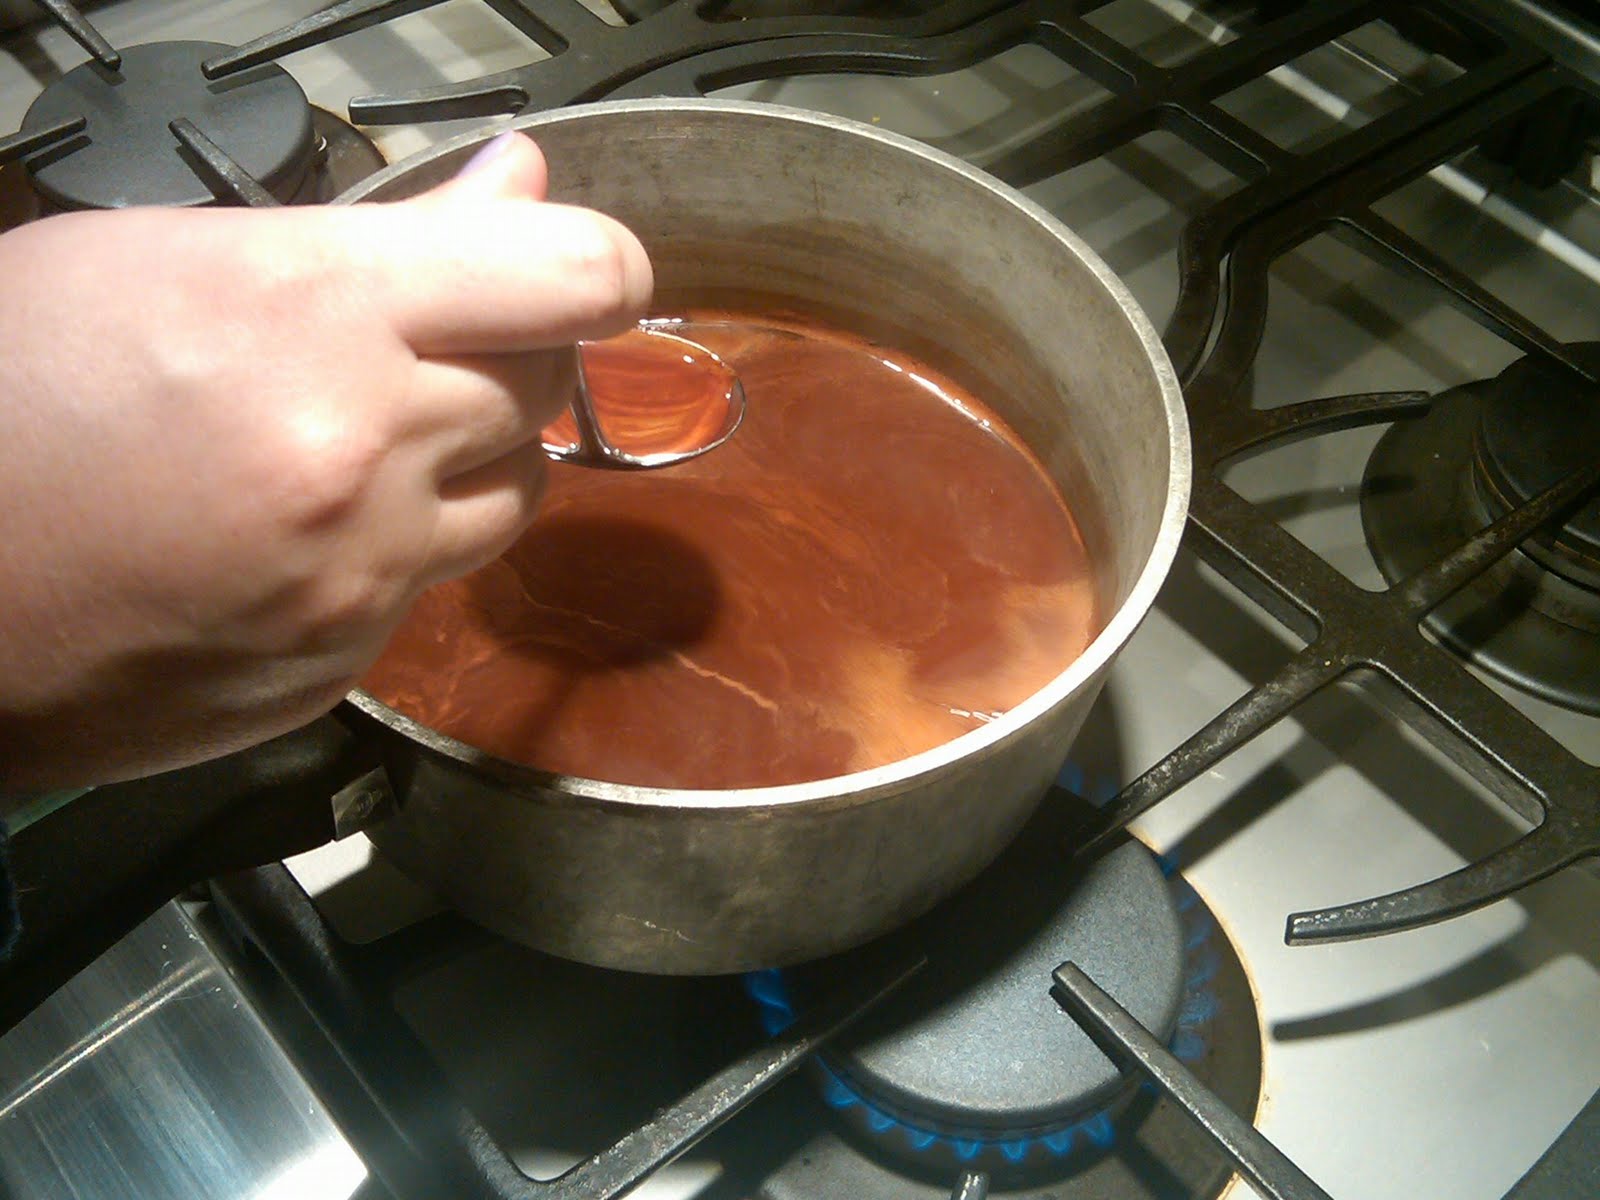
Skimming fat off reducing sauce
Just as important as what goes into the sauce, however, is what gets taken out of it – the fat. After refrigerating the short ribs overnight, most of the fat in the sauce will have risen to the surface and formed a hard layer. Make sure to remove as much of the fat from the surface of the sauce at this stage as you can. Be patient. After straining the solids out of the sauce, we bring it to a simmer and then move the saucepan to one side of the burner. Boiling the liquid in only one side of the pan pushes the foam that rises to the top to the opposite side, making it easier to skim off. This is a neat trick to use whenever you need to skim fat off the surface of a sauce as it reduces.

This recipe calls for browning the short ribs in clarified butter. Clarified butter is simply regular butter with the milk solids removed – and is terrific for browning meats. When heated to higher temperatures, the milk solids in whole butter can burn. By browning the meat in clarified butter, we can achieve the same deep brown crust that I associate with meats browned in butter, without all the smoke (good news for those of us with sensitive smoke detectors). I’ve included instructions on how to make clarified butter in the recipe.

Short Ribs Braised in Syrah

Ingredients

8 tablespoons (1 stick) unsalted butter
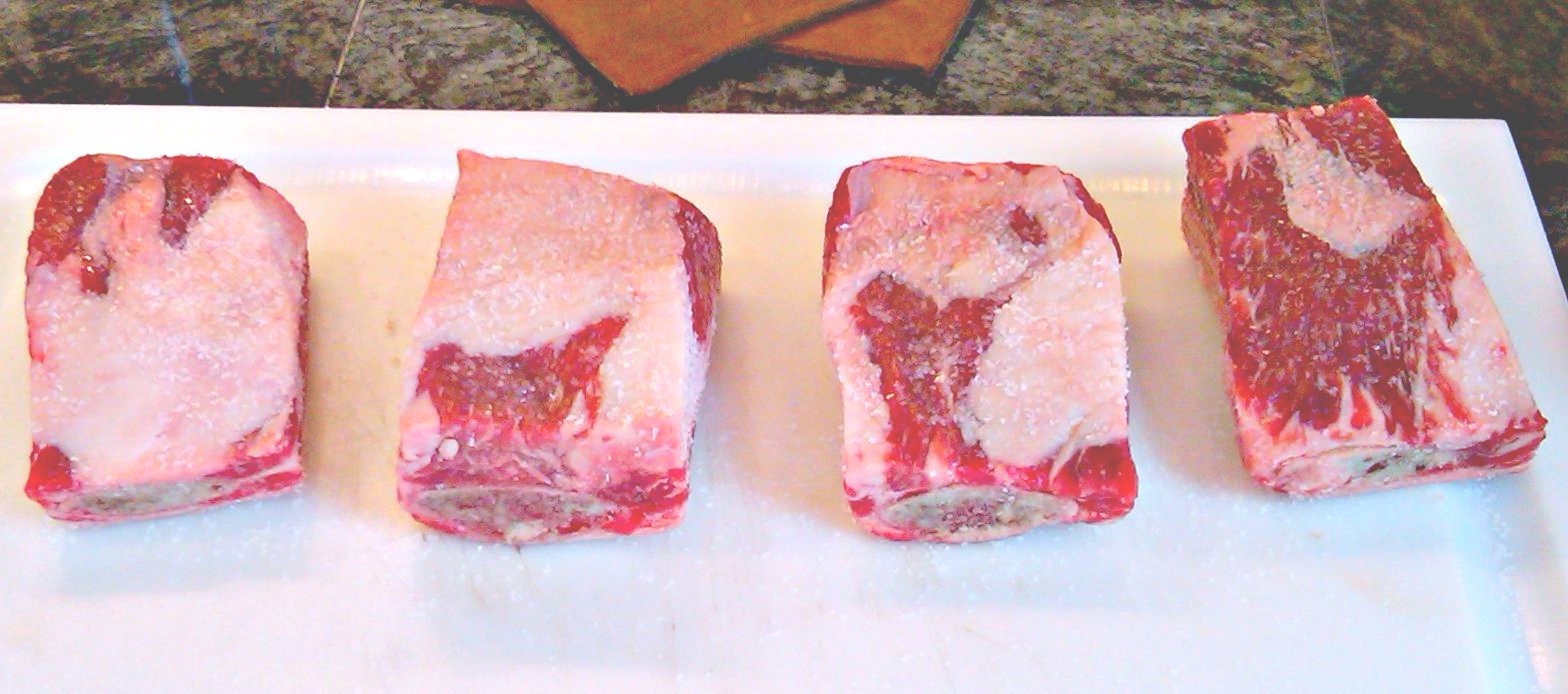
4 beef short ribs, about 7 inches long and 2 inches wide
Kosher salt
1 tablespoon olive oil
6 ounces slab bacon, cut into ½ inch pieces
1 cup diced leeks (white and light green parts)
2 cups diced yellow onions
1 cups diced carrots
6 garlic cloves, peeled
1 bottle Syrah
2 cups chicken stock
1 tablespoon black peppercorns
2 star anise
2 6-inch pieces leek green
2 bay leaves
3 sprigs thyme
2 sprigs rosemary
1 cup ruby port
1/8 cup honey
½ cup tomato paste
Freshly ground black pepper


Instructions

  1. Melt the butter in a small saucepan over low heat, without stirring. Once the butter has completely melted, skim off the foam that has risen to the surface and discard. Carefully pour off the clear yellow liquid underneath. This is the clarified butter. Discard the white milky layer left in the bottom of the pan.
  2. Position oven rack in lower middle position, and preheat oven to 275°F. Dry the short ribs with paper towels, season on all sides with Kosher salt, and let sit for about 10 minutes.
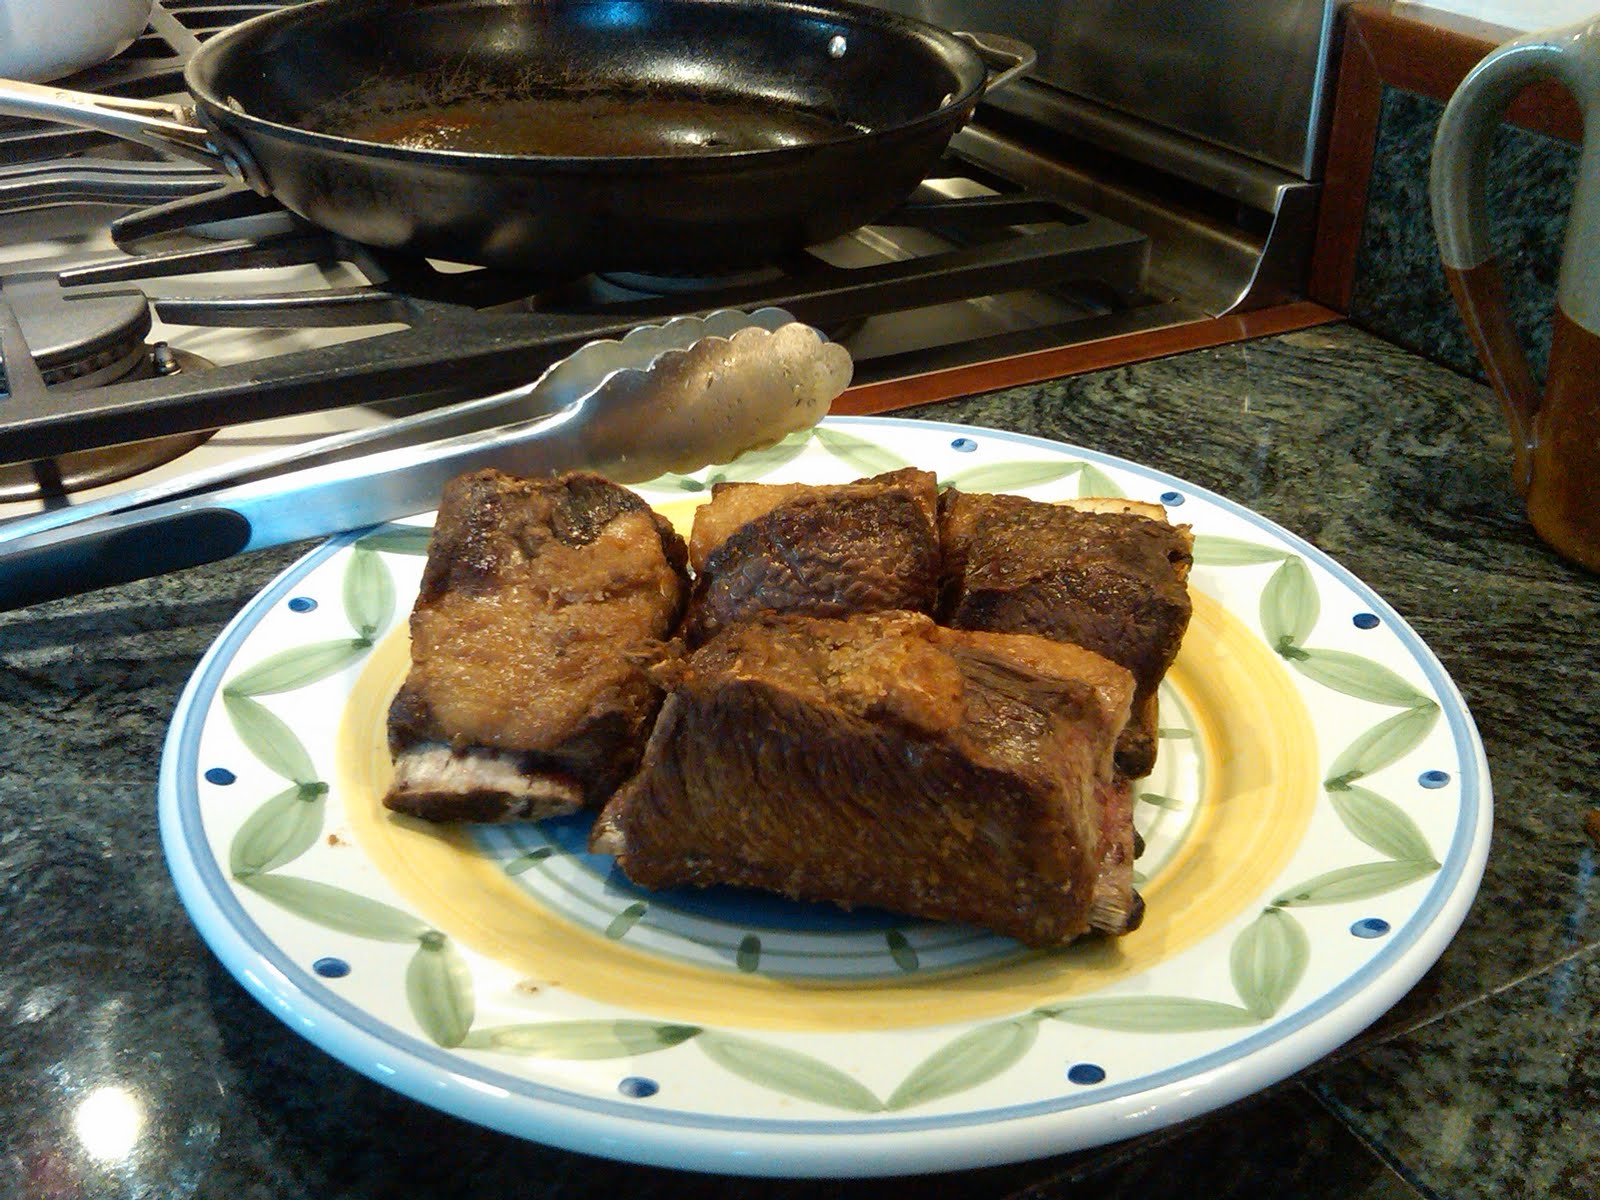
  3. Heat 2 tablespoons of the clarified butter in a large skillet over medium-high heat. Arrange as many short ribs as can fit in the skillet without touching and cook, turning occasionally, until evenly browned on all sides, about 10 minutes. Remove browned short ribs from skillet and repeat with remaining short ribs, adding additional butter to the pan as necessary.
  4. Heat olive oil in large Dutch oven over medium heat until shimmering. Add the bacon and stir for about 10 minutes or until it has rendered its fat. Stir in the leeks, onions, carrots, and garlic and sauté for 10 minutes, stirring frequently, until the vegetables are wilted and lightly caramelized.
  5. Add about 1 cup of the wine and, using wooden spoon, scrape up any browned bits from the bottom of the pot. Arrange the short ribs over the vegetables, layering them as necessary. Reduce heat to medium-low, and add the remaining red wine and chicken stock.
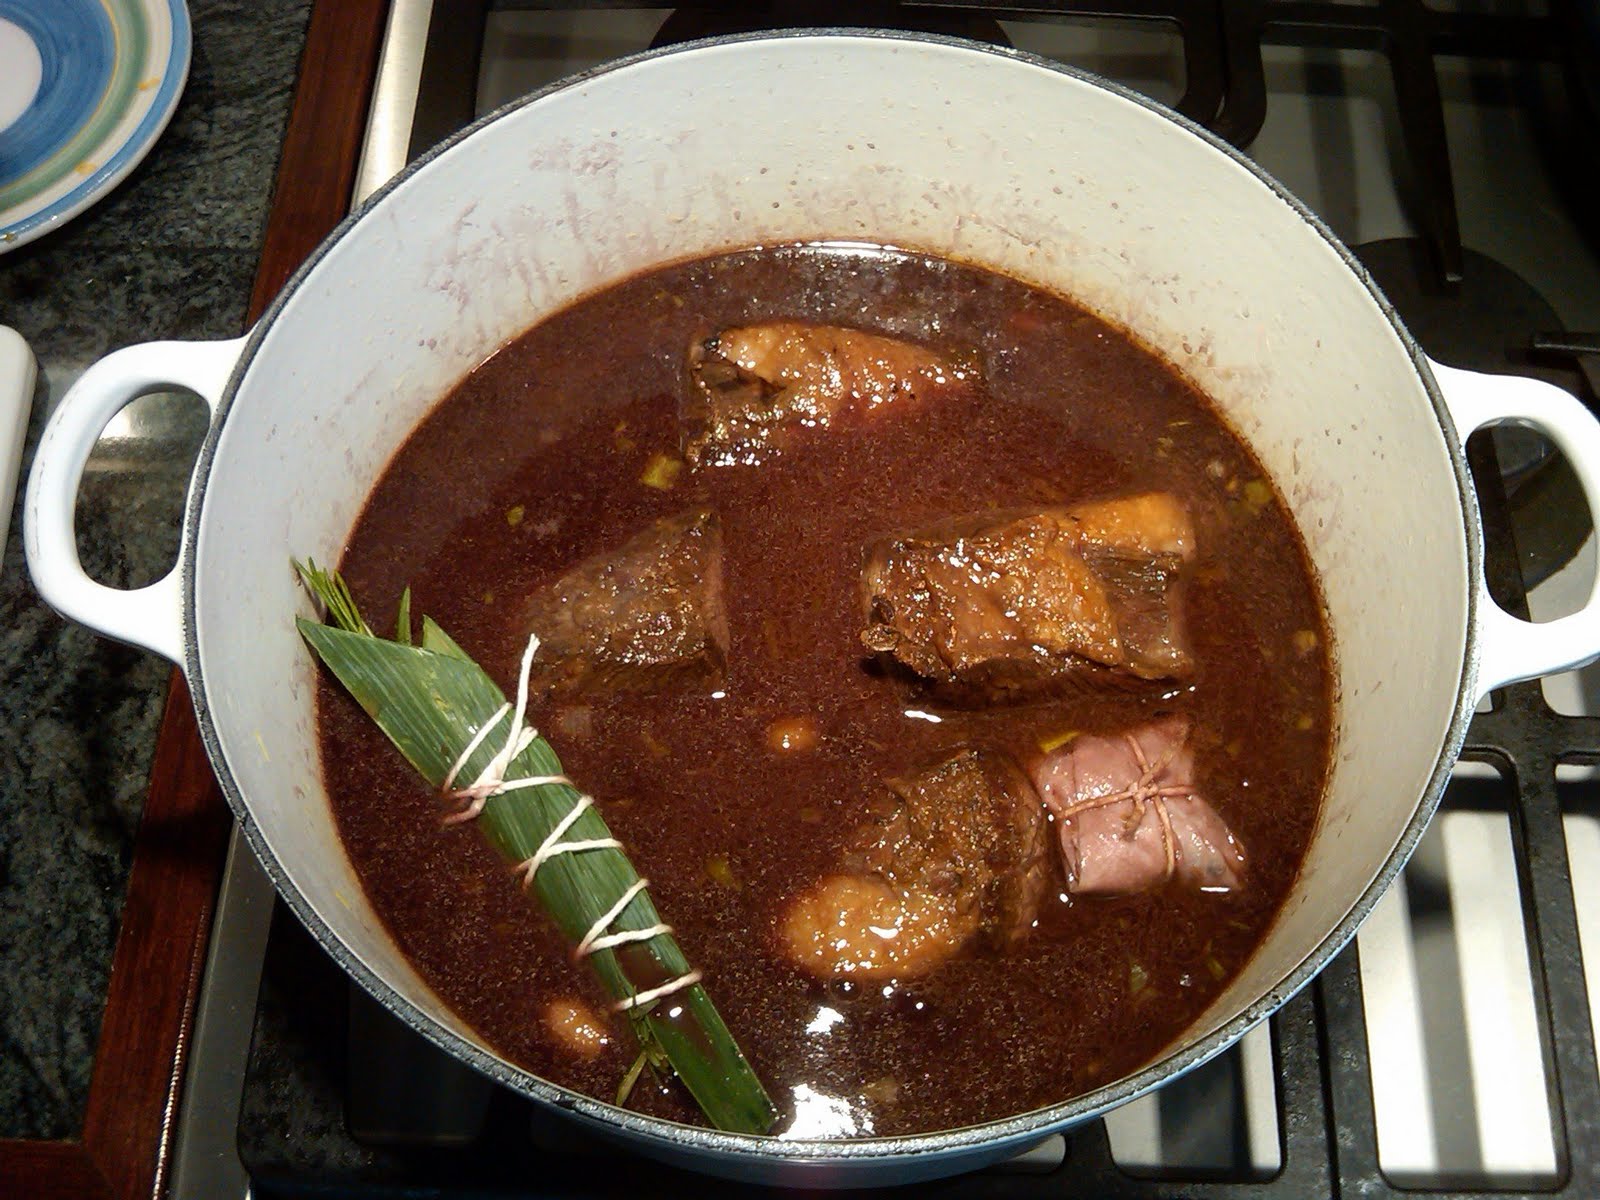
  6. Place the peppercorns and star anise in a small piece of cheesecloth or a small coffee filter, and tie with twine to form a bundle. Lay a piece of leek green flat on the work surface. Place the bay leaves, thyme, and rosemary in the center and cover with the remaining piece of leek. Tie together with twine. (See photos.)
  7. Bring the liquid to a boil, skimming off any fat and scum that rises to the surface. Cover the pot and place in the oven for about 3 hours. When the meat is done, it should be fork-tender and should separate easily from the bone.
  8. Remove the pot from the oven and let cool to room temperature, then refrigerate overnight in the pot.
  9. The next day, remove the pot from the refrigerator and preheat oven to 325°F. Remove and discard all the hardened fat that has risen to the surface. If the liquid has gelled and the meat cannot be removed easily, heat the pot over medium meat. As the liquid heats, remove the meat and bones from the pot before the meat softens. Then continue to heat he liquid until simmering.
  10. Meanwhile, place the meat on a cutting board. Cut away and discard the bones and any fat and sinew. Place the meat in a baking dish or small roasting pan.
  11. Strain the cooking liquid through a fine-mesh strainer into a large saucepan and discard the solids. Place over medium heat, add the port, honey and tomato paste, and bring to a boil. Move the pan to one side of the burner and reduce the liquid to about 4 cups, skimming off the foam that rises to the top. When reduced, season the sauce with salt and pepper to taste and pour the sauce over the meat. At this point, the meat can be covered and refrigerated for up to a day.
  12. Place the baking dish in the oven and bake for 30 minutes. If the sauce does not cover the meat, baste the meat every 5 minutes.
  13. Place the meat on serving plates and spoon the sauce over the top.