Showing posts with label dinner. Show all posts

Wednesday, January 28, 2015

Whole Maine Lobster

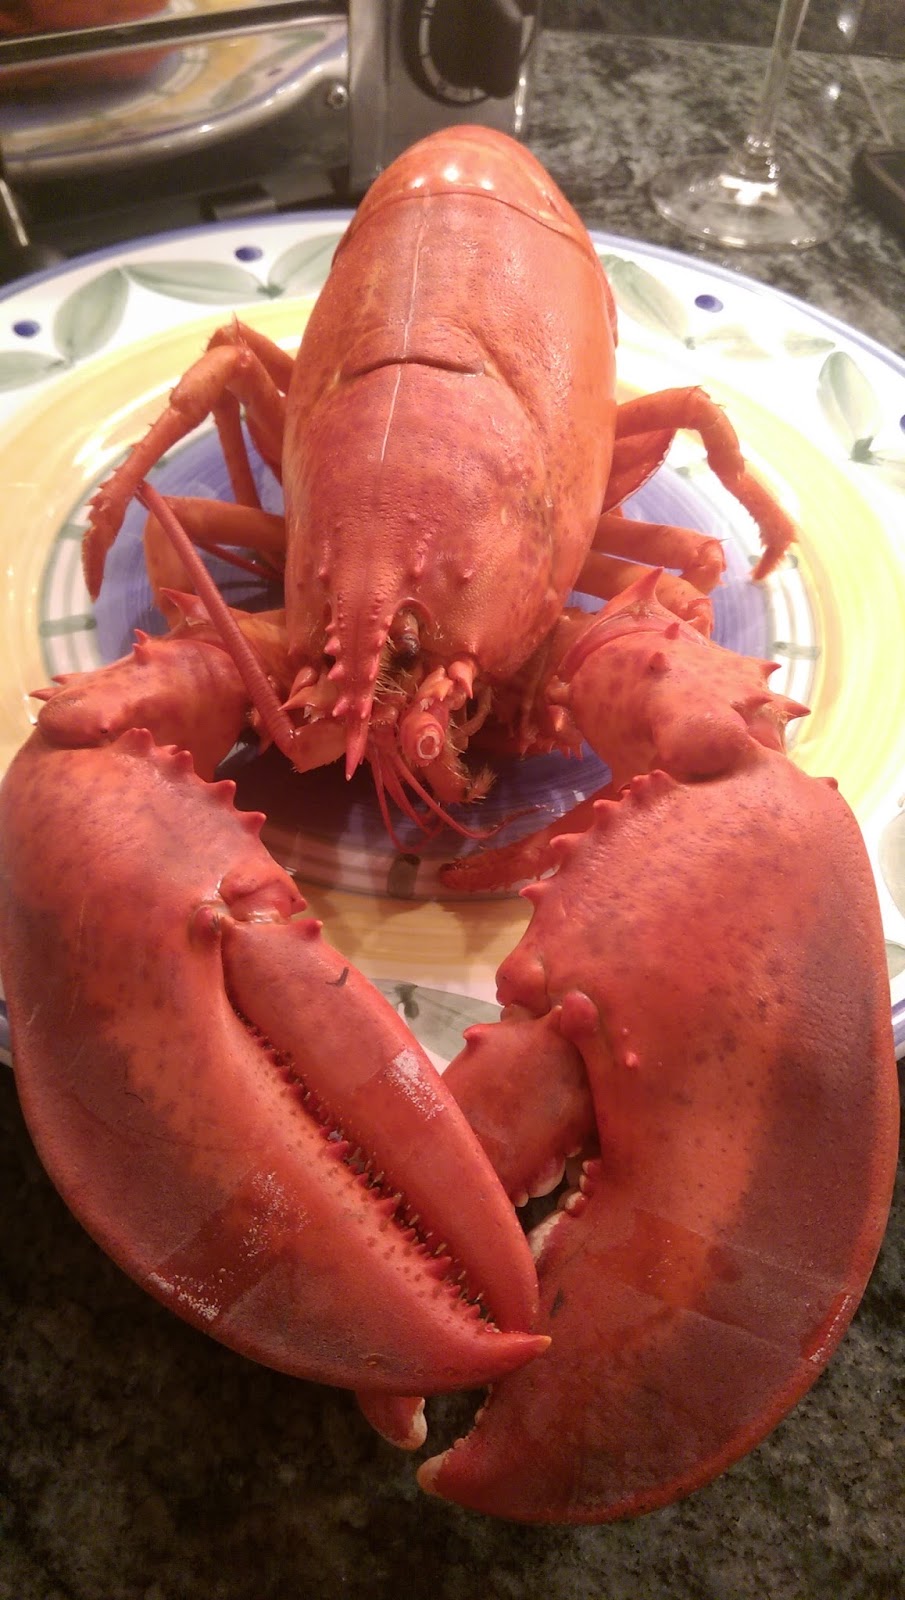
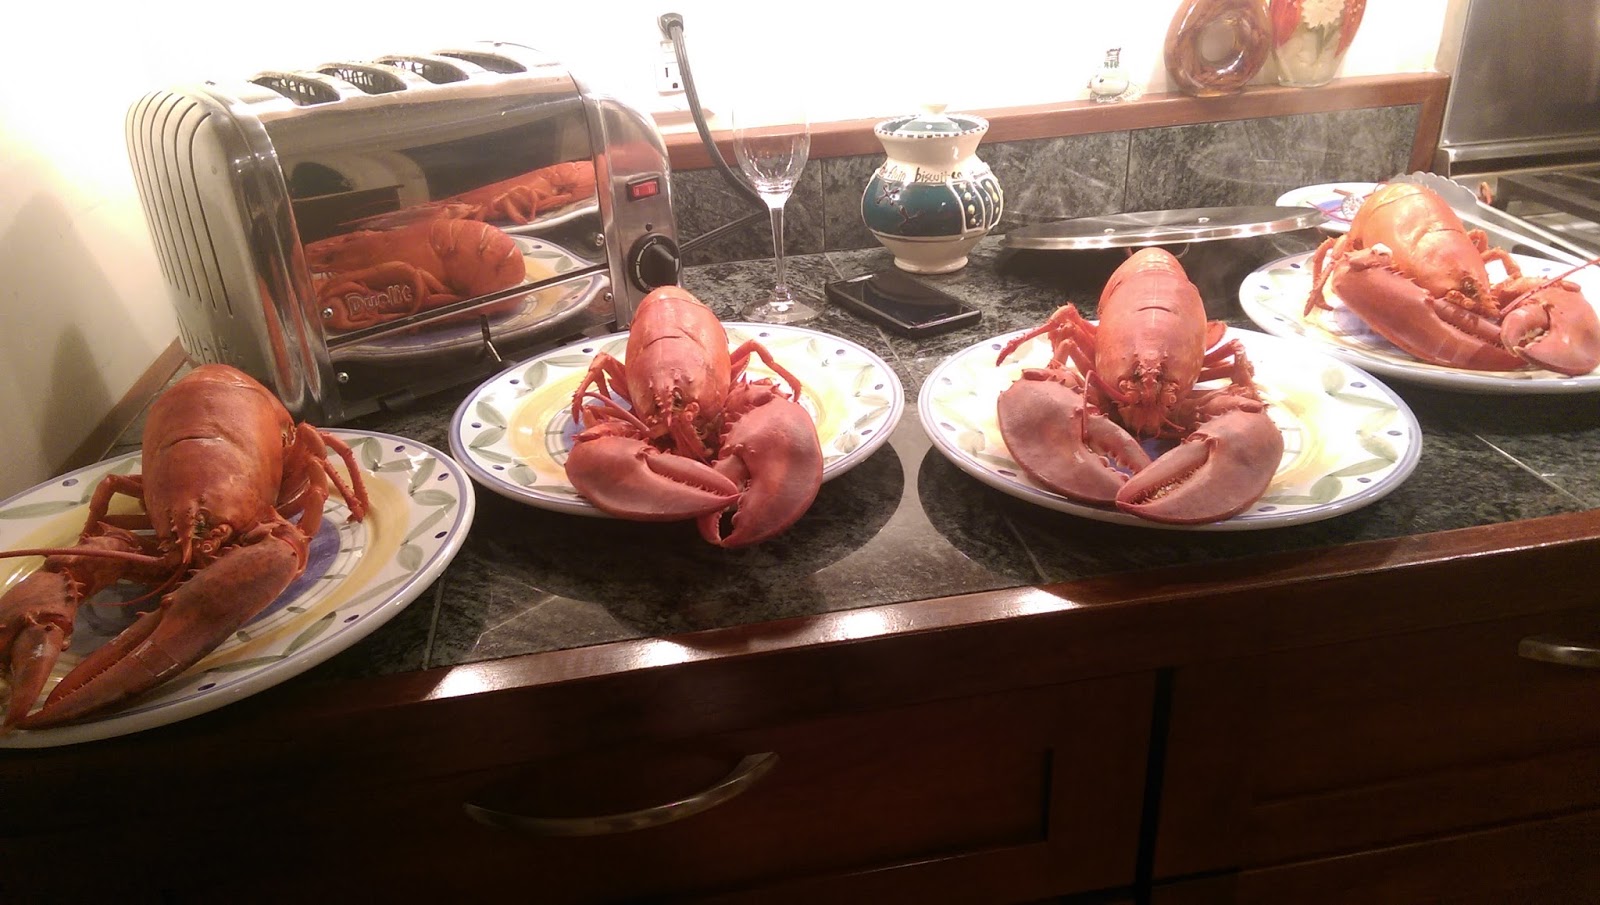
Every year, TK and I go up to the Berkshires for New Years. Over the years, we have tried going out on New Year's Eve with mixed results. In the end, we've settled that the best plan is to not leave the Lakehouse at all if possible. Instead, we do lobster. When in New England, we figure, we are pretty much obligated to procure fantastic local lobsters, which we serve with haricot verts and potato gratin. This differs from our Summer lobster meal, when we serve our lobster with corn on the cobb and jalepeno cheddar biscuits. It is something I look forward to all year, and a great way to kick off the New Year. You just can't go wrong with a perfect whole lobster, boiled in salt water and served with butter and lemon. When your base ingredients are that good, the best thing to do is to let them speak for themselves, serve them simply, and enjoy.

Our preferred size lobster is between 1.5 lbs and 2 lbs (or to be entirely accurate, however much over 1.5 lbs the seafood salesman will give us before charging us the 2 lbs. lobster rate). Larger lobsters do not automatically mean better meat. The real 20 lbs. giants that they raffle off  in stores actually tend to have tougher meat. Lobsters shed their shells, and at certain parts of the years their shells are softer and thinner than others. These soft-shelled lobsters are significantly easier to crack, barely needing the cracker at times. Still, the softer the shell is, the newer it is, and the more room to grow the lobster has. This means the lobster will have more water weight and less meat inside, so you might want to consider a slightly larger lobster. These particular lobsters were the more common hard-shells.

The generally most anticipated part of having lobster is the killing of the lobster. Now, I think of lobsters as mutant sea bugs, so I have very little pity for them. But no one wants to make anyone suffer. We like to sedate the lobsters a little bit. We store them with wet paper towels on top in the fridge before we're ready, and then remove them one at a time and drop them in the pot. Sometimes, the fridge will be enough to make them mellow, but for particularly feisty lobsters, we put them in the freezer for about half an hour or less to sedate them. We try to minimize the time between when they are out of the fridge and when they are in the water. We submerge them completely, and feel that that is more humane than dragging it out by knifing them in the skull beforehand, though some do choose to do so.

Boiled Whole Maine Lobsters
lobsters
sea salt
butter (1/4 cup per lobster)
lemon juice (1/2 lemon per lobster)


Boiling Time For Lobsters:
1 lbs lobsters: 8-10 minutes
1.5 lbs lobsters: 12-15 minutes
2 lbs lobsters: 15-18 minutes
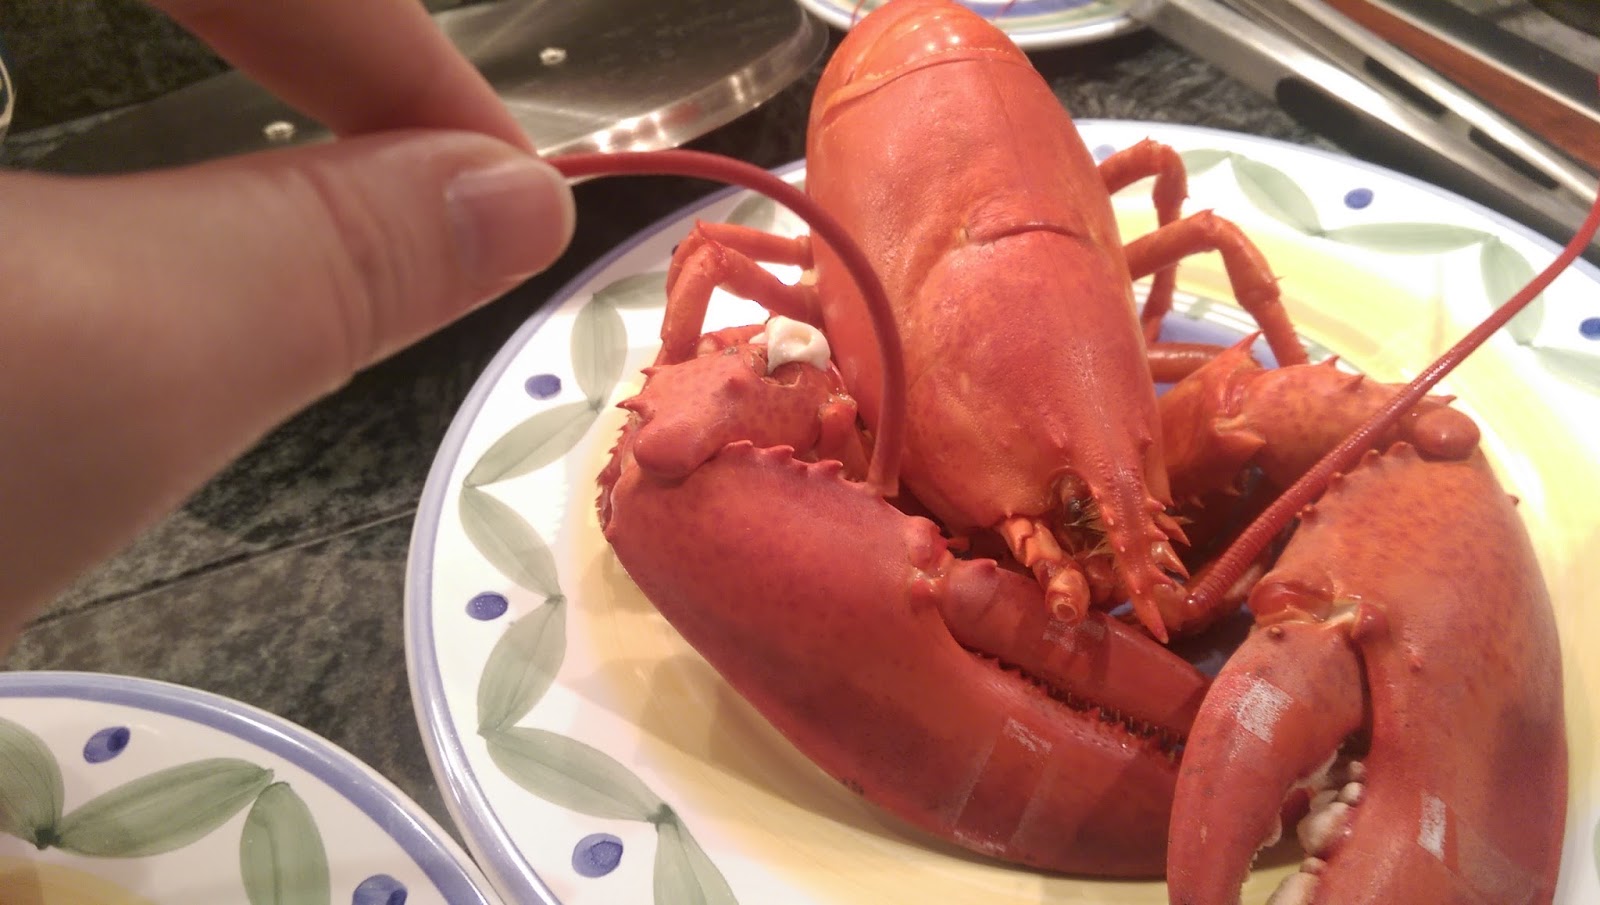


When you can pop the antennae off, your lobster is done.
  1. In the largest pot you can find with a tight-fitting lid, add 3 quarts of water for each lobster you want to boil, filling the pot about 2/3rd to 3/4 of the way full.
  2. Add generous amounts of sea salt (approx. 3 tablespoons per quart) to water and bring to a healthy boil. You are trying to mimic seawater.
  3. Remove your lobsters from the fridge one at a time and quickly dunk them head first into the boiling water. Make sure to remove the rubber bands before dropping them in the water as the rubber in the bands can actually change the taste of the boiling liquid. Don't worry, and don't drag it out. The lobster won't get you.
  4. Boil your lobsters for the necessary time depending on what size lobsters you have. (See above)
  5. The easiest way to tell if your lobster is done is to pull at one of its antennae. When it is fully cooked, it should pop-off in your hand with little to no resistance.
  6. Remove lobsters from pot and allow to rest and cool for at least five minutes.
  7. Melt butter in individual ramekins.
  8. Add lemon juice to the butter.
  9. Serve with lobsters, shell crackers, and a bowl for discarded shells.Remember this is not a race to see who can finish their lobster first.

Tuesday, November 25, 2014

Chermoula Marinated Pork Loin

Pork loin is all or nothing for me.  It’s either juicy, succulent, and full of delicious porky flavor, or it’s as dry and chewy as a hockey puck.  When done correctly, the loin is one of my favorite cuts of pork.  Tied and pan roasted, it makes for a roast as beautiful as it is tasty, perfect for a small dinner party.  But pork loin can be finicky.  Because it is relatively lean, it does have a tendency to dry out. And being pork, the loin needs lots of seasoning to be flavorful.

Before the pork loin goes anywhere near a pan, there are steps you can take to ensure that the final product will come out juicy.  First, get a high quality piece of pork.  Look for one in your butcher’s case that has good marbling, has most of its fat cap intact, and that still looks pink and fresh.  If the only pork loin you can find is vacuum sealed in plastic and labeled as “enhanced” pork (i.e., pork that has been injected with salt water), consider using this marinade on a nice pork chop instead.

Brining is an additional step you can take towards keeping your pork loin juicy.  I use a very basic brine for this recipe, because the pork loin is marinated after brining.  As an alternative recipe, try using the brine I call for in my Roast Chicken recipe.  Pan roast the loin as I do below and make a simple pan sauce with all of the delicious brown bits sticking the bottom of the skillet.  The end result would make a Frenchman proud.

Pork loin benefits from heavy seasoning and pairs great with big, intense flavors.  The chermoula marinade I use here – a potent North African marinade traditionally used to season vegetables – penetrates the pork with deep and complex flavors and imparts the loin with an attractive golden brown exterior when seared.

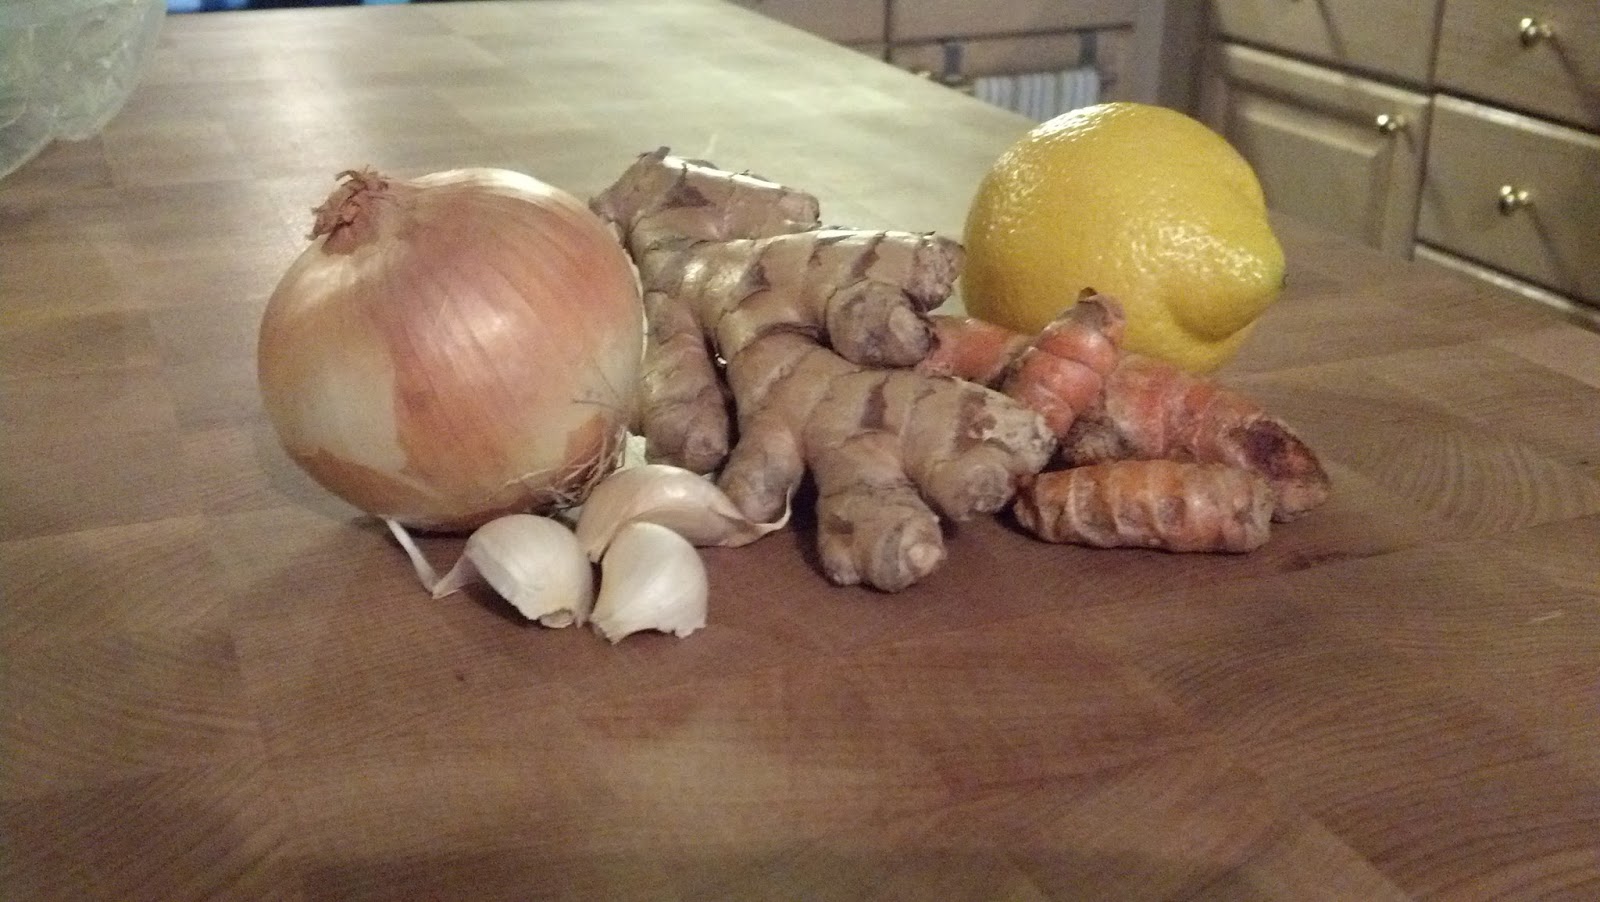
The chermoula calls for both fresh ginger and fresh turmeric.  You can substitute dried ground turmeric if you cannot find fresh, but the fresh ginger is essential. If you have never seen tumeric, it looks like small, orange fresh ginger that is as bright as a carrot when peeled and gets on everything it touches (see photos).  Grating the ginger, turmeric, onion and garlic on a Microplane grater or through the small holes of a box grater intensifies their flavors and will help to tenderize the meat.


Chermoula Marinated Pork Loin


Ingredients


1 boneless pork loin roast, 2-3 pounds

8 cups water
½ cup Kosher salt

1½ teaspoons cumin seeds
½ teaspoon coriander seeds
½ teaspoon black peppercorns
½ teaspoon red chile flakes
2 cloves garlic, grated
¼ cup grated yellow onion
½ teaspoon peeled and grated fresh ginger
1 teaspoon peeled and grated fresh turmeric, or ½ teaspoon ground turmeric
2 teaspoons unsmoked Spanish paprika
Grated zest of ½ lemon
2 tablespoons
2 tablespoons finely chopped flat-leaf parsley
finely chopped cilantro
3 tablespoons olive oil

Instructions


  1. Trim the pork loin of any excess fat, but be sure to leave most of the fat cap intact. Tie the loin at one inch intervals with butcher’s twine, making sure to tie it very tightly so that the roast will maintain its shape during cooking.
  2. Combine the water and salt in a large bowl and stir until the salt is completely dissolved. Add the trimmed and tied pork loin, cover, and refrigerate for 8-10 hours, or overnight.
  3. Toast the cumin and coriander seeds in a small skillet over medium heat, stirring frequently, until fragrant. Remove to the bowl of a spice grinder and add the peppercorns and chile flakes. Grind finely.
  4. Transfer the ground spices to a small bowl and add the garlic, onion, ginger, turmeric, paprika, lemon zest, parsley, cilantro and two tablespoons of the olive oil.  Stir to combine.
  5. Remove the pork loin from the brine and rinse under cold, running water. Dry thoroughly with paper towels.
  6. Rub the chermoula all over the pork loin, then wrap tightly with plastic wrap and refrigerate overnight.
  7. The next day, pre-heat your oven to 325° F. Unwrap the pork loin and wipe most of the chermoula off with your hands. Allow to sit at room temperature for one hour to temper.
  8. Heat the remaining tablespoon of olive oil in a large non-stick or cast iron skillet over medium high heat until shimmering but not smoking. Add the pork loin and sear on all sides until well browned, about 10 minutes.
  9. Turn the pork loin so that the fat cap is on top, and then place the skillet in the oven. Roast until center of roast registers about 135 degrees on an instant-read thermometer, 35 to 45 minutes.
  10. Remove the roast to a plate. Cover with tin foil and allow to rest for 20 minutes.
  11. After the roast has rested, transfer to a carving board. Cut the twine with scissors and discard. Slice the roast into ½ inch to ¾ inch slices. Poor any accumulated juices from the resting plate over the slices and serve.

Tuesday, December 27, 2011

Braised Pork Belly (Fresh Bacon)

Anyone who knows me, knows that I love bacon. Pork belly, also known as "fresh bacon," is simply uncured slab bacon. It's where bacon comes from, so it follows that I would love it just as much as I love its smokey, crispy, mouth-watering relative. To no one's surprise, it turns out that I do.

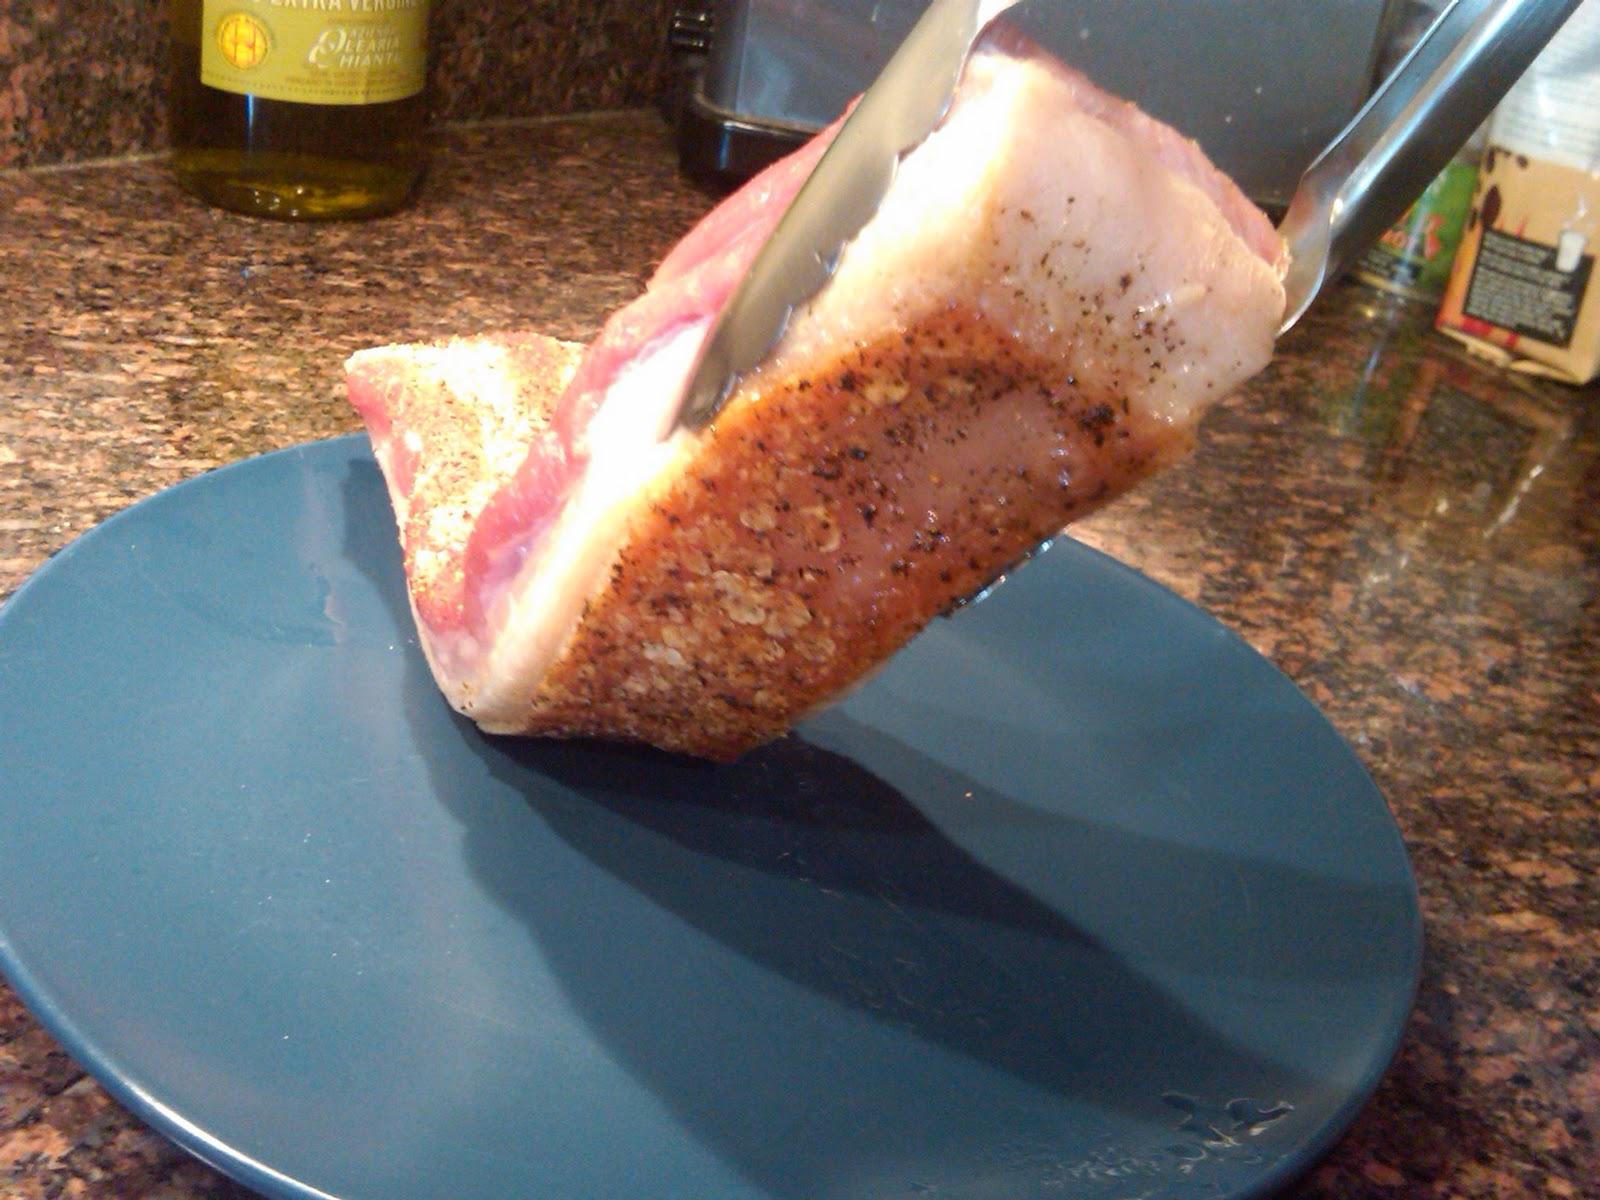
Braised for hours in stock and aromatics, pork belly can be as tender as fillet of beef, but with so much more flavor. Just like a strip of bacon, the belly is composed of layers of fat and meat. Slow cooking helps to soften the tough layers of meat, while also infusing the tender layers of fat with the flavors of the braising liquid. When I buy belly, I try to look for pieces that have a good balance of fat and meat. Too much fat can be overwhelming in the mouth, and too much meat can result in a dry final product.

This recipe is based on Tom Colicchio's recipe for fresh bacon in "Think Like A Chef." The first few times I attempted Colicchio's recipe, I was always happy with the belly itself but couldn't quite nail the sauce. The original recipe finished the belly by browning it in a hot oven with the braising liquid still in the skillet. Something about putting that beautiful sauce in a hot oven ruined it every time. As a solution, I strain my braising liquid into a small sauce pan and gently reduce on the stove top until I get it just right. Meanwhile, I brown the belly with a little bit of extra stock, instead of my precious sauce.

The belly can be prepared through step 3 and held for several hours before completing. When buying pork belly, be sure to ask your butcher to leave the skin on. Also, try to pick a piece of belly that is relatively uniform in thickness. Pork belly is so cheap, don't be afraid to buy more than you need and trim it down to the choicest pieces at home. Serve with mashed potatoes, soft polenta, or our polenta cakes.
 

Ingredients

1 tablespoon canola oil
Kosher salt
Freshly ground black pepper
2 pounds pork belly, skin on
1 onion, roughly chopped
2 carrots, roughly chopped
2 celery stalks, roughly chopped
1 leek, white and light green part only, roughly chopped
6 garlic cloves, peeled
 
4 cups chicken stock


Instructions
  1. Heat oven to 350°F. Heat the oil in a large ovenproof skillet over medium heat until shimmering. Generously season the pork with salt and pepper. Add it to the pan, skin side down, and cook until the skin is well browned, about 15 minutes. Transfer the pork to a plate.
  2. Pour off all but about 2 tablespoons of the fat and add the onion, carrots, celery, leek, and garlic to the skillet. Cook the vegetables, stirring occasionally, until they are tender and beginning to brown, about 20 minutes. 
  3. Return the pork belly to the skillet, skin side down and fat side up, and add about 2 cups of stock (it should surround but not cover the meat). Bring the stock to a simmer, then transfer the skillet to the oven. 
  4. Gently simmer the pork, uncovered, for 1 hour, then add another cup of stock. Continue cooking until the pork is tender enough to cut with a fork, about 1 hour longer.
  5. Remove the skillet from the oven and allow the pork to cool in the braising liquid. This will take at least one hour.
  6. When ready to complete, increase the oven temperature to 400°F. 
  7. Remove the pork from the liquid, then gently lift off and discard the skin (use a small knife to separate any pieces that don’t come away from the fat easily). Score the fat, making crosshatch incisions, then cut the pork into 4 portions. This is rich stuff, so I recommend serving no more than one, 2-inch square piece to each guest.
  8. Strain the braising liquid through a fine mesh strainer into a small saucepan and discard the solids. Bring to a simmer over medium-low heat and reduce to a sauce-like consistency, skimming off any fat that rises to the surface. 
  9. Meanwhile, return pork, scored side up, to the skillet. Pour the remaining 1 cup of stock around the pork and transfer to the oven. Allow to cook, without basting, until the pork is heated through and the fat nicely browned, about 20 minutes.
  10. Serve the pork in shallow bowls with some of the sauce ladled over the top and around the meat.