Tuesday, March 22, 2011

Peanut Butter/ Nutella Chocolate Cupcakes


The second I saw the recipe for Peanut Butter Chocolate Cupcakes in Barefoot Contessa's book, I knew I would be making them, because I am an unabashed sucker for classic peanut butter/chocolate combinations. You don't see as many peanut butter chocolate cupcakes in the cupcake world as you'd initially think considering the dominance of the peanut butter chocolate combination in the rest of the sweet/dessert/candy market. The best reason I can give for this is that these cupcakes are RICH. Not cloyingly sweet, just very, very rich. This is one of the reasons why the lightness of the texture in the cupcakes (that you get by creaming the batter almost like you're making frosting or cookie dough at the beginning) is such a good match. The end result is essentially a Tagalong cupcake.

The Nutella version of the frosting is moister, due to the higher oil content of Nutella, or at least this is what I am assuming because just like Nutella cookies are flatter and rise less than peanut butter cookies, this frosting just doesn't cream quite as well as the peanut butter version. This leads to a different but still very pleasant experience because Nutella is basically instant goodness on everything it touches. The salt in the frosting leaves a nice, noticeable, welcome kick to the frosting. I used kosher salt, but if you'd prefer, you can use a finer grain. Unlike baking, frosting measurements really don't have to be super accurate, so feel free to experiment with amounts until it reaches a stiffness and sweetness of your liking. My only strong recommendation is that you make sure your ingredients are room-temperature before using them, especially the butter. Cold butter just doesn't cream as well, and both the cupcakes and the frosting really get their great consistency from creamed butter.

Barefoot Contessa writes all of her baking for a standing mixer, but given the size of my urban kitchen, I'm a hand mixer kind of gal, so I've adapted it. By the way, an investment in a good quality hand mixer with clear differences in speeds (a distinct low, medium low, medium, medium-high, and high) is a solid way to invest in kitchenware if you plan on baking. A good one will last decades. A cheap target one will fail you in delicate recipes (luckily, this is NOT that delicate of a recipe).

Peanut Butter/Nutella Chocolate Cupcakes

Ingredients

Cupcakes

12 tablespoons (1 1/2 sticks) unsalted butter, at room temperature
2/3 cup granulated sugar
2/3 cup light brown sugar, packed
2 extra-large eggs, at room temperature
2 teaspoons pure vanilla extract
1 cup buttermilk, shaken, at room temperature
1/2 cup sour cream, at room temperature
2 tablespoons brewed coffee
1/2 teaspoon espresso powder
1 3/4 cups all-purpose flour
1 cup cocoa powder
1 1/2 teaspoons baking soda
1/2 teaspoon kosher salt

Peanut Butter Icing

1 cup confectioners' sugar
1 cup creamy peanut butter
5 tablespoons unsalted butter, at room temperature
3/4 teaspoon pure vanilla extract
1/4 teaspoon kosher salt
1/3 cup heavy cream
      Nutella Icing

 1 1/4 cup confectioners' sugar, plus more if needed for added stiffness
 1 cup Nutella
  5 tablespoons unsalted butter, at room temperature
  1/4 teaspoon pure vanilla extract
  1/4 teaspoon kosher salt
  1/2 cup heavy cream


Fluffy batter= fluffy cupcake
Creaming peanut butter frosting
Use a round 1/4 cup measure
Instructions

Cupcakes

  1. Preheat the oven to 350 degrees F. Line cupcake pans with paper liners.
  2. In a large bowl, cream the butter and 2 sugars with an electric hand mixer on high speed until light and fluffy, approximately 5 minutes. 
  3. Lower the speed to medium, add the eggs 1 at a time, then add the vanilla and mix well. 
  4. In a separate medium bowl, whisk together the buttermilk, sour cream, and coffee. 
  5. In another medium bowl, sift or whisk together the flour, cocoa, baking soda, and salt. 
  6. On low speed, add the buttermilk mixture and the flour mixture alternately in thirds to the mixer bowl, beginning with the buttermilk mixture and ending with the flour mixture. Mix only until blended. 
  7. Push down on the sides with a rubber spatula, then fold the batter with a rubber spatula to be sure it's completely blended.
  8. Divide the batter among the cupcake pans (1/4 cup measure or a rounded ice cream scoop per cupcake). 
  9. Bake in the middle of the oven for 20 to 25 minutes, until a toothpick comes out clean. 
  10. Cool for 5 minutes, remove from the pans, and allow to cool completely before frosting.

Frosting

  1. Place the confectioners' sugar, peanut butter, butter, vanilla, and salt in a medium sized bowl.
  2. With an electric mixer, mix ingredients on low until powdered sugar is combined.
  3. Move to medium-low speed until creamy, scraping down the bowl with a rubber spatula as you work. For the nutella icing, the consistency will be thicker, almost like a very soft fudge. For the peanut butter icing, the consistency will be more like a traditional butter cream.
  4. Add the cream and beat on high speed until the mixture is light, fluffy and smooth, and has increased in volume, like a store bought butter cream. (The nutella version may be slightly moister).


Monday, March 21, 2011

Spring Vegetable Risotto

This risotto is a giant bowl of Spring and freshness. It's beautiful to serve and to look at, with the bright green asparagus and green peas poking out of the cheesy, smooth risotto. And the done-up broth and lemon add a level of freshness that just really brings the whole dish together. It's also a recipe of not-wasting, as you use the leftover stems, rough leek greens, asparagus ends, and other leftover bits from prep to infuse the broth with even more freshness. It's not in the recipe because its not a mushroom risotto, but if you have any mushrooms stems to add from another project, you should do so, as it adds a nice umami flavor to the veggie broth (if you are doing this vegetarian). This recipe is pretty much a testament to the wonders of making your own broth, so be sure not to skip this step!

I tend to not put as much mint as the original Cooks Illustrated recipe calls for. I like the stems in the broth, but I'm just not a fan of the raw texture of mint in much anything. I am however, a fan of garlic in EVERYTHING, so I've upped the amount of garlic in the recipe. (So if you are like me and add two extra cloves of garlic to most recipes, fear not, I have added them already!) It can be a little difficult to judge when the rice has become "transparent on the sides" so I try to stick to the time estimate there. As far as when the liquid is gone, I judge that by if you drag a rubber spatula across the bottom of the dutch oven, does the cleared line remain clear or does the risotto fall back and cover it with liquid immediately? When it stays dry, it's time to add more liquid or move on in the recipe. The exception is this is the last time, where you want to keep it a LITTLE wetter than you have prior just to ensure that once its off-heat and butter, lemon juice, and cheese have been added, it does not get too stiff. If it does, you can loosen it with a little more stock at the end, but be careful not to overdo it. You don't want the initial taste of the dish to be stock rather than lemon.

Cooks Illustrated includes a note on substituting onion for leek (1 for the broth, 2 for the risotto). I've never tried it, and think it would be a shame not to include the leeks because leeks marry so well and add even more green to the recipe. On the other hand, if you have no leeks, this could be an option. Be sure to remember the lemon at the end. The citrus really brings out the freshness of the veggies.

Spring Vegetable Risotto

Ingredients

2 tablespoons minced fresh parsley leaves, stems reserved
1-2 tablespoons minced fresh mint leaves, stems reserved
1/2 teaspoon finely grated zest from 1 lemon
1 pound asparagus , tough ends snapped off and reserved, spears cut diagonally into 1/2-inch thick pieces
3 medium leeks , white and light green parts halved lengthwise, washed, and sliced thin (about 4 cups), roughly chopped tough greens reserved
4 cups low-sodium chicken broth or vegetable broth
3 cups water
5 tablespoons unsalted butter
1/2 cup frozen peas
4 medium garlic cloves, pressed through garlic press
11/2 cups Arborio rice
1 cup dry white wine
1 cup grated Parmesan cheese (3/4 cup for recipe, 1/4 cup for serving)
1-2 tablespoons juice from 1 lemon

Instructions

  1. For the Gremolata: Combine minced parsley, mint, and lemon zest in small bowl, reserving the rest of the lemon for juice and the parsley and mint stems for broth. Set aside.
  2. For the Broth: Chop tough asparagus ends and leek greens into rough 1/2-inch pieces. Bring chopped vegetables, reserved parsley and mint stems, broth, and water to boil in large pot over high heat. 
  3. Reduce heat to medium-low, partially cover, and simmer 20 minutes. 
  4. Strain broth through fine-mesh strainer into medium saucepan, pressing and squishing the solids against the strainer to extract as much liquid as possible. Trash the solids. 
  5. Cover and set over low heat to keep broth warm. This can be done in advance and brought back to low heat prior to starting the risotto.
  6. For the Risotto: Heat 1 tablespoon butter in large Dutch oven over medium heat. When foaming subsides, add asparagus spears, pinch of salt, and pepper to taste. Cook, stirring occasionally, until asparagus is crisp-tender, 4 to 6 minutes. 
  7. Add peas and continue to cook 1 minute. Transfer vegetables to plate and set aside.
  8. Melt 3 tablespoons butter in now-empty Dutch oven over medium heat. When foaming subsides, add leeks, garlic, 1/2 teaspoon salt, and 1/2 teaspoon pepper. 
  9. Cook, stirring occasionally, until leeks are softened, 4 to 5 minutes. 
  10. Add rice and cook, stirring frequently, until grains are translucent around edges, about 3 to 4 minutes. 
  11. Add wine and cook, stirring frequently, until fully absorbed, 2 to 3 minutes.
  12. When wine is fully absorbed, add 3 cups hot broth to rice. Simmer, stirring every 3 to 4 minutes, until liquid is absorbed and bottom of pan is almost dry, about 12 minutes.
  13. Stir in about 1/2 cup hot broth and cook, stirring constantly, until absorbed, about 3 minutes; repeat with additional broth 3 or 4 times until rice is al dente. 
  14. Off heat, stir in remaining tablespoon butter, Parmesan, and lemon juice. 
  15. Fold in asparagus and peas. If necessary, add up to 1/4 cup additional hot broth to loosen texture of risotto. 
  16. Sprinkle each serving with gremolata and Parmesan and serve immediately

Sunday, March 20, 2011

Bourbon French Toast

French Toast (usually with a side of bacon) is my go-to brunch item and vessel of choice for delicious grade B maple syrup (mmm, impurities).

The most important decision with French Toast is, ahem, the toast bit. You can make French Toast with whatever you have in general sandwich supplies, or with leftover dinner bread (not a baguette, but larger loaves). I've had more success the thicker and fresher the bread. So, if you're buying supplies and not just scanning your kitchen come the morning, think Texas Toast (basically thicker white bread), or a loaf of challah bread from the bakery if you can get it. The best French Toast I've made is with homemade challah, but assuming you haven't just baked bread, store bought challah is easy enough to find and just the right absorbency. Plus, anytime you can cut your own bread and choose your thickness, it's is a win.

This being said, if your bread is super fresh, it will probably need to be dried out at a little in order to absorb well. The tradition for French Toast is for it to be leftover, day old bread, so that's one way to achieve it with fresh bread, but the preservatives in most store breads mean that we have to parch it out a little. What you don't want is rock-hard bread, or toast. You still want it soft in the middle. Just a bit dried out on the outside.

You want to be careful to make sure that when the bread is done soaking, the pan is already hot and buttered, which means you need to start heating the pan and adding the butter before and while the bread is soaking. If your timing does not match up perfectly, they can rest on a small plate while the butter melts, but try not to let them rest too long.

This recipe does NOT make a ton more than it says it makes, so if you have extra mouths to feed, make a double batch. Nor is this what I would call a "quick and easy" breakfast. You do indeed make a mess. But that's what Sunday breakfast is FOR. It is based loosely on this Cooks Illustrated recipe, but has since taken on a life of its own.

Bourbon French Toast


8large slices hearty white sandwich bread or good-quality challah
11/2 cups whole milk , warmed
2 large egg yolks
1 large egg
3 tablespoons light brown sugar
11/2 teaspoon ground cinnamon
1/2 teaspoon nutmeg
2 tablespoons unsalted butter , melted, plus 2 tablespoons for cooking
1/4 teaspoon table salt
1 tablespoon vanilla extract
1 tablespoon Jack Daniels bourbon
1 teaspoon honey (optional, or less to taste)

Maple syrup, warmed


Instructions


  1. Adjust oven rack to middle position and heat oven to 300 degrees. Place bread on wire rack set in rimmed baking sheet. Bake bread until almost dry throughout (center should remain slightly moist), about 16 minutes, flipping slices halfway through cooking. Remove bread from rack and let cool. This step can be skipped if the bread is already slightly stale (but not hard). Return baking sheet with wire rack to oven and reduce temperature to 200 degrees.

  2. Whisk warmed milk, egg and yolks from room-temp eggs (leave in a bowl of luke warm water for five minutes to bring them up to temperature straight from the fridge), sugar, cinnamon, nutmeg, 2 tablespoons melted butter (pref NOT immediately from the microwave, please, though still warm), salt, Jack Daniels and vanilla in large bowl until well blended. Add honey carefully to taste. Do not overdo it on the honey. You just want a note. Remember to warm the milk before adding the melted butter or the mixture will curdle and need to be re-done.

  3. Transfer mixture to 13- by 9-inch baking pan.

  4. Soak bread in milk mixture (as many as you can fit in a frying pan) until saturated but not falling apart, 16-23 seconds per side. Count. It may require a little more or less depending on bread thickness, so its good to get an idea of how long it is (exactly) for the bread you're using. Using firm slotted spatula, pick up bread slice and allow excess milk mixture to drip off; repeat with remaining soaked slices. They should not break but should be somewhat delicate to move.
  5. Meanwhile, heat ½ tablespoon butter in 12-inch skillet over medium to medium-low heat.
  6. When foaming subsides, use slotted spatula to transfer slices soaked bread to skillet and cook until golden brown, 3 to 4 minutes. Flip and continue to cook until second side is golden brown, 3 to 4 minutes. (If toast is cooking too quickly, reduce temperature slightly.)
  7. Transfer to baking sheet in oven. Repeat cooking with remaining bread, adding ½ tablespoon of butter for each batch.
  8. Serve warm with maple syrup and powdered sugar on top if you are feeling fancy. As always, I prefer Grade B.

Thursday, March 17, 2011

Braised Lamb Shanks

The shin portion of the leg, lamb shanks are best when braised until tender and falling off the bone. As a kid, braised lamb shanks were one of my favorite things to order when my family would go out for nice dinners. I loved how the meat would melt in my mouth, and I found there to be something particularly satisfying about leaving only the giant bone on my plate. Today, when I serve this dish to guests, I like seeing them get as excited about eating it as I did when I was a kid.

Over the years I’ve made several versions of this dish, but this is my favorite. The spice mixture is based on the lamb shank recipe in Joy of Cooking, and includes coriander, cumin, cinnamon and allspice, all of which pairs beautifully with the lamb and will make your apartment smell amazing. I re-brown the shanks in the oven after braising, and then perch them on top of small-cut carrots and potatoes that cooked with the lamb. It makes for a particularly classy presentation, but you could just as easily serve the shanks over buttered egg noodles and save yourself some work.

Be patient when trimming the shanks; the more fat and silver skin you trim away, the more tender your shanks will be after cooking. You can substitute essentially any root vegetables for the carrots and potatoes used here, just make sure to cut them into equal sized pieces to ensure even cooking. If your Dutch oven isn’t large enough to hold the shanks in one layer, prepare the shanks though step 3, and then transfer the shanks and prepared braising liquid to a roasting pan and cover tightly with aluminum foil to braise.

Braised Lamb Shanks with Carrots and Potatoes

 
Ingredients
2 lamb shanks
Kosher salt
freshly ground black pepper
4 tablespoons olive oil
2 medium onions, halved pole-to-pole, and cut into ¼ inch slices
4 large garlic cloves, chopped
1 teaspoon ground coriander
1 teaspoon ground cumin 
ground cinnamon
ground allspice
2 cups chicken stock or lamb stock 
1 cup dry white wine, such as sauvignon blanc 
1/3 cup tomato puree 
2 cups carrots, cut into ½ inch pieces
2 cups small yellow potatoes, cut into ½ inch pieces
1 tablespoon finely grated lemon zest
2 tablespoons parsley, chopped

Instructions


  1. Adjust oven rack to middle position, and preheat oven to 300°F. Using a long, thin knife with a semi-flexible blade, trim as much external fat and silver skin from the lamb shanks as possible. Generously season the trimmed shanks with Kosher salt and freshly ground black pepper.
  2. Heat 2 tablespoons of the olive oil in a Dutch oven large enough to hold the shanks in a single layer over medium-high heat until shimmering but not smoking. Add the shanks to the pot and brown well on all sides, 6 to 10 minutes. Remove the shanks to a plate, and pour off the fat from the pot.
  3. Reduce heat to medium, and add remaining 2 tablespoons olive oil to pot, along with the onions and garlic. Cover and cook, stirring occasionally, until the onions are quite soft, about 10 minutes. If onions begin to brown, lower the heat a bit. Add coriander, cumin, ½ teaspoon black pepper, a pinch of ground cinnamon and a pinch of ground allspice to pot. Stir well to coat the onions. Add stock, wine and tomato puree to pot. Using a wooden spoon, scrape up any brown bits from the bottom of the pot. Increase heat to high and bring to a boil.
  4. Return lamb shanks to pot, cover, place in pre-heated oven and bake for one hour. After one hour, add potatoes and carrots to pot, and continue to bake for another hour, or until the meat is falling off the bone.
  5. Remove pot from oven and place on stovetop. Increase oven temperature to 400°F. Remove shanks from pot and place on baking sheet. Once the oven has come up to temperature, place shanks in oven and allow to re-brown. Meanwhile, finish the sauce.
  6. Strain the braising liquid into a medium saucepan and bring to a simmer over medium heat. Simmer the sauce until thick and velvety, about 10 minutes, skimming off any fat that rises to the surface. Once thickened, season to taste with Kosher salt and freshly ground black pepper. Meanwhile, separate the potatoes and carrots from the onions, and discard the onions (they will have given all their flavor to the sauce at this point). Combine the chopped parsley and lemon zest in small bowl.
  7. To serve, divide the potatoes and carrots between two shallow serving bowls. Top each pile of vegetables with a lamb shank, and then ladle enough of the sauce over each shank to almost submerge the vegetables. Finish each plate with a sprinkling of the parley and lemon zest mixture, and serve.

Monday, February 28, 2011

Warm Duck Salad

This is a Barefoot Contessa take on duck. Like most Barefoot Contessa recipes, it's open to a lot of interpretation. I often prefer strawberries to raspberries whenever strawberries are in season. Getting something flavorful should be the primary concern. There is just a ton of delicious duck and berries and orange and pecan in this recipe. It is filling and delicious as a perfect large lunch, light dinner, or first course.

The dressing I've always thought was a bit bland while making it, but this salad has so much going on, the very light dressing with a slight orange taste is just right. Just make sure you break out the 'good' olive oil as Contessa would say. I am upping the amount of orange zest from the original recipe and changing the mache to baby arugula and frisee, because my local Harris Teeter rarely carries mache, but frequently carries very good baby arugula. And who doesn't like a little frisee once in awhile?

The dressing and the duck will keep (although the "warm" part of warm duck salad won't be there), but salad is salad, so toss when ready to serve. A Barefoot Contessa trick for serving salad later....add the dressing to the bottom before the other ingredients and then toss at the end. Not really sure why this is easier from just storing the dressing in a measuring cup and adding at the end, but there you go.


Warm Duck Salad 

2 boneless duck breasts, skin on (pref. not frozen)  

Kosher salt  
1 tablespoon minced shallots  
2 1/2 tablespoons sherry vinegar  
2 teaspoon grated orange zest  
1/2 cup olive oil  
3 heads Belgian endive  
3 ounces baby arugula, mache or other delicate baby lettuce  

Frisee to taste (optional)  

Navel oranges, peeled, cut in 1/2, and sliced  
1/2 pint fresh raspberries or sliced strawberries  
1 cup toasted whole pecan halves

  1. Preheat the oven to 400 degrees.
  2. Place the duck breasts on a sheet pan, skin side up. Sprinkle with kosher salt and a little pepper and roast for about 20 minutes, until medium-rare. 
  3. Remove from the oven, cover tightly with aluminum foil, and allow to sit for 10 to 15 minutes. 
  4. With a knife, remove and discard the fat and skin on top. Careful, the duck is still pretty warm. Slice the duck, and then cut the slices crosswise into julienned pieces.
  5. Meanwhile, in a small bowl, combine the shallots, sherry vinegar, orange zest, and 1 1/2 teaspoons of salt.
  6. Whisk in the olive oil and set aside.
  7. For the salad, trim the bottom half-inch from the endive and cut them diagonally into 1/2-inch slices. Separate the leaves and discard the cores. Place the slices in a large salad bowl. 
  8. Add the arugula, frisee if using, oranges, strawberries/raspberries, and toasted pecans. Toss with enough dressing to moisten. Gently toss in the warm duck meat and serve immediately. Pepper to taste.

Friday, February 18, 2011

Short Ribs Braised In Syrah

We adapted this recipe from Michel Richard’s Happy in the Kitchen. Like many of Richard’s recipes, making these short ribs is a long and involved process (it takes two days and requires 20 different ingredients). The techniques employed and the equipment required, however, are both simple and familiar. Just remember to set aside plenty of time, and this recipe can be a lot of fun, and very rewarding.

What really sets this recipe apart from your average short rib is the quality of the sauce. Smooth and rich, with complex flavor, the sauce is a thing of beauty. Syrah, which forms the base of the sauce, has plenty of depth and power to match up against the richness of the short rib. The star anise we include in the bouquet garni helps to highlight the sweet elements in the sauce. Finally, port and honey are added to the sauce at end to temper any harshness in the wine.

Skimming fat off reducing sauce
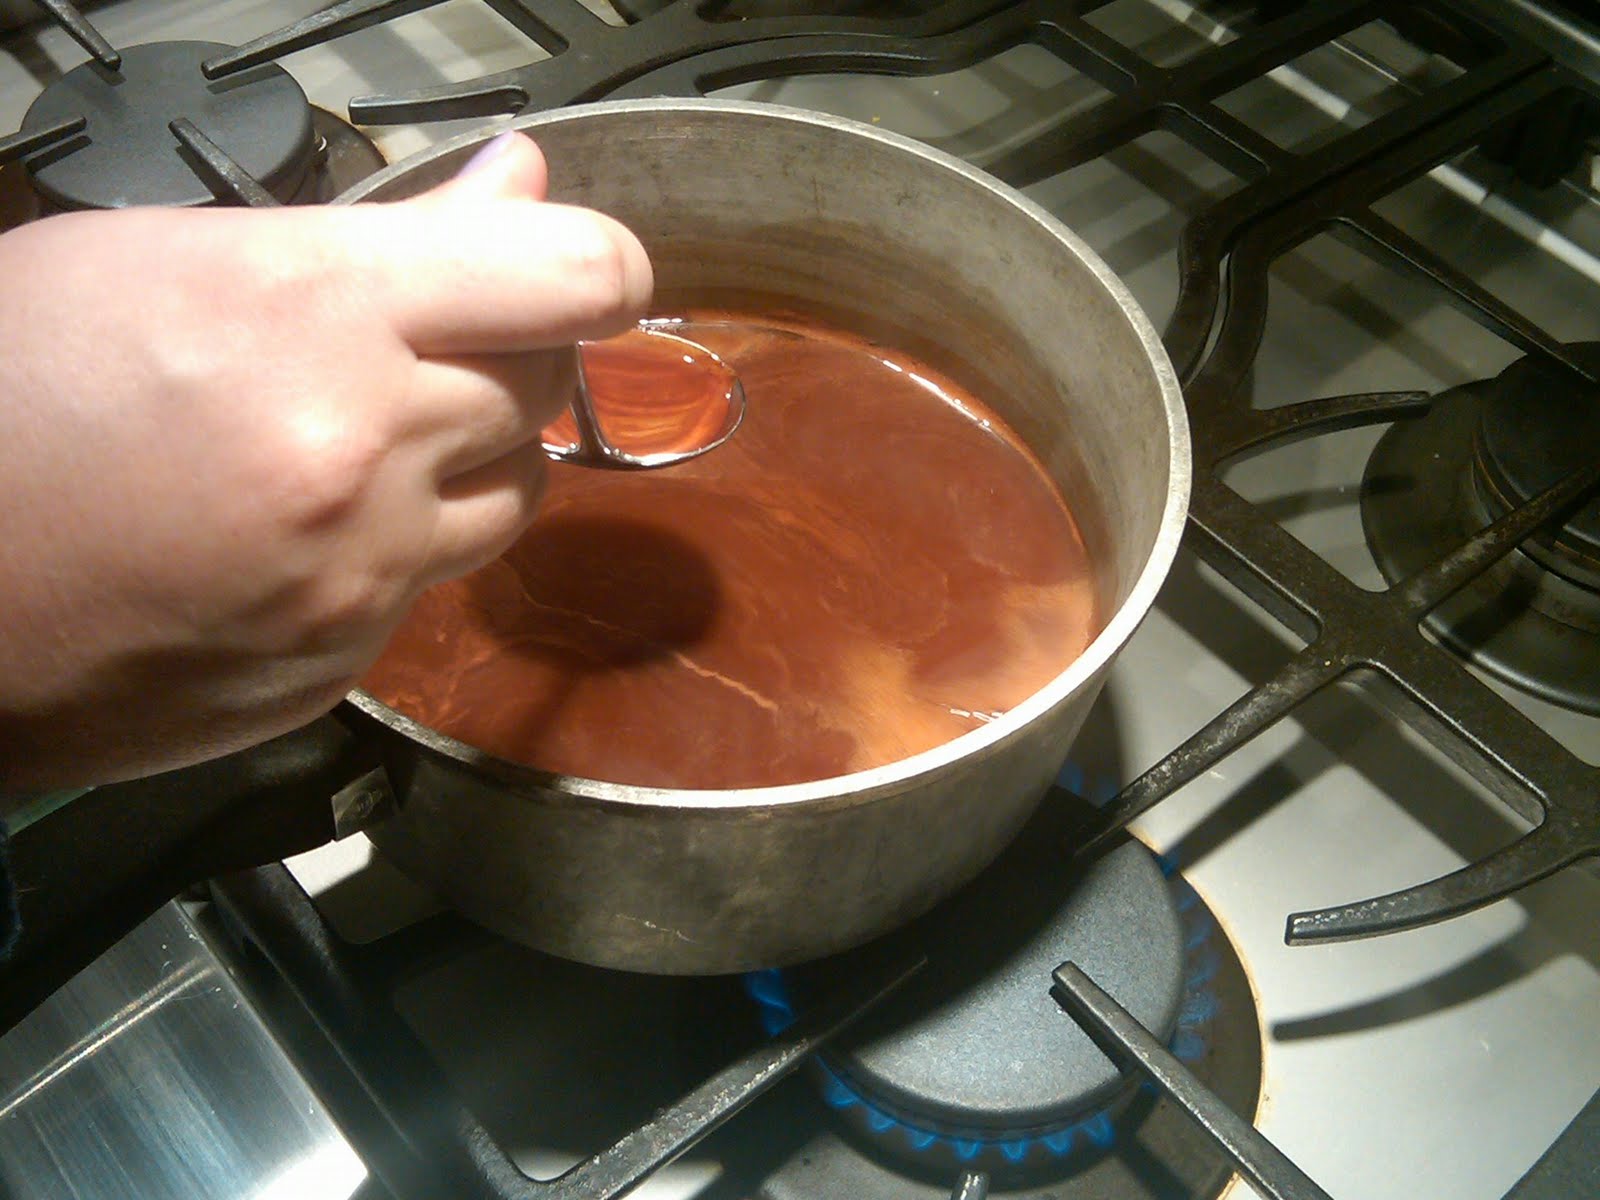
Just as important as what goes into the sauce, however, is what gets taken out of it – the fat. After refrigerating the short ribs overnight, most of the fat in the sauce will have risen to the surface and formed a hard layer. Make sure to remove as much of the fat from the surface of the sauce at this stage as you can. Be patient. After straining the solids out of the sauce, we bring it to a simmer and then move the saucepan to one side of the burner. Boiling the liquid in only one side of the pan pushes the foam that rises to the top to the opposite side, making it easier to skim off. This is a neat trick to use whenever you need to skim fat off the surface of a sauce as it reduces.

This recipe calls for browning the short ribs in clarified butter. Clarified butter is simply regular butter with the milk solids removed – and is terrific for browning meats. When heated to higher temperatures, the milk solids in whole butter can burn. By browning the meat in clarified butter, we can achieve the same deep brown crust that I associate with meats browned in butter, without all the smoke (good news for those of us with sensitive smoke detectors). I’ve included instructions on how to make clarified butter in the recipe.

Short Ribs Braised in Syrah

Ingredients

8 tablespoons (1 stick) unsalted butter
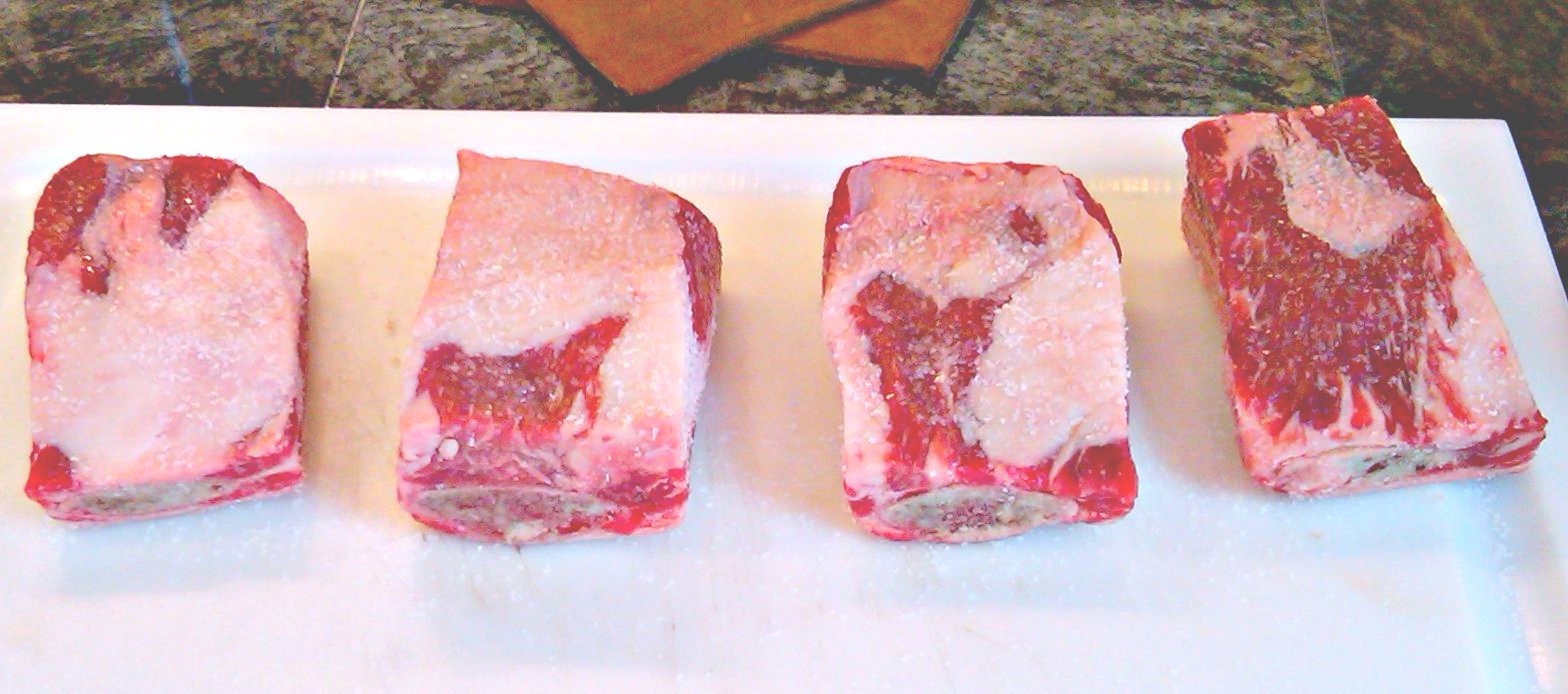
4 beef short ribs, about 7 inches long and 2 inches wide
Kosher salt
1 tablespoon olive oil
6 ounces slab bacon, cut into ½ inch pieces
1 cup diced leeks (white and light green parts)
2 cups diced yellow onions
1 cups diced carrots
6 garlic cloves, peeled
1 bottle Syrah
2 cups chicken stock
1 tablespoon black peppercorns
2 star anise
2 6-inch pieces leek green
2 bay leaves
3 sprigs thyme
2 sprigs rosemary
1 cup ruby port
1/8 cup honey
½ cup tomato paste
Freshly ground black pepper


Instructions

  1. Melt the butter in a small saucepan over low heat, without stirring. Once the butter has completely melted, skim off the foam that has risen to the surface and discard. Carefully pour off the clear yellow liquid underneath. This is the clarified butter. Discard the white milky layer left in the bottom of the pan.
  2. Position oven rack in lower middle position, and preheat oven to 275°F. Dry the short ribs with paper towels, season on all sides with Kosher salt, and let sit for about 10 minutes.
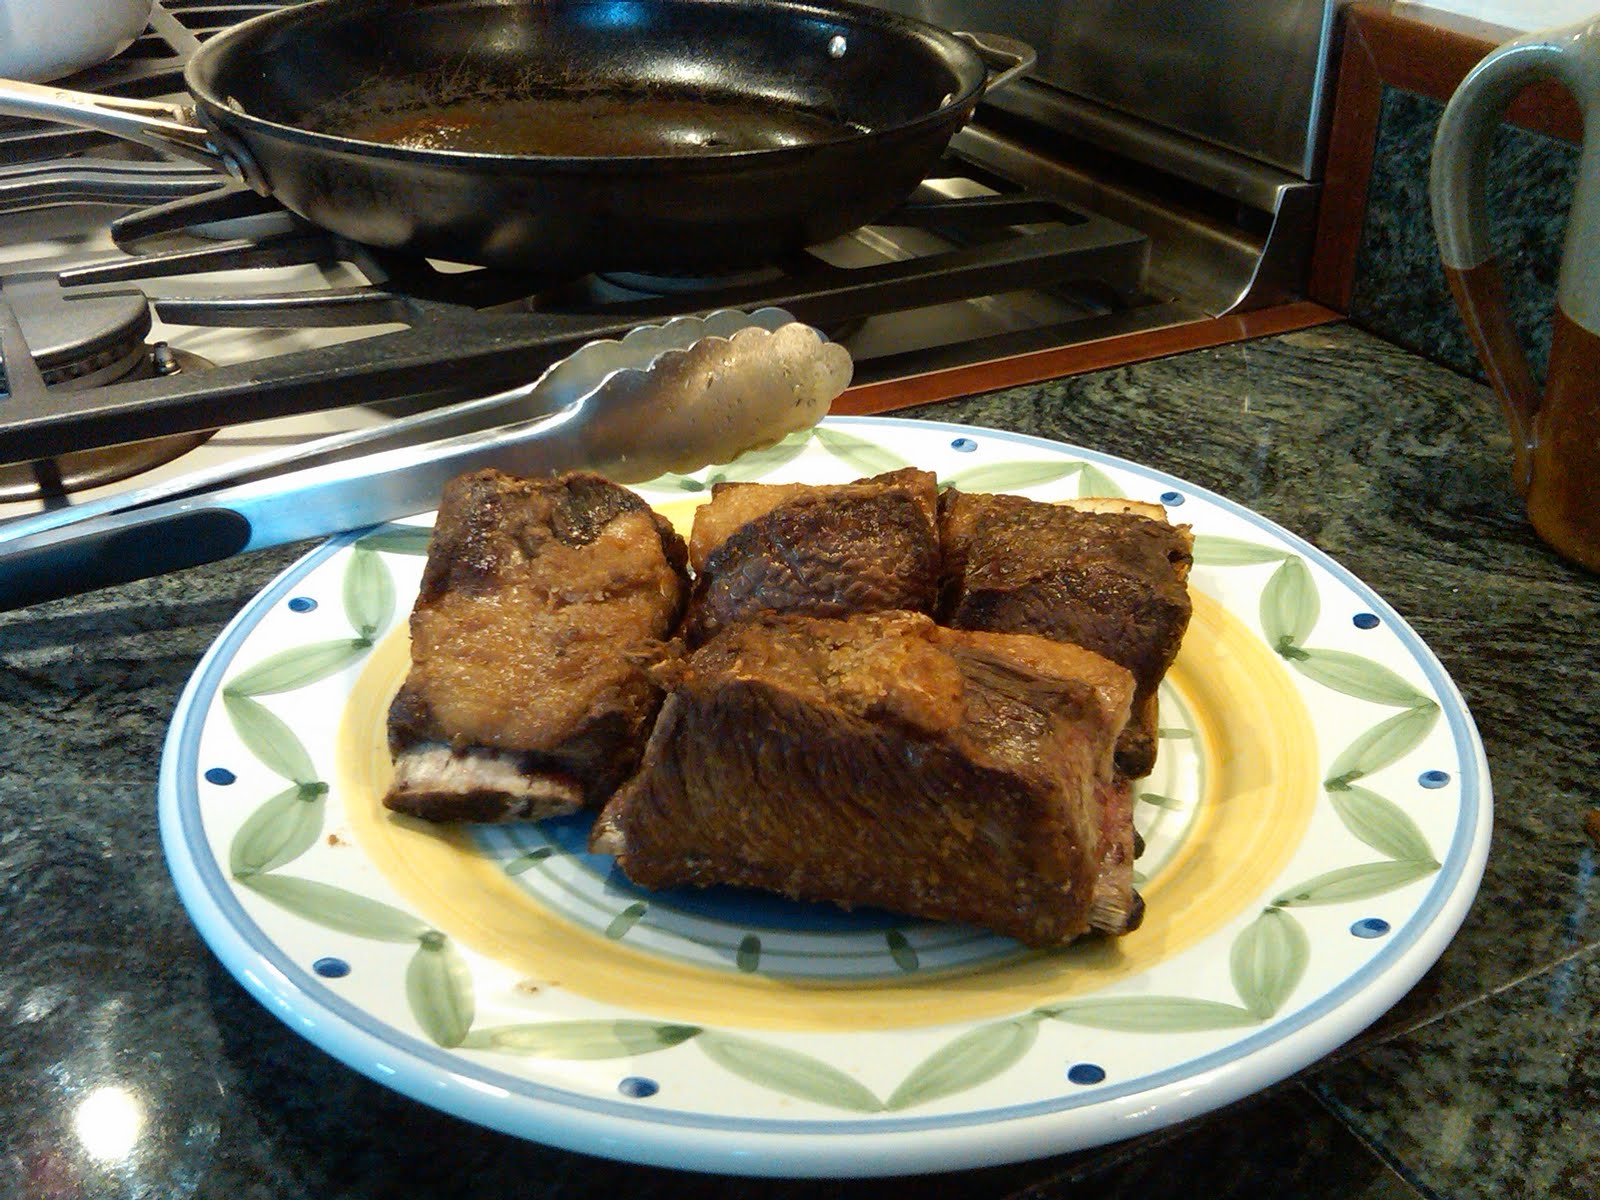
  3. Heat 2 tablespoons of the clarified butter in a large skillet over medium-high heat. Arrange as many short ribs as can fit in the skillet without touching and cook, turning occasionally, until evenly browned on all sides, about 10 minutes. Remove browned short ribs from skillet and repeat with remaining short ribs, adding additional butter to the pan as necessary.
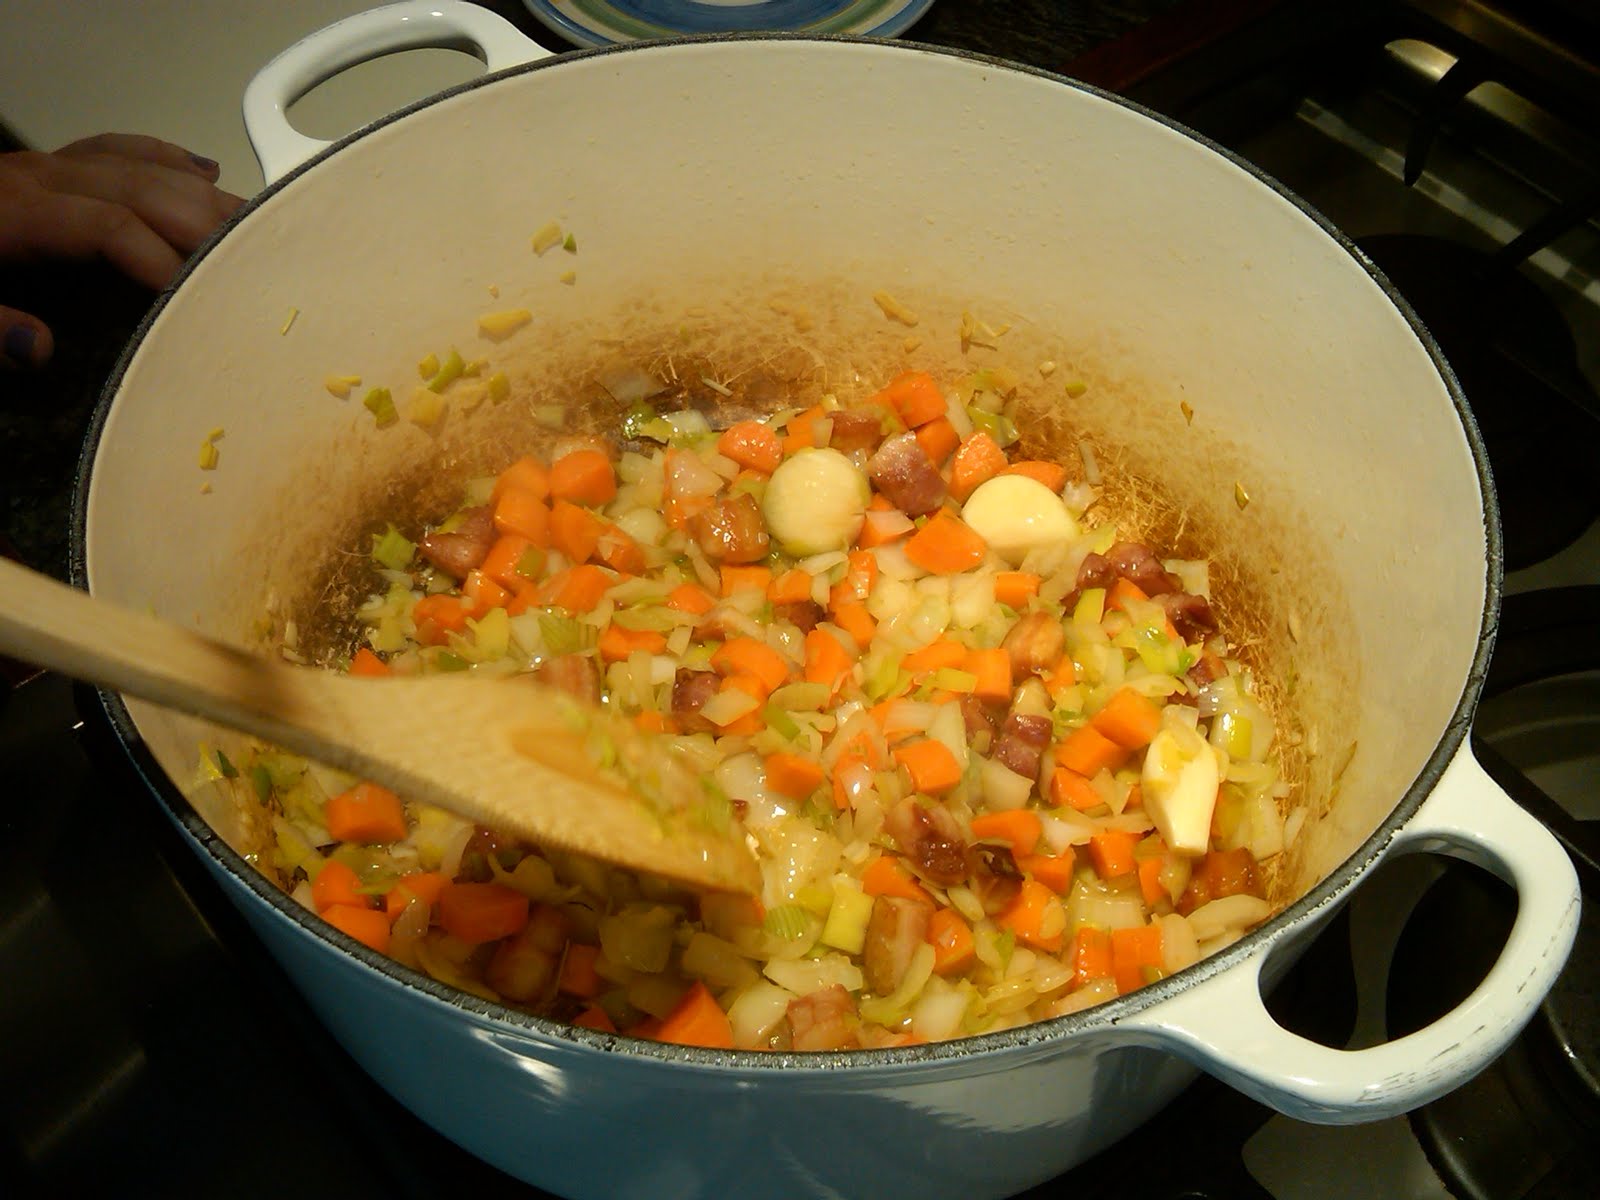
  4. Heat olive oil in large Dutch oven over medium heat until shimmering. Add the bacon and stir for about 10 minutes or until it has rendered its fat. Stir in the leeks, onions, carrots, and garlic and sauté for 10 minutes, stirring frequently, until the vegetables are wilted and lightly caramelized.
  5. Add about 1 cup of the wine and, using wooden spoon, scrape up any browned bits from the bottom of the pot. Arrange the short ribs over the vegetables, layering them as necessary. Reduce heat to medium-low, and add the remaining red wine and chicken stock.
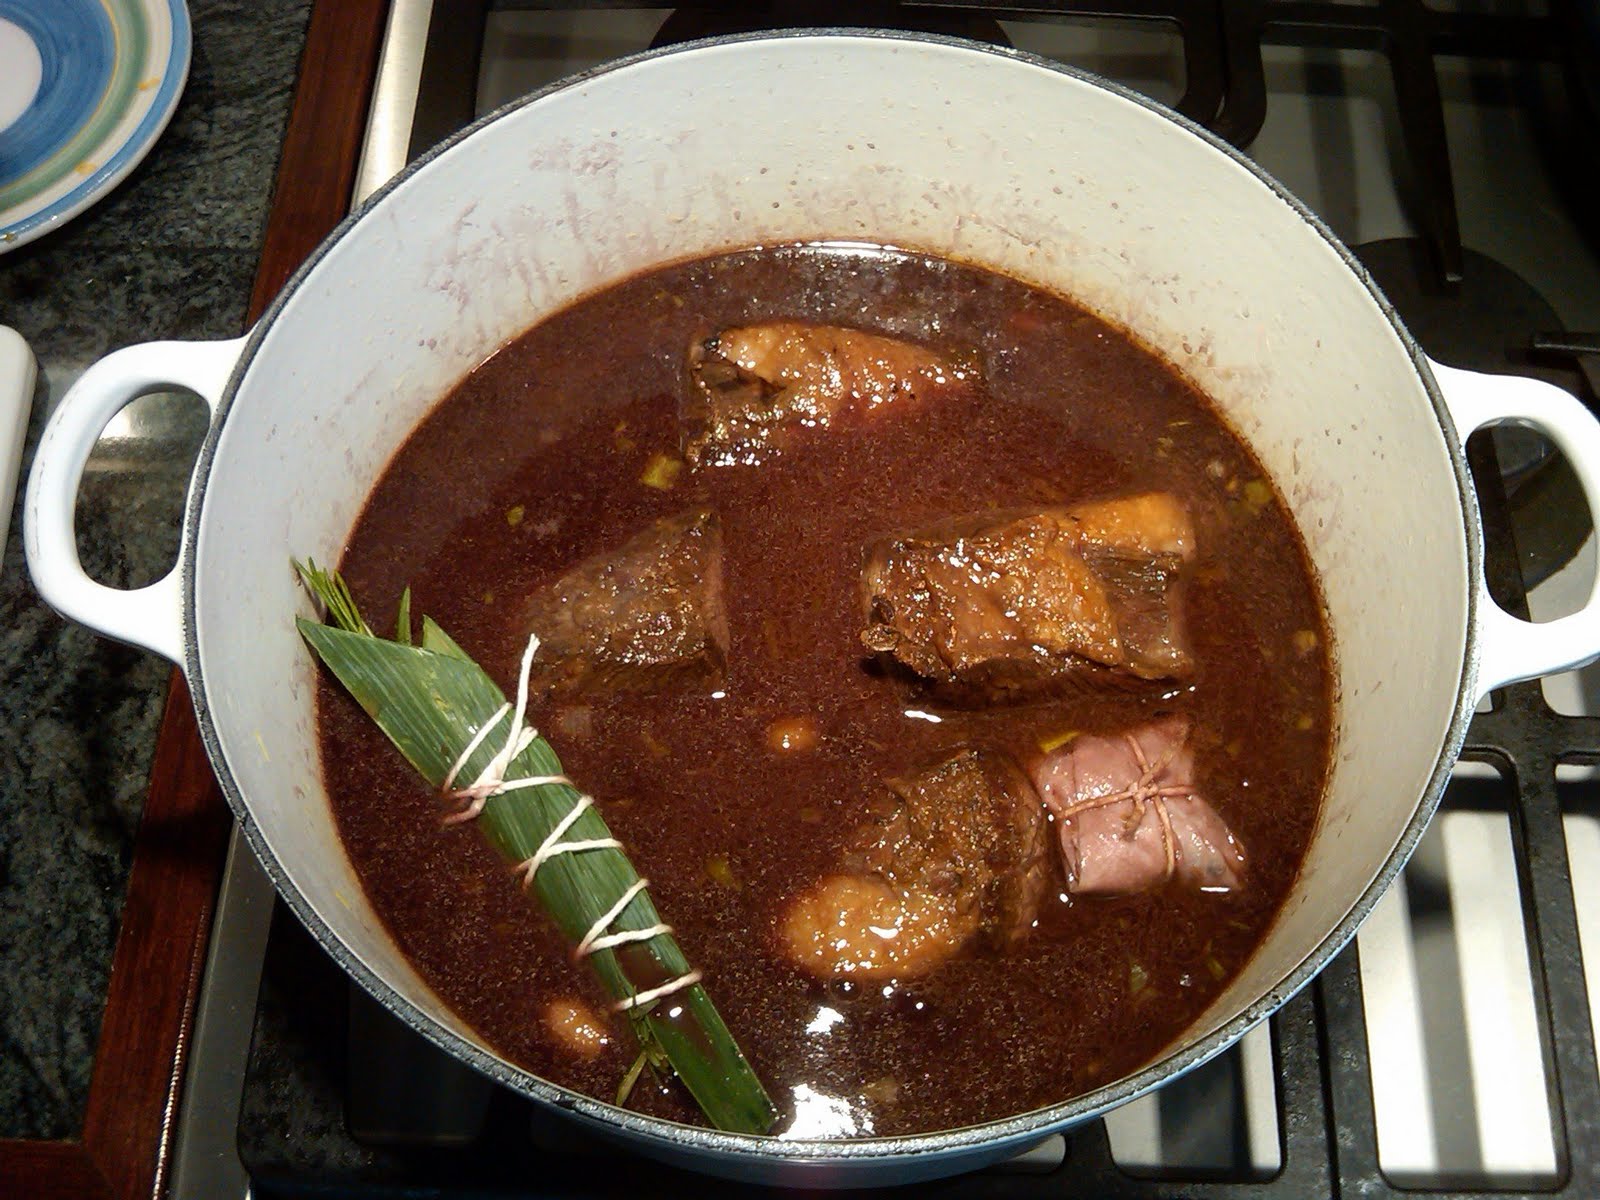
  6. Place the peppercorns and star anise in a small piece of cheesecloth or a small coffee filter, and tie with twine to form a bundle. Lay a piece of leek green flat on the work surface. Place the bay leaves, thyme, and rosemary in the center and cover with the remaining piece of leek. Tie together with twine. (See photos.)
  7. Bring the liquid to a boil, skimming off any fat and scum that rises to the surface. Cover the pot and place in the oven for about 3 hours. When the meat is done, it should be fork-tender and should separate easily from the bone.
  8. Remove the pot from the oven and let cool to room temperature, then refrigerate overnight in the pot.
  9. The next day, remove the pot from the refrigerator and preheat oven to 325°F. Remove and discard all the hardened fat that has risen to the surface. If the liquid has gelled and the meat cannot be removed easily, heat the pot over medium meat. As the liquid heats, remove the meat and bones from the pot before the meat softens. Then continue to heat he liquid until simmering.
  10. Meanwhile, place the meat on a cutting board. Cut away and discard the bones and any fat and sinew. Place the meat in a baking dish or small roasting pan.
  11. Strain the cooking liquid through a fine-mesh strainer into a large saucepan and discard the solids. Place over medium heat, add the port, honey and tomato paste, and bring to a boil. Move the pan to one side of the burner and reduce the liquid to about 4 cups, skimming off the foam that rises to the top. When reduced, season the sauce with salt and pepper to taste and pour the sauce over the meat. At this point, the meat can be covered and refrigerated for up to a day.
  12. Place the baking dish in the oven and bake for 30 minutes. If the sauce does not cover the meat, baste the meat every 5 minutes.
  13. Place the meat on serving plates and spoon the sauce over the top.

Sunday, February 13, 2011

Braided Egg Bread (Non-Kosher Challah)


This is the bread recipe that made me fall in love with bread-making when I was 10. Ironically, I was a fearless child baker, but now yeast dough seems incredibly intimidating. Well, this is about as easy a yeast dough as one can make, with the bonus of being very beautiful. The thing to remember with bread is that while the idea of taking 3 or 5 hours to make something sounds like a huge hassle, in reality, you knead out all your stress for ten minutes, then you wait an hour, etc. etc. etc. This is not to say that bread can't break your heart. Anything can break your heart. I think my biggest food meltdown ever was making Michel Richard's Once a Year Mashed Potatoes. Mashed potatoes. The point is that bread is not any more likely to break your heart than the braise you mess up at the last minute when reducing the liquid, and may in fact be easier.

As with most of my prepubescent baking recipes, this is from the Better Homes and Garden cookbook, which comes in binder format. Each edition seems to vary up the recipe for their basic challah or at least the breast cancer edition does, but this recipe is the real childhood deal. I recommend if you have extra to use it in French toast, because nothing really beats fresh challah in French toast. Or you could just eat it with Nutella on top. I am not going to say I have never done this.


Egg Bread (non-Kosher Challah)

4 3/4 to
5 1/4
cups all-purpose flour
1 package active dry yeast
1 1/3 cups milk
3 tablespoons sugar
3 tablespoons butter
1/2 teaspoon salt
2 eggs
  1. In a large mixing bowl stir together 2 cups of the flour and the yeast; set aside. 
  2. In a medium saucepan heat and stir water, sugar, margarine, and salt just until warm (120 to 130 degrees) and margarine almost melts. Use a thermometer on this, as yeast is a fickle thing. 
  3. Add water mixture to dry mixture along with the eggs. 
  4. Beat with an electric mixer on low to medium speed for 30 seconds, scraping the sides of the bowl constantly. Beat on high speed for 3 minutes. This can test the limits of your mixer pretty quickly. If it's threatening to clog up your mixer and is stiff and difficult to move, switch to a spoon or even your hands. Bread is not a clean endeavor. Get your hands dirty. Using a wooden spoon, stir in as much of the remaining flour as you can.
  5. Now for the fun part! Turn dough out onto a lightly floured surface. Knead in enough of the remaining flour to make a moderately stiff dough that is smooth and elastic (6 to 8 minutes total). Shape the dough into a ball. Place in a lightly greased bowl (use the wrapper from a stick of butter), turning once to grease surface of the dough. Cover with a dish towel and let rise in a warm place until double in size (about 1 hour).Warm place does not mean in an oven, but is a pretty freaking vague term. I've always just put it next to the oven on the counter or in a sunny room (but not in direct sunlight).
  6. Punch dough down; divide in thirds. Cover; let rest 10 minutes. 
  7. Roll each third into an 18-inch rope. Place each rope on a large baking sheet 1 inch apart and braid. Cover; let rise 30 minutes or until nearly double. You can either brush the braid with an egg yolk to brown the tops or wait until the end and brush a couple times with melted butter. I've had trouble with egg yolks burning the tops of the bread, so I stick with butter, but really, I feel this is my own insecurity. An egg wash is an egg wash, and can create a delightful crust if done correctly.
  8. Bake in a 375 degree F oven for 25 to 30 minutes or until bread sounds hollow when you tap the top (if necessary to prevent overbrowning, cover loosely with foil the last 10 minutes of baking, hint, hint, egg wash folk). The inner parts of the braid may still look underdone. Cool on wire rack. Makes 1 braid (32 servings).
Cooking Time; 2 1/2 hours (prep 30 minutes, bake 30 minutes, rise 1 1/2 hours)