Tuesday, June 7, 2011

Mac and Cheese with Mustard and Kielbasa

There are two ways to go with Mac and Cheese. You can go super-classy and upscale and fill it with truffles and imported cheese. Or you can try and make it so that a ten year old will like it. This recipe attempts to make the bridge between the two, and not be quite as rubbery as whatever Velveeta or Kraft is throwing out there and thus tolerable to an adult palate. I'm not saying this fills all of my sizable mac and cheese needs, but it does a good job at being an item that does not take that long to throw together, is not that expensive, and can last for a whole week of leftovers for lunch.

There is a vegetarian option for this as well which is a quality option if you're not feeling kielbasa. The final step with the bread crumb topping and sitting under a broiler is surprisingly important to bringing the dish together. The first time we made this we just threw some crumbs on top of the dutch over and cooked it that way, but putting it in a pyrex really changed the cosistency and allowed for the classic, neat squares of mac and cheese. (It was still plenty delicious the other way, just looser in consistency and a bit runnier.)

Basically, this whole recipe is a modified bechemel sauce. Make sure and bring the pasta past al dente, and lean on the side of overcooked over undercooked. If you wish to halve the recipe, use an 8" pyrex instead of the full size. But remember-- good leftovers!

Ingredients

  • 6 slices white sandwich bread (good-quality, about 6 ounces), torn into rough pieces
  • 3 tablespoons unsalted butter (cold), cut into 6 pieces 
  • 1 pound elbow macaroni
  • 1 tablespoon table salt
  • 5 tablespoons unsalted butter
  • 1 medium onion , chopped fine
  • 6 tablespoons all-purpose flour
  • 8 ounces smoked kielbasa , cut lengthwise into quarters, then cut crosswise into 1/2 inch slices
  • 1 1/2 teaspoons powdered mustard
  • 1/4 teaspoon cayenne pepper (optional)
  • 5 cups milk
  • 8 ounces Monterey Jack cheese, shredded (2 cups)
  • 8 ounces sharp cheddar cheese, shredded (2 cups)
  • 4 teaspoons Dijon mustard
  • 5-10 dashes tabasco sauce (or to taste) 
  • 1/2 teaspoon table salt
  • 1/2  cup frozen peas (optional--good for kids) 

Instructions

  1. For the bread crumbs: Pulse bread and 3 tablespoons butter in food processor until crumbs are no larger than 1/8 inch, ten to fifteen 1-second pulses. Set aside.
  2. For the pasta and cheese: Adjust oven rack to lower-middle position and heat broiler.
  3. Bring 4 quarts water to boil in Dutch oven over high heat. Add macaroni and 1 tablespoon salt; cook until pasta is tender. Drain pasta and set aside in colander.
  4. In now-empty Dutch oven, heat remaining 5 tablespoons butter over medium-high heat until foaming. Add onion and cook, stirring occasionally, until onion begins to brown, about 6 minutes. Add flour, mustard powder, and cayenne (if using) and whisk well to combine. Continue whisking until mixture becomes fragrant and deepens in color, about 1 minute. This cooks off the raw flour taste.
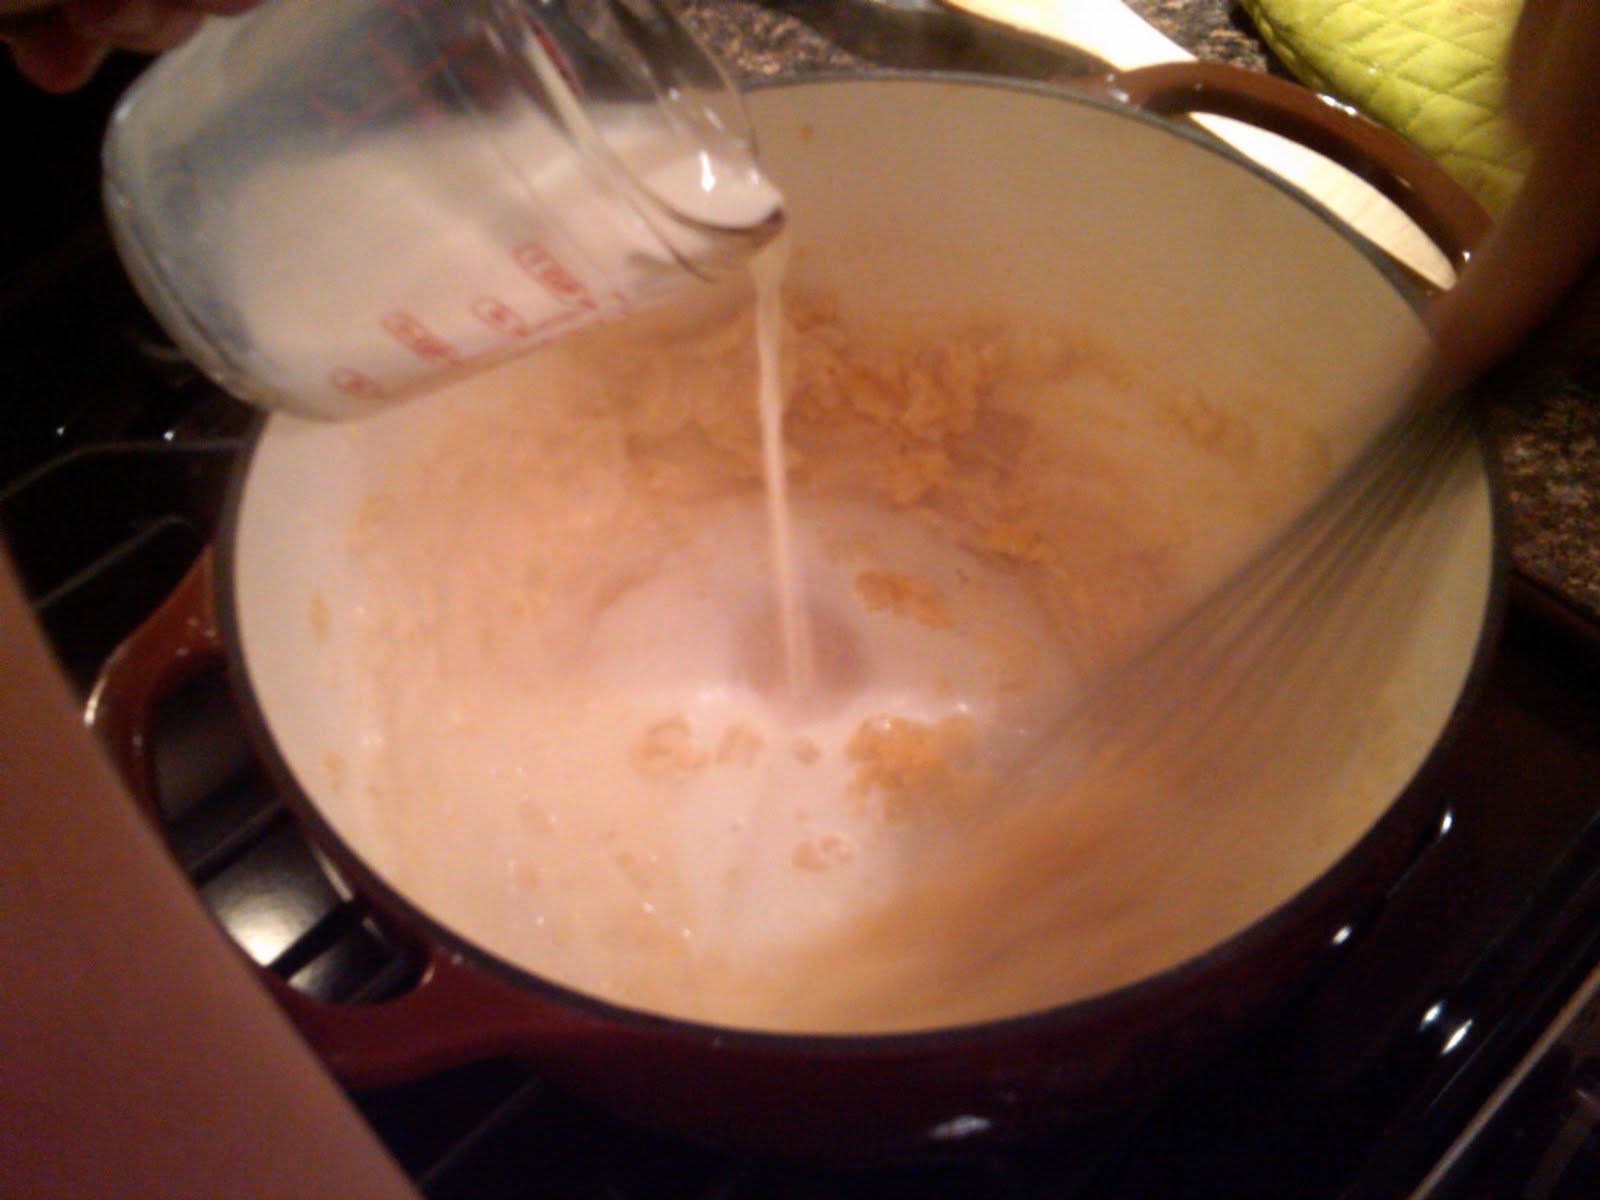
  5. Gradually whisk in milk; bring mixture to boil, whisking constantly (mixture must reach full boil to fully thicken). Your hand will get hot.
  6. Reduce heat to medium and simmer, whisking occasionally, until thickened to consistency of heavy cream, about 5 minutes.
  7. Off heat, whisk in cheeses and 1/2 teaspoon salt until cheeses are fully melted.
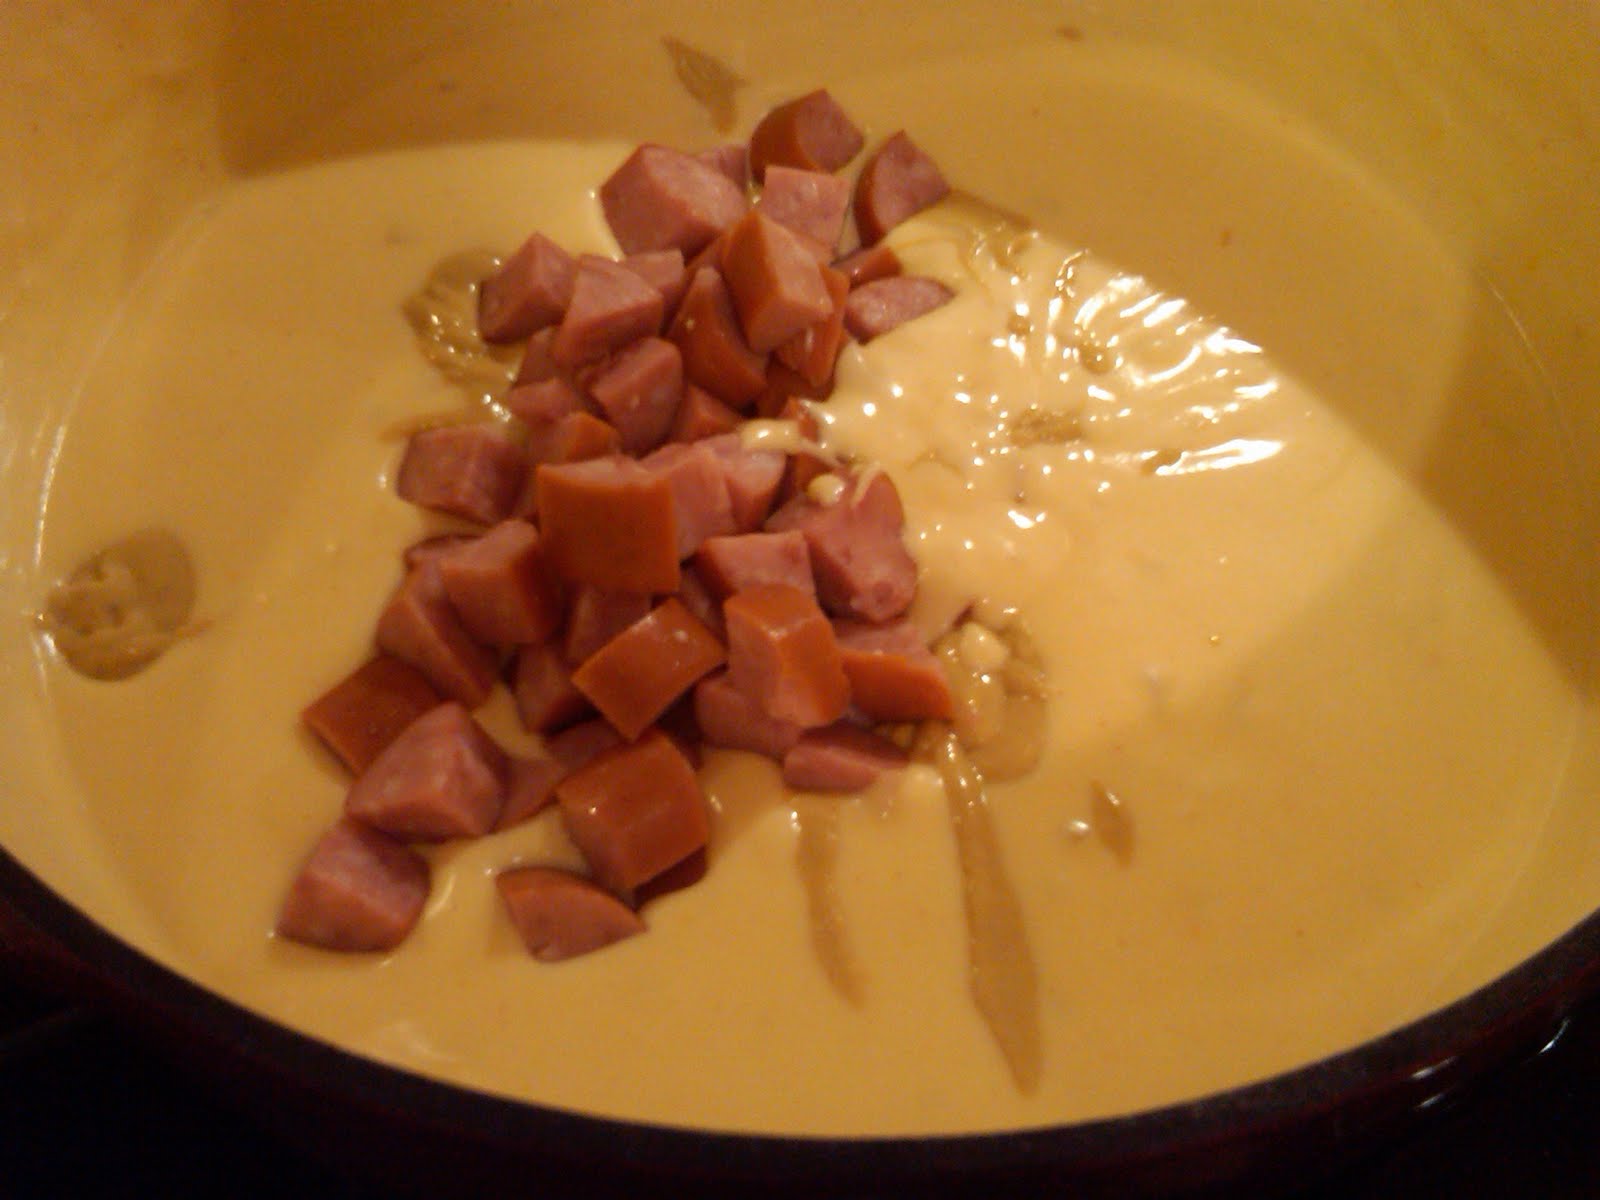
  8. Add pasta, kielbasa, and Dijon mustard; cook over medium-low heat, stirring constantly, until mixture is steaming and heated through, about 6 minutes.
  9. If you are using peas (optional), add them here and cook until heated through (1-2 minutes)
  10. Add tabasco to taste, as well as salt and white pepper if necessary.
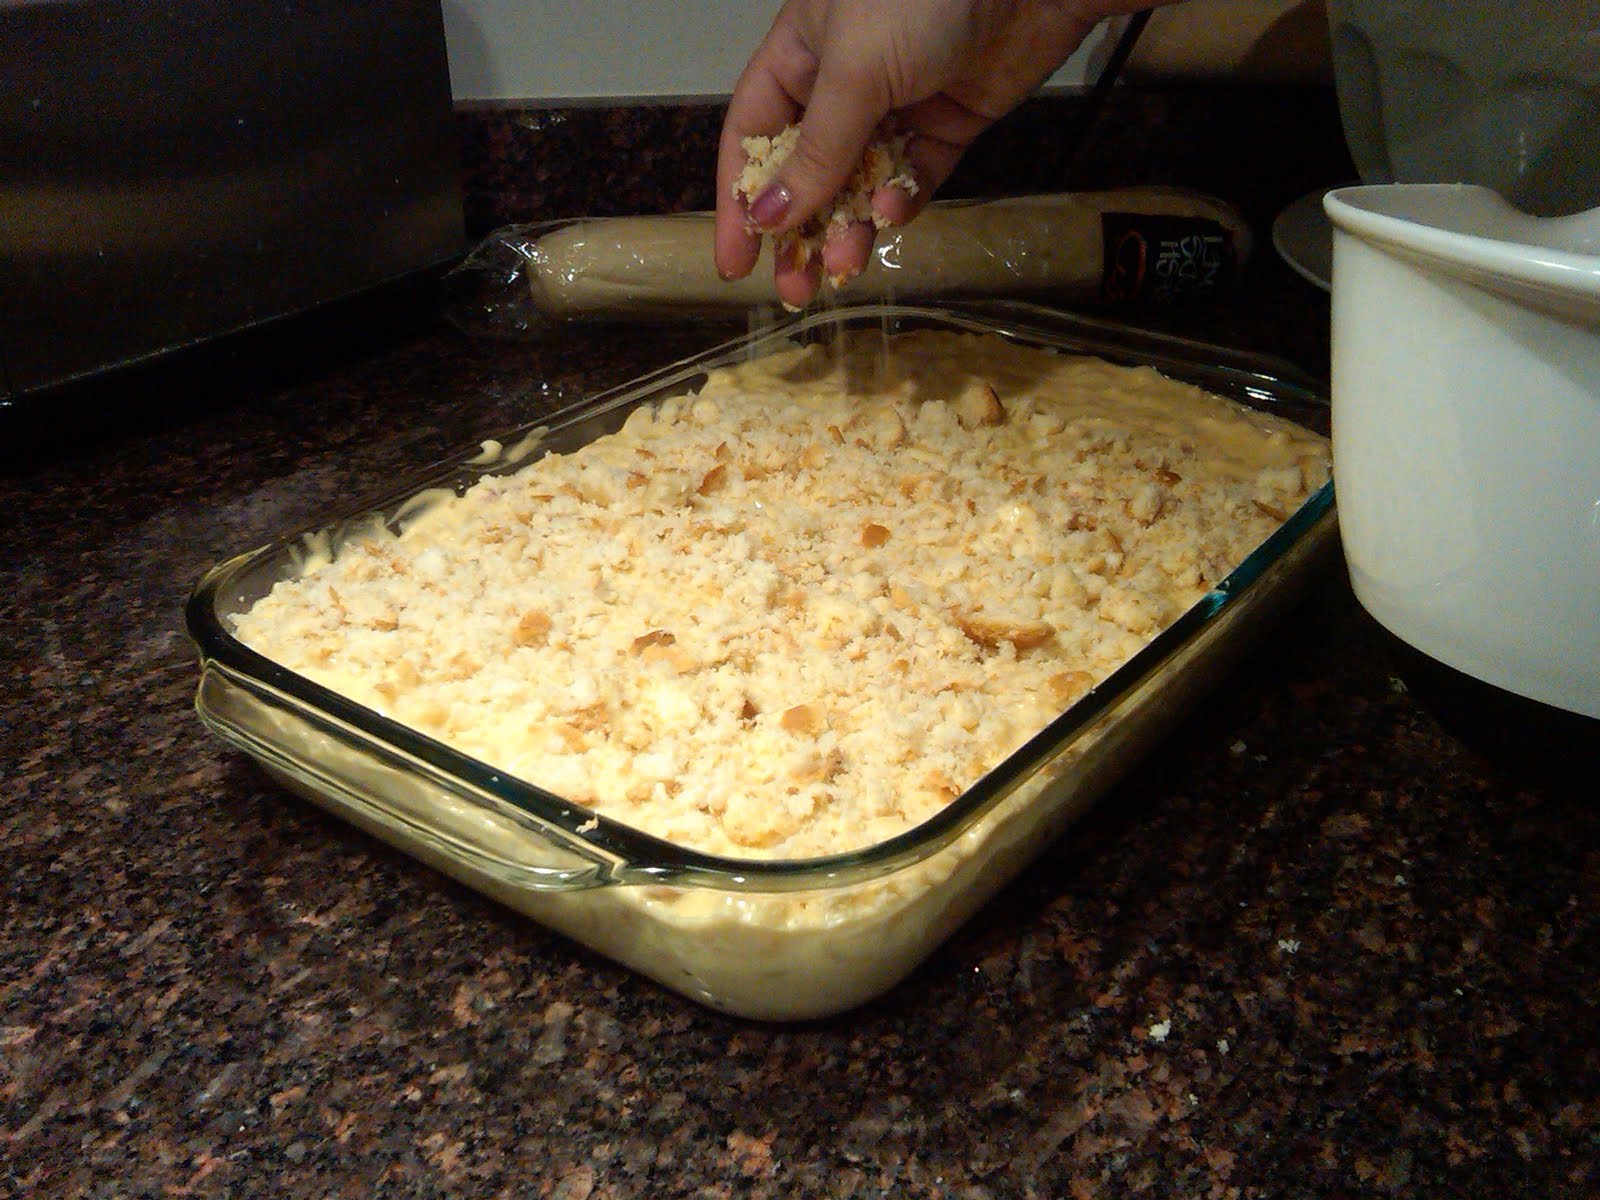
  11. Transfer mixture to broiler-safe 9 by 13-inch baking dish and sprinkle evenly with bread crumbs. Add more than you think you have to, completely cover the macaroni. 
  12. Broil until crumbs are deep golden brown and crisp, 3 to 5 minutes, rotating pan if necessary for even browning. Cool about 5 minutes, then serve.

Monday, June 6, 2011

Menu: Chili with Cheddar Jalepeno Biscuits

This is a classic combination and just screams picnic and competitive chili cook-off. Can serve up to 8 people and be fully prepared in approximately 3 hours. This meal also has the added advantage that every bit can be prepared prior to guests arriving, leaving nothing but a family style serving of delicious.


Sunday, June 5, 2011

Tomato and Avocado Ceviche


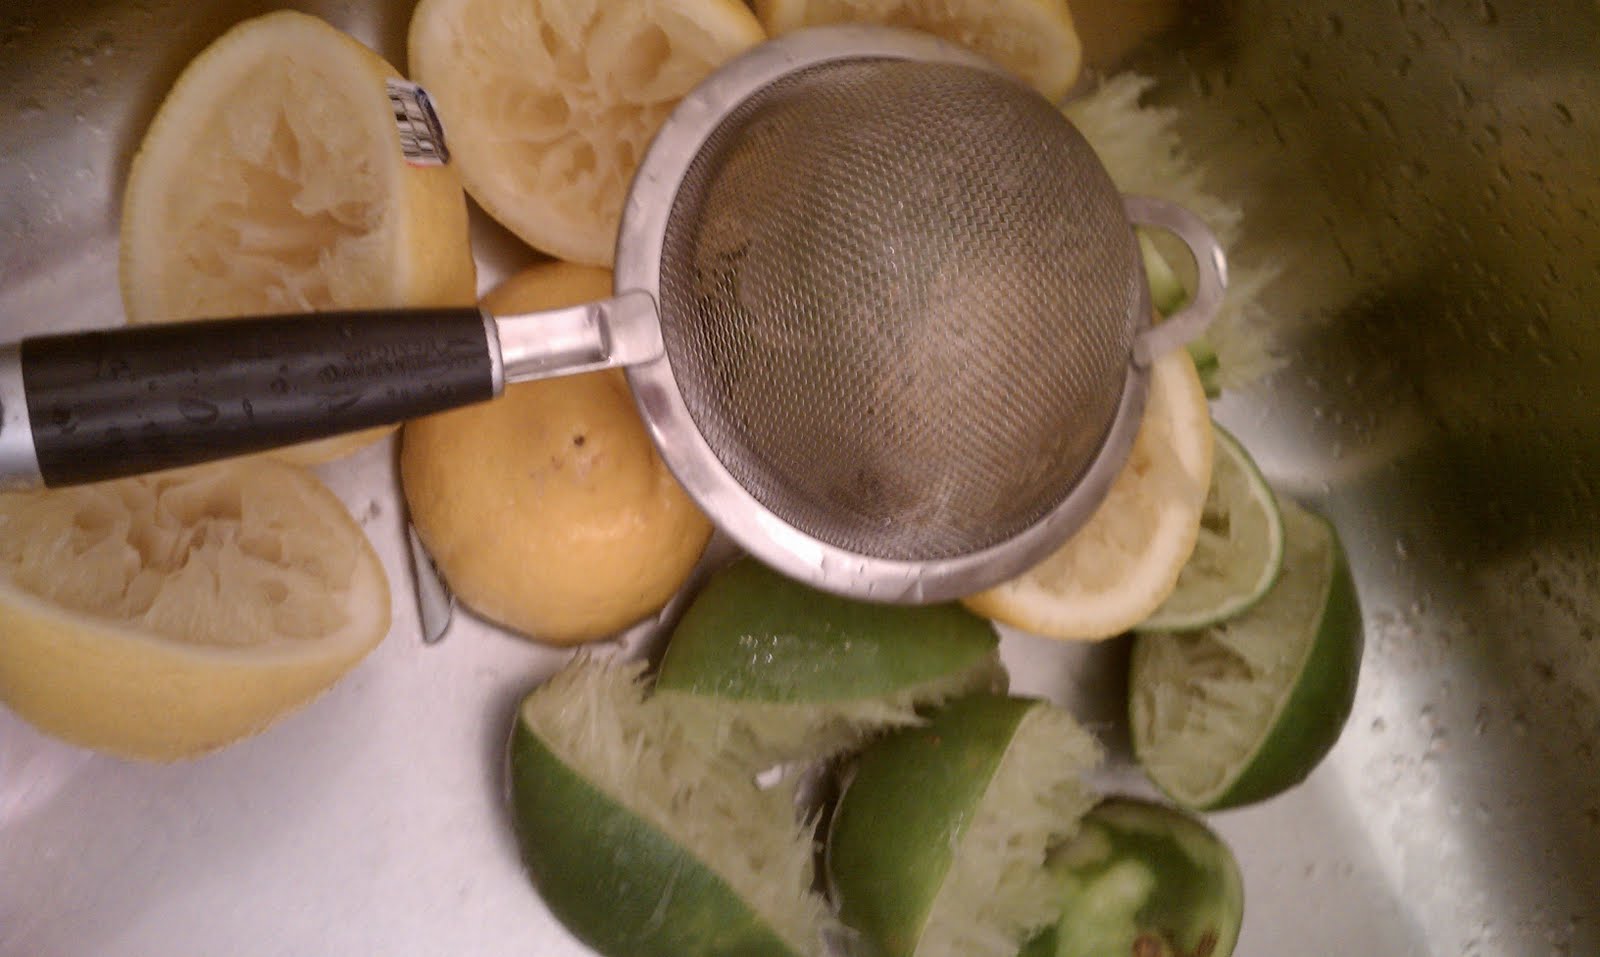
You can use almost any whitefish in this recipe, though we've had very good success with halibut. Other fish suggestd include tuna, salmon, sea bass, sole, sea scallop and shrimp. The recipe suggests thin fish such as sole, flounder or tilapia as easy because they do not need to be cut width-wise (which should be no thicker than 1/3 inch for even cooking). The important part is to keep the pieces of fish approximately the same size cubes so that they cook in the citrus at the same rate. Because we are essentially cooking the fish with the acid from the citrus and not applying any heat, it's important to use fresh (from the store that day, not frozen, etc) fish and fresh lemons and limes. The brightness of the lemons and limes are the key to the flavor of the dish. Don't worry, it cooks, and will turn opaque to prove it. You actually can overcook things with citrus, so don't leave it in the marinade too long.

Be sure to pat all seafood dry with paper towels so that any moisture does not water down the marinade. To prep in advance, you can mix all the citrus marinade ingredients together (jalepeno, red pepper, garlic, lemon, lime, etc.) in one bowl, the cut seafood in another, and the added veggies minus avocado (scallions, cilantro, cherry tomatoes, oil, and sugar) in another. When it is time to start marinating, add the fish to the citrus. Add the avocado just before serving to prevent it from breaking down, turning brown, or making everything green. This will serve a generous 4 portions for a first course or a smaller 6 portions.


Tomato and Avocado Ceviche


Ingredients


1 pound extra-large shrimp (21 to 25 per pound), large sea scallops, skinless fish fillets, or a combination
1teaspoon grated lime zest from 1 lime
1/2cup juice from 4 limes
1/2cup juice from 4 lemons
1small red bell pepper , stemmed, seeded, and chopped fine
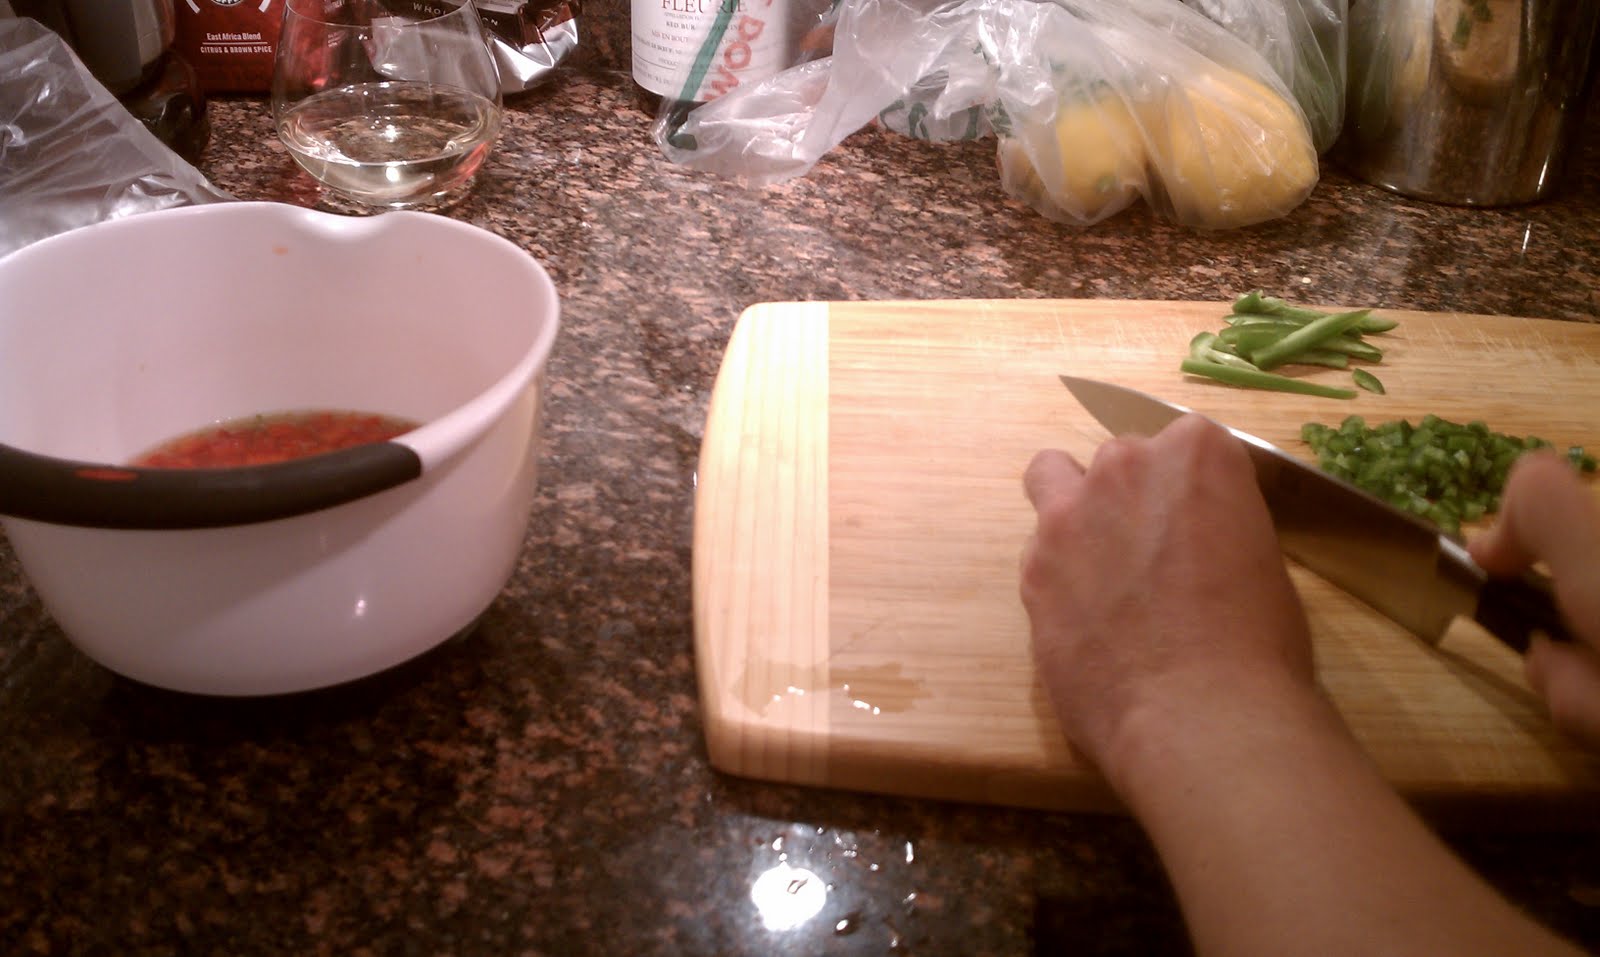
1-2 jalapeno chile (small), stemmed, seeded, and minced
1 medium garlic clove , minced or pressed through a garlic press
Salt
1/4cup extra-virgin olive oil
4-6 scallions , sliced thin (about 1 small bunch)
1cup cherry tomatoes , quartered
3tablespoons minced fresh cilantro leaves
1/2teaspoon sugar
1 ripe avocado , pitted and diced fine
Ground black pepper

Instructions

1. If using shrimp, peel them completely, devein, and slice each shrimp in half lengthwise using a paring knife (through the deveined groove in the back). If using scallops, remove the side tendon and slice into 1/3-inch-thick rounds. If using fish, remove any bones and slice into 1-inch squares about 1/3 inch thick.

2. Stir the lime zest, lime juice, lemon juice, bell pepper, jalapeno, garlic, and 1/2 teaspoon salt together in a medium bowl. Gently stir in the seafood, cover with plastic wrap, and refrigerate until the seafood is firm, opaque, and appears cooked, 45 to 60 minutes, stirring halfway through the marinating time.

3. Place the mixture in a fine-mesh strainer, leaving it a little wet, then return to the bowl. Gently stir in the oil, scallions, tomatoes, cilantro, and sugar followed by the avocado. Season with salt and pepper to taste before serving.

Friday, May 13, 2011

Fideos with Clams and Saffron

This is the first recipe TK and I ever made from the Top Chef cookbook, and it still is a regular on our menu when we're looking for something romantic, charming and relatively easy (minus the general annoyance of having to clean clams). The basic premise of very slowly cooking garlic in oil then absorbing it into toasted pasta (almost risotto style) then adding cream and saffron is pretty unbeatable. And the presentation of the just-opened clams is elegant and fun. That being said, we had to make some adjustments to the recipe (more veggies, more clams, less pasta), and work a little bit on the technique of getting a bird's nest of toasted pasta into a dutch oven. As a result, I recommend using the largest dutch oven you have, even if you aren't serving that many. (This dish serves 4 to 6).

One whole teaspoon of saffron is a decadent amount of saffron, and that is the luxury ingredient of this dish. You can lighten that a bit. For instance, if you are using the pre-packaged individual servings of saffron, one capsule will do even though that usually isn't quite a teaspoon. Too much saffron can overwhelm a dish, so don't go wildly overboard, but this is also definitely not a three or four strands and that's it dish. It is the star of this show and deserves to be treated as such.


Fideos with Clams and Saffron


Ingredients

3/4 pound fideos or capellini pasta
2 cups heavy cream
1 teaspoon saffron threads, crumbled
Salt
1 1/4 cup small cauliflower florets
1 1/4 cup small broccoli florets
1/3 cup extra virgin olive oil
10 garlic cloves, peeled and left whole
1/2 cup white wine or seafood stock
1 1/2 pound fresh medium clams, cleaned
Freshly ground black pepper
Chopped fresh flat-leaf parsley for garnish


Instructions
  1. Preheat the oven to 375 degrees. Break the fideos into 3-inch pieces. Arrange the pieces in an even layer on a rimmed baking sheet. Place in the oven and bake until golden brown, 8 to 10 minutes. Remove from the oven and set aside to cool. This exercise will also provide you with an awesome test of "where is my oven the hottest".
  2. Meanwhile, clean the clams thoroughly of any grit.
  3. In a medium saucepan, combine the cream, saffron, and salt to taste and place over medium heat. Bring just to a boil, whisking and watching the pot so the cream doesn’t boil over. Remove from the heat, stir in the cauliflower and broccoli, and set aside.
  4. Preheat the broiler. 
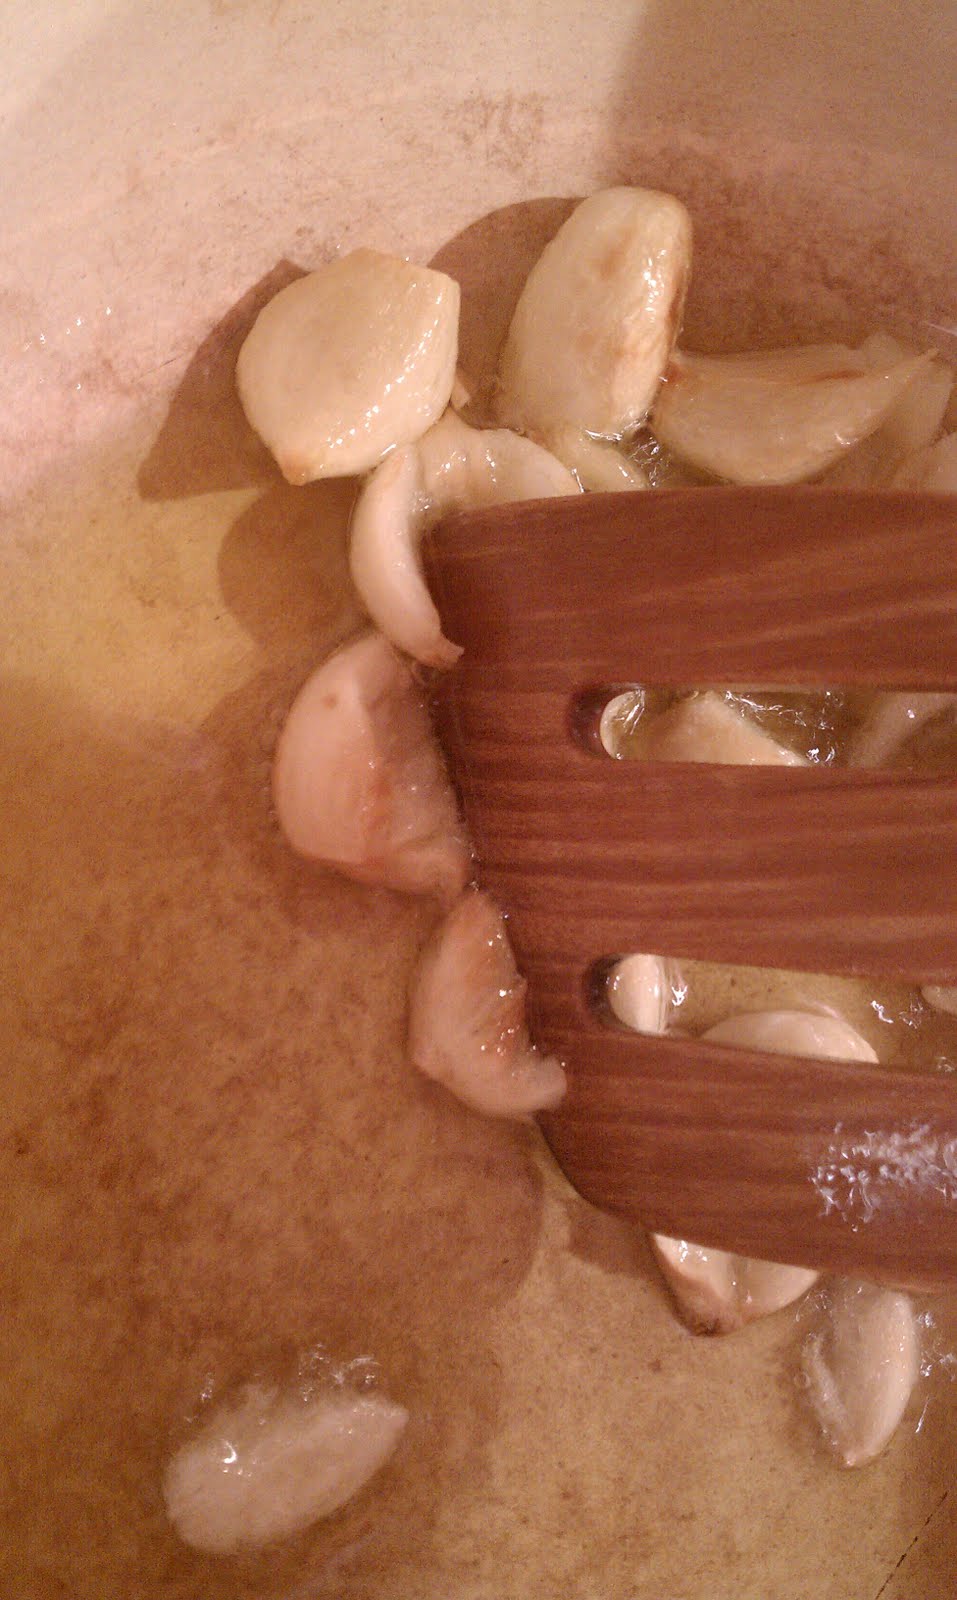
  5. In a large dutch oven, heat the oil and garlic over low heat, stirring, until the garlic begins to soften and turn golden, about 15 minutes. Don't rush it and burn the garlic. Break the garlic up with the back of a wooden spoon.
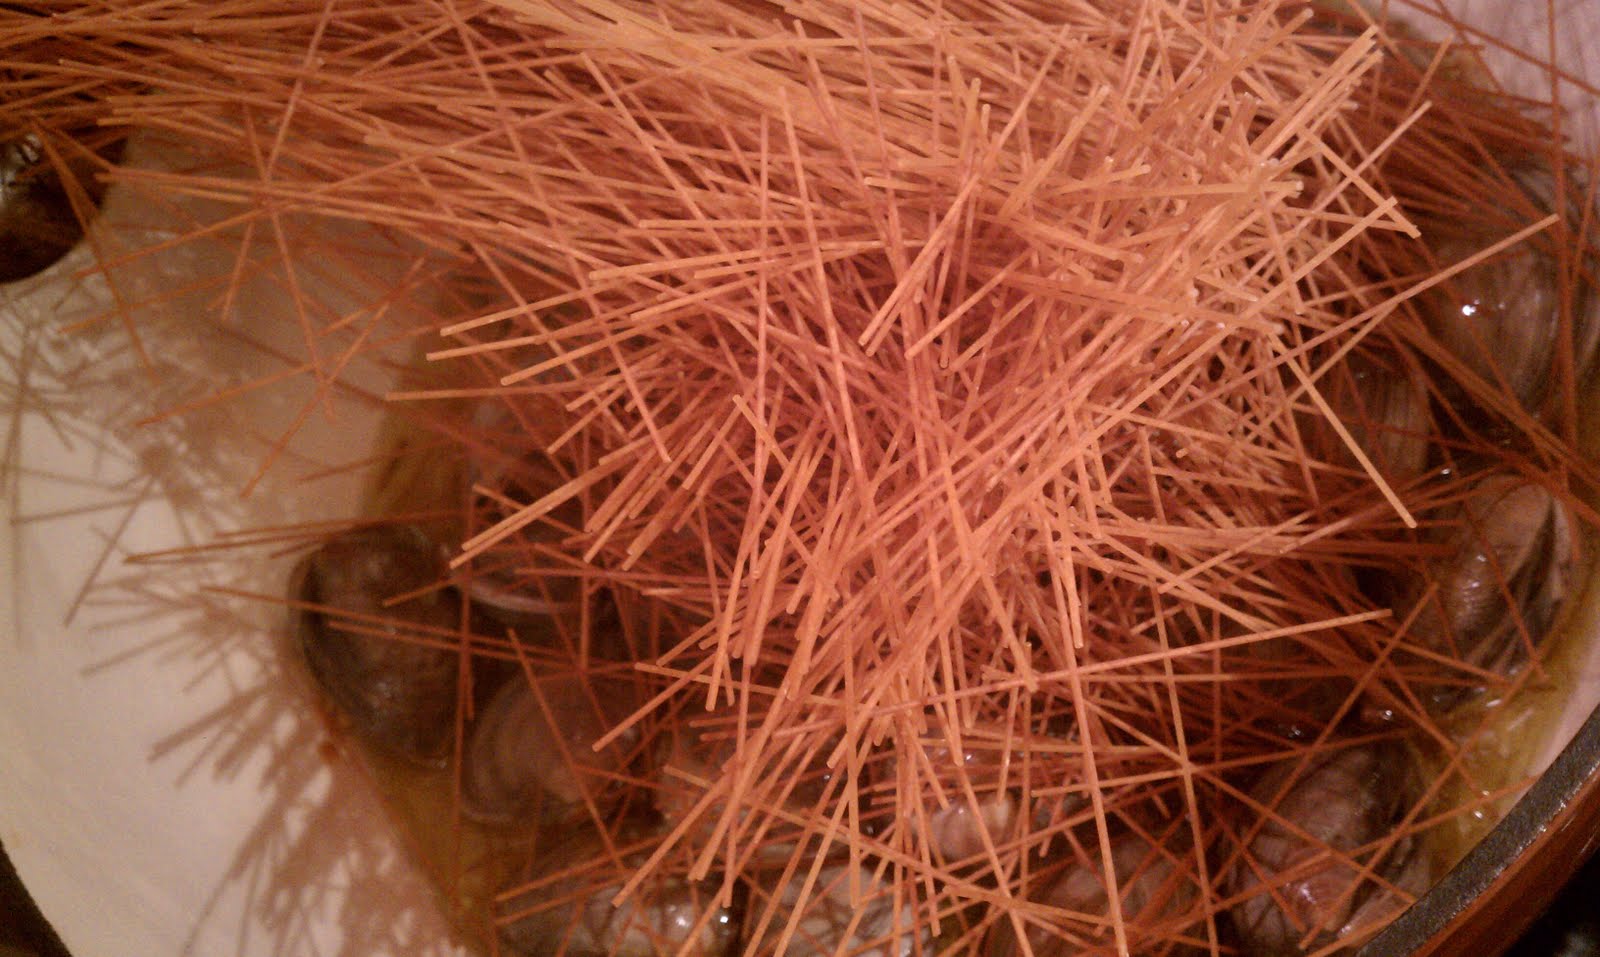
  6. Add the clams, fideos, and then wine. The fideos will make a bit of a mess and may not all fit immediately into the pot. Season with salt and pepper to taste. Close the lid and shake the pot to combine.
  7. Increase the heat to medium-high and cover the pan. Cook for about 4 minutes, shaking the pan, until the clams have JUST opened. Discard any unopened clams. Stir in the cauliflower and cream mixture and remove from the heat.
  8. Divide the clam and pasta mixture among 4 ovenproof dishes. Place the dishes in the oven and broil until golden brown, 2 to 4 minutes. Garnish with the chopped parsley and serve immediately.

Saturday, April 16, 2011

Jalepeno Cheddar Biscuits


These are not going to be the spiciest of jalepeno cheddar biscuits. If you'd like them to pack more kick, increase the amount of jalepeno and leave a little bit of the white veins on the jalepenos (where the spice comes from). You can also add a dash of tabasco, though be gentle, they are biscuits, after all, and you are not parboiling the peppers, so there will be a freshness of the raw pepper that may remain post-baking. Most people find this enjoyable.

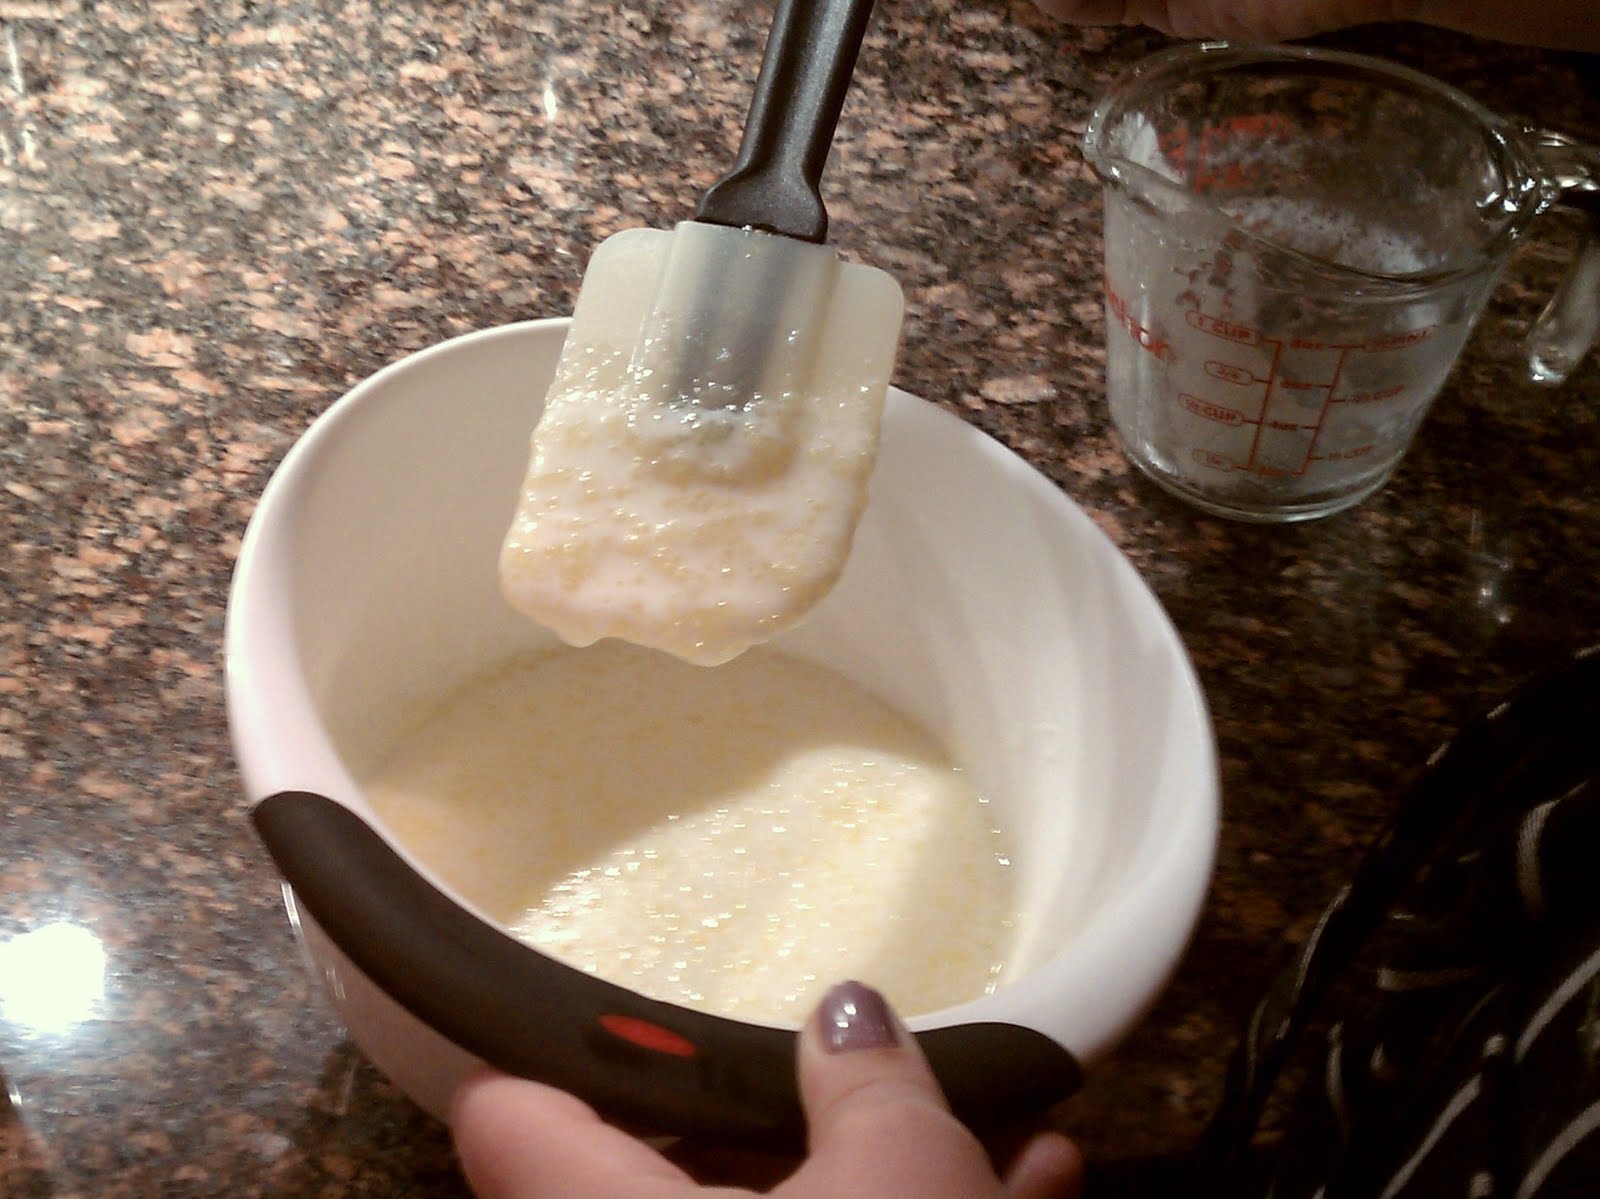
If buttermilk isn't available, clabbered milk can be used instead. To make clabbered milk, mix 1 cup milk with 1 tablespoon lemon juice and let stand 10 minutes. Buttermilk is still preferable, though. When you stir the melted butter into cold buttermilk, the butter will clump and curdle and in general look gross. This is by design, and is actually a secret to a light and fluffy biscuit. You can use either an ice cream scoop or a 1/4 cup measure to drop the biscuits onto a parchment paper lined baking sheet. These are drop biscuits, so they are meant to look a little messy.

We've served these with chili, lobster, fried chicken, and gumbo. Basically, a good picnic and summer food.

Ingredients
The curdled milk is good, though it looks wrong.

2  cups unbleached all-purpose flour (10 ounces)
2  teaspoons baking powder
1/2  teaspoon baking soda
1  teaspoon sugar
3/4  teaspoon table salt
1/2  cup shredded cheddar cheese (2 ounces)
1/4  cup diced jalepenos (5 or so peppers)
1  cup buttermilk (cold)
8  tablespoons unsalted butter , melted and cooled slightly (about 5 minutes), plus 2 tablespoons melted butter for brushing biscuits

Instructions

  1. Adjust oven rack to middle position and heat oven to 475 degrees. Whisk flour, baking powder, baking soda, sugar, salt, cheese, and jalepenos in large bowl. Combine buttermilk and 8 tablespoons melted butter in medium bowl, stirring until butter forms small clumps (see photo below).
  2. Add buttermilk mixture to dry ingredients and stir with rubber spatula until just incorporated and batter pulls away from sides of bowl. Using greased 1/4-cup dry measure, scoop level amount of batter and drop onto parchment-lined rimmed baking sheet (biscuits should measure about 2 1/4 inches in diameter and 1 1/4 inches high). Repeat with remaining batter, spacing biscuits about 1 1/2 inches apart. Bake until tops are golden brown and crisp, 12 to 14 minutes.
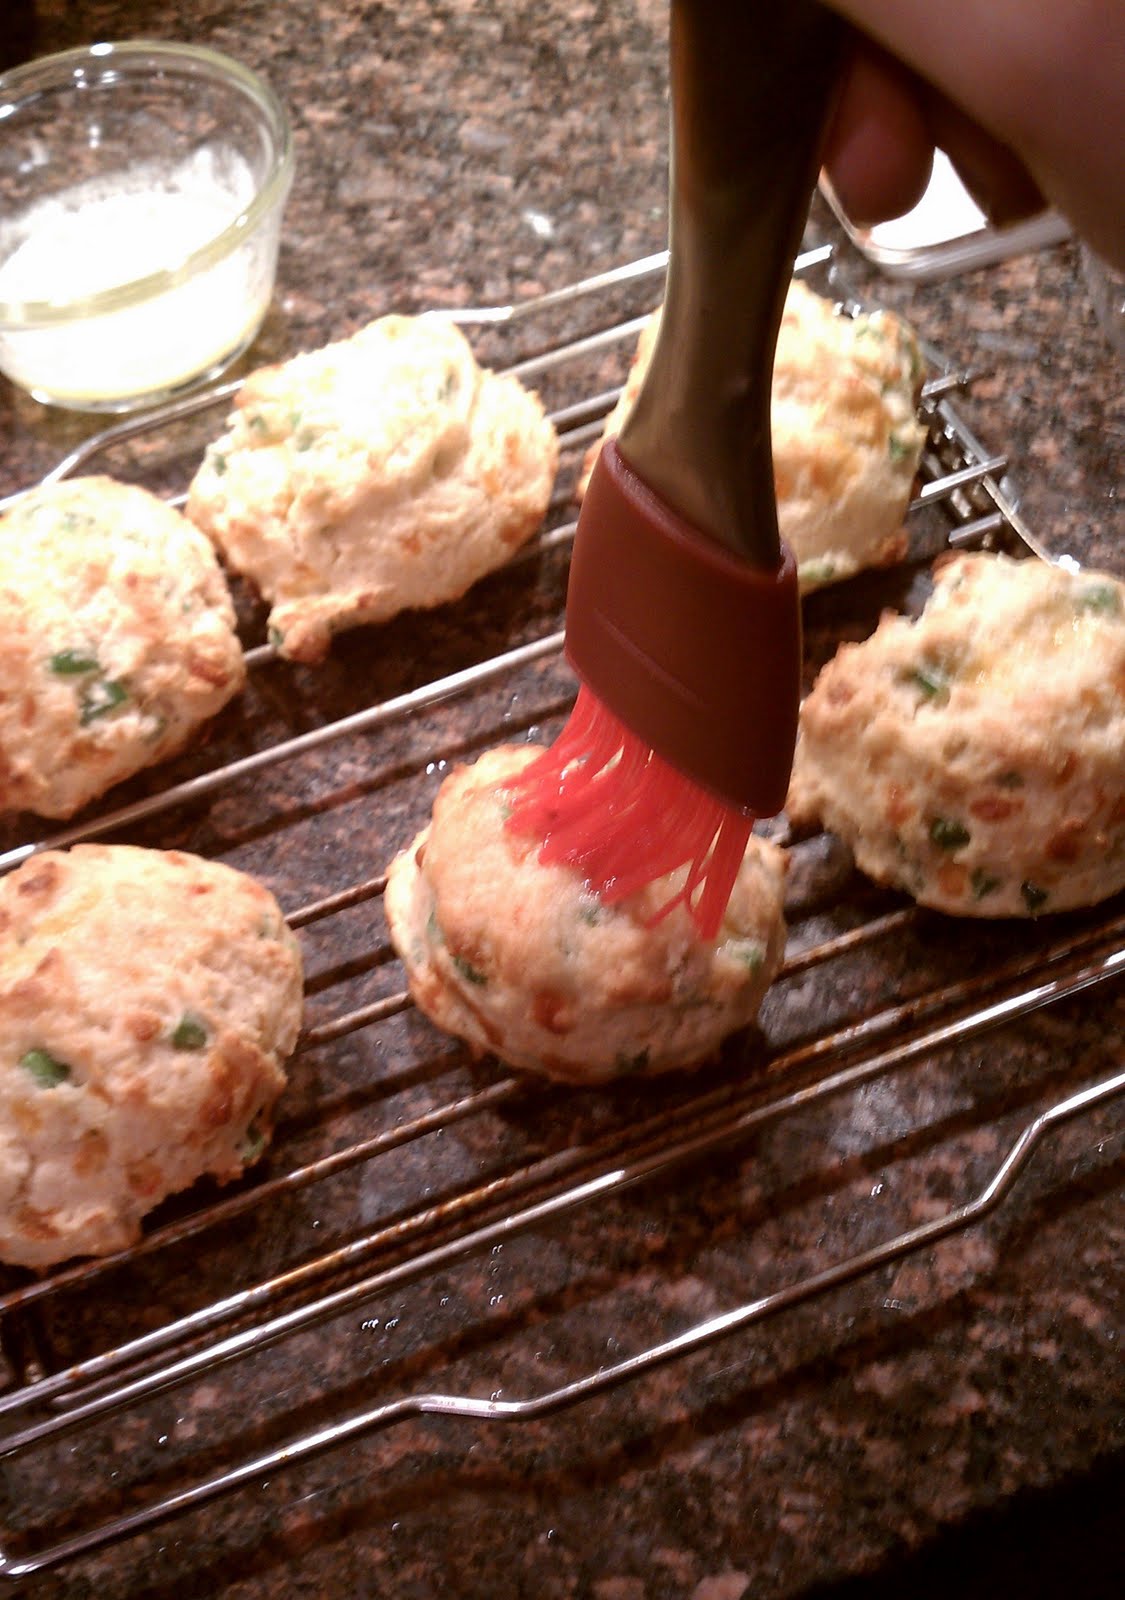
  3. Brush biscuit tops with remaining 2 tablespoons melted butter. Transfer to wire rack and let cool 5 minutes before serving. If serving the next day, you can revive the biscuits with ten minutes in a 300 degree oven, making sure to store in a sealed container.

Wednesday, April 6, 2011

Make-Your-Own Greek Yogurt/ Yogurt Cheese

Making greek yogurt is a simple and satisfying trick that can make you feel smug and cost-effective with minimal effort and high reward. And the only ingredient required is---yogurt.

1. Buy your favorite kind of yogurt. You can easily make flavored yogurt but I've mostly used this to make plain yogurt for cooking purposes or to add honey to later, because I like the classics especially when the classics involve honey.

2. Now you need to strain the yogurt. Preferably, to do this you will use a fine mesh-strainer and cheesecloth, but if you don't have these things, you may use a plastic strainer and layer the cheesecloth in 4 layers as opposed to two. Or, if you lack cheesecloth (even though its super useful to have around), you can use either a coffee filter or a paper towel (single layer).

3. Place the strainer above a medium sized bowl so that it balances on top. Place either 2 layers of cheesecloth, a paper towel, or a coffee filter in the base of the strainer. This will allow the liquid and whey and bitterness to drain out of the yogurt and into the bowl. Refrigerate.

4. Wait. The longer you strain, the thicker the consistency. 4-6 hours will result in a yogurt with a sour cream type consistency (but not taste). 8-12 hours is perfect for Greek Yogurt. If you let it go a day or more, it will become yogurt cheese, which is also quite delicious and a good substitute for cream cheese in many recipes.

5. When it has been 12 hours or so and you are ready for delicious yogurt, remove it from the strainer and toss the liquid and whey that has gathered at the bottom. I usually just return it to the empty yogurt vessel. Flavor with any fruit, vanilla, honey, etc. you are interested in adding or use in cooking as desired.

6. Count the extra dollars in your pocket and feel good about yourself. It will last for about a week.

Chive Risotto Cakes

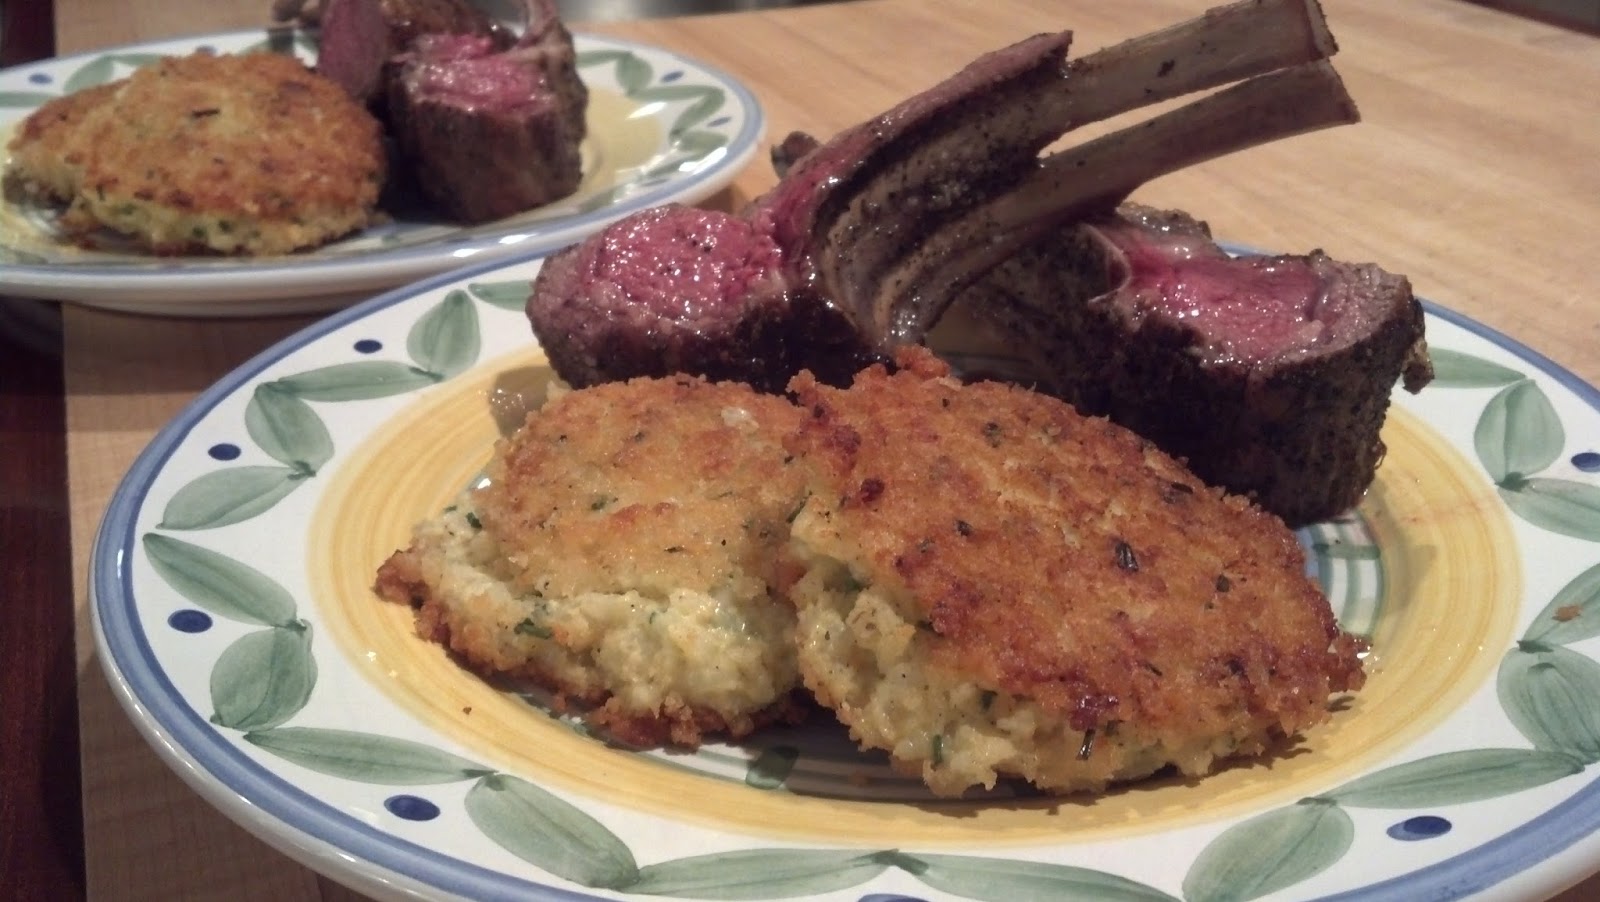
I'm a big fan of chives. I'm a fan of the entire onion family of course, but to me the chive is just the right combo between fresh herb and onion tang to cross that bridge. Its one of my favorite additions to add life to sides such as polenta and risotto. To me, nothing tastes quite like Spring than adding a little chives and some lemon. Add in a little cheese and yogurt and you have these risotto cakes. They take awhile to chill, but include all the things a successful side should contain- flavor (but complementary to the main course), creaminess, and texture in the form of the crisp panko coating.

This is an adjusted creation of Barefoot Contessa, and are a classy and easy side for a dinner party. The mixture should chill at least three hours and preferably overnight before forming the cakes. After the first chill, you'll want to prepare them ahead up to the point of covering in panko, and then refrigerate them for at least three hours.  (Keeping them chilled is the key to them not falling apart in the pan during flipping). If you do not have three hours, you can speed it up by storing them in the freezer for 30 minutes. This also has the added benefit of allowing you to prepare this mostly ahead of your guests coming, then just finish in the pan with some olive oil and serve around the time the meat comes out of the oven.

You can prepare your own Greek Yogurt for this recipe, or just buy it ready-made. We have also substituted fontal cheese (a slightly cheaper version of Italian Fontina Cheese) when available. A word on Fontina: this is a recipe where some really excellent Fontina will go a long way. We've certainly made it with cheaper domestic Fontina that can be found at the local Harris Teeter, but getting the pricier stuff does pay off in this recipe. The other side of that is that depending on what brand of Fontina you purchase, you might have different salt-content in the cheese, so be sure and try your cheese before dumping a bunch of salt into the rice. This dish can get too salty, so a gentle hand is in order.

Ingredients

Kosher salt
1 cup uncooked Arborio rice 
1/2 cup Greek yogurt 
2 extra-large eggs 
6 tablespoons minced fresh chives
1 pressed garlic clove (optional) 
1 1/2 cups grated Italian fontina cheese (5-6 ounces) 
1 teaspoon freshly ground black pepper 
3/4 cup panko (Japanese dried bread flakes) 
olive oil

Directions


1. Bring a large (4-quart) pot of water to a boil over medium-low heat and add 1 1/2 teaspoon salt and the Arborio rice. Cook, stirring occasionally, for 20 minutes. The grains of rice will be quite soft. Drain the rice in a sieve and run under cold water until completely cool to touch. Drain well.
2.  Meanwhile, whisk together the yogurt, eggs, chives, fontina, salt to taste, and the pepper in a medium bowl. Add the cooled rice and mix well. Cover with plastic wrap and refrigerate overnight or at least 3 hours, until firm.
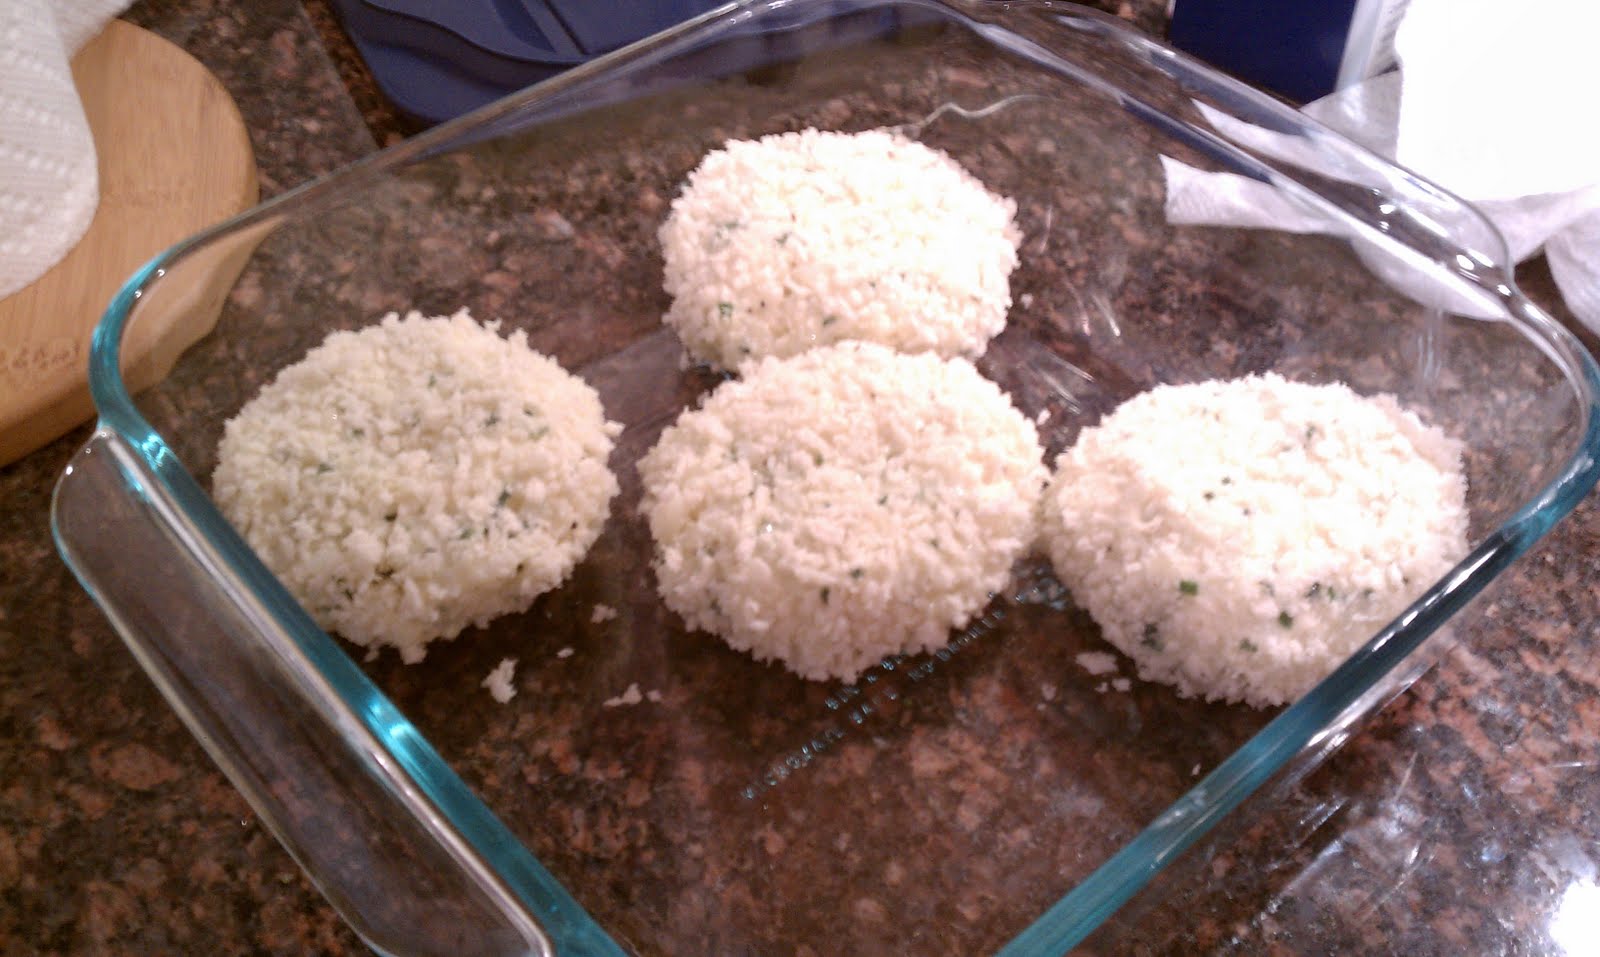
4.  After chilling, spread the panko in a shallow dish. Form balls of the rice mixture using a standard (2 1/4-inch) ice-cream scoop or a large spoon. Pat the balls into patties 3 inches in diameter and 3/4-inch thick. Place 4 to 6 patties in the panko, turning once to coat both sides.
5. Place on a plate and chill in refrigerator for three hours. If you need to speed the process, sometime can be spent in the freezer but do not freeze all the way through. The cakes should be chilled and firm. If you are chilling for an extended period of time (you can leave the patties for up to 24 hours), you may want to hold off on adding the panko until you are ready to cook.
6.  When ready to serve, heat 3 tablespoons of olive oil in a large skillet over medium to medium-low heat. Place the patties in the hot oil and cook, turning once, for about 4-5 minutes on each side until the risotto cakes are crisp and nicely browned. Place on a sheet pan lined with parchment paper and keep warm in the oven for up to 30 minutes. Continue cooking in batches, adding oil as necessary, until all the cakes are fried. Makes 8 cakes or 4 generous side portions.


Total Cook Time: 6-24 hours, 1 hour cooking time, 6 hours plus inactive time

Tuesday, March 22, 2011

Peanut Butter/ Nutella Chocolate Cupcakes


The second I saw the recipe for Peanut Butter Chocolate Cupcakes in Barefoot Contessa's book, I knew I would be making them, because I am an unabashed sucker for classic peanut butter/chocolate combinations. You don't see as many peanut butter chocolate cupcakes in the cupcake world as you'd initially think considering the dominance of the peanut butter chocolate combination in the rest of the sweet/dessert/candy market. The best reason I can give for this is that these cupcakes are RICH. Not cloyingly sweet, just very, very rich. This is one of the reasons why the lightness of the texture in the cupcakes (that you get by creaming the batter almost like you're making frosting or cookie dough at the beginning) is such a good match. The end result is essentially a Tagalong cupcake.

The Nutella version of the frosting is moister, due to the higher oil content of Nutella, or at least this is what I am assuming because just like Nutella cookies are flatter and rise less than peanut butter cookies, this frosting just doesn't cream quite as well as the peanut butter version. This leads to a different but still very pleasant experience because Nutella is basically instant goodness on everything it touches. The salt in the frosting leaves a nice, noticeable, welcome kick to the frosting. I used kosher salt, but if you'd prefer, you can use a finer grain. Unlike baking, frosting measurements really don't have to be super accurate, so feel free to experiment with amounts until it reaches a stiffness and sweetness of your liking. My only strong recommendation is that you make sure your ingredients are room-temperature before using them, especially the butter. Cold butter just doesn't cream as well, and both the cupcakes and the frosting really get their great consistency from creamed butter.

Barefoot Contessa writes all of her baking for a standing mixer, but given the size of my urban kitchen, I'm a hand mixer kind of gal, so I've adapted it. By the way, an investment in a good quality hand mixer with clear differences in speeds (a distinct low, medium low, medium, medium-high, and high) is a solid way to invest in kitchenware if you plan on baking. A good one will last decades. A cheap target one will fail you in delicate recipes (luckily, this is NOT that delicate of a recipe).

Peanut Butter/Nutella Chocolate Cupcakes

Ingredients

Cupcakes

12 tablespoons (1 1/2 sticks) unsalted butter, at room temperature
2/3 cup granulated sugar
2/3 cup light brown sugar, packed
2 extra-large eggs, at room temperature
2 teaspoons pure vanilla extract
1 cup buttermilk, shaken, at room temperature
1/2 cup sour cream, at room temperature
2 tablespoons brewed coffee
1/2 teaspoon espresso powder
1 3/4 cups all-purpose flour
1 cup cocoa powder
1 1/2 teaspoons baking soda
1/2 teaspoon kosher salt

Peanut Butter Icing

1 cup confectioners' sugar
1 cup creamy peanut butter
5 tablespoons unsalted butter, at room temperature
3/4 teaspoon pure vanilla extract
1/4 teaspoon kosher salt
1/3 cup heavy cream
      Nutella Icing

 1 1/4 cup confectioners' sugar, plus more if needed for added stiffness
 1 cup Nutella
  5 tablespoons unsalted butter, at room temperature
  1/4 teaspoon pure vanilla extract
  1/4 teaspoon kosher salt
  1/2 cup heavy cream


Fluffy batter= fluffy cupcake
Creaming peanut butter frosting
Use a round 1/4 cup measure
Instructions

Cupcakes

  1. Preheat the oven to 350 degrees F. Line cupcake pans with paper liners.
  2. In a large bowl, cream the butter and 2 sugars with an electric hand mixer on high speed until light and fluffy, approximately 5 minutes. 
  3. Lower the speed to medium, add the eggs 1 at a time, then add the vanilla and mix well. 
  4. In a separate medium bowl, whisk together the buttermilk, sour cream, and coffee. 
  5. In another medium bowl, sift or whisk together the flour, cocoa, baking soda, and salt. 
  6. On low speed, add the buttermilk mixture and the flour mixture alternately in thirds to the mixer bowl, beginning with the buttermilk mixture and ending with the flour mixture. Mix only until blended. 
  7. Push down on the sides with a rubber spatula, then fold the batter with a rubber spatula to be sure it's completely blended.
  8. Divide the batter among the cupcake pans (1/4 cup measure or a rounded ice cream scoop per cupcake). 
  9. Bake in the middle of the oven for 20 to 25 minutes, until a toothpick comes out clean. 
  10. Cool for 5 minutes, remove from the pans, and allow to cool completely before frosting.

Frosting

  1. Place the confectioners' sugar, peanut butter, butter, vanilla, and salt in a medium sized bowl.
  2. With an electric mixer, mix ingredients on low until powdered sugar is combined.
  3. Move to medium-low speed until creamy, scraping down the bowl with a rubber spatula as you work. For the nutella icing, the consistency will be thicker, almost like a very soft fudge. For the peanut butter icing, the consistency will be more like a traditional butter cream.
  4. Add the cream and beat on high speed until the mixture is light, fluffy and smooth, and has increased in volume, like a store bought butter cream. (The nutella version may be slightly moister).


Monday, March 21, 2011

Spring Vegetable Risotto

This risotto is a giant bowl of Spring and freshness. It's beautiful to serve and to look at, with the bright green asparagus and green peas poking out of the cheesy, smooth risotto. And the done-up broth and lemon add a level of freshness that just really brings the whole dish together. It's also a recipe of not-wasting, as you use the leftover stems, rough leek greens, asparagus ends, and other leftover bits from prep to infuse the broth with even more freshness. It's not in the recipe because its not a mushroom risotto, but if you have any mushrooms stems to add from another project, you should do so, as it adds a nice umami flavor to the veggie broth (if you are doing this vegetarian). This recipe is pretty much a testament to the wonders of making your own broth, so be sure not to skip this step!

I tend to not put as much mint as the original Cooks Illustrated recipe calls for. I like the stems in the broth, but I'm just not a fan of the raw texture of mint in much anything. I am however, a fan of garlic in EVERYTHING, so I've upped the amount of garlic in the recipe. (So if you are like me and add two extra cloves of garlic to most recipes, fear not, I have added them already!) It can be a little difficult to judge when the rice has become "transparent on the sides" so I try to stick to the time estimate there. As far as when the liquid is gone, I judge that by if you drag a rubber spatula across the bottom of the dutch oven, does the cleared line remain clear or does the risotto fall back and cover it with liquid immediately? When it stays dry, it's time to add more liquid or move on in the recipe. The exception is this is the last time, where you want to keep it a LITTLE wetter than you have prior just to ensure that once its off-heat and butter, lemon juice, and cheese have been added, it does not get too stiff. If it does, you can loosen it with a little more stock at the end, but be careful not to overdo it. You don't want the initial taste of the dish to be stock rather than lemon.

Cooks Illustrated includes a note on substituting onion for leek (1 for the broth, 2 for the risotto). I've never tried it, and think it would be a shame not to include the leeks because leeks marry so well and add even more green to the recipe. On the other hand, if you have no leeks, this could be an option. Be sure to remember the lemon at the end. The citrus really brings out the freshness of the veggies.

Spring Vegetable Risotto

Ingredients

2 tablespoons minced fresh parsley leaves, stems reserved
1-2 tablespoons minced fresh mint leaves, stems reserved
1/2 teaspoon finely grated zest from 1 lemon
1 pound asparagus , tough ends snapped off and reserved, spears cut diagonally into 1/2-inch thick pieces
3 medium leeks , white and light green parts halved lengthwise, washed, and sliced thin (about 4 cups), roughly chopped tough greens reserved
4 cups low-sodium chicken broth or vegetable broth
3 cups water
5 tablespoons unsalted butter
1/2 cup frozen peas
4 medium garlic cloves, pressed through garlic press
11/2 cups Arborio rice
1 cup dry white wine
1 cup grated Parmesan cheese (3/4 cup for recipe, 1/4 cup for serving)
1-2 tablespoons juice from 1 lemon

Instructions

  1. For the Gremolata: Combine minced parsley, mint, and lemon zest in small bowl, reserving the rest of the lemon for juice and the parsley and mint stems for broth. Set aside.
  2. For the Broth: Chop tough asparagus ends and leek greens into rough 1/2-inch pieces. Bring chopped vegetables, reserved parsley and mint stems, broth, and water to boil in large pot over high heat. 
  3. Reduce heat to medium-low, partially cover, and simmer 20 minutes. 
  4. Strain broth through fine-mesh strainer into medium saucepan, pressing and squishing the solids against the strainer to extract as much liquid as possible. Trash the solids. 
  5. Cover and set over low heat to keep broth warm. This can be done in advance and brought back to low heat prior to starting the risotto.
  6. For the Risotto: Heat 1 tablespoon butter in large Dutch oven over medium heat. When foaming subsides, add asparagus spears, pinch of salt, and pepper to taste. Cook, stirring occasionally, until asparagus is crisp-tender, 4 to 6 minutes. 
  7. Add peas and continue to cook 1 minute. Transfer vegetables to plate and set aside.
  8. Melt 3 tablespoons butter in now-empty Dutch oven over medium heat. When foaming subsides, add leeks, garlic, 1/2 teaspoon salt, and 1/2 teaspoon pepper. 
  9. Cook, stirring occasionally, until leeks are softened, 4 to 5 minutes. 
  10. Add rice and cook, stirring frequently, until grains are translucent around edges, about 3 to 4 minutes. 
  11. Add wine and cook, stirring frequently, until fully absorbed, 2 to 3 minutes.
  12. When wine is fully absorbed, add 3 cups hot broth to rice. Simmer, stirring every 3 to 4 minutes, until liquid is absorbed and bottom of pan is almost dry, about 12 minutes.
  13. Stir in about 1/2 cup hot broth and cook, stirring constantly, until absorbed, about 3 minutes; repeat with additional broth 3 or 4 times until rice is al dente. 
  14. Off heat, stir in remaining tablespoon butter, Parmesan, and lemon juice. 
  15. Fold in asparagus and peas. If necessary, add up to 1/4 cup additional hot broth to loosen texture of risotto. 
  16. Sprinkle each serving with gremolata and Parmesan and serve immediately