Thursday, June 12, 2014

Heirloom Tomato Sorbet with Chive Oil

As a little kid, I used to love it when restaurants would serve sorbet as first course or as a palate cleanser between courses.  "Early dessert!" I'd think to myself when greeted with basil ice cream as an amuse or presented with pear sorbet before my main course.  Those are the memories that inspire me to work sorbets and ice creams into unexpected parts of my menus today.  I try to find recipes that surprise my guests – and get them excited for the meal to come.

This recipe for tomato sorbet, from Thomas Keller's The French Laundry Cookbook, is particularly good.  The sorbet has intense tomato flavor, but is still clean enough to be refreshing between courses, thank in part to the addition of orange zest.  Wait until late summer when the very best tomatoes are available to make this sorbet.  The wait will be worth it.

Keller's method for making chive oil is as simple as can be, and pairs beautifully with the sorbet.  Just hold the chives under hot running water for a couple of minutes and then blend with the oil.  The heat created by the friction of the blade spinning through the oil is enough to heat the mixture and infuse the flavor of the chives into the oil.  The oil is best if made at least one day ahead of time, and then strained just before use.

Ingredients

Simple Syrup

3/4 cup sugar
3/4 cup water

Tomato Sorbet
2 1/4 pounds heirloom tomatoes, peeled, seeded and cut into 1-inch pieces
1 tablespoon canola oil
1/3 cup finely chopped yellow onion
2 tablespoons red wine vinegar
Pinch of chopped tarragon
Pinch of cayenne
3/4 cup plus 2 tablespoons simple syrup
Julienned zest of 1/2 orange (removed with a zester; 1 teaspoon), brought to a boil in cold water, strained and repeated 2 additional times
Kosher salt
Freshly ground black pepper

Chive Oil

1 packed cup chives
1 cup canola oil

Fleur de sel
Extra chives for garnish

Instructions

For the simple syrup
  1. Combine the sugar and water in a saucepan and bring to a boil, stirring to dissolve the sugar.  
  2. Remove from heat, let cool to room temperature, and then refrigerate.
For the sorbet: 

  1. Place the tomatoes in a saucepan and bring to a simmer over medium heat. 
  2. Cook, stirring often, for about 45 minutes, or until the tomatoes have reduced by half.  There may still be a small amount of liquid remaining.
  3. Meanwhile, heat the oil in a skillet over low heat.  
  4. Add the onions to the skillet and cook gently for 7 to 8 minutes, or until tender.
  5. Place the reduced tomatoes and the onions in a blender and puree them until very smooth.  
  6. Press the mixture through a fine mesh strainer (there will be about 1 cup of puree) and return it to the clean blender.  
  7. Add the remaining sorbet ingredients and blend again.  
  8. Strain through a clean fine mesh strainer.  There should be about 1 1/2 cups sorbet base.  
  9. Cool the mixture over ice, stirring often.
  10. Freeze the sorbet in an ice-cream machine according to the manufacturer's directions.  
  11. Store the sorbet in a covered container in the freezer.  The sorbet is best eaten the day it is made.


For the chive oil: 
  1. Place the chives in a strainer and run hot water over them for about two minutes to soften and remove the chlorophyll taste.
  2. Place half of the chives in a blender with the oil.  
  3. Turn on the blender to medium speed and allow the chives to blend for a minute to begin the process. 
  4.  Turn the speed to high and continue to blend for another 2 minutes.  If your blender has a hole at the top, remove the stopper to allow some air in.
  5. Add half of the remaining chives to the machine and blend for another 2 minutes, then add the remaining chives and blend for 2 more minutes.
  6. Remove the puree to a covered container and refrigerate for at least 24 hours.
  7. When ready to use, strain the oil through a fine mesh strainer lined with cheesecloth.
To serve
  1. Spoon a little of the chive oil into the center of a six small bowls.  
  2. Top each with a quenelle of tomato sorbet.  
  3. Sprinkle each bowl with a few grains of fluer de sel and garnish with the extra chives.

Wednesday, June 4, 2014

The Perfect Chocolate Chip Cookies with Toffee Chunks and Brown Butter

The chocolate chip cookie. The baseline from which all other cookies must be judged, and yet a category so generous that it includes several robust sub-categories: crispy thin chocolate chip cookies, oversize jumbo chocolate chip cookies, chocolate chip cookies containing alternatives to chocolate chips, and classic Tollhouse chocolate chip cookies. This recipe is a combination of those last two categories, and is my spin on the Cook's Illustrated chocolate chip cookie recipe. These are the chocolate chip cookies I bring into work on Monday, and that I might perhaps bring to your 4th of July picnic.

The secret to the recipe is browning most of the butter to add to the toffee notes of this chewy centered/crispy edged cookie. I took it a step further with a healthy dose of toffee bars, because if there is one thing that is true, it is that the Swedish people are a toffee-loving people. I prefer using Skol bars (or Daim if they are around, which is rare), but most often due to super market availability I end up using Heath Bars. I tend to think that taking the time to cut the larger bars into chunks makes for a better cookie, just like chocolate chunks make a better cookie than chocolate chips, but you can also find Bits of Heath or mini-heath bars that can speed the process up a bit. The end result is still a pretty awesome cookie, larger than your average Tollhouse cookie because, let's face it, nobody is satisfied by a single average size Tollhouse cookie. I challenge you to find a person who sees a larger chocolate chip cookie, and doesn't consider that a positive development.

As far as browning butter is concerned, the ideal is to have a light colored metal pan, as opposed to a nonstick pan. The dark coloring of the nonstick pan can make it a little more difficult to see when your butter is starting to brown and doesn't retain heat quite as well. When the butter is browned to a dark golden brown, it will start to smell nutty, and yes even a bit toffee-like. Your hand should get tired, if not from browning the butter than by the amount of whisking in this recipe. That can't be helped. Delicious will do what it does, and it'll take as long as it takes. Here is a video on how to make brown butter. Remember that it can go from brown to burnt quite fast, so move it from the hot pan to the heat proof bowl fast once it hits peak nuttiness. Brown butter is also the type of thing that you can make in larger batches and save in ice cube trays in the freezer for other recipes (although also remember that you need this brown butter hot enough to melt the rest of the butter for the recipe). You can either discard the milk solids through a strainer or use them. I tend to use them, as I don't mind the little flecks in the cookies and think they have flavor.

Much like I prefer delicious impurity filled grade B maple syrup for its more intense flavors, I prefer dark brown sugar to light brown sugar, but both work well. I tend to think that the darker my mix of brown butter and sugar is, the more complex my flavors end up being. Fun fact- if you have no brown sugar, a quick fix substitution is adding a tablespoon of molasses to white sugar, then pulsing in a food processor to blend. One final note, this is the recipe where I learned how to correctly level flour in a measuring cup. Scoop down and grab a full/overflowing cup of flour. Do not press down. Take a knife, and in one brisk swish, swipe it across the measuring cup. More accurate than filling from the bag or with scoops.    

Chocolate Chip Cookies with Toffee Chunks


Ingredients

  • 1 3/4 cups all-purpose flour (8 3/4 ounces, I prefer King Arthur)
  • 1/2 teaspoon baking soda
  • 14 tablespoons unsalted butter (1 3/4 sticks, 10 tablespoons for browning and 4 tablespoons reserved at room temperature)
  • 1/2 cup granulated sugar (3 1/2 ounces)
  • 3/4 cups packed dark brown sugar (5 1/4 ounces)
  • 1 teaspoon table salt
  • 2 teaspoons good vanilla extract
  • 1 large egg, room temperature
  • 1 large egg yolk, room temperature
  • 1 1/2 cups semisweet chocolate chips or chunks (12 oz for chunks, I prefer Ghiradelli semisweet or bittersweet)
  • 1 cup chopped heath bars (or other toffee bar such as Daim or Skol, etc.)

Instructions

  1. Adjust oven rack to middle position and heat oven to 375 degrees. Line 2 large (18- by 12-inch) baking sheets with parchment paper or silpat. 
  2. Whisk flour and baking soda together in medium bowl; set aside.
  3. Heat 10 tablespoons of the butter in a light colored skillet over medium-high heat until melted. Continue cooking, swirling pan constantly until butter is dark golden brown and has nutty aroma, about 3 minutes, depending on the heat of the pan. Remove skillet from heat quickly and, using heatproof spatula, transfer browned butter to large heatproof bowl. 
  4. Stir in remaining 4 tablespoons butter into hot butter until completely melted. These extra tablespoon make up for the milk solids that were burned off during the browning process.
  5. Add both sugars, salt, and vanilla to bowl with butter and whisk until fully incorporated.
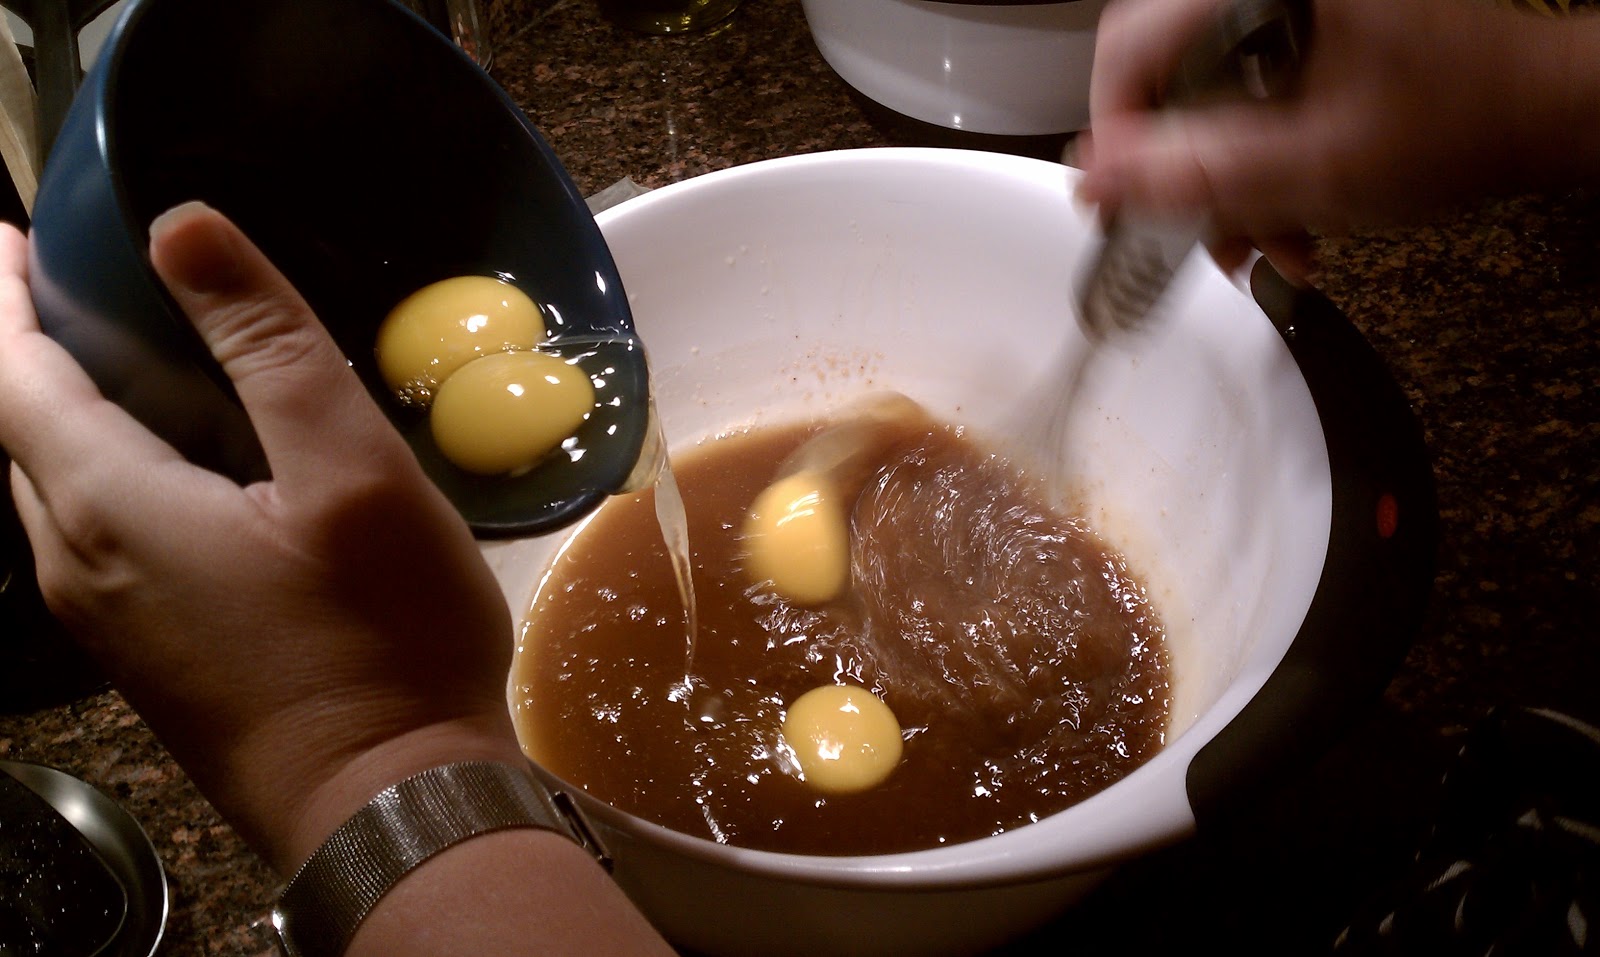
  6.  Add egg and yolk and whisk until mixture is smooth with no sugar lumps remaining, about 30 seconds. Let mixture stand 3 minutes, then whisk for 30 seconds. Repeat process of resting and whisking 2 more times until mixture is thick, smooth, and shiny. Setting a timer can be helpful. The waiting process allows the sugar molecules to dissolve into the butter mixture better.
  7. Using rubber spatula or wooden spoon, stir in flour mixture until just combined, about 1 minute. 
  8. Stir in chocolate chips and toffee chunks, giving dough final stir to ensure no flour pockets remain.
  9. Divide dough 3 tablespoon portions (we use our smaller sized ice cream scoop or a little over an 1/8 cup measure). Arrange 2 inches apart on prepared baking sheets, 8 dough balls per sheet, staggered.
  10. Bake cookies 1 tray at a time until cookies are golden brown and still puffy, and edges have begun to set but centers are still soft, 10 to 14 minutes, rotating baking sheet halfway through baking.  Remember for the second set of cookies to give your oven a minute to come to temperature again after removing the first sheet.
  11. Let cool on rack for one minute, then transfer baking sheet to wire rack; cool cookies completely before serving. I know that part is hard. If you need to re-load the sheet, let the cookie sheet cool for five minutes before loading more cookies onto it.

Monday, March 17, 2014

Triple Layer Guiness Cake (Chocolate Stout Cake) with Bailey's Frosting and Whiskey Ganache

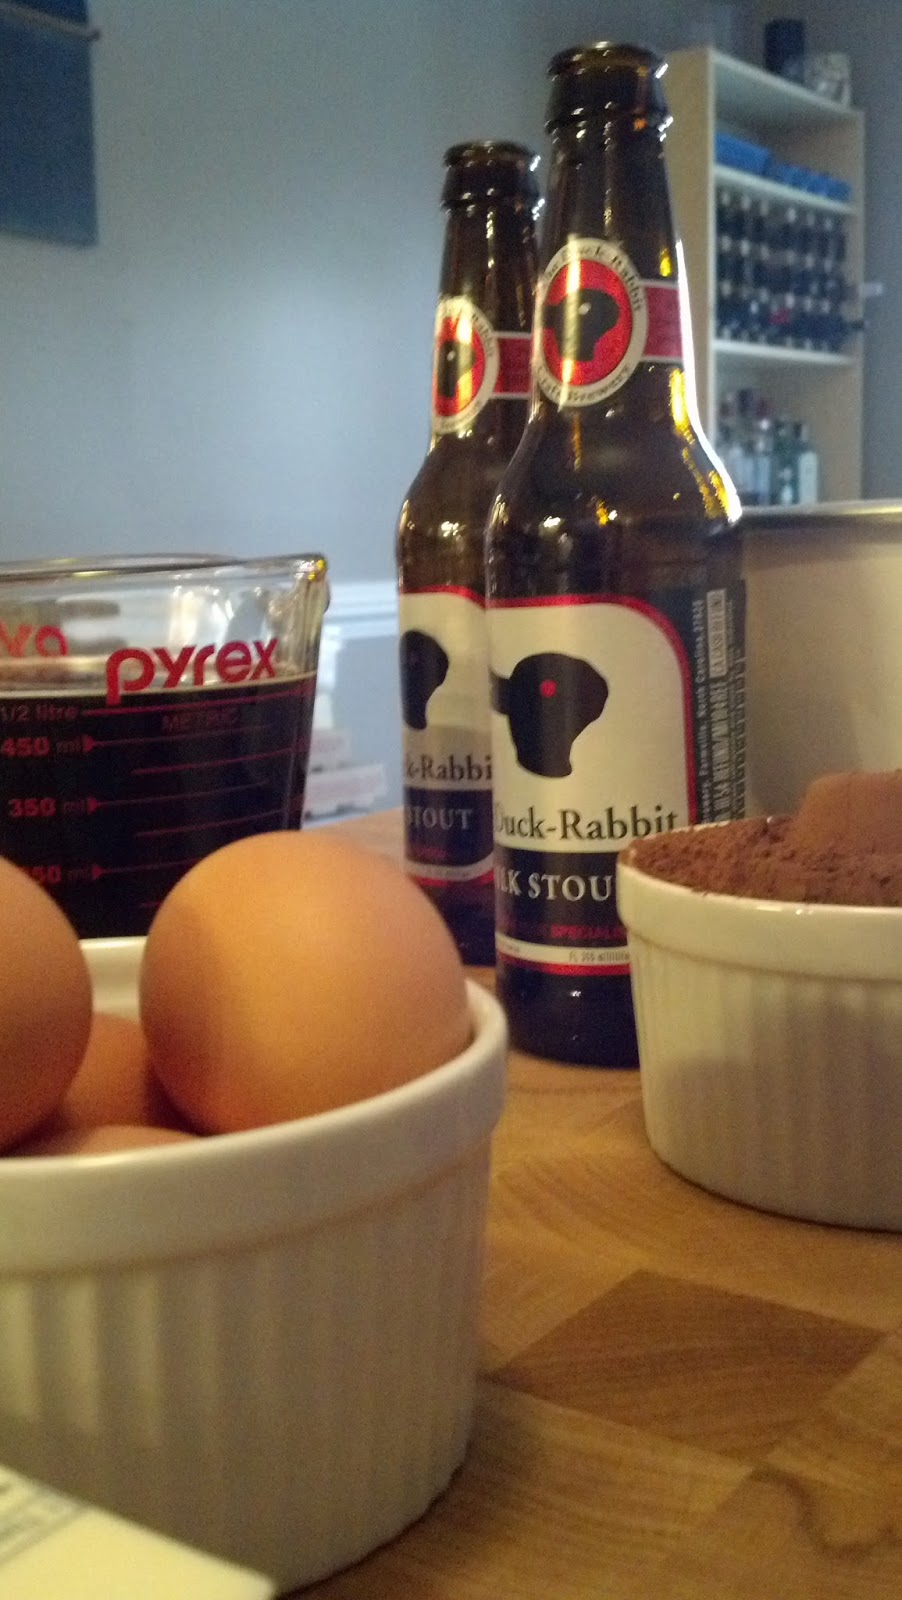
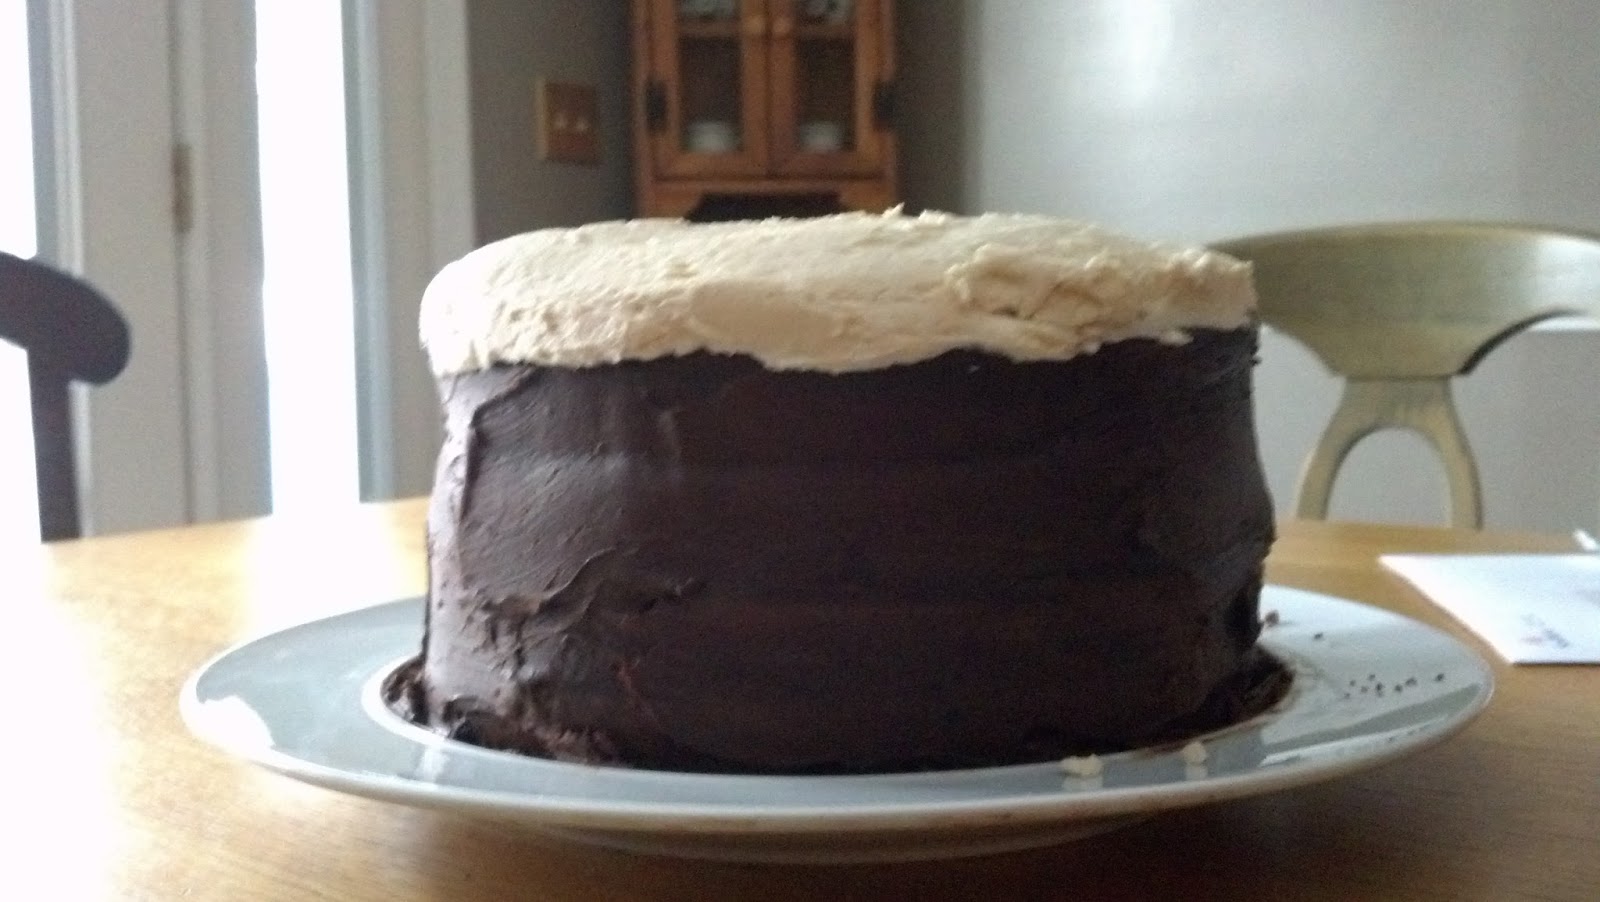
Every St. Patrick's Day, I break out a Guinness recipe. Mostly this is because I'm a dark chocolate person, and Guinness, much like coffee, makes good chocolate take on a darker, slightly more bitter and complex taste. Add to that a sense of satisfaction at boozy cakes, and car bomb cake is just a hop, skip, and a jump away. In the past I've made Car Bomb Cupcakes, but this year I went for the full-on cake, decorated to look like the top of an iconic pint glass. I also did not use Guinness this year, but opted instead for Duck Rabbit Milk Stout. The world of fantastic stouts is too great too always use Guinness, especially with the crazy St. Patrick's day mark up.

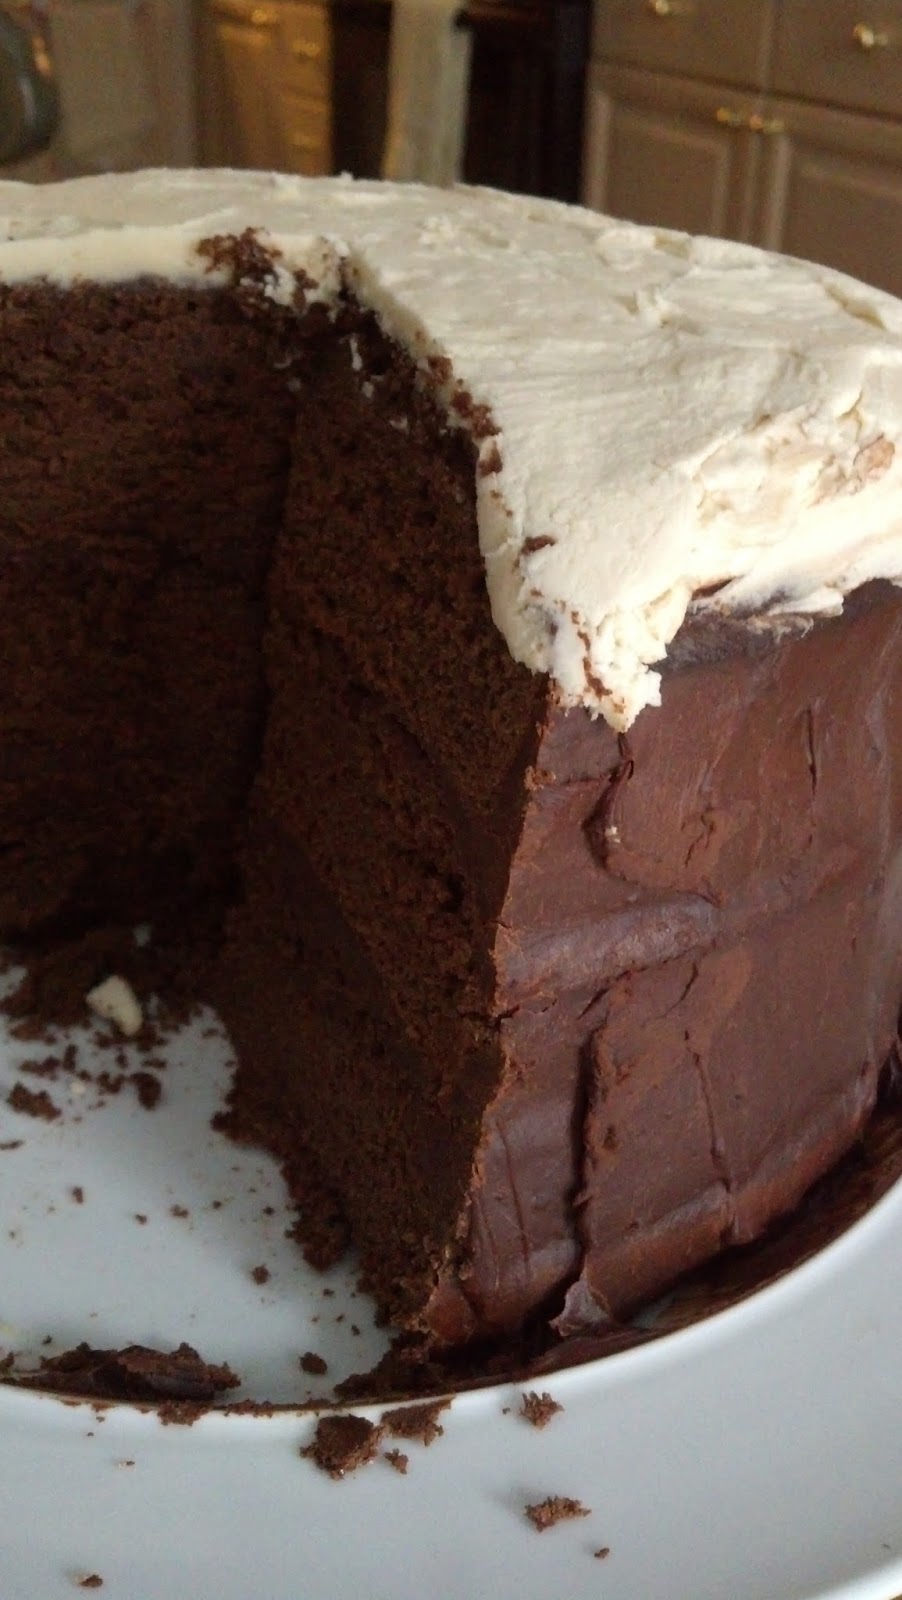
I have to admit that I had grand plans to take detailed photos of the stacking and icing of the cake, which I immediately forgot in the moment of icing. These pictures are from day three of this cake's life, after it had been hidden under foil overnight, and thus does not do the cake justice. This is a bummer. But trust me, the icing is not so hard as it seems, as you only need to rough ice this cake. You are making both the chocolate ganache and the Bailey's buttercream, but they use different methods. You don't have to cream the butter for the ganache, and the amounts come out perfectly to ice the center layers and sides in the chocolate ganache and use all of the buttercream for the top of the cake. 

This recipe makes three layers in 8" cake pans, or 2 layers in 9" cake pans. If you are like me and get very anxious about evenly weighing your cake pans/ do not have three cake pans so need to make them in waves, I have found that 2 lbs. for each layer should be about right (1 lbs 15 3/4 oz if you are using large instead of extra large eggs) for an 8" cake. Make sure, if you are making the 9" pan, that your cake pan is at least 2" deep. If you only want to use a single can of Guinness (weighing in a 14.9 oz), you can top off the cake with water or cold coffee (as a substitute for the espresso powder). Or you can enjoy the rest of that smooth 2nd Duck Rabbit milk stout during the cooking of the cake.


Chocolate Milk Stout Cake (Guinness Cake)


Ingredients

Stout Cake
2 cups stout or dark beer, such as Guinness
2 cups (4 sticks) unsalted butter

1 1/2 cups Dutch-process cocoa
4 cups All purpose flour
4 cups sugar
1 tablespoon baking powder
1 1/2 teaspoons salt

1/2 teaspoon espresso powder
1/2 teaspoon vanilla
4 extra large eggs

8 oz sour cream


Chocolate Whiskey Ganache

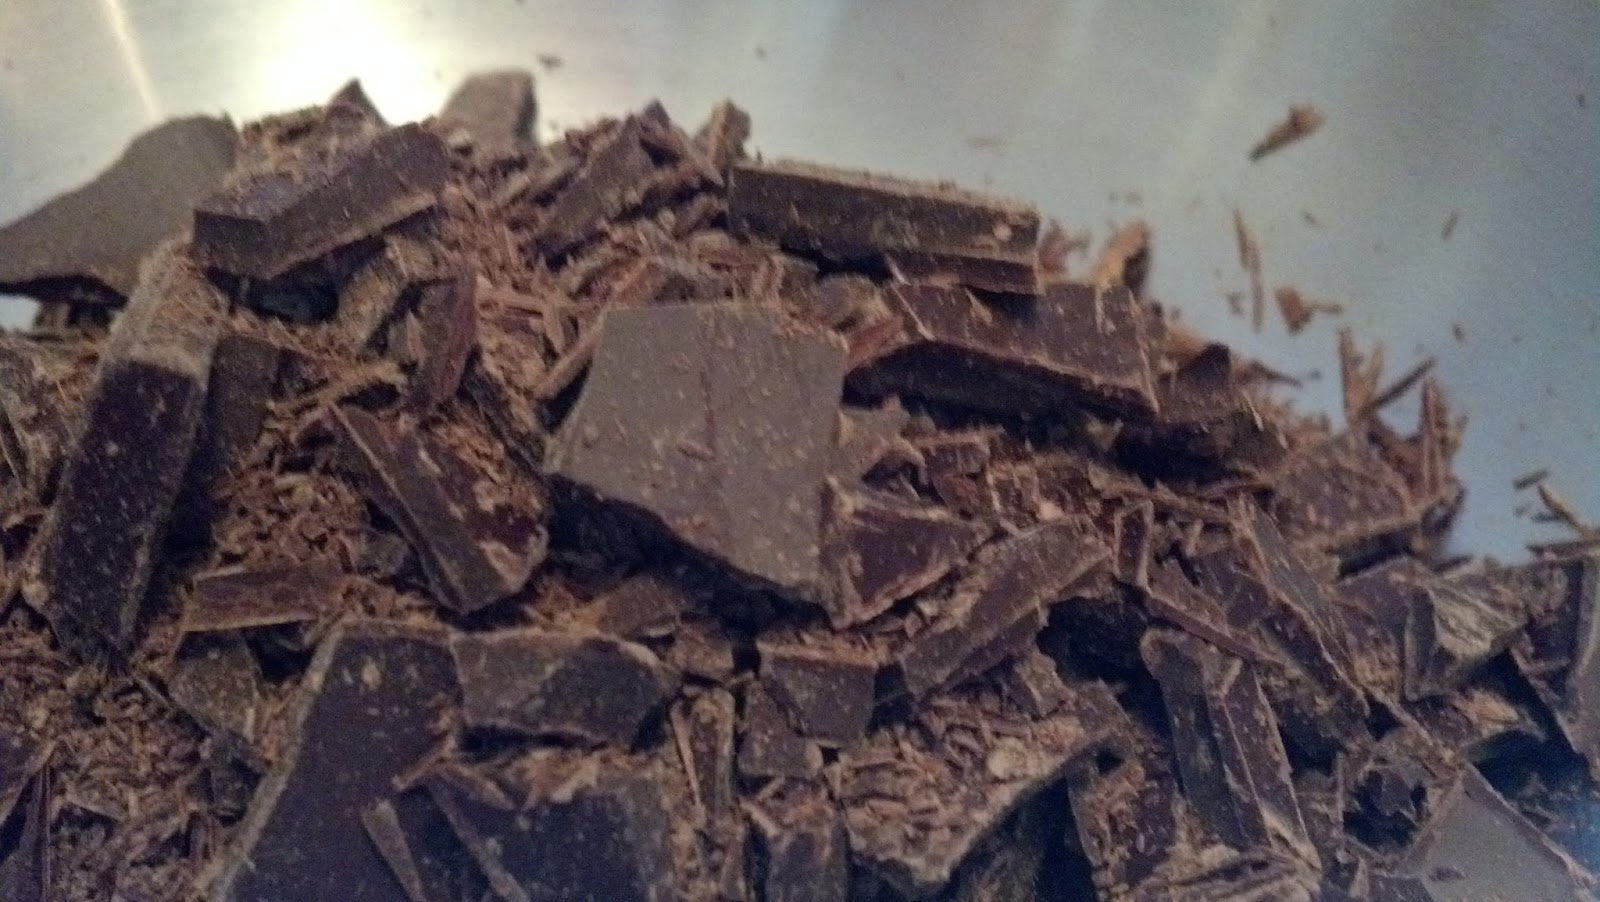
1 pound bittersweet or semisweet chocolate, chopped
2 cups heavy cream
1 teaspoon vanilla extract

2 -4 tablespoons whiskey (to taste)
1 teaspoon espresso powder

Bailey's Irish Cream Buttercream Frosting
 3 to 4 cups confections sugar
1 stick (1/2 cup or 4 ounces) unsalted butter, at room temperatue 
1/4 cup Baileys - 1 airplane bottle's worth, plus more to taste

Additional milk or cream for blending if necessary.

Instructions:

  1. Preheat the oven to 350°F. 
  2. Cut three round parchment paper circles that fit neatly in the bottom of 3 8" cake pans or 2 9" cake pans.
  3. Grease and flour three 8" or two 9" cake pans, and line them with the parchment paper circles.
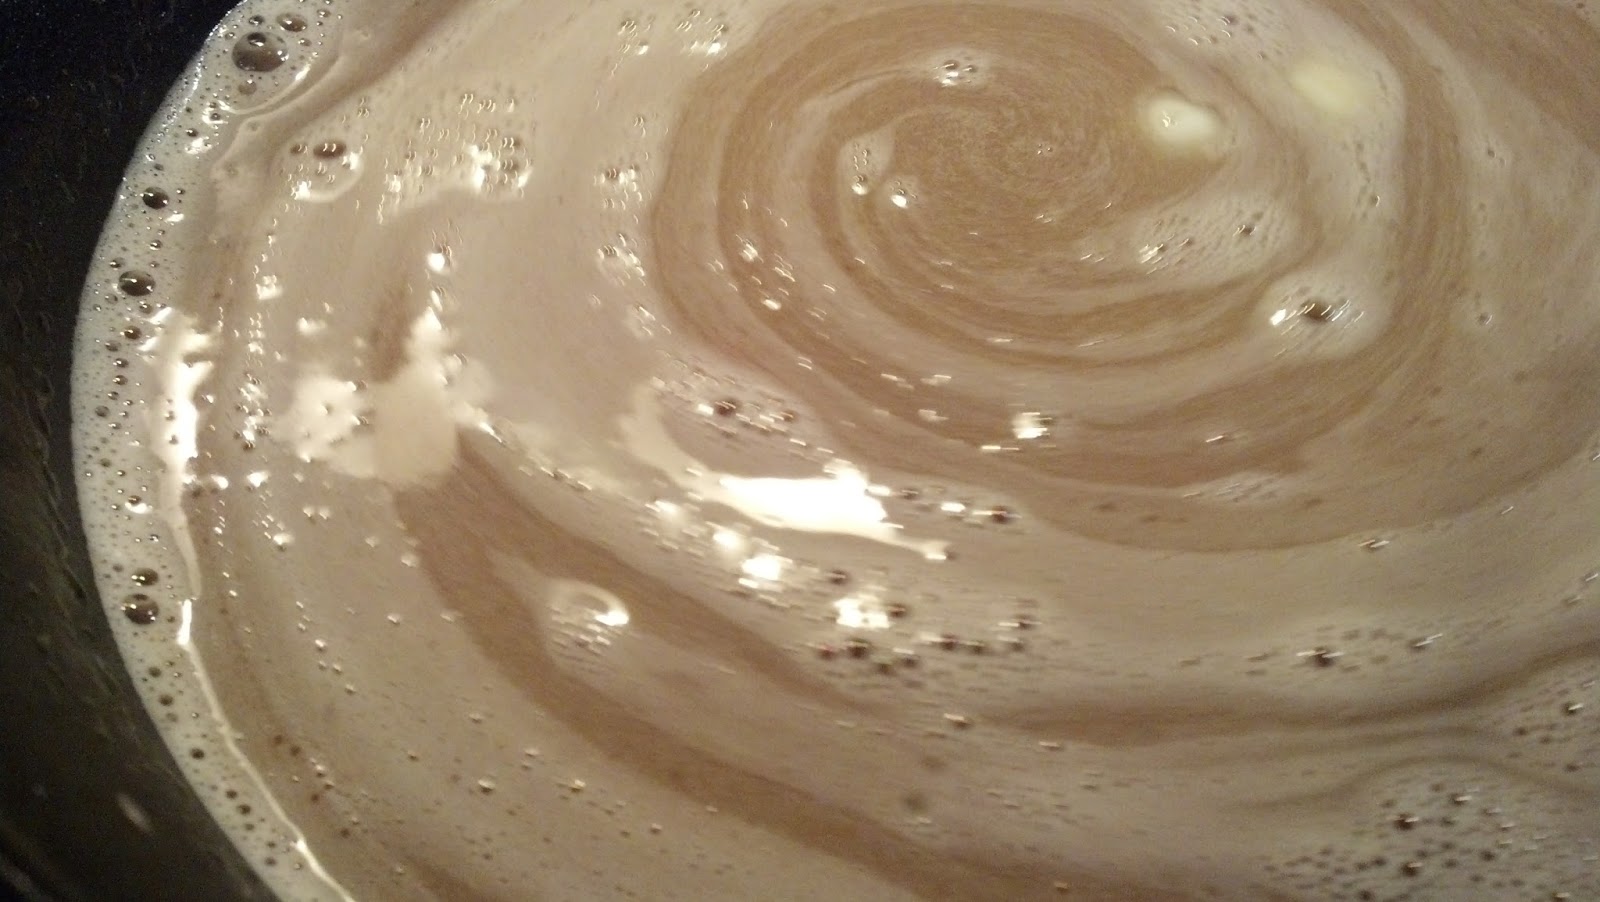
  4. For the cake: Place the stout, espresso powder and butter in a large, heavy saucepan, and heat until the butter melts.
  5. Remove the pan from the heat, and add the cocoa powder.
  6. Whisk until the mixture is smooth and shiny. Set aside to cool to room temperature.
  7. Whisk together the flour, sugar, baking powder, and salt in a large bowl; set aside.
  8. In a large mixing bowl or the bowl of a standing mixer, beat together the eggs, vanilla and sour cream on medium for about a minute.
  9. Add the stout-cocoa mixture, mixing to combine.Use a batter guard if you have one.
  10. Add the flour mixture a little bit at a time and mix together at slow speed. Scrape the sides and bottom of the bowl, and mix again for 1 minute. 
  11.  Divide the batter equally among the prepared pans. (See above for weighing hints.) Drop the pan a couple times against the top of the counter to even out batter and let any air bubbles escape prior to baking.
  12. Bake the layers for 35-38 minutes for 8" pans, or 45 to 50 minutes for 9" pans, until a cake tester inserted into the center comes out clean. 
  13. Remove the cakes from the oven and cool on a rack for 10 minutes before turning the cakes out of their pans and returning to the rack to finish cooling completely before frosting. If you are reusing a cake pan, wait an additional 10 minutes for the empty pan to cool before rinsing and re-greasing. 
  14. For the whiskey ganache: Place the chopped chocolate in a large heatproof bowl along with the espresso powder if using.
  15. Bring the cream to a simmer in a heavy, medium-sized saucepan, stirring frequently and watching to make sure not to scald the cream.
  16. Pour the hot cream over the chocolate and stir until the mixture is completely smooth and melted. The mixture will start out looking almost a little separated before chocolate melts and blends. 
  17. Stir in the whiskey and vanilla. Refrigerate until the icing is spreadable, stirring occasionally, about an hour and a half. If you do not stir the edges will get overly stiff and have to be reincorporated during assembly.
  18.  For the Bailey's Irish Buttercream: Whip the butter in the bowl of an electric mixer, or with a hand mixer, for several minutes. You want to get it very light and fluffy. Slowly add the powdered sugar, a few tablespoons at a time.
  19. When the frosting looks thick enough to spread or thicker, drizzle in the Baileys (or cream if you are doing the non-alcoholic option) and whip it until combined and frosting is correct texture. 
  20. If this has made the frosting too thin (it shouldn’t, but just in case) beat in another spoonful or two of powdered sugar. Adjust for taste and desired degree of alcohol.
  21. To assemble: If all of your cakes are rather domed, trim one cake layer to have a flat top, if necessary.
  22. Place the layer upside down on a serving plate or cake stand. Spread 1/3 of the chocolate whiskey icing over just the top of the layer, starting with a large mound of icing in the middle of the cake, and moving your spreader around in a circular motion to spread icing all the way to the edges of the layer. Don't worry if it spills over the edges of the cake a little, you'll get to fix that later.
  23. Top with another cake layer, top side down, and repeat the process. If you baked three layers, add that one also.
  24. Use the remaining frosting to cover the sides of the cake. You can gently press the layers closer together if the stacking feels a little iffy, but be very careful to keep the cake straight. To clean up your mess on the edge of the serving plate, using a paper towel dipped in water to carefully remove any chocolate.
  25. Top the top layer of the cake with a generous layer of the Bailey's buttercream frosting, making sure that the edge of the Bailey's covers the top of the edge of whiskey ganache. 
  26. Store in fridge until ready to serve. Remember that the top layer of buttercream will not stiffen as much as the ganache will.

Tuesday, January 7, 2014

Swedish Visiting Cake (Swedish Almond Cake)

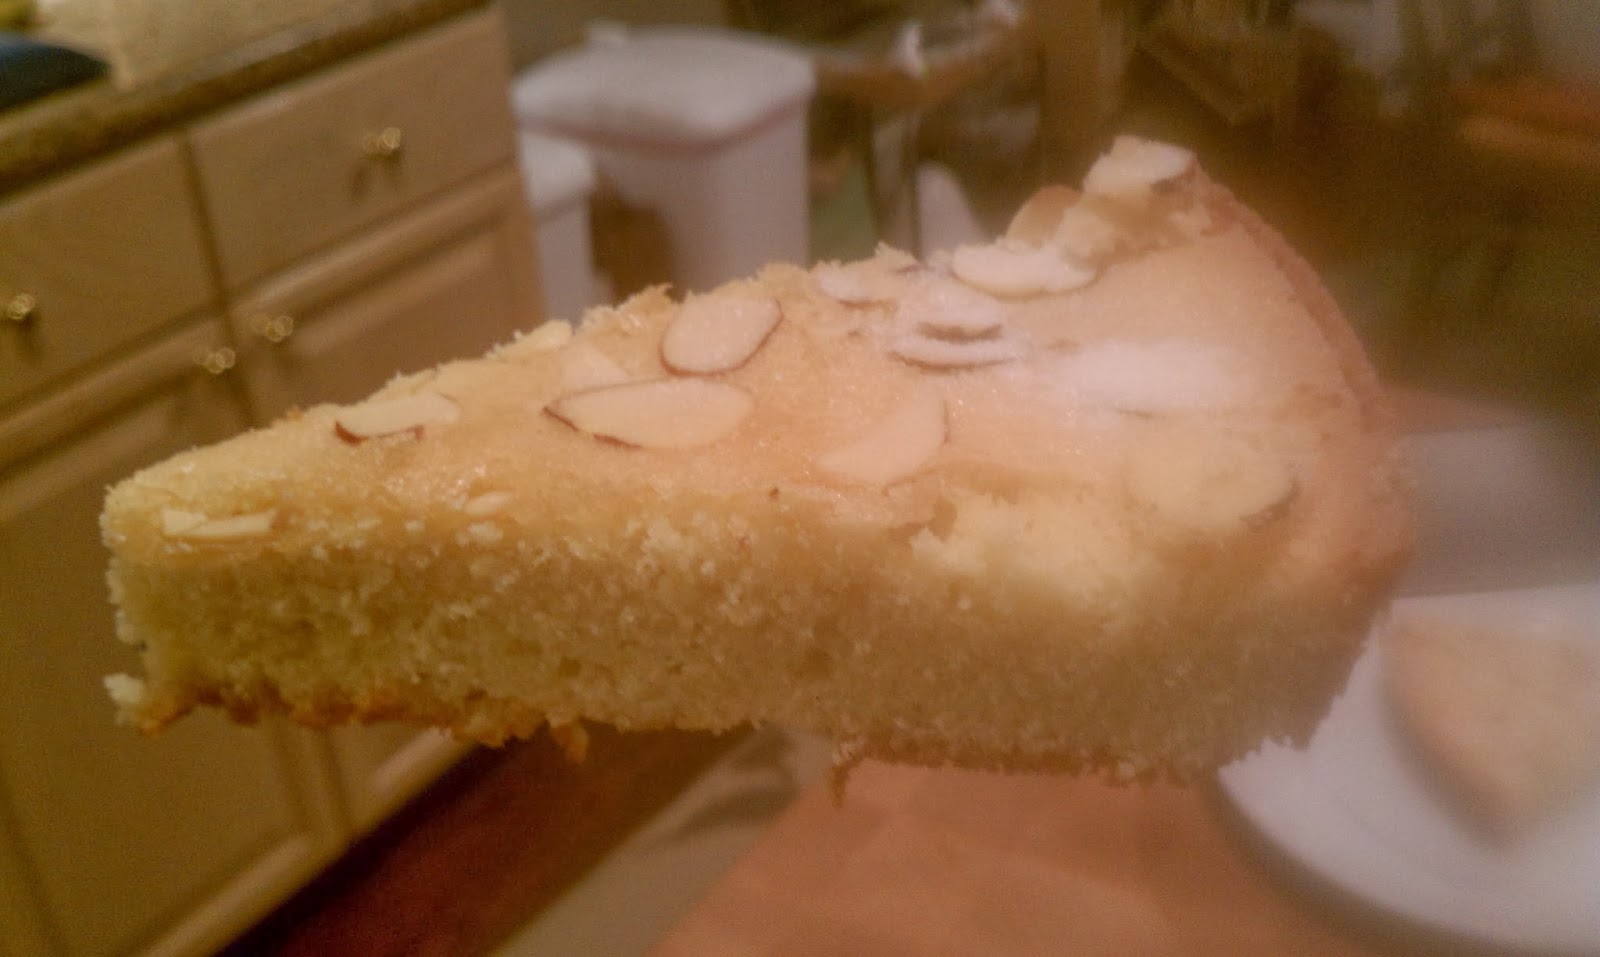
Almost every Northern European culture features some version of a traditional almond cake. This cake is so good, simple, and elegant that it needs no frosting other than a light dusting of sugar, and when served fresh is one of the best things you've ever tasted. It goes with everything and is just the right balance between a light and heavy dessert. This version is Swedish, and I particularly like it because it doesn't require almond flour or almond paste, two ingredients that I love but that can get pricey and more difficult to find.  The story behind Swedish visiting cake is that it is supposed to be simple enough to be started when you see someone coming at the end of the lane and out of the oven and ready to be served by the time tea is ready. This is only slightly far from true. You might want to zest the lemon before you see your guest. But otherwise, yeah, you could do this from start to finish, including all prep, in forty five minutes with ingredients you most likely have on hand.

Now, it needs to be stated that my family is Swedish, and it would be very tempting to pass this off as a long running family recipe that my Swedish grandparents made. But actually, it is from Dorie Greenspan's Baking cookbook, with slight alterations. When I first made it for my Swedish mother, she said, "we never made cake when people visited for tea. You'd bake cookies, and then have cookies stored in the freezer to bring out at a moment's notice for guests." And sometimes you would bring those cookies when you went to visit others. Well, this cake is also brought around when you visit others (carries nicely in a cast iron skillet). It  stores well for up to a week, and is just as delicious two days later as it is served warm. Basically, I think my Mormor in particular was more into cookies than cake and that is that. But the idea is the same, as is the importance of constantly having little desserts available for guests who come for tea, a problem the Swedes have put a good deal of time into solving.

One cake is best cut into 8 slices. It serves well with tea (obviously), but also light ice creams like vanilla and with red berries such as strawberries or raspberries. 

Swedish Visiting Cake


Ingredients

1 cup sugar, plus extra for sprinkling
Grated zest of 1 lemon
2 large eggs at room temperature
1/4 teaspoon salt
1 teaspoon pure vanilla extract
1 teaspoon pure almond extract
1 cup all-purpose flour
1 stick (8 tablespoons) unsalted butter, melted and cooled
About 1/4 cup sliced almonds


Instructions

  1. Center a rack in the oven and preheat to 350 degrees.
  2. Heavily butter a seasoned 9-inch cast-iron skillet or other heavy ovenproof skillet, a 9-inch cake pan or even a pie pan.
  3. Pour the sugar into a medium bowl.  Add the lemon zest and blend and toss the zest and sugar together with your fingertips until the sugar is moist and aromatic and lemony. Congrats, you've just made lemon sugar.
  4. Whisk in the eggs one at a time until well blended.  This is your only levener for the cake, so don't rush it.
  5. Whisk in the salt and the extracts.  
  6. Switch to a rubber spatula and stir in the flour.  
  7. Finally, fold in the melted butter. 
  8. Scrape the batter into the pan and smooth the top with a rubber spatula, evenly spreading the batter to the sides.  
  9. Scatter the sliced almonds over the top and sprinkle with a little sugar (it should take between 2-3 small spoonfuls).  If you're using a cake or pie pan, place the pan on a baking sheet.
  10. Bake the cake for 25 to 30 minutes, or until it is golden and the sugar crisps on the outside; the inside will remain moist, almost damp. If you are cooking multiple cakes, rotate once during baking, and remember to check both cakes for done-ness, as a cast iron skillet and a cake pan cook a little differently.  
  11. Remove the pan from the oven and let the cake cool for 5 minutes, then run a thin knife around the sides of the cake to loosen it.  You can serve the cake warm or cooled, directly from the skillet or turned out onto a serving plate. 


Thursday, December 19, 2013

Wasabi Deviled Eggs with Sriracha

Deviled eggs are a timeless tradition of delectable snacking that lends itself well to pretty much any party or potluck in any season. These deviled eggs are no exception, and were added to our Holiday Party line up. They are salty, spicy, and have a subtle hint of star anise that makes for a more Eastern take of a Southern classic. I love deviled eggs in pretty much every available format, but the only thing better than one kind of deviled egg is SEVERAL kinds of deviled eggs.

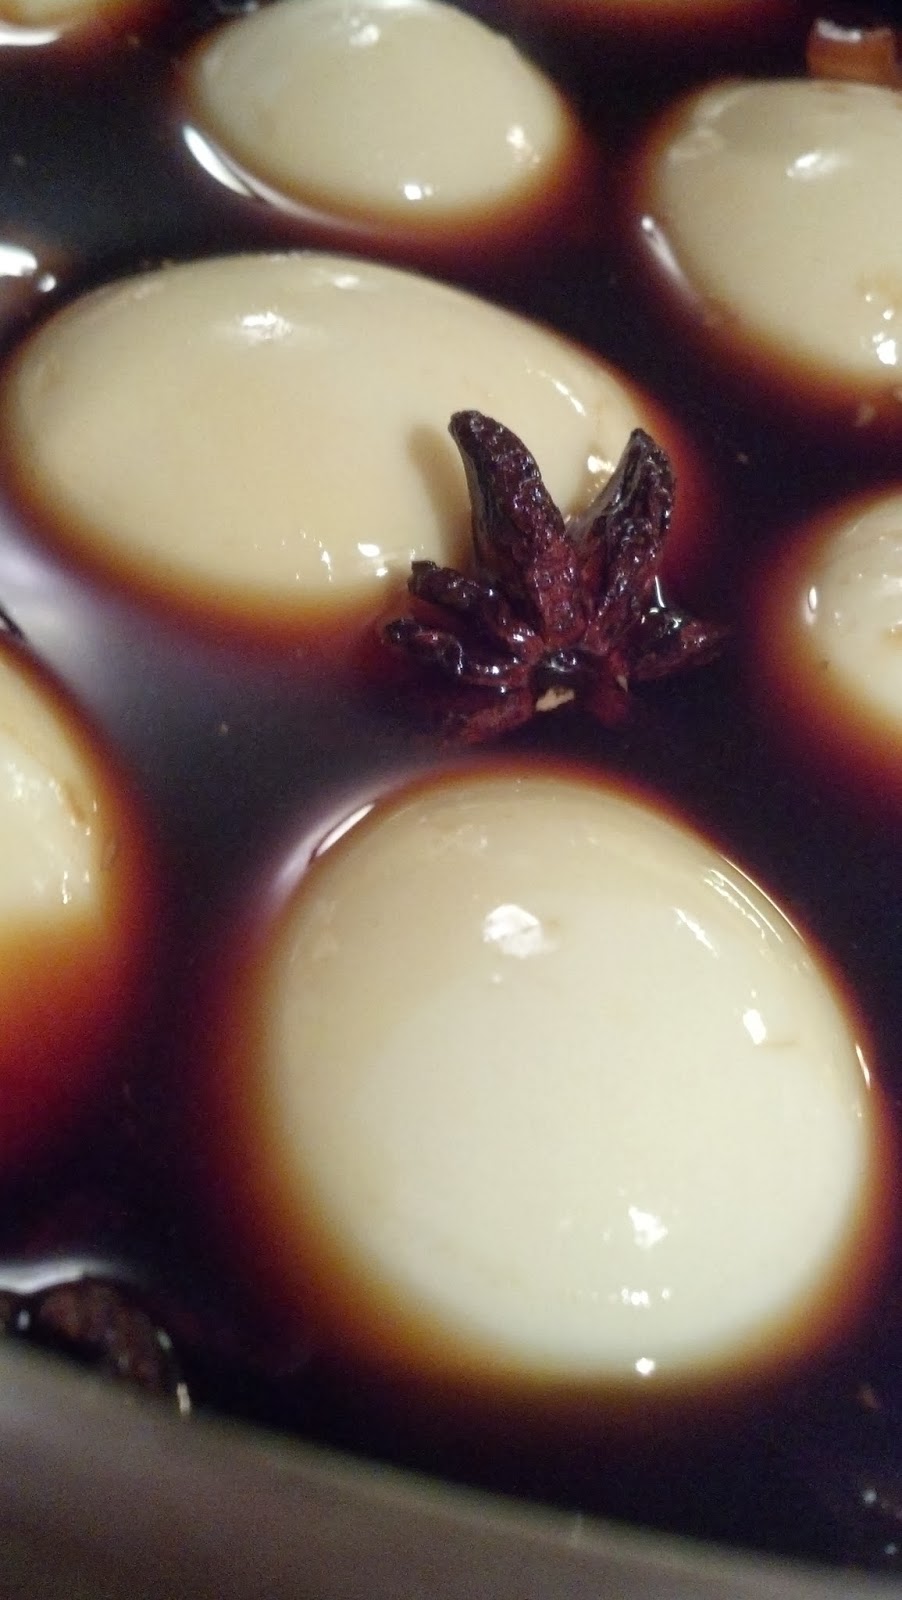
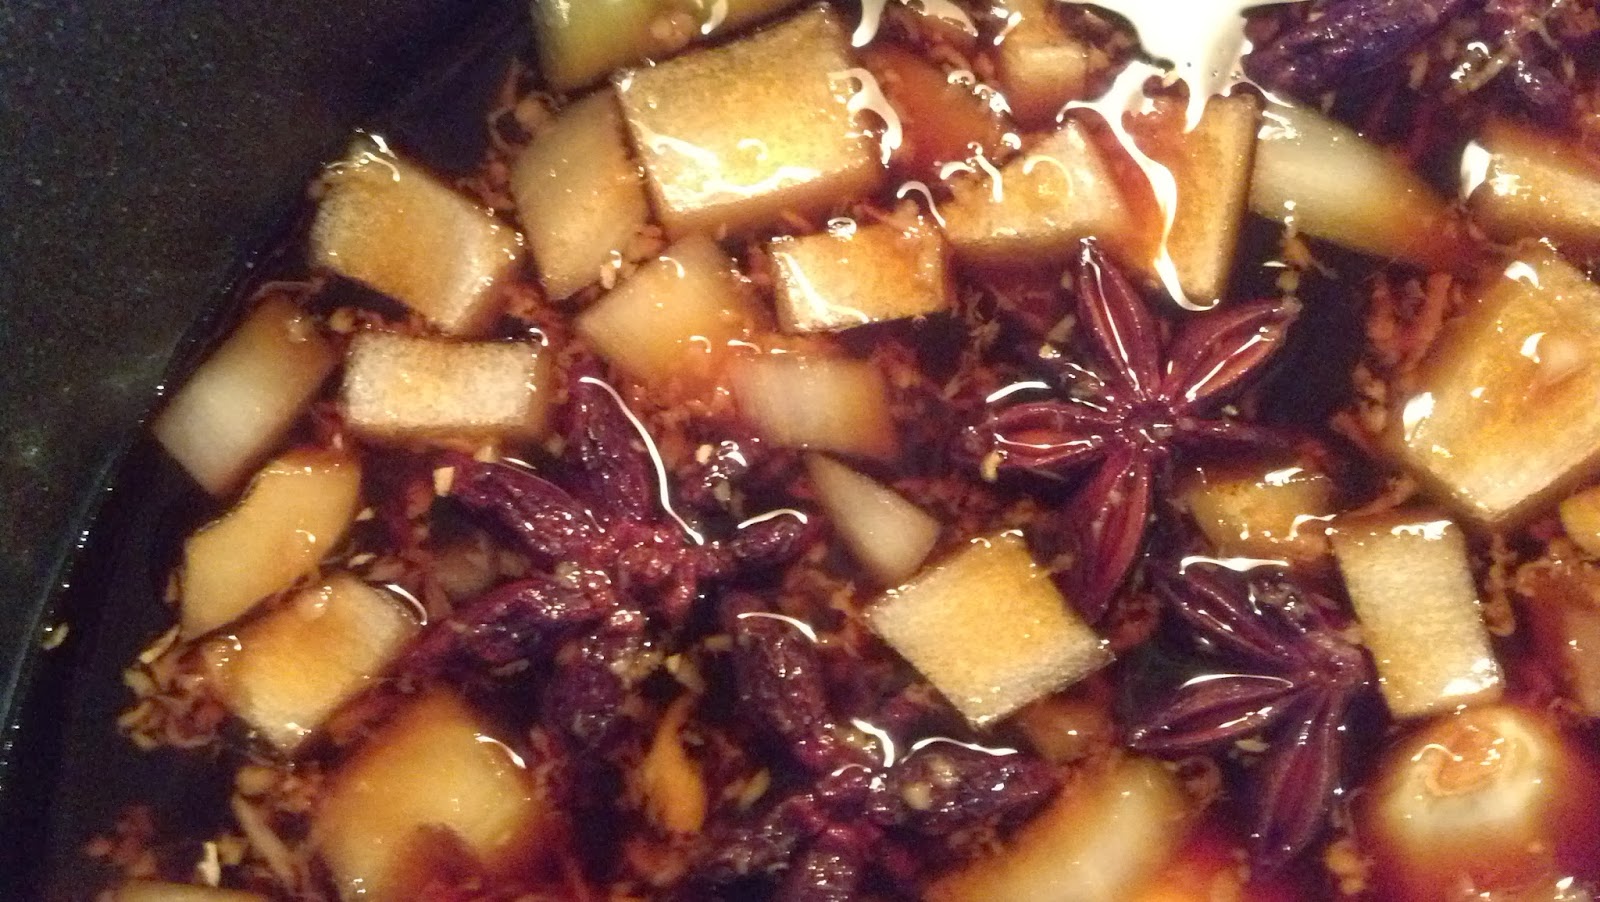
The original recipe (available at the Food and Wine website), uses scallions in the marinade, but we were fresh out of scallions when we first made these and substituted a combination of onions and garlic in its place, as this is essentially a marinade so presentation really isn't an issue. It worked wonderfully. The main flavors from the marinade are fresh ginger, soy, sake, and star anise and the onion is more of a background note. And given we are more likely to have an onion on hand than to have a bunch of scallions, it's been a useful substitute.

The star of this show is the wasabi and sriracha filling, which takes this from just being salty to packing a kick at the end of each bite that makes people eat them before I am able to take the "finished" photo of what they look like, which gives you a sense of their popularity. If you want a quick and dirty version that doesn't involve a bunch of star anise and hours of marinating, you can just make the filling and skip the marinade. Your eggs won't get a cool tint and will not have quite the complexity, but the filling is pretty delicious on its own. Even with the marinade, this still qualifies as a pretty easy recipe. If you want to throw some extra eggs in there, go ahead. We've squeezed in 15 eggs into the marinade without increasing the amounts of the marinade (this might require more stirring for even coating). Above that I would recommend making some extra marinade.
 

Wasabi Deviled Eggs with Sriracha

Makes 24 eggs

Ingredients

1/4 cup sugar
1/4 cup coarsely grated peeled fresh ginger
1/2 cup sake
1 cup water
2 cups soy sauce
10 star anise pods


1 medium yellow onion, chopped (or 1/2 cup of chopped scallions)
6 cloves garlic, peeled
1 dozen large eggs 
1 tablespoon Sriracha  
1/4 cup plus 1 tablespoon mayonnaise
1/4 cup snipped chives
2 1/2 teaspoons wasabi paste 
Chinese five-spice powder 


Instructions 

  1. In a medium saucepan, combine the water, soy sauce with the sake, star anise, onion (or scallions if using), garlic, sugar and grated ginger.
  2. Bring soy mixture to a boil. Transfer the mixture to a heatproof medium bowl and let cool completely. 
  3. Meanwhile, in a large saucepan, cover the eggs with cold water and bring to a boil. Boil for one minute, then cover the saucepan, remove from heat, and let stand 10 minutes until hard boiled.
  4. Drain the water from the large saucepan. Cool the eggs slightly under cold running water to stop the cooking process, then peel them under cold running water. 
  5. Add the eggs to the completely cooled soy mixture. Cover with plastic wrap and refrigerate the eggs for at least 4 hours, stirring once in awhile to ensure that all the eggs are fully immersed in the soy mixture and will color evenly.
  6. Drain the eggs and rinse lightly to remove any bits of scallion or ginger; pat dry. The outside of the eggs will become a tannish brown color.
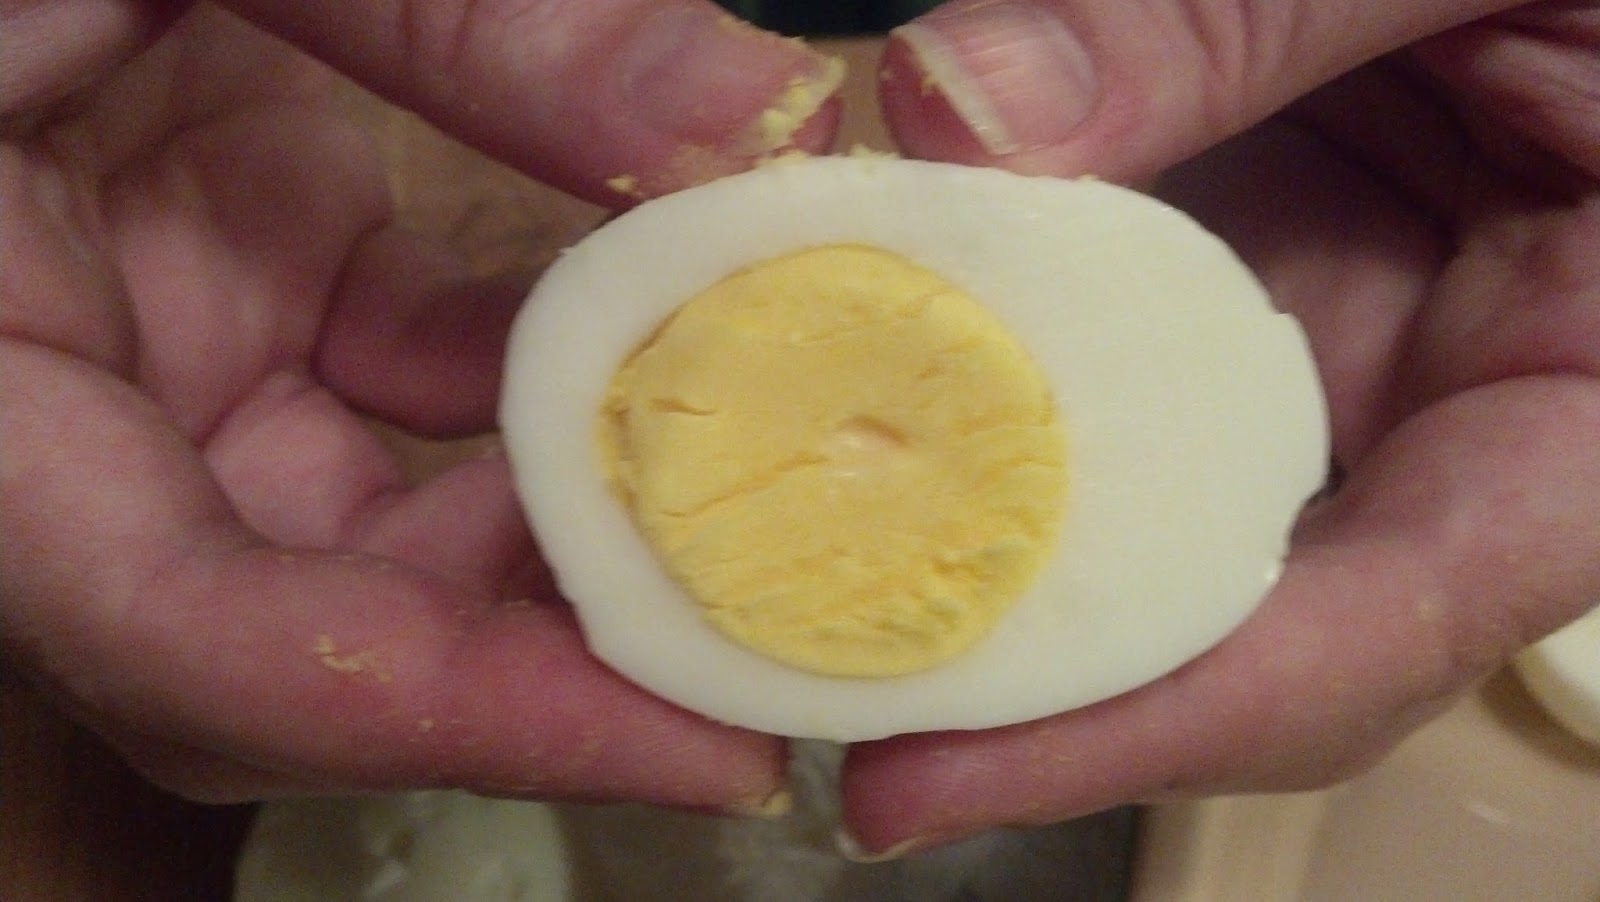
  7. Using a slightly moistened thin, sharp knife (non-serrated), cut the eggs in half lengthwise. Yolks should be bright yellow, cooked all the way through, and the knife should cut cleanly through the yolk.
  8. Gently pry the egg yolks into a medium bowl without breaking the cooked white. Leave the whites aside and mash yolks with a fork or potato masher until the mixture is as free of lumps as possible. If some remain, they will be taken care of during the piping process.
  9. Stir the mayonnaise, Sriracha, wasabi and 3 tablespoons of the snipped chives into the mashed yolks until fully combined.
  10. Transfer the mixture to a pastry bag fitted with a star or plain tip. Set the egg whites on a serving platter and pipe in the filling. If you don't have a pastry bag, cut off the corner of a plastic Ziploc bag, or just use a spoon for a slightly more rustic but equally delicious look. At this point, if you are making these ahead of time, you can stop here and store the eggs in a fridge overnight until ready to serve.
  11. Right before serving, sprinkle a pinch of Chinese five-spice powder on each of the deviled eggs then top with the remaining chive snips or thinly sliced scallions if wanted. 

Wednesday, December 18, 2013

Cranberry Cheddar Gougeres

A gougere is a French pastry that is light, airy, and deliciously cheesy. Essentially, it is a cheese puff the way a cheese puff should be. If you have never experienced the delight of biting into a piping hot gougere and have the steam from the oven explode in your mouth or had an entire room consumed by the smell of cheesy goodness cooking in the oven, I insist you stop whatever you are doing and find yourself a gougere to eat, unless what you are doing is making gougeres, in which case, you are on the right track.  

There are many variations on a gougere (which is classically made with gruyere cheese or sometimes other French cheeses), but all of them are based on the idea of a light, airy cheese pastry made with a pot au choux dough, which is a cooked dough that uses moisture instead of a rising agent (like yeast) to rise. All of which makes it sound very fancy and much more difficult than it is.

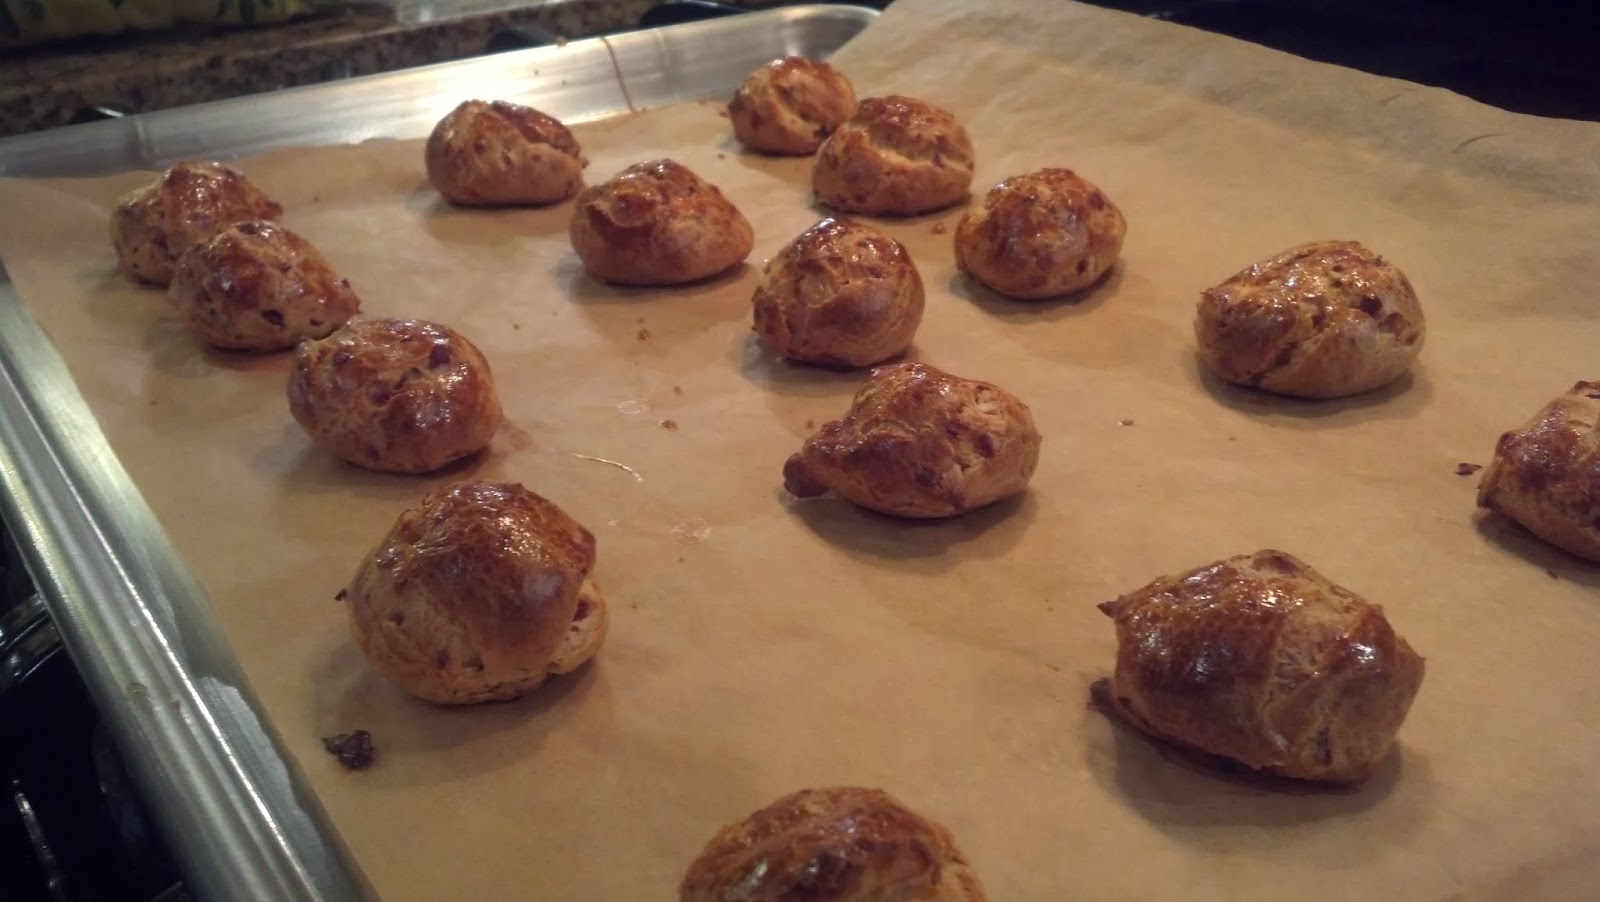
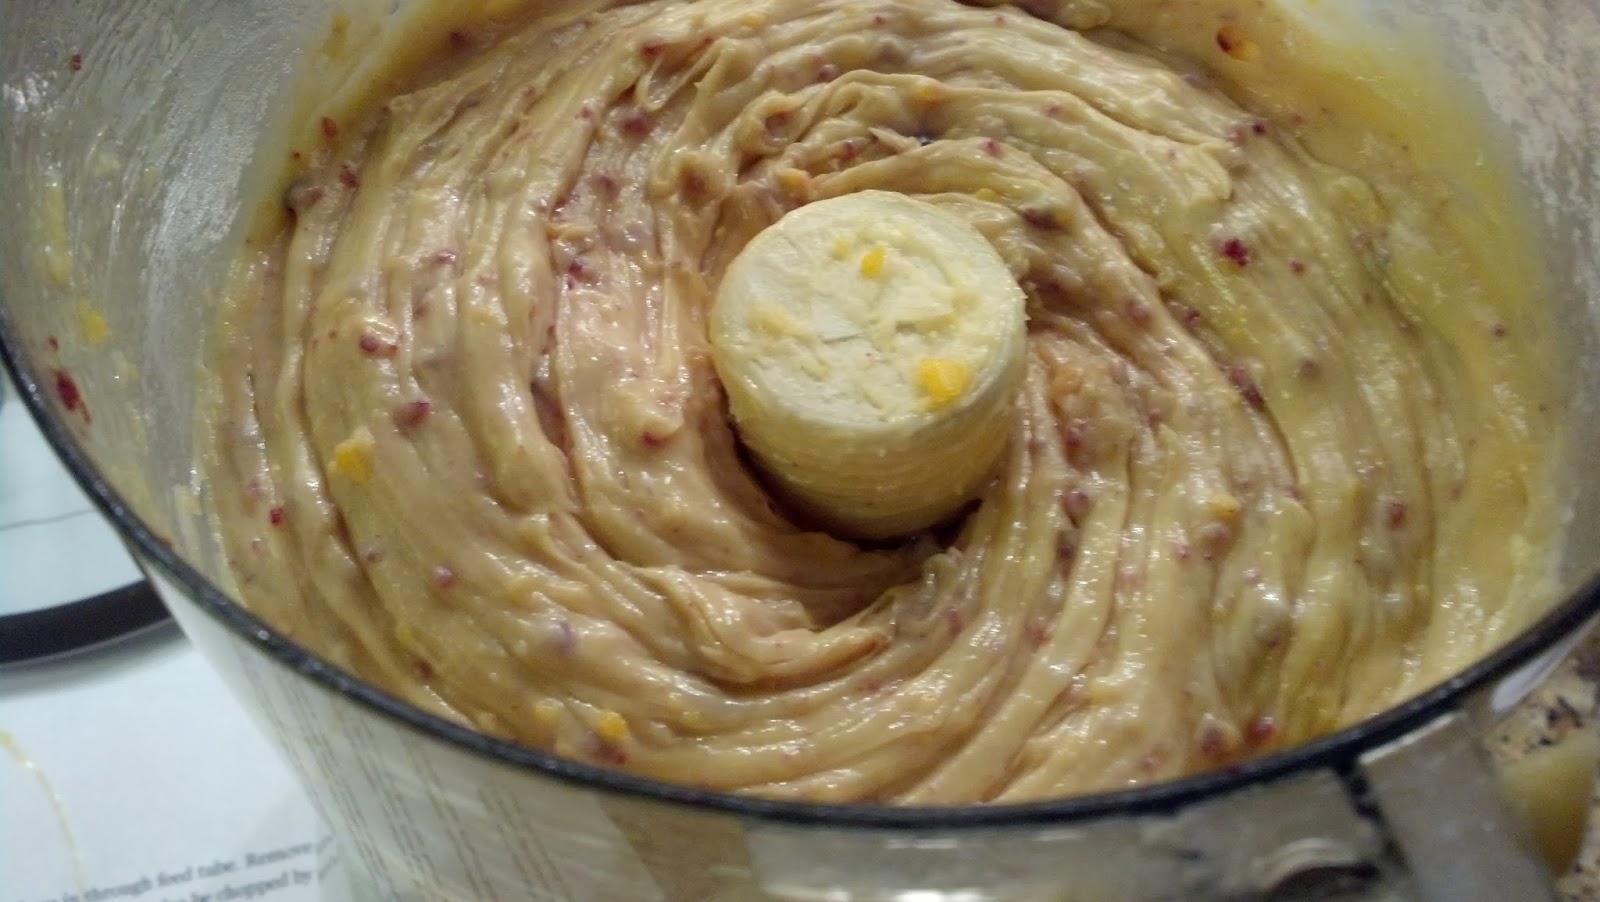
Usually, you see gougeres in small bite size balls (each 1-2 bites), but when we were in Burgundy recently, TK and I were frequently served much larger almost biscuit sized gougeres that were equally light and delicious.We will get to those later, but for now, here are some of the regular bite sized gougeres in a fun recipe from the New York Times website that adds a little holiday cheer to this classic (and thus made it a perfect addition to our Holiday Party line-up), while speeding it up along the edges for a quick and easy treat. Obviously, cheddar is not particularly French, nor are cranberries, but delicious is delicious. The dough looks marvelously festive before baking with little red cranberry flecks, the cheese kinda takes over the show during baking and the cranberry taste is a relatively subtle sweet note in the dough. Because these are tiny, they don't necessarily require the piping that larger gougeres may need to get that distinctly spiral. Obviously, piping doesn't HURT the recipe, but it can be a mess when all you need is a teaspoon scoop.

This is a food processor recipe, which is both awesome, convenient, and makes it difficult to make more than one batch at a time, unless you are willing to rock multiple food processors which frankly I am not. For the record, you can make this recipe by hand. You have to finely chop the cranberries by hand in the beginning and then stir until your arm can't stir anymore and then stir some more to incorporate the eggs, cranberry, and cheese later, but it can be done. But why would you take a recipe that has given you the gift of a food processor and then not use it? In addition, this is a freezer-friendly recipe. You can make these a week before your party and just heat them up right before you are ready to serve. You won't get the same intense cheese smell filling your house at reheating (only a moderate cheese smell filling your house), but they will still taste delicious and you'll still be able to serve them piping hot with a simple ten minutes in a 350 degree oven.


Cranberry Cheddar Gougeres

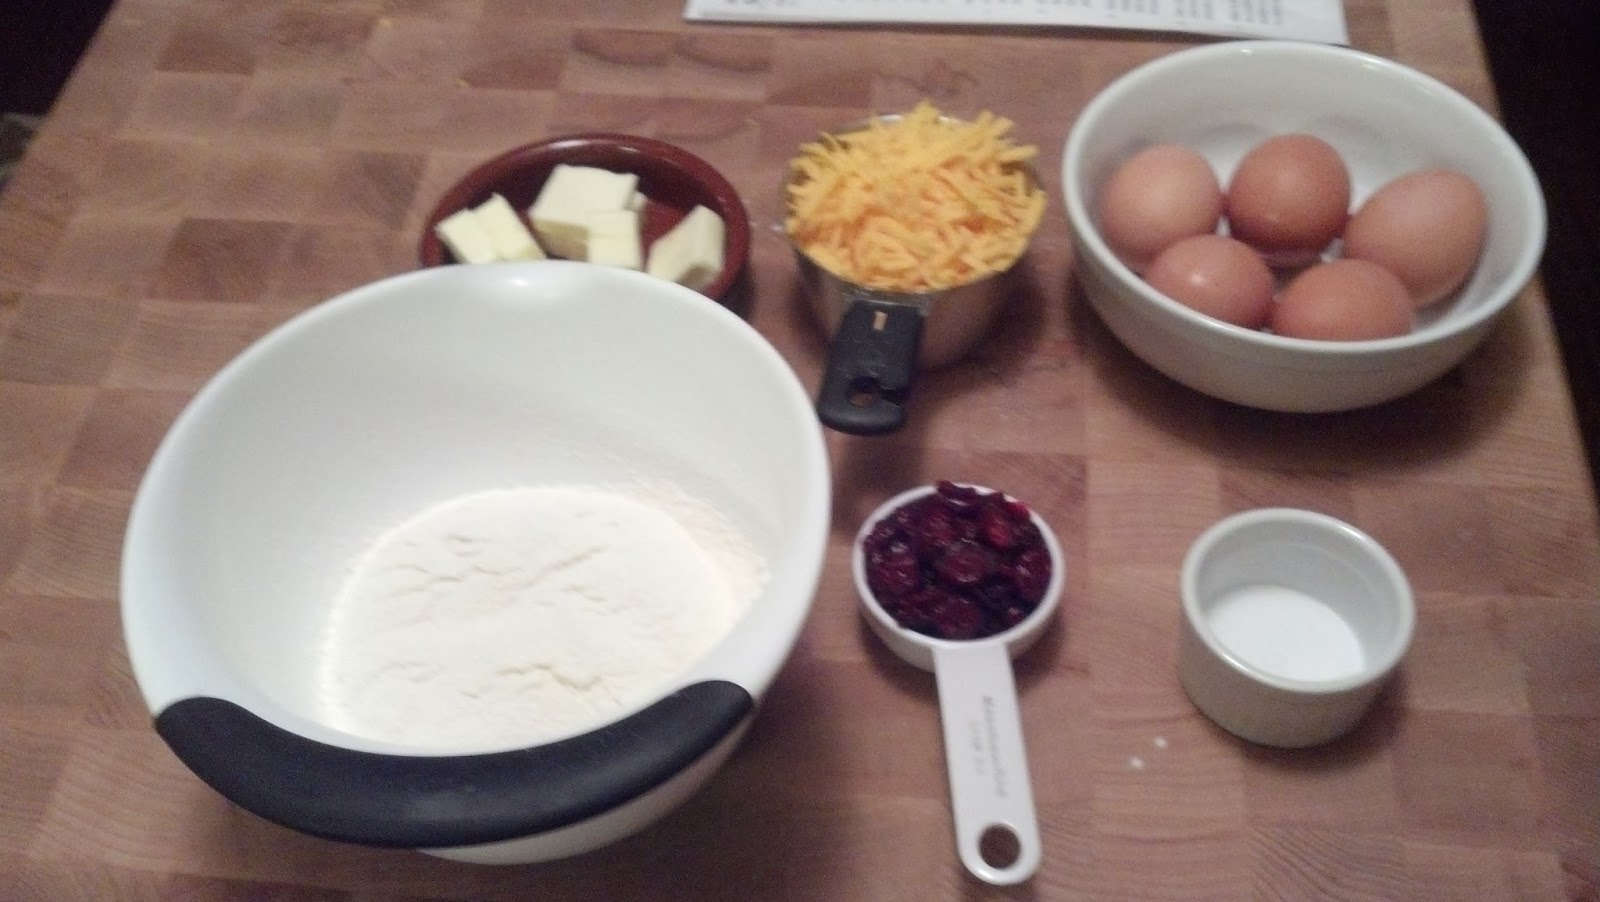
Ingredients


  • 1/4 cup dried cranberries
  • 3 ounces unsalted butter (6 tablespoons)
  • 1 teaspoon salt
  • 1 cup sifted flour
  • 5 large eggs
  • 1 cup grated sharp Cheddar


Preparation


  1. Turn on food processor and finely chop cranberries by dropping them in through feed tube. Remove cranberries, but don’t bother cleaning bits clinging to the bowl, as they'll end up back in bowl eventually. 
  2. Place 1 cup water in a 2-quart saucepan. Add butter and salt, bring to a simmer and cook just until butter melts. 
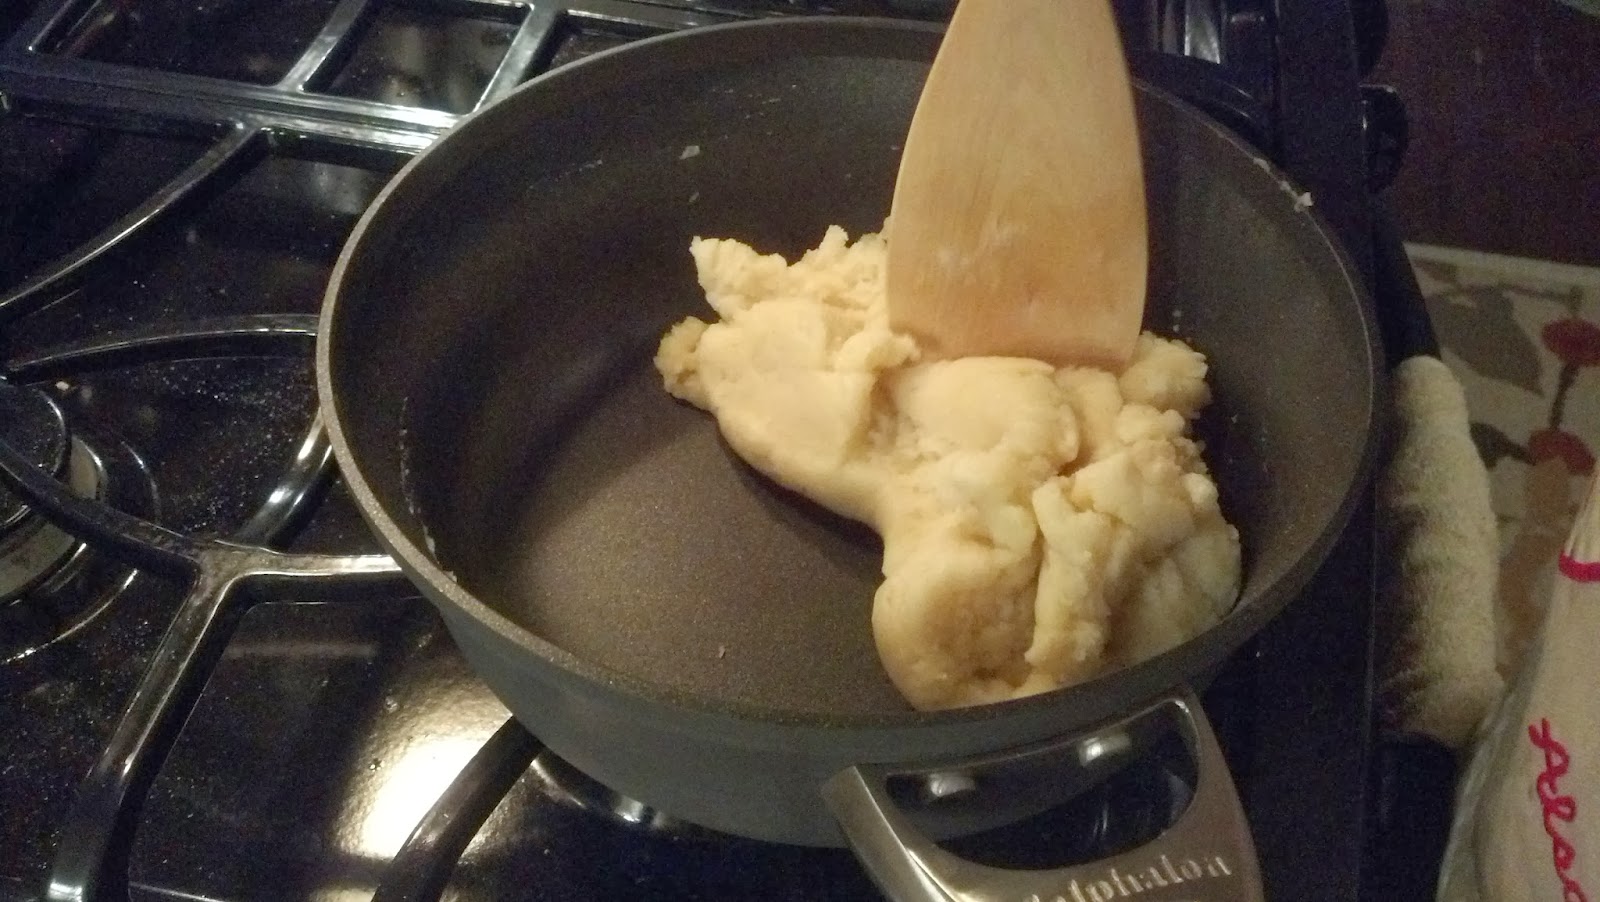
  3. Remove from heat and add flour all at once, stirring vigorously with a wooden spoon.
  4. Return saucepan to medium to medium high heat and cook dough, stirring constantly, about a minute or two until the dough forms a ball and does not stick to the sides of the saucepan.
  5. Transfer dough to food processor.
  6. Heat oven to 425 degrees.
  7. Turn on food processor and add 1 egg to the dough. As soon as it’s completely incorporated, add another, and continue adding eggs 1 at a time until you have used 4.
  8. Add chopped cranberries and Cheddar and pulse to blend.
  9. Line 2 baking sheets with parchment or silpat if available. Drop heaping teaspoons of batter, in mounds about 1 inch across, on baking sheets, leaving 2 inches between them.
  10. Dipping your fingertips in cold water, gently press down any peaks or tips to the mounds of dough so that the dough is flat and will form a clean circular puff.
  11. Beat remaining egg. Brush tops of mounds with egg, taking care not to let any drip down the sides.If after your first batch you find the coloring to be overly dark or slightly burned, you can wait to brush the egg until 7 minutes in to the first fifteen minutes of cooking (or whenever the first time you rotate baking sheets is).
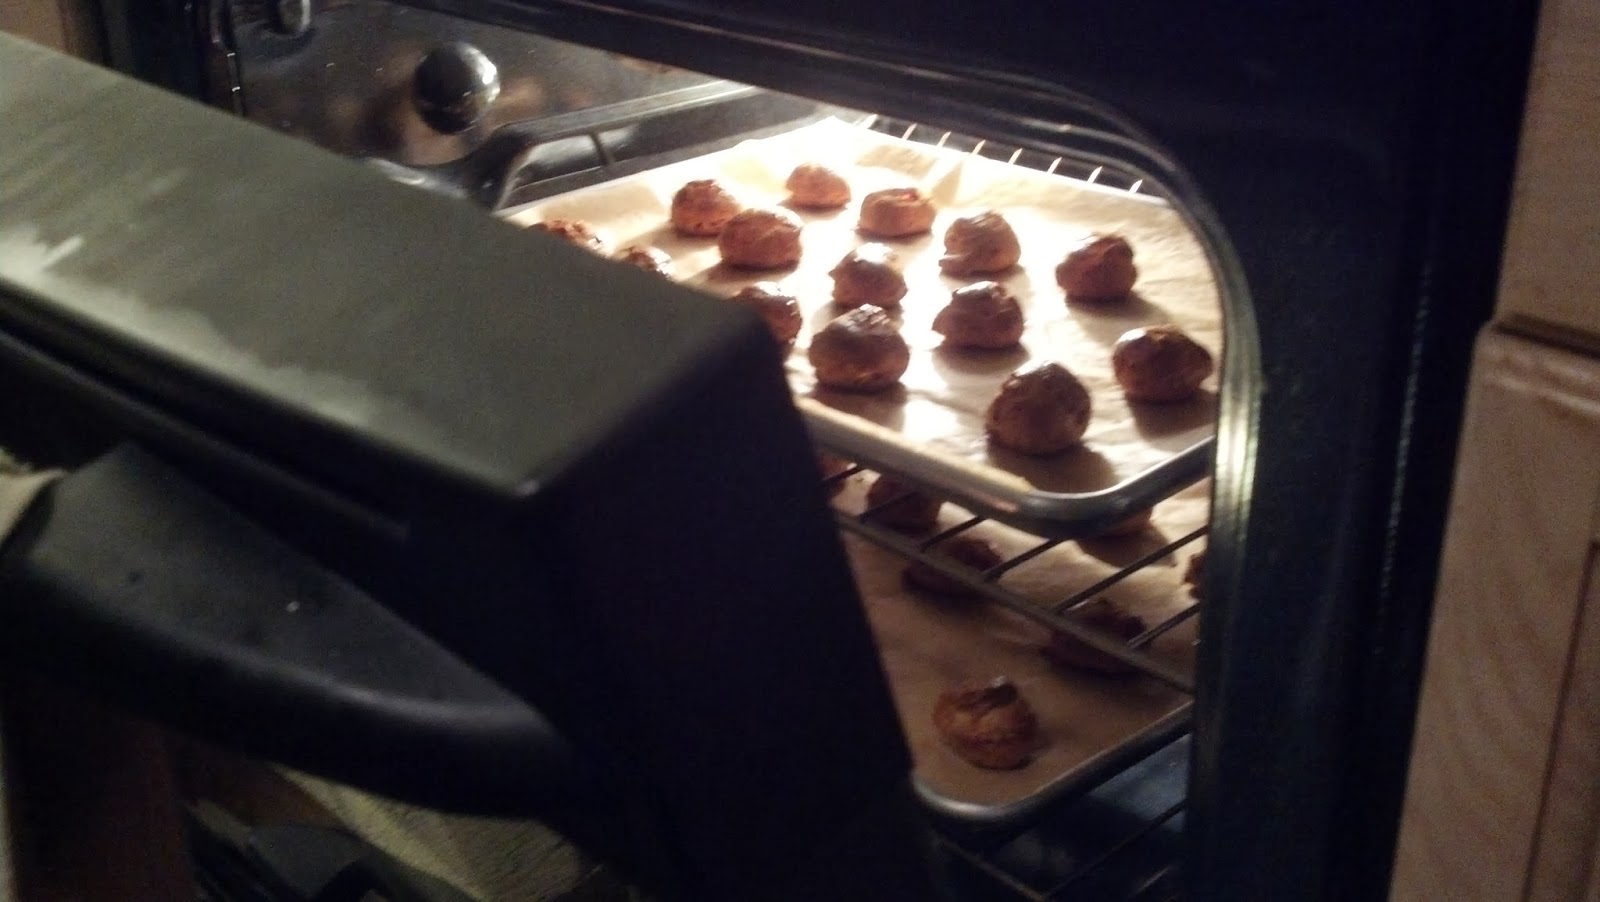
  12. Bake 15 minutes, until puffed and lightly browned, rotating baking sheets halfway between cooking.
  13. Reduce heat to 350 degrees and bake another 10 to 15 minutes, until well browned and again rotating baking sheets halfway.
  14. Shut off oven, open oven door a few inches and leave gougères another 15 minutes before removing them. If you are serving them immediately, serve right away, they do not need any time to cool and are best hot.
  15. Before making your next round, wait ten minutes for baking sheets to cool, replace parchment paper, and repeat process.If you are making these ahead of time, move gougeres to cooling racks. When completely cooled, the gougères can be transferred to a heavy plastic bag and frozen. Reheat them for 10 minutes at 350 degrees.


Tuesday, November 26, 2013

The Perfectly Nutty Brigsten's Pecan Pie with Bourbon Whipped Cream

I am not a fan of Pecan Pie. I think it is too sweet, and weirdly also bitter. I'm also not a huge fan of the almost jell-o like consistency the filling can reach. It's just not my thing, and not my choice of holiday pies. Pumpkin pie really is the reigning monarch of Thanksgiving pies. So it's a little strange that one of the pies I make the most frequently and is most coveted by TK is my pecan pie. It's my exception pecan pie. I like to say I dislike all pecan pies, except for this one which is delicious and perfect in every way. It focuses on the delicious nutty flavor and nothing else. No mouthful of sweet. No orange. Just deep roasted nut flavor.

This recipe comes from my favorite restaurant in New Orleans, Brigsten's. Obviously. Where but New Orleans could convince me not only to re-examine the pecan pie, but to embrace it? And where else would finding out that a restaurant published a couple of recipes online cause me to get so excited I had to make them all immediately? Turns out, the first secret to a great pecan pie is the same one I have long applied to most of my pinenut recipes- always toast your nuts, and the deeper and darker you toast them, the richer and rounder your flavors. This recipe dark roasts its pecans, then grinds them up into a paste of roasted pecan that is added to the curd to soften the corn syrup, add texture, and generally take this pie to another level. The second secret is a flaky crust.

Pie crusts and I have a troubled history. How to make a good pie crust is so deceptively simple from the offset, but so fraught with danger and errors in the implementation. The trick to getting a crust nice and flaky is to only mix the dough enough that you can still see swirls and spots of raw butter. Those little butter spots will become little air pockets that flake out the crust and give it its rich buttery goodness. The trick is getting your dough to where it needs to be without having to overwork your dough and lose the flaky texture. And the way to make that happen is to keep everything as cold as possible throughout the pie making process. Anything I can do to keep my ingredients cold, I do without hesitation, including Brigsten's trick which is to freeze the butter, then grate the frozen stick through a box grater. I take it further and put the flour and butter mixture back in the freezer to refreeze prior to working together, but either way, the grating goes a long way towards minimizing the amount of time you need to handle the dough. Likewise, if at ANY point you feel like your dough is getting too warm, stop what you are doing, return the dough and/or tools to the freezer, give it a twenty minute rest, then come back to it.

I bought a pastry scraper for the sole purpose of assisting with the creation of pie crusts, but you don't need one, particularly if you are rolling out your dough between two sheets of parchment paper. If when you try and pull the flattened dough it starts to stick, return the parchment paper sandwiched dough to the fridge to chill for fifteen minutes, then try again. If using a pastry scraper, keep scraper in the freezer when not immediately using. Slide under the dough to cut it away, being very careful not to stretch the crust. Do not stretch the dough to fit the pan or as you are lifting the pan. Any stretching done to the dough will shrink back down as the pie bakes. You can use leftover dough to fill any cracks or holes in the crust, again being careful not to stretch out the dough.


Brigsten's Pecan Pie

For the dough:

1 cup all-purpose white flour
½ teaspoon salt
7 tablespoons cold unsalted butter
 ¼ cup ice water

For the filling:

½ cup darkly roasted pecans, ground
3 eggs
1 cup sugar
1 cup dark corn syrup
2 tablespoons melted unsalted butter
1 ½ teaspoons pure vanilla extract
1/8 teaspoon salt
 1 cup medium pecan pieces
 
Bourbon Brown Sugar Whipped Cream

1 cup heavy cream 
1/2 cup sour cream 
1/2 cup packed light brown sugar 
1/8 teaspoon table salt 
2 teaspoons bourbon


Instructions


For the Dough-

  1. Preheat oven to 350 degree.
  2. Place butter, rolling pin, pastry scraper, pastry cutter (if using) in freezer until moments before you are ready to use.
  3. Sift the flour and salt into a mixing bowl. 
  4. Once butter is ice cold and hard but not quite frozen, use the large holes of a hand grater, grate the butter into the mixing bowl with the flour mixture. If your fingers warm the butter, place bowl in freezer for fifteen minutes before continuing.
  5. Lightly blend the butter and flour mixture with your fingertips until the texture is like coarse cornmeal. Be careful not to overwork the dough.
  6. Add the ice water and blend until incorporated, moving as fast as possible. Swirls or spots of butter are not a problem and will resolve themselves during cooking and will result in a flaky crust.
  7. Form the dough into a ball and blend until thoroughly incorporated. Cover in plastic wrap and refrigerate for forty five minutes.
  8. Place dough between two sheets of parchment paper or on a well floured countertop. Roll out the dough, adding flour as necessary and working as quickly as possible, to 1/8-inch thick. If dough starts to get too warm, stop, move disc of dough in parchment paper to fridge for fifteen minutes, then remove and continue rolling.
  9. Remove top layer of parchment paper if using. Place an 8 ½ inch pie pan face down on the dough and cut the dough to fit the pan, leaving a border of about 1 1/2 inch.
  10. Line the pan with the dough while removing second layer of parchment paper with a pastry scraper if necessary, being sure not to stretch the dough. trim the edges, and fill in any gaps with leftover dough and refrigerate or freeze until ready to use (at least one hour).

For the Filling-

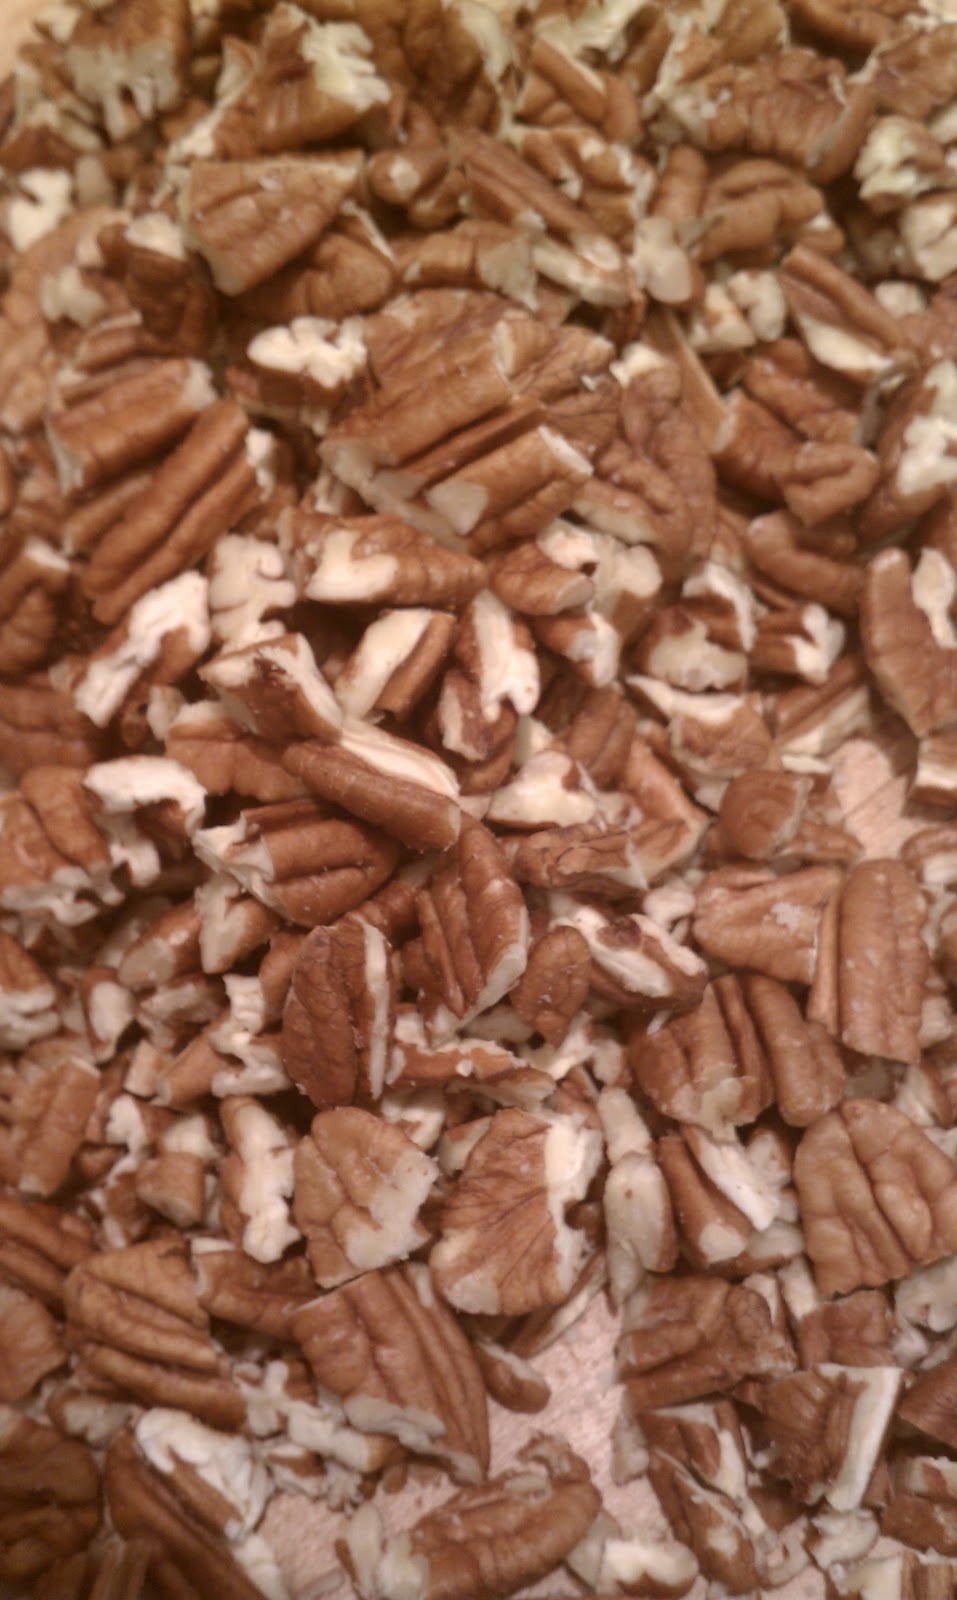
  1.  Toast pecans in dry skillet or roast on baking sheet until darkly colored and fragrant.
  2. Grind pecans using either a morter and pestle, a coffee grinder, or a small food processor.
  3. In an electric mixer with the wire whisk attachment, add the eggs and beat on high speed until frothy, about 1 minute. 
  4. Add the sugar, corn syrup, butter, vanilla, salt, and ground roasted pecans.
  5.  Beat on medium speed until well blended. 
  6. Stir in the pecan pieces with a rubber spatula.
  7. Pour the filling into the pie shell. 
  8. Bake at 350 degrees for 30 minutes. 
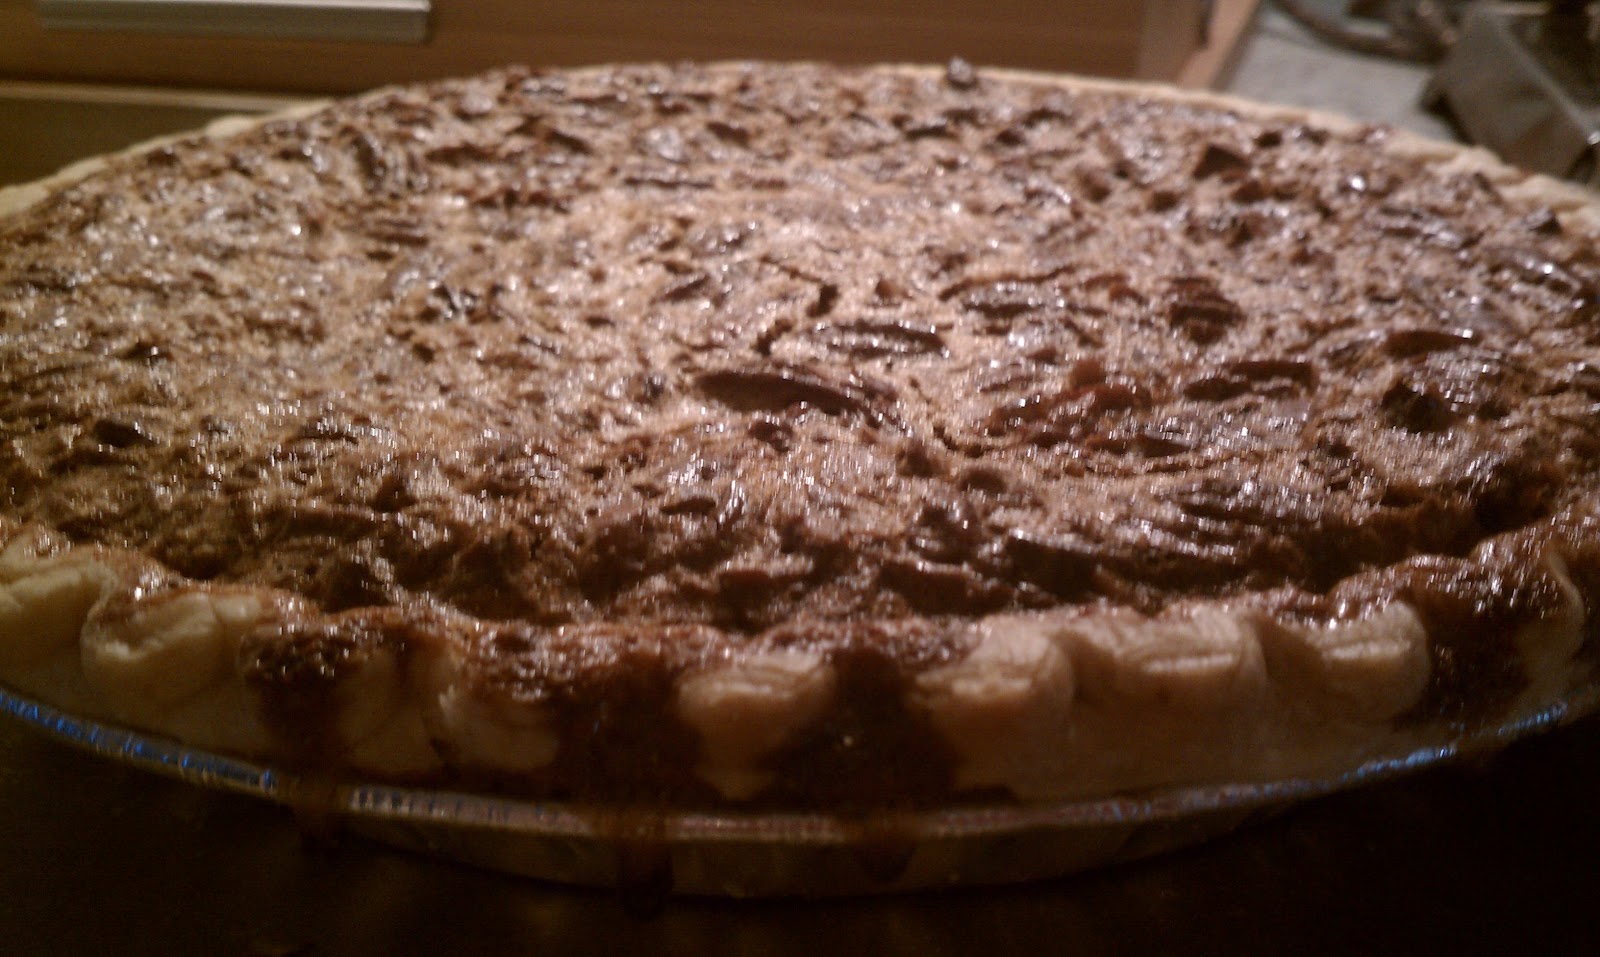
  9. Reduce heat to 325 degrees and bake until the filling is browned on top and the crust is light golden brown.  20 - 30 minutes.
  10. Remove from oven and cool at room temperature for 1 hour before serving. Serves 6-8.


For the Whipped Cream-

  1. In bowl of standing mixer or with hand mixer, whisk heavy cream, sour cream, brown sugar, and salt until combined. 
  2. Cover with plastic wrap and refrigerate until ready to serve, at least 4 hours or up to 24, stirring once or twice during chilling to ensure that sugar dissolves.
  3. When ready to serve, add bourbon and beat mixture with whisk attachment at medium speed until small bubbles form around edges, about 40 seconds. 
  4. Increase speed to high and continue to beat until fluffy or starts to form soft peaks and doubled in volume, about 1 minute longer. 
  5. Serve.

Monday, February 25, 2013

Lenox Almond Biscotti (Basic Biscotti)

Almond Biscotti is a delicious and complex cookie perfect for dunking in coffee and serving either with breakfast, tea, or as a dessert with either ice cream or coffee. The almond scent and taste takes a plain shortbread style cookie and elevates it to the level of Italian dolci, ie, one of the best things ever. Biscotti is one of those things that for a very long time I labeled as "to be bought, not made". This was because I made the following (false) assumptions: a) I would have to make a large batch that I would never be able to finish and b) that it was too difficult to make. On point a, biscotti is meant to be dry and absorbent. It might almost be better after sitting out for a day, which is when the crunchiness that you associate with biscotti really sets in. This recipe lasts for about a week. I can't give you an exact total because I have always finished all the cookies within a week and they have always been delicious and not a hint stale. On the latter point, it is also surprisingly simple to make, once you get over your intimidation factor and the number of times it needs to go in the oven.

The dough is sticky and wet, a little surprising for what you think of as a dry, crumbly cookie. The thicker you make your logs, the flatter and wider your finished biscotti will be. So if you want a more domed biscotti, make your log taller and a little smaller. The log will spread a surprising amount, so be sure and place a solid amount of distance between the two. If you have problems with the logs touching during baking, as I did in these pictures, simply use a pastry scraper or a long serrated knife to separate the two logs along the seam or as close as you can get to it immediately after taking the logs out of the oven to cool. The smell of almond will fill your entire kitchen when making these, which both reassures you that you are on the right track and let's everyone else know that you mean business in the kitchen. Don't worry, we are delicious, the cookies tell you, right when you are trying to figure out what "starts to turn light golden" means. (The answer is right when the edges and tops just start to pick up a slight hint of color, but before the bottoms are thoroughly golden). The almond taste, while decidedly present, is a bit more delicate than its cooking nose would have you think. More of a subtle note than a hit you over the head nutty flavor.

This is your basic almond biscotti. From here, you can dunk half of it in melted chocolate (milk, white or dark chocolate) or vary it up in unlimited manners, including Crystallized Ginger with Orange Zest Biscotti, recipe to come soon, or Pistachio and Cranberry Biscotti, but this is your building block recipe, one of the first recipes I made from Dorie Greenspan's Baking, From My Home to Yours cookbook, adapted slightly because the oven I am using tends to run a little cool (if your oven runs hot, simply take five minutes off the cook time), and because I am not overly fond of the gritty texture of corn meal. This cookbook is wonderful if you are looking for a baking Bible. All the recipes are easy to vary according to taste but still create a sophisticated product on its own. For a dinner party these are great to prepare the day before for coffee at the end.

Lenox Almond Biscotti 


Cooking time: 40 Minutes Active, 1 1/2 hours Inactive
Makes about 30 cookies

1 1/2 cups all-purpose flour
1 1/2 teaspoons baking powder
1/4 teaspoon salt
1/2 cup yellow cornmeal
1 stick (8 tablespoons) unsalted butter, at room temperature
1 cup sugar
2 large eggs
1 1/2 teaspoons pure almond extract
3/4 cup sliced almonds, blanched or unblanched


1. Center a rack in the oven and preheat the oven to 350 degrees F. Line a baking sheet with parchment or a silicone mat.
2. Optional: Run corn meal through a food processor for 30 seconds.
2. Whisk the flour, baking powder and salt together. Add the cornmeal and whisk again to blend.
3. Using a hand mixer in a large bowl (or a standing mixer with a paddle attachment if you have it), beat the butter and sugar together at medium speed for 3 minutes, until very smooth.
4. Add the eggs and continue to beat, scraping down the bowl as needed, for another 2 minutes, or until the mixture is light, smooth and creamy.
5. Beat in the almond extract.
6. Reduce the mixer speed to low and add the dry ingredients, mixing only until they are incorporated. You'll have a soft, stick-to-your-fingers dough that will ball up around the paddle or beaters.
7. Scrape down the bowl, toss in the almonds and mix with a rubber spatula just to blend.
8. Scrape half the dough onto one side of the baking sheet. Using your fingers and a rubber spatula or scraper, work the dough into a log about 12 inches long and 1 1/2 inches wide. The log will be more rectangular than domed, and bumpy, rough and uneven.
9. Form a second log with the remaining dough on the other side of the baking sheet. The logs will spread during cooking, so make sure there is a solid amount of space between them.
10. Bake for 20 minutes, rotating once, or until the logs are just becoming lightly golden on top but still soft and springy to the touch.
11. If the two logs have starting touching, use a pastry scraper or long serrated knife to quickly separate the logs.
11. Transfer the baking sheet to a wire rack and cool the logs on the baking sheet for 30 minutes.
12. If you turned off the oven, bring it back up to 350 degrees F.
13. Using a wide metal spatula, transfer the logs to a cutting board and, with a pastry scraper or a long serrated knife, trim the ends and cut the logs into 3/4-inch-thick slices.
14. Return the slices to the baking sheet — this time standing them up like a marching band — and slide the sheet back into the oven. If you are concerned about even baking, rotate the thicker and less baked slices with the more golden slices on the pan prior to re-baking.
15. Bake the biscotti for another 20 minutes, or until they are golden and firm. Transfer them to racks and cool to room temperature.